How to make Windows Defender Antivirus scan external drives for malware
Windows Defender Antivirus doesn't scan removable drives during full scans by default, but there are ways to enable the functionality. Here's how.
Although Windows Defender Antivirus runs automatically on your Windows 10 device, there are still times when you'll need to perform a full scan to make sure that malware or malicious software is not impacting your device.
However, if you thought a "full scan" meant that the antivirus would check every storage device connected to your computer, think again. As it turns out, by default, Windows Defender Antivirus does not scan external drives during a full scan — only during quick and custom scans.
If you want to make sure that every storage device attached to your computer gets scanned for unwanted software and malware, it's possible but it's something that you need to configure manually.
In this Windows 10 guide, we walk you through the steps to allow Windows Defender Antivirus to include removable drives as you perform a full malware scan on your device.
- How to include removable drives during full scan using Group Policy
- How to include removable drives during full scan using Registry
How to include removable drives during full scan using Group Policy
If you're running Windows 10 Pro, you can quickly configure Windows Defender Antivirus to include removable drives during a full scan using the Group Policy Editor. Just follow these steps:
- Use the Windows key + R keyboard shortcut to open the Run command.
- Type gpedit.msc and click OK to open the Local Group Policy Editor.
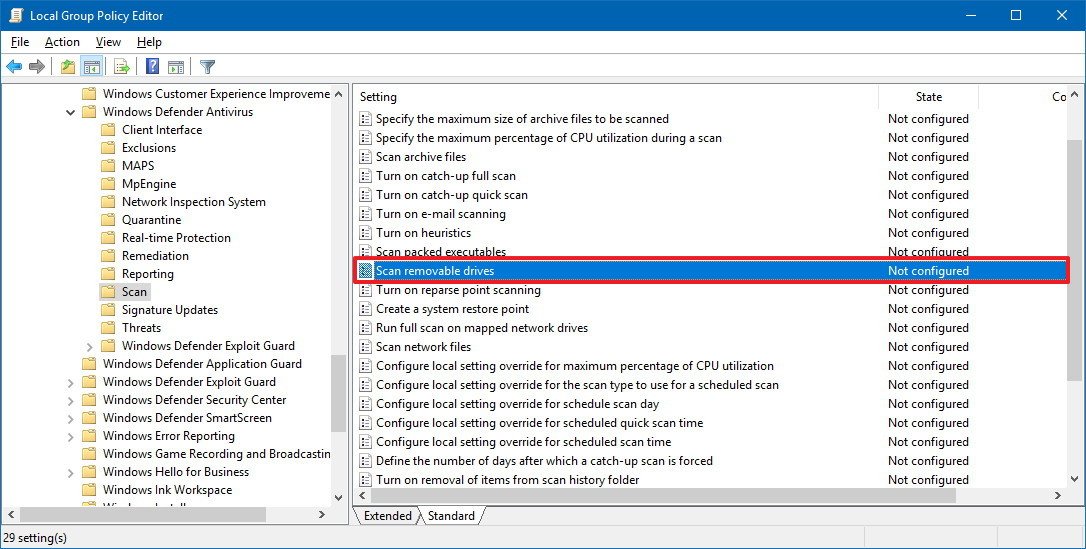
- Browse the following path:
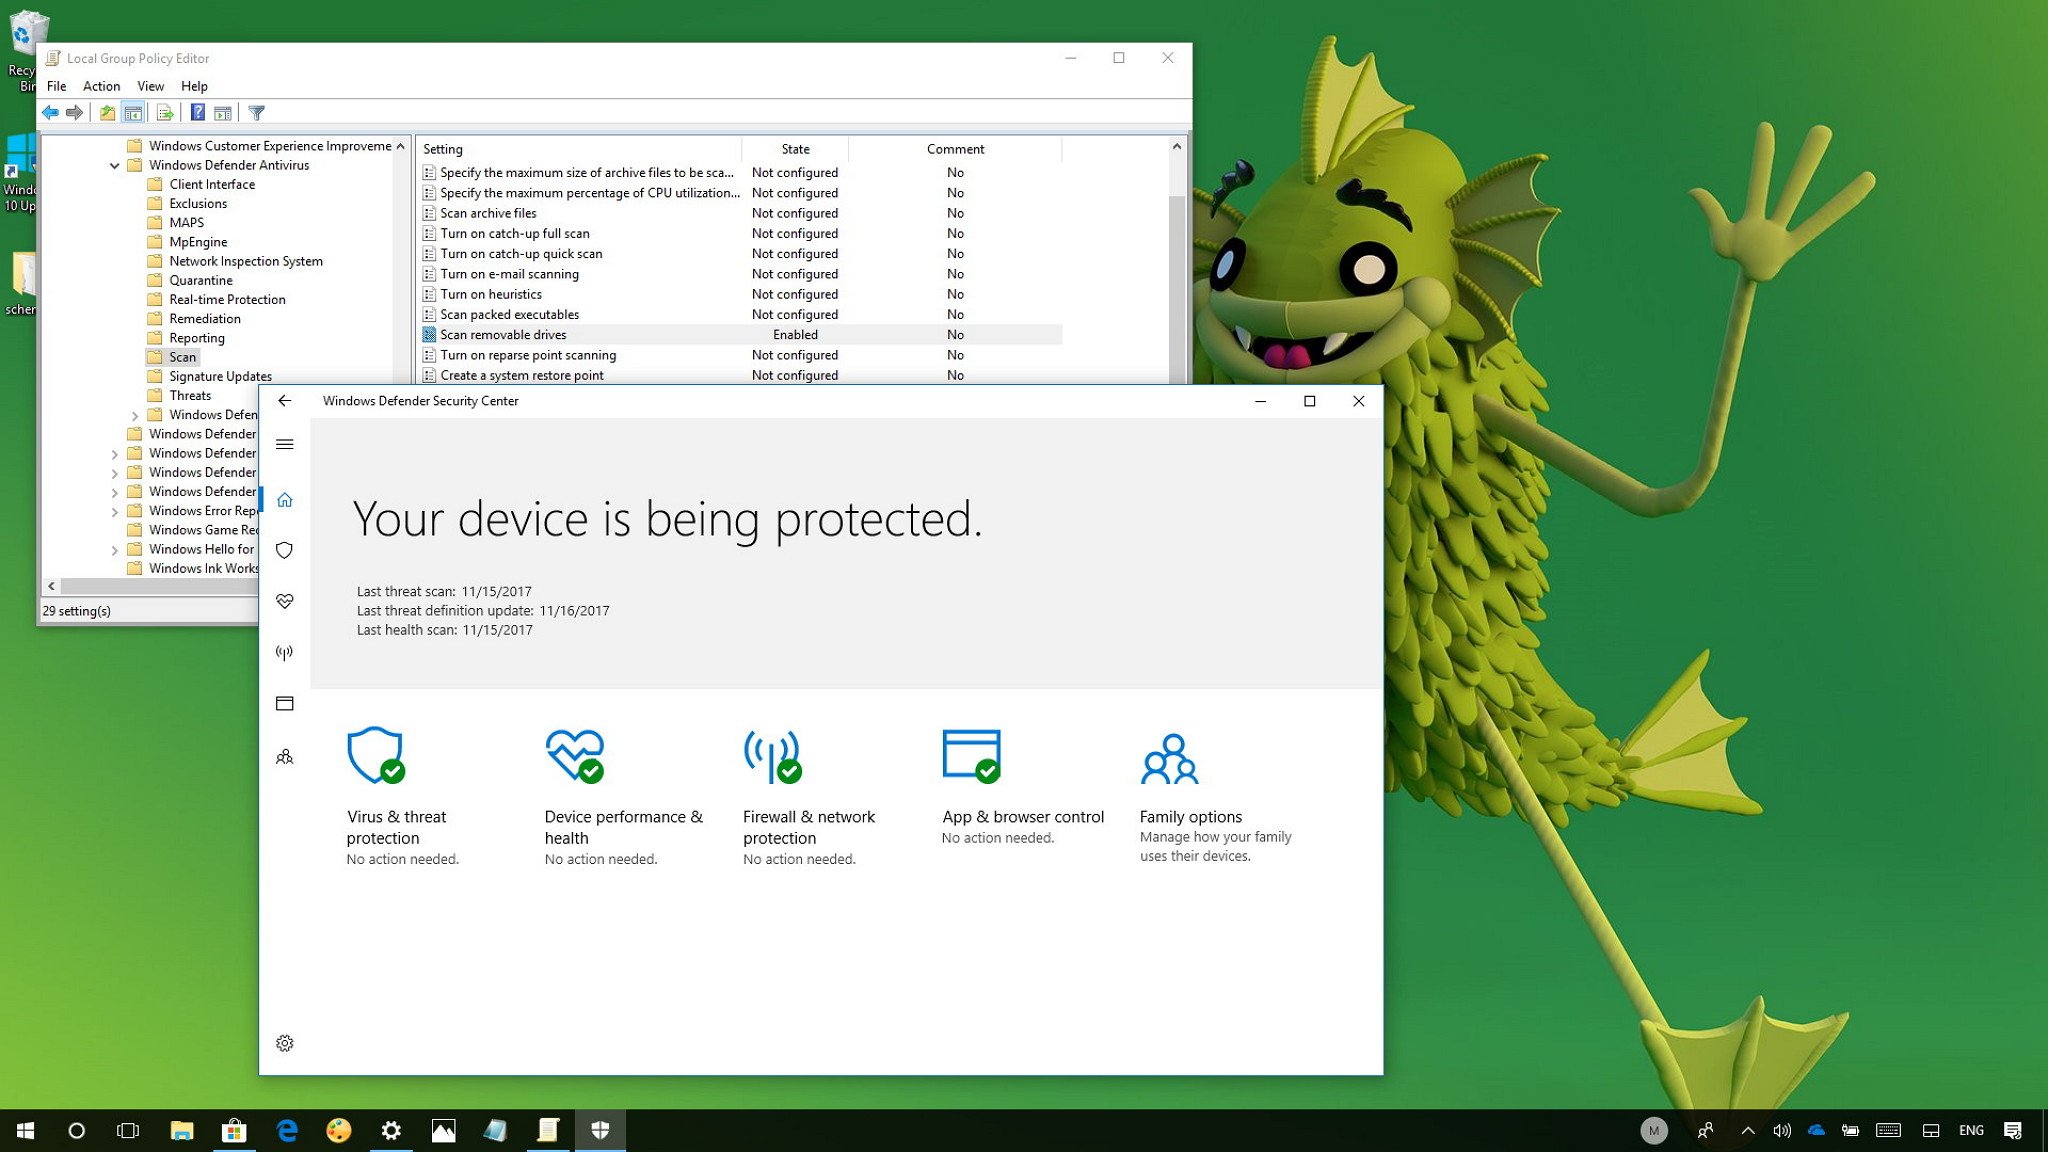
Computer Configuration > Administrative Templates > Windows Components > Windows Defender > Scan - On the right side, double-click the Scan removable drives policy.
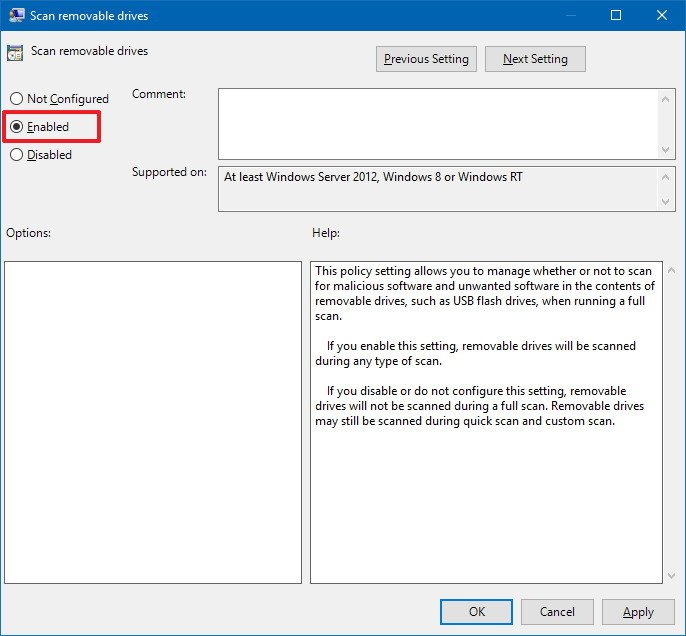
- Select the Enabled option.
- Click Apply.
- Click OK.
Once you complete these steps, the Windows 10 antivirus will include not only external drives during quick and custom scans but also during full virus scans.
This may be obvious, but remember that using this option will take longer to complete the scan due to the fact that more data will have to be covered.
All the latest news, reviews, and guides for Windows and Xbox diehards.
If you no longer need to use this feature, you can follow the same instructions, but on step No. 5, make sure to select the Not Configured option.
How to include removable drives during full scan using Registry
If you're running Windows 10 Home, you won't have access to use Group Policy, but you can change the same settings using the Registry.
Warning: This is a friendly reminder that editing the Registry is risky, and it can cause irreversible damage to your installation if you don't do it correctly. We recommend making a full backup of your PC before proceeding. If you're ready, follow these steps:
- Use the Windows key + R keyboard shortcut to open the Run command.
- Search for regedit, and click OK to open the Registry.
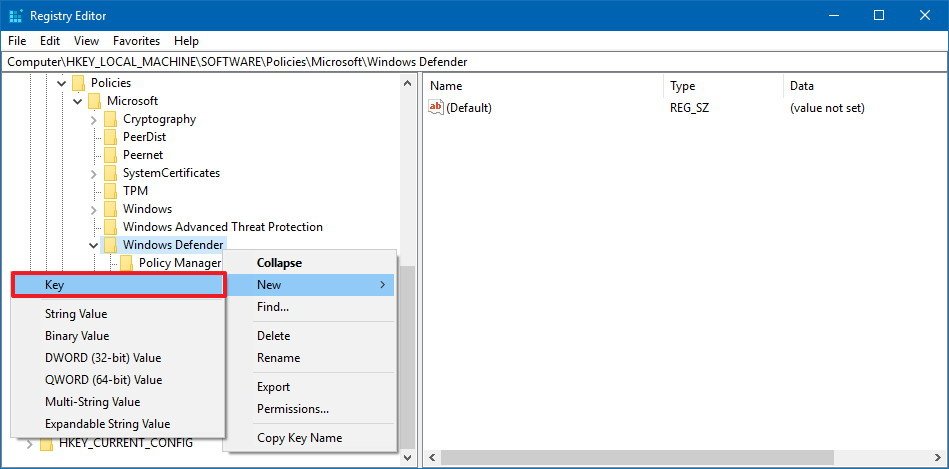
- Browse the following path:
HKEY_LOCAL_MACHINE\SOFTWARE\Policies\Microsoft\Windows DefenderQuick Tip: On the Windows 10 Creators Update and later, you can copy and paste the path into the new Registry's address bar to quickly jump to the key destination. - Right-click on the Windows Defender (folder) key, select New, and click on Key.
- Name the key Scan and press Enter.
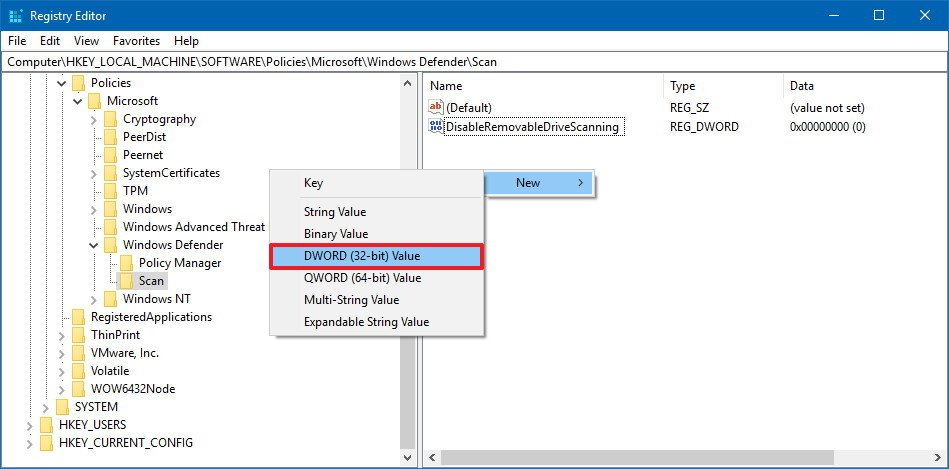
- Right-click on the right side, select New, and click on DWORD (32-bit) Value.
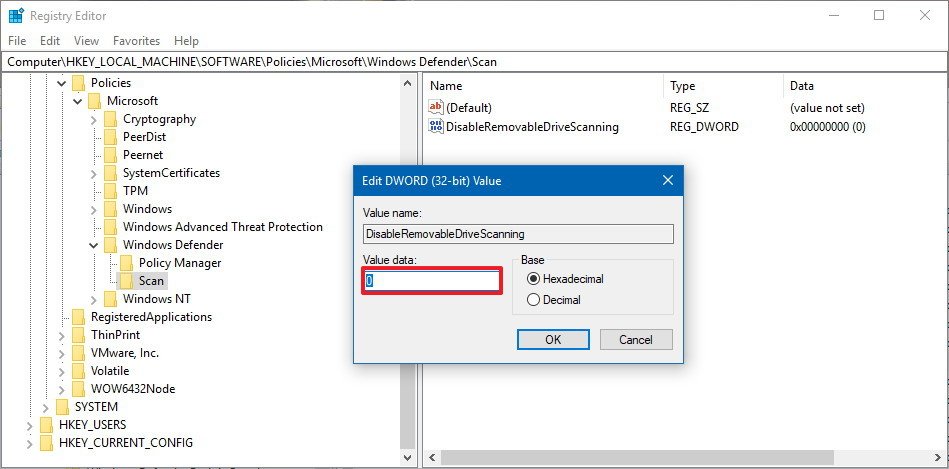
- Name the key DisableRemovableDriveScanning and press Enter.
- Double-click the newly created DWORD and make sure its value is 0.
After completing these steps, Windows Defender Antivirus will also scan removable drives you have connected to your computer.
If you want to revert the changes, simply follow the same instructions, but on step No. 5, right-click the Scan (folder) key and click Delete to remove the entries.
More Windows 10 resources
For more helpful articles, coverage, and answers to common questions about Windows 10, visit the following resources:
- Windows 10 on Windows Central – All you need to know
- Windows 10 help, tips, and tricks
- Windows 10 forums on Windows Central

Mauro Huculak has been a Windows How-To Expert contributor for WindowsCentral.com for nearly a decade and has over 22 years of combined experience in IT and technical writing. He holds various professional certifications from Microsoft, Cisco, VMware, and CompTIA and has been recognized as a Microsoft MVP for many years.
