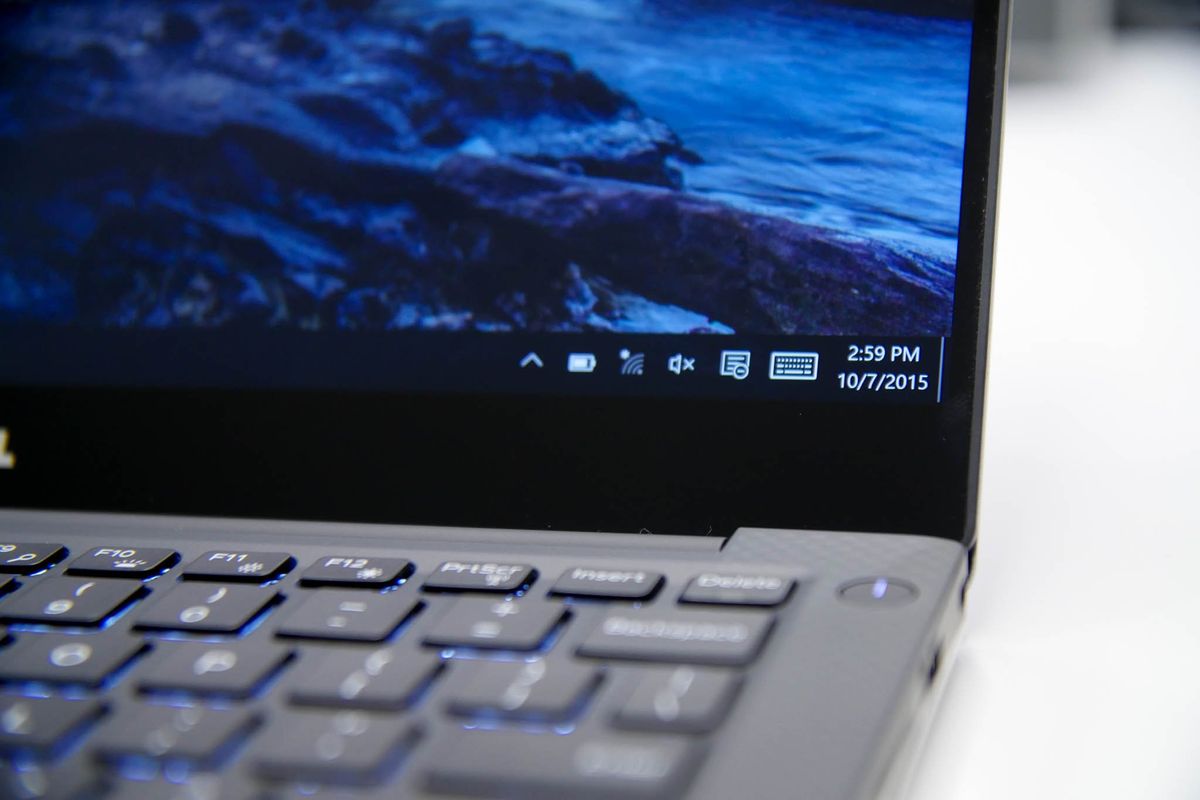
Your favorite little laptop has a solid battery already, but what if you want to get the most out of it? Say you're on a long flight and want to watch a few movies, or you're on a road trip trying to get work done while someone else drives; you're going to need a few tricks to keep your battery running longer!
- Dim your screen
- Close any unnecessary programs
- Limit your wireless use
- Use and configure battery saver mode
- Change your power plan
- Update your BIOS
Dim your screen
Yes, this might seem obvious, but it can help you eke out more minutes from your battery. How bright is your screen right now? Do you need it that bright? Try going as low as you can and letting your eyes adjust. Both your eyes and your battery will thank you.
To dim your screen, you can use either the XPS 13 keyboard's Windows key + F11 shortcut, or you can use the Action Center.
Here's how to dim your XPS 13's screen through the Action Center:
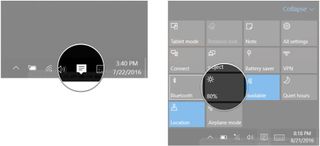
- Click the Action Center button in your system tray. It looks like a speech bubble.
- Click the screen brightness button. It has a small sun in the top left corner. This will raise your screen's brightness in increments of 25% before resetting to 0%.
Close any unnecessary programs
Making your XPS 13 work at keeping unused programs open is a drain on the battery. You can either close programs from their window or from the taskbar, or you can use task manager to end those that don't show up in the taskbar. Here's how to use task manager to close unnecessary programs:
- Use the Ctrl + Alt + Del shortcut on your keyboard. A blue screen will appear.
- Click Task manager.
- Click any program you'd like to close.
- Click End task to close the program.

Limit your wireless use
Keeping networks open is a drain on your battery — have you ever noticed how long the battery on your phone lasts when you have airplane mode enabled? The same applies to your XPS 13. Cutting off all communications with airplane mode will save you the most battery power, but you'll also lose access to the internet and connected Bluetooth devices.
Here's how to turn on Airplane mode:
Get the Windows Central Newsletter
All the latest news, reviews, and guides for Windows and Xbox diehards.
- Click the Action Center button in your system tray. It looks like a speech bubble.
- Click the Airplane mode button so that it turns blue.
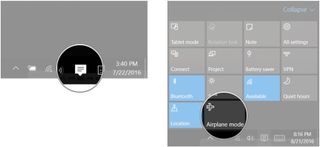
Your wireless connections will now be turned off. To re-enable connections, just repeat the same steps.
If you'd like to disable Bluetooth but leave Wi-Fi intact, you'll still be saving a bit of battery power. Here's how to only disable Bluetooth connectivity:
- Click the Action Center button in your system tray. It looks like a speech bubble.
- Click the Bluetooth button so that it is no longer blue.
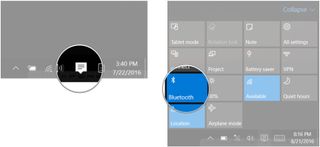
Bluetooth will now be disabled. To re-enable Bluetooth, just repeat the same steps.
Use and configure battery saver mode
Windows 10 has a great, customizable battery saving feature that you can enable when you're getting low on juice. It will kick on automatically when your battery dips below a certain point, but here's how to manually enable battery saver:
- Click the Action Center button in your system tray. It looks like a speech bubble.
- Click the Battery saver button so that it turns blue.
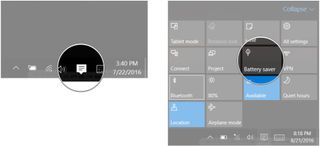
If you'd like to disable battery saver, just repeat the same steps.
Not satisfied with how battery saver is working? You can customize battery saver to better suit your needs.
Here's how to access battery saver settings:
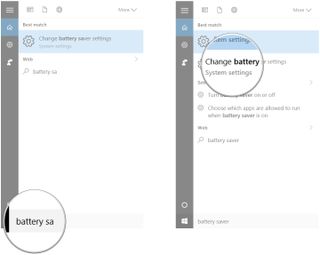
- Click the Search Windows field in your taskbar.
- Type battery saver.
- Click Change battery saver settings.From here you can tweak settings, including changing when battery saver automatically kicks in, changing whether or not the screen dims when battery saver is turned on, and allowing certain apps to still draw full power from the battery.
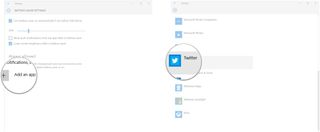
Here's how to allow apps to run in the background even when battery saver mode is enabled.
- Click Add an app.
- Click an app to allow.
- Click Add.
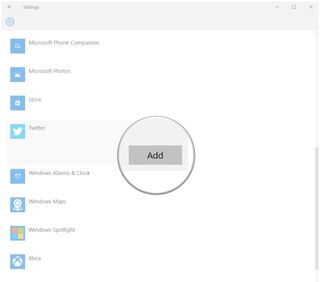
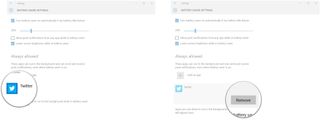
Here's how to remove an app from the always allowed list:
- Click the app you want to remove.
- Click Remove.
Change your power plan
Windows 10 has a functional built-in power settings function that allows you to set sleep times, change what power buttons do, and ultimately set up a power plan that works for your needs.
Here's how to open power and sleep settings to change sleep times:
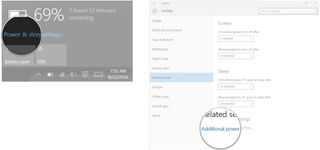
- Click the battery button in your system tray.
- Click Power & sleep settings.

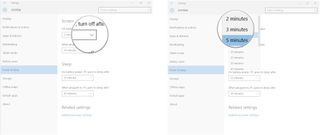
- Click the dropdown arrow next to any options you want to change.
- Click the time option you'd like to use. In this case we set the screen to turn off after two minutes when using battery power.
If you'd like to create and name your own power plan, it is possible on your XPS 13. Here's how to do it:
- Click the battery button in your system tray.
- Click Power & sleep settings.
- Click Additional power settings.
- Click Create a power plan.
- Click an option that best suits your needs. In this case we choose Power Saver.

- Click the Plan name field and type a name. This step is optional.
- Click Next.

- Change power settings as you see fit.
- Click Create when you're satisfied with the plan. It will now appear in the main Power Options menu.

To go one step further, you can now lower Thermal Design Power (TDP), the maximum temperature your laptop's internal hardware is allowed to reach. This will cut performance, but you're going to get more time out of your battery.
- Click the battery button in your system tray.
- Click Power & sleep settings.

- Click Additional power settings.
- Click Change plan settings beside the plan you'd like to tweak the TDP in.
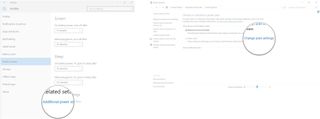
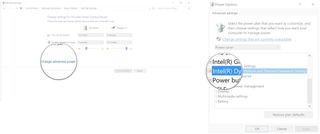
- Click Change advanced power settings.
- Click the expand button (looks like a +) beside Intel(R) Dynamic Platform and Thermal Framework Settings.
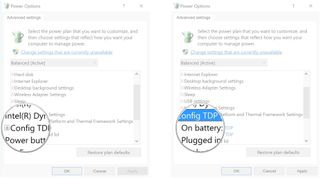
- Click the expand button (looks like a +) beside Config TDP Level.
- Click On Battery.
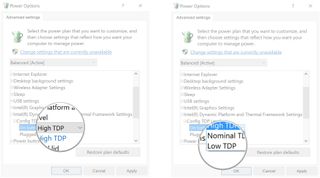
- Click the dropdown arrow next to High TDP.
- Click Low TDP.
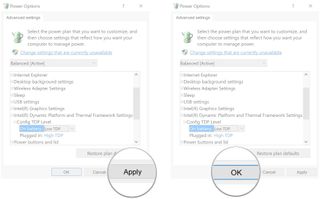
- Click Apply.
- Click OK.
Update your BIOS and drivers
Over the course of XPS 13's life, Dell has released multiple driver updates, as well as a few basic input/output system (BIOS) updates that significantly improve battery life and performance. Updating your BIOS is a serious process; make sure your XPS 13 is plugged into a power outlet, and make sure all apps are closed.
Dell has made updating the XPS 13's BIOS and drivers through their website really easy:
- Navigate to Dell's support webpage using your XPS 13.
- Click Detect Product.
- Click Detect Drivers.

If your XPS 13 has out-of-date drivers and BIOS you will be prompted to download them. Follow carefully the on-screen steps as they guide you through the update process. Remember to keep your XPS 13 plugged in at all times when updating.

Cale Hunt brings to Windows Central more than eight years of experience writing about laptops, PCs, accessories, games, and beyond. If it runs Windows or in some way complements the hardware, there’s a good chance he knows about it, has written about it, or is already busy testing it.