How to get started with Git on Windows and WSL
Learn the very basics of how to interact with Git on your PC, whether you're using Windows or WSL inside of Windows.
You don't have to be a master programmer to use Git; you don't even have to be into coding at all. Git can be applied to a number of tasks since it is, at heart, a version control tool.
But as open-source software continues to grow and platforms like GitHub and GitLab are used more and more to host code and even full applications, there's a good chance you might need to know how to use Git to do some basic functions.
This short guide will get you up and running with Git on Windows and the Windows Subsystem for Linux (WSL) and show you the absolute basic commands you'll need to know.
How to install Git on Windows and WSL
The basic definition of Git is that it's a version control tool, allowing multiple people to interact with the same files independently with the option to merge changes into the master branch. It's completely separate from services like GitHub and GitLab, but you use Git to interact with them and a host of other Git-compatible platforms.
To get started on Windows, you'll first need to install Git. The installation will include a dedicated Git Bash terminal, but you don't have to use that, instead, you can just open up the PowerShell terminal you're more familiar with.
To install Git on Windows you can simply go to the website, download, and then install the executable. If you want to use the Windows Package Manager for an even easier installation, open up a new PowerShell window and enter
winget install git.
Get the Windows Central Newsletter
All the latest news, reviews, and guides for Windows and Xbox diehards.
In WSL distros like Ubuntu and Debian, Git should already be installed from the first time you set up. But, if for some reason it isn't, you can install Git yourself in the terminal using the command
sudo apt install git. Easy.
One important thing to remember also is that while you may have to install Git for Windows specifically, Git itself is platform agnostic so the commands are going to be the same whichever you're using. You can also use Git on both Windows and inside WSL alongside each other and interact with the same local directories as WSL has full access to the Windows file system.
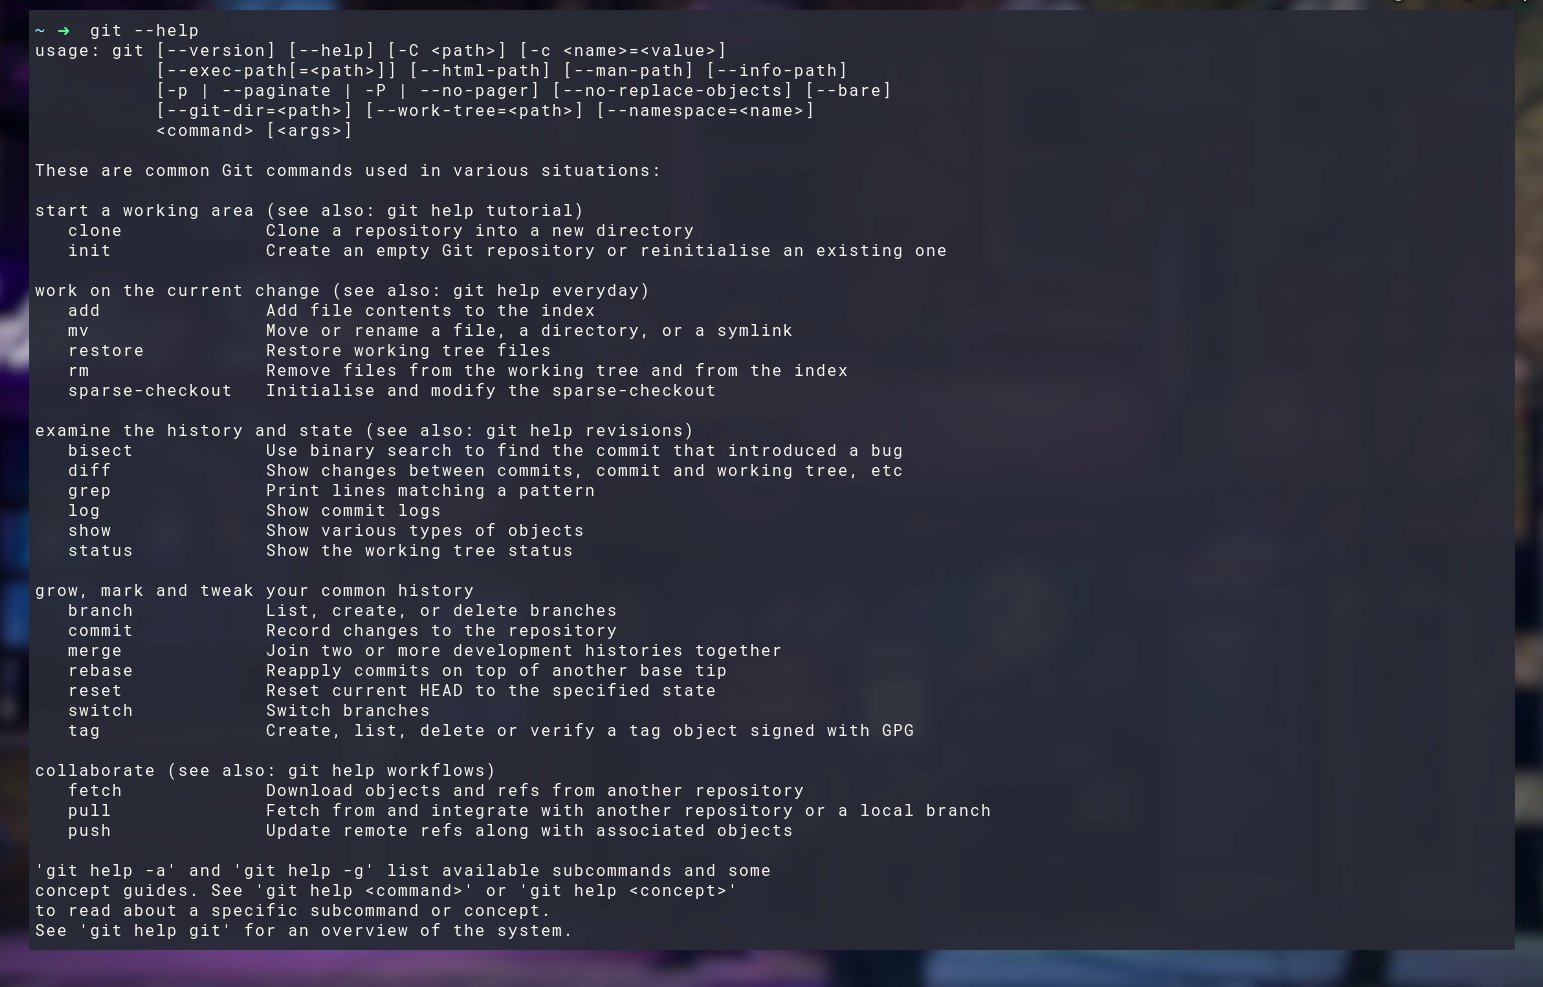
If at any time you need assistance simply type
git --helpinto the terminal.
How to download (clone) a repository with Git
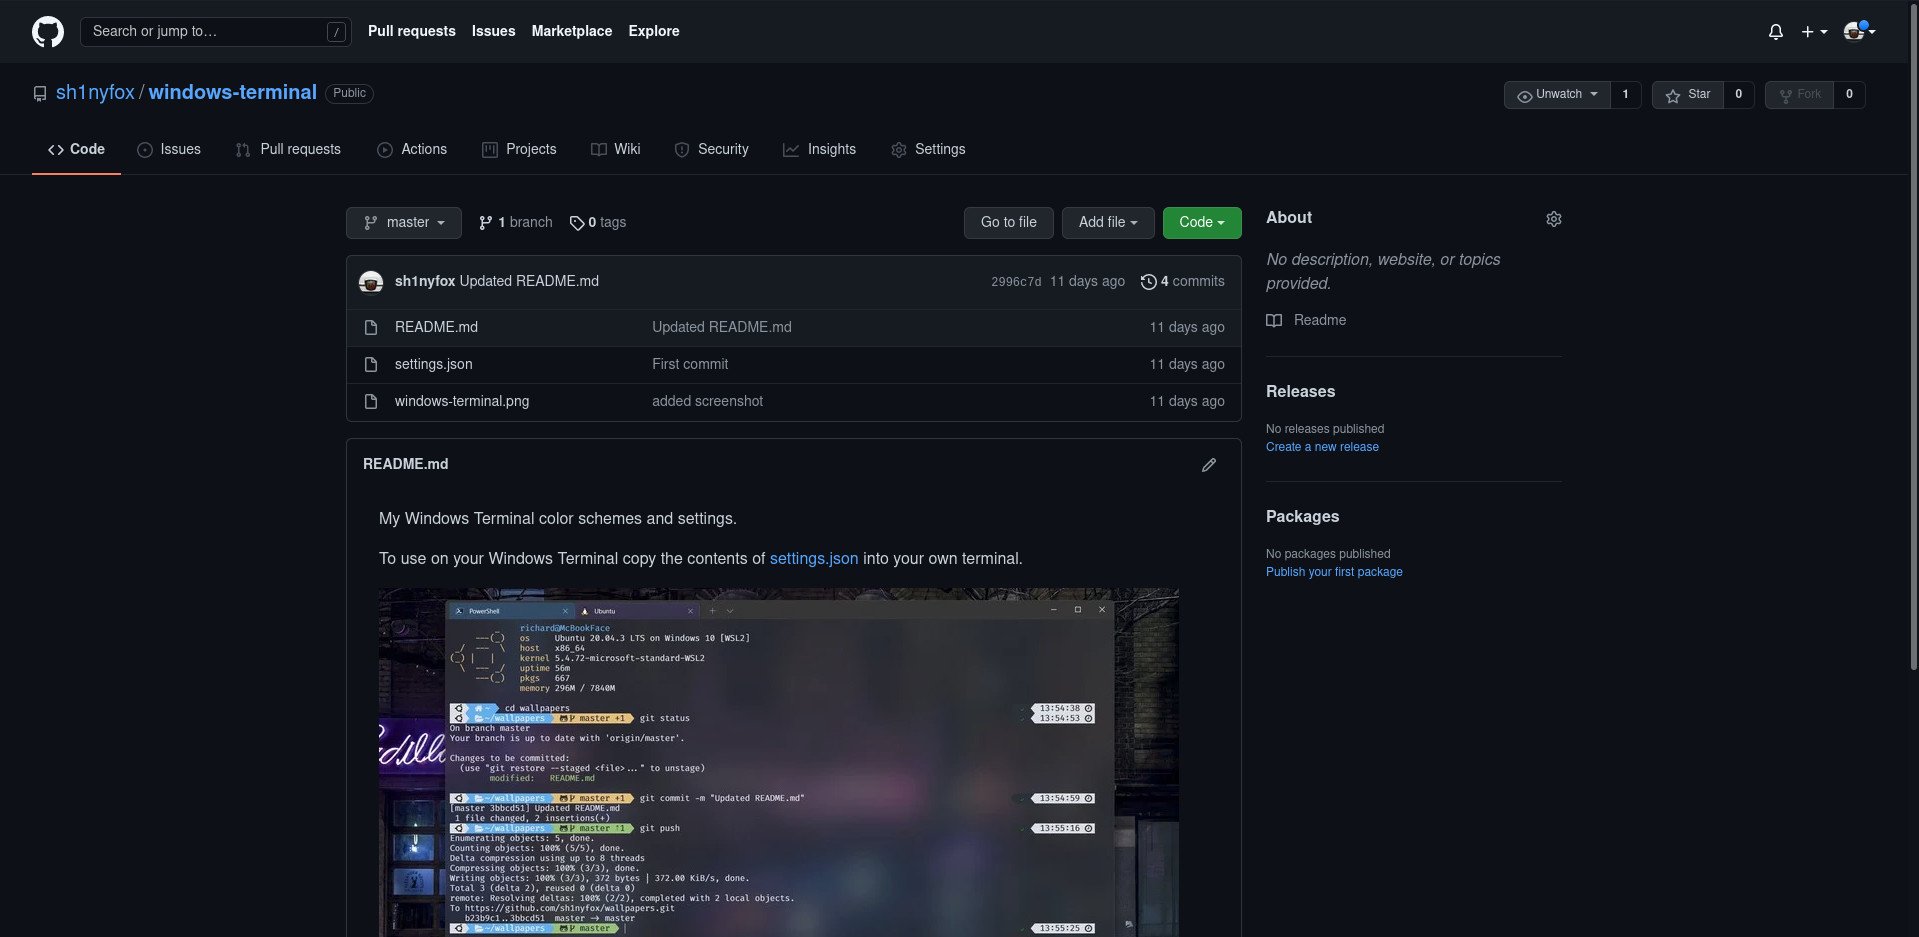
While different Git-connected services will behave a little differently, the Git commands you need to use are the same regardless of where you're pulling from. To download, or "clone" a Git repository you need the command
git clone. Most of the time you'll be using a URL, and GitHub, GitLab, and any other similar platform will all make it clear exactly which URL you will need.
So, for example, you would open up PowerShell or WSL and enter something like:
git clone https://github.com/microsoft/vscodeThis will instruct Git to fetch all contents of the repository at the URL provided. It will magically download everything and create a local Git repository on your machine. To you, it will look like just another folder, but it will contain some files within that help it stay identified as a Git repository.

To update to the latest contents of the remote repository on your local machine, you simply have to open the associated local directory in your Terminal and enter:
git pull Any changes made since you last cloned or pulled will now be brought down to your local machine and merged with the files there.
How to start your own Git repository
There are two parts to this, where you have a local Git repository, which you then push to a service like GitHub. To begin with, though, you need to set things up locally.
Open the directory you want to use as a Git repository in your terminal and enter this command:
git init This will set up everything you need for Git to handle version control for everything within that directory. You don't have to push to a remote service like GitHub, there are local options like Gitea that you can self-host, but wherever you're pushing to there's one essential first step.
You have to tell Git who you are. This is because every commit is logged to the person who made it. If you're a solo artist you might not see why this matters, but it's crucial as soon as you start collaborating with even one other person.
There are two simple commands to enable everything you need.
git config --global user.name "YourUserName"git config --global user.email "YourEmailAddress"Now, you can start pushing changes to your Git repository.
How to push a Git repository to a remote
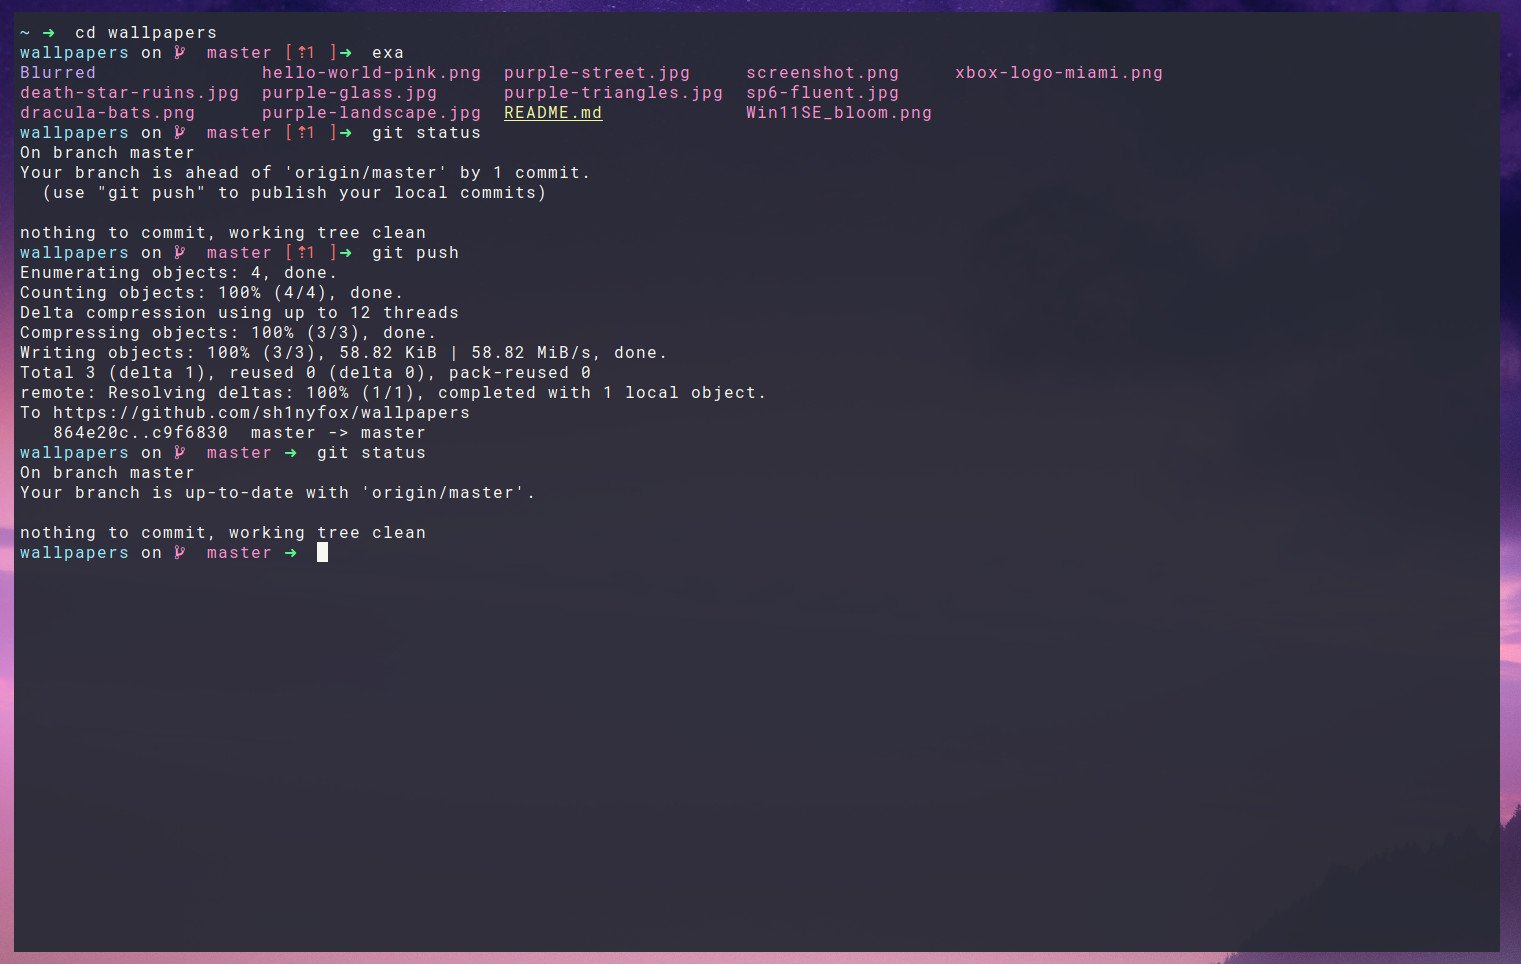
There's a lot you can do with Git, but besides using it to clone and handle remote version changes, you'll likely want to push some of these files to a remote repository such as on GitHub or GitLab. There is a process to follow each time, which is outlined below. Essentially you have to add files to be tracked, then you can commit them, then push.
Before you push to a remote service, you will have to ensure you're authenticated on your local machine to do so. With GitHub, the easiest way to do this is to download the GitHub CLI tool and use it to log in with your account credentials as it saves having to use access tokens. Our full GitHub beginners guide will walk you through it.
Once this is out of the way, the process and commands are as follows.
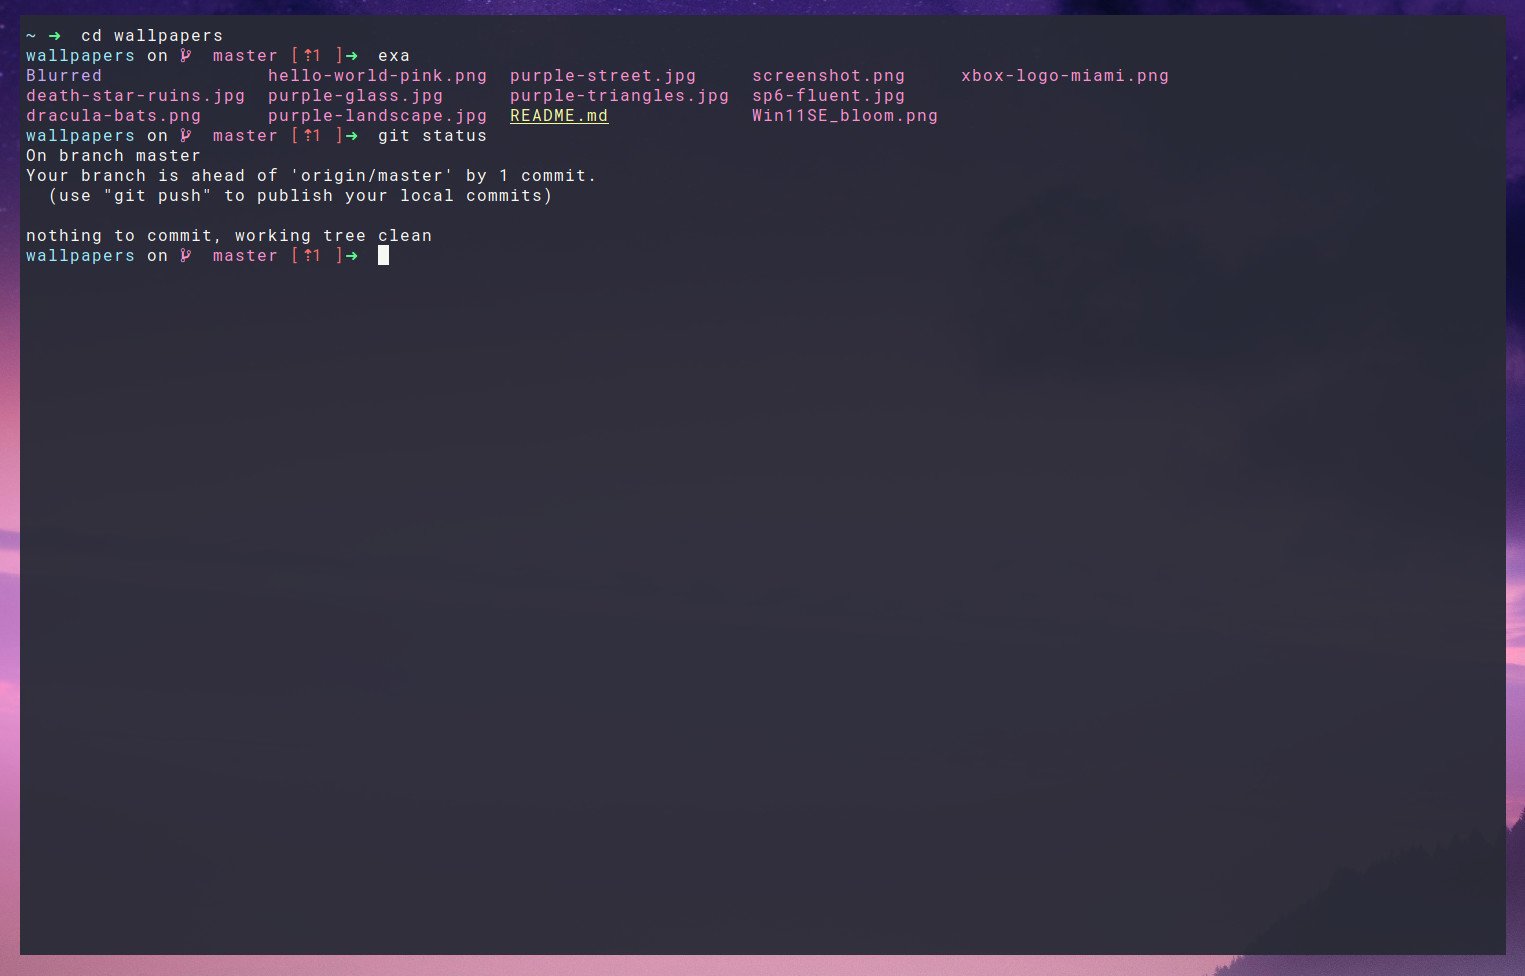
git status— It's a good idea to check the status of your local repository before you begin adding files and committing them. This command will tell you whether your local copy is up to date with a remote, whether you have untracked files to add and whether you have changes to be committed.git add— Any file to be committed to a Git repo first needs to be staged with this command. You can either add individual file names or use.to add all unstaged files.git commit -m "InsertCommitMessage"— All commits have to be made with a message describing what said commit is. Use this command template to achieve this.git push— Pushes to the remote.
The first time you push to a repository the command is a little different. You need to tell Git that you're pushing your local master branch and that the remote is the associated upstream. So while subsequent pushes only need the command above, the first one will need this:
git push --set-upstream origin masterThis will ensure that your local Git repository is set up now to track the remote "master" branch.
There is a lot more to Git than this, and we haven't even touched on branches and merging and many of the more advanced features. But, for absolute beginners, this covers the essentials, and now you'll be able to clone, create, and push your own Git repositories on both Windows and WSL. Or indeed any other operating system!

Richard Devine is a Managing Editor at Windows Central with over a decade of experience. A former Project Manager and long-term tech addict, he joined Mobile Nations in 2011 and has been found on Android Central and iMore as well as Windows Central. Currently, you'll find him steering the site's coverage of all manner of PC hardware and reviews. Find him on Mastodon at mstdn.social/@richdevine
