How to farm hidden caches fast in Aliens: Fireteam Elite
Hidden caches are a great way to acquire all kinds of sweet loot, so here's the most efficient way to farm them.
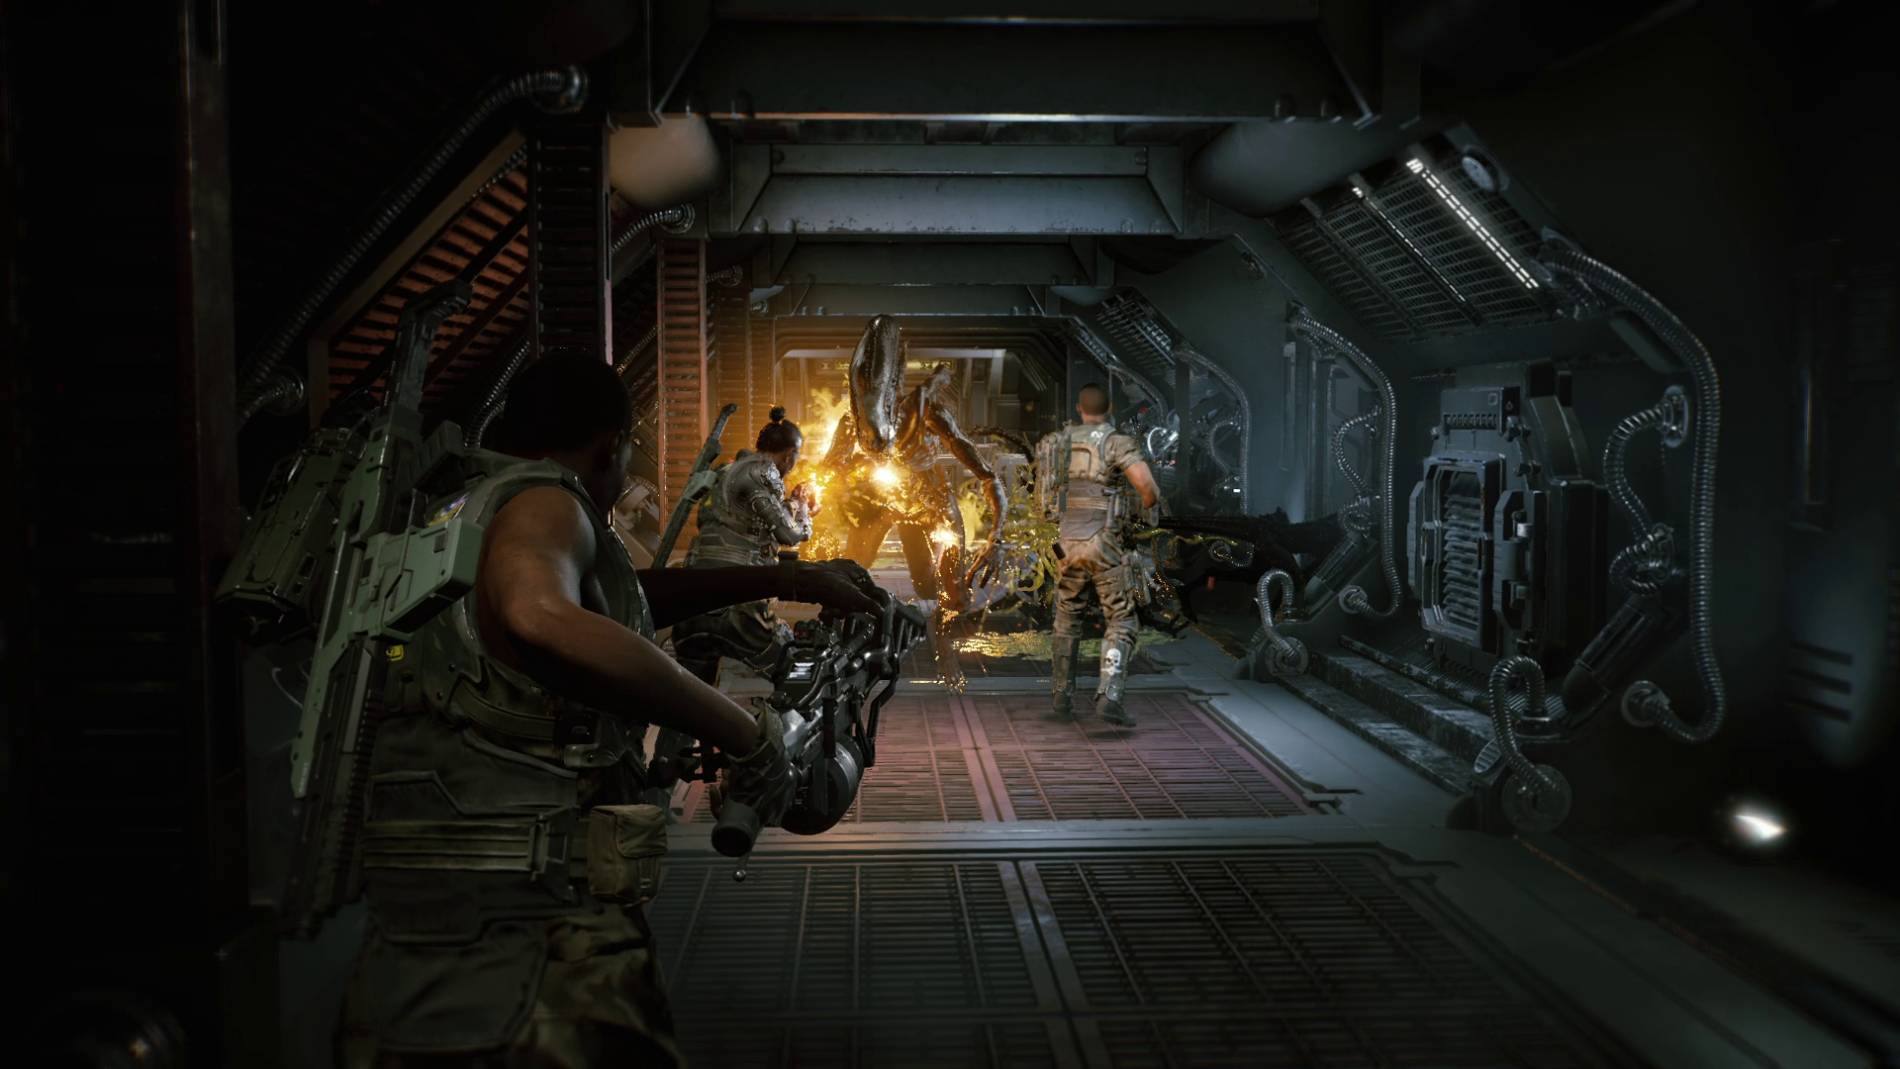
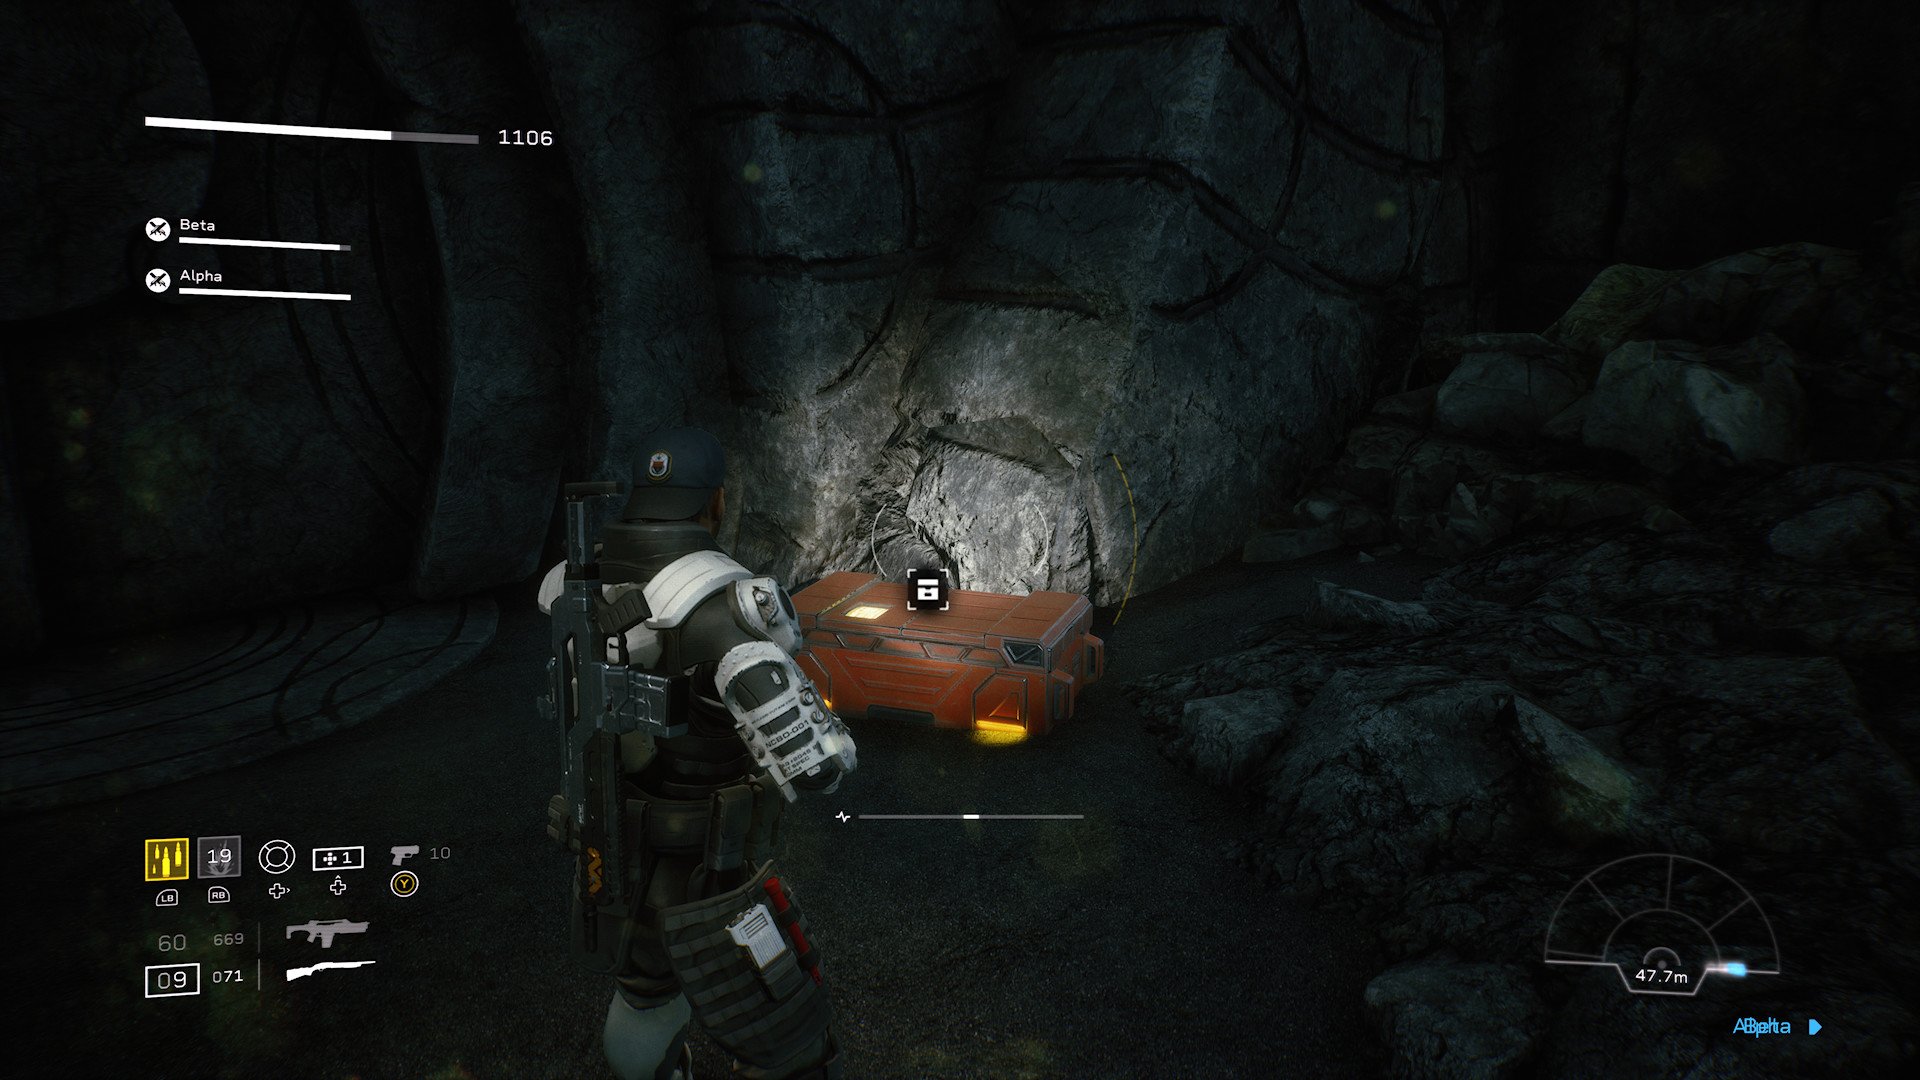
Aliens: Fireteam Elite is supposed to be an endlessly replayable third-person shooter and part of that is down to its Challenge Card system. These can be obtained from the armory on Endeavor, or they can be found in hidden caches in the game's missions.
These aren't the only items of sweet loot that you can find in the hidden caches. If you're hunting for attachments and cosmetic items, too, you'll also find them in these chests. Every mission has one hidden cache spawn, but it's never in the same place each time, which makes farming runs a little more tricky.
Fortunately, if you're looking to get as many hidden cache's as you can as quickly as possible, there is one run you can do that is currently the most efficient in the game. Here's what to do.
How to farm hidden caches fast in Aliens: Fireteam Elite
Normally when you think of loot farming you'll be thinking of killing the same boss over and over or running the same piece of a level to get a chest or something to that effect. Unfortunately, there's no guaranteed way of getting a hidden cache quickly every time. Their spawns are down to RNG, but a cache will spawn on every mission. The only way to guarantee you get one every time is to play through the whole mission.
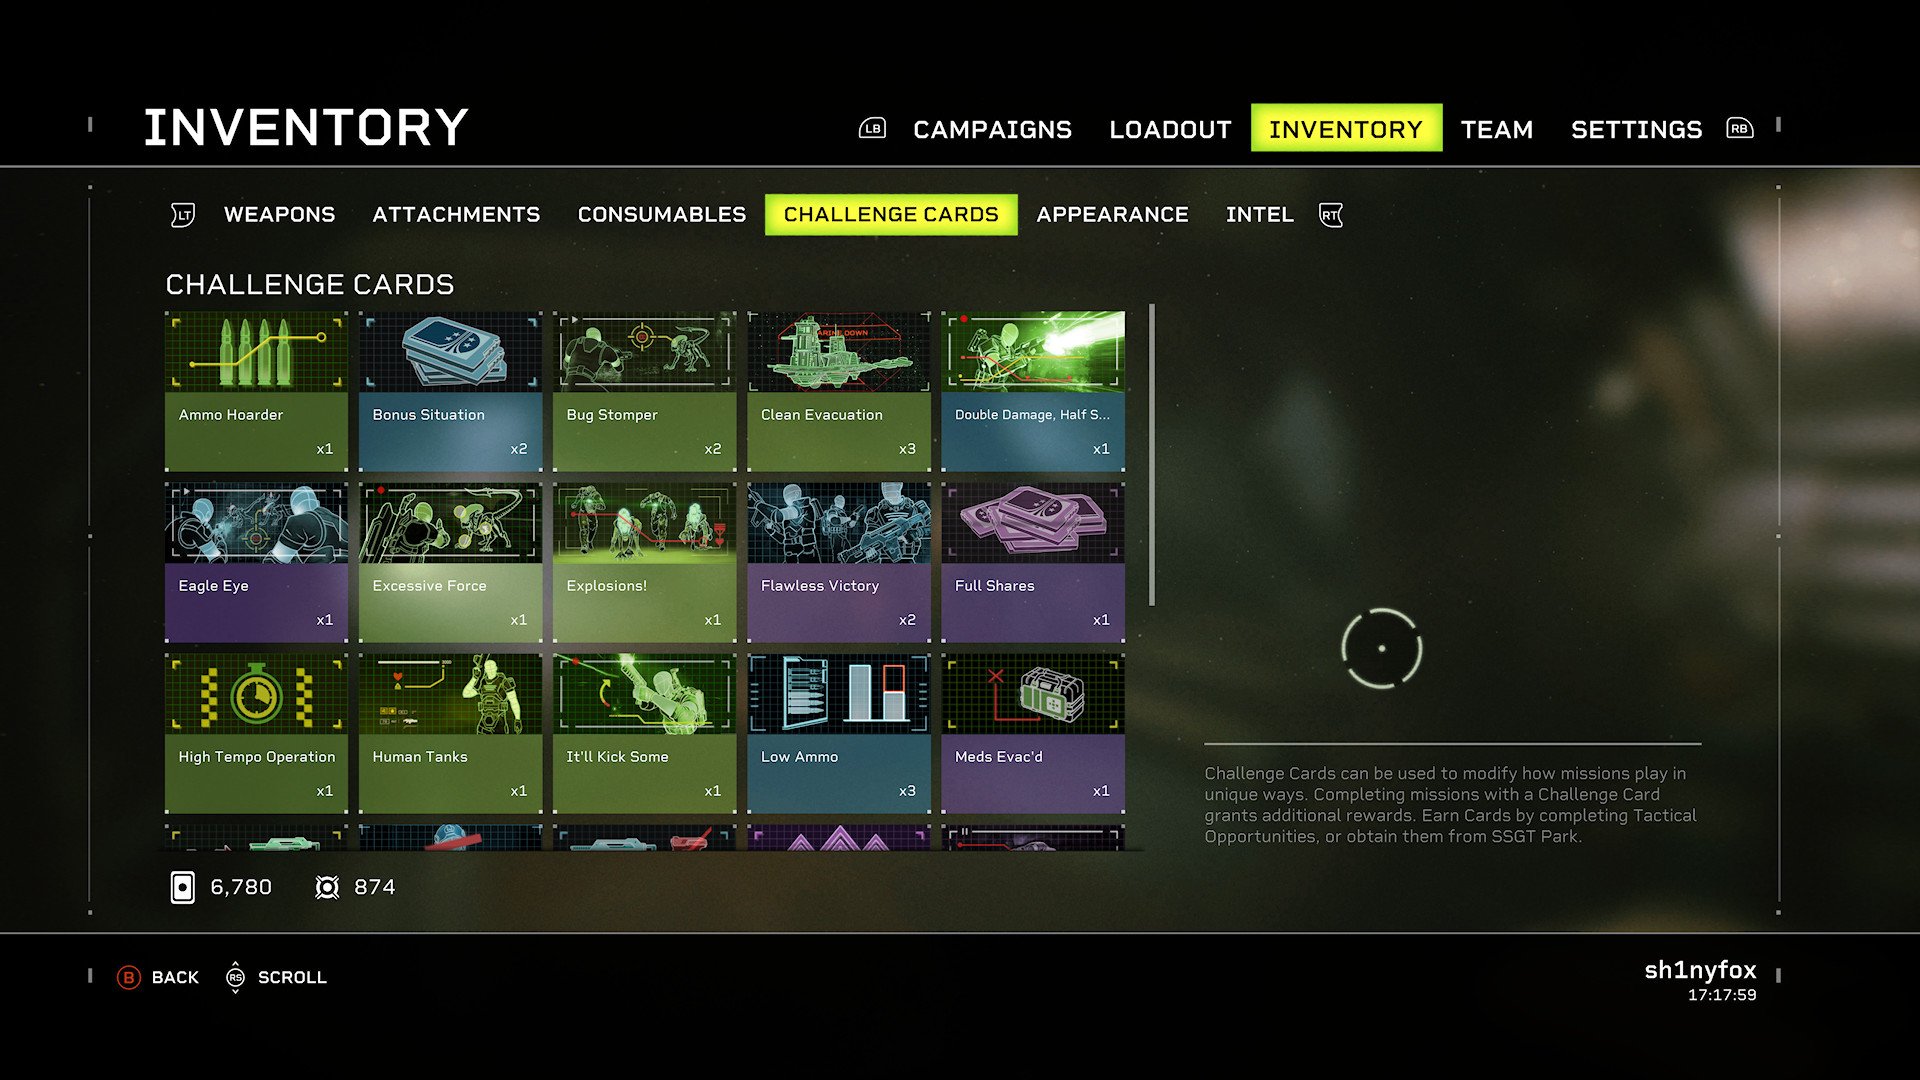
But that isn't very quick. Fortunately, there's a run in the game that can speed up your acquisition of hidden caches.
The mission in question is in Act 2, and it's the third mission called Giants in the Earth: Evacuate. You will have to reach this level first by completing prior missions. You can run this on casual difficulty if you want, and it doesn't really matter which class you use as you're going to be avoiding all enemies and completing the run as quickly as possible. Also, don't apply any challenge cards because you won't be completing the mission.
Here are the exact steps to follow.
Get the Windows Central Newsletter
All the latest news, reviews, and guides for Windows and Xbox diehards.
- Once loaded into the mission run straight towards the objective marker.
- Go through the door in the first room and run down the stairs.
- Go through the second door and into the room full of Synths.
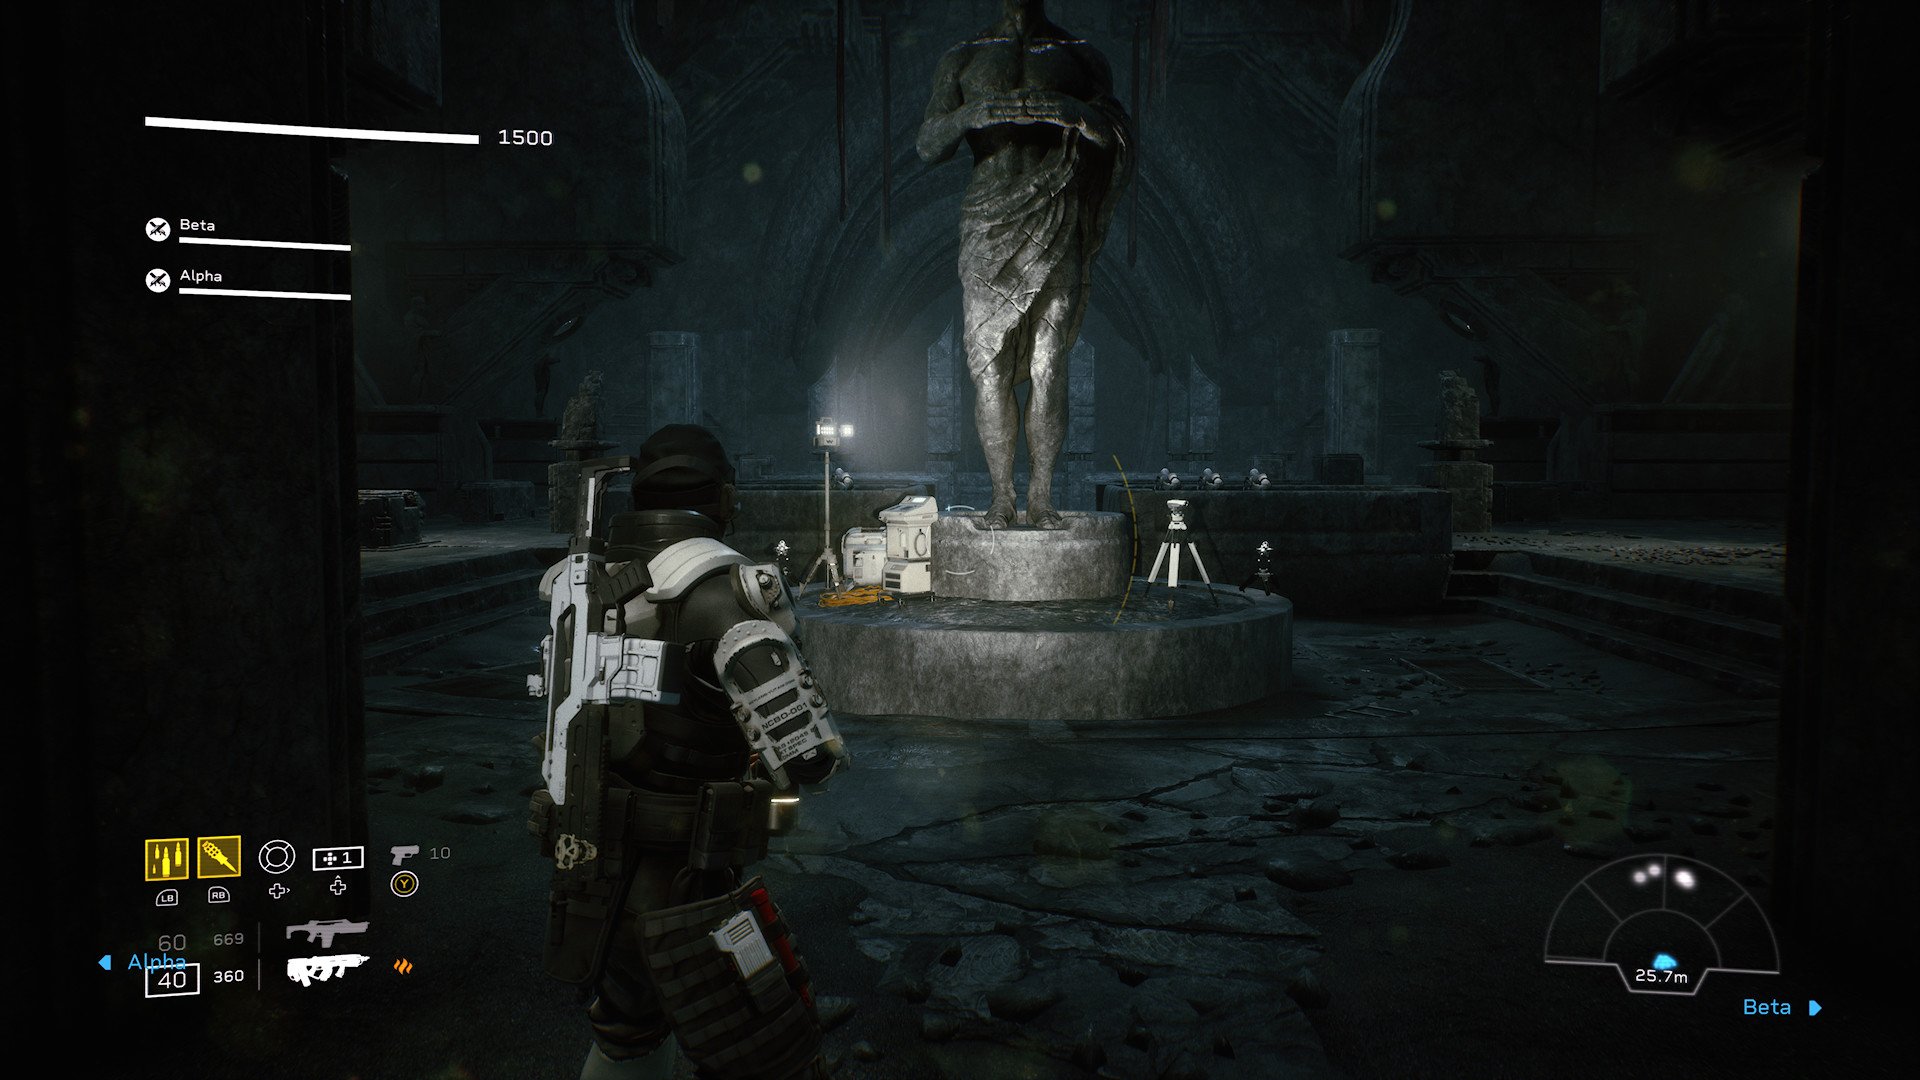
- Keep running dead straight, right through the middle of the room ignoring any enemies, and dodge rolling out of the way if you need to.
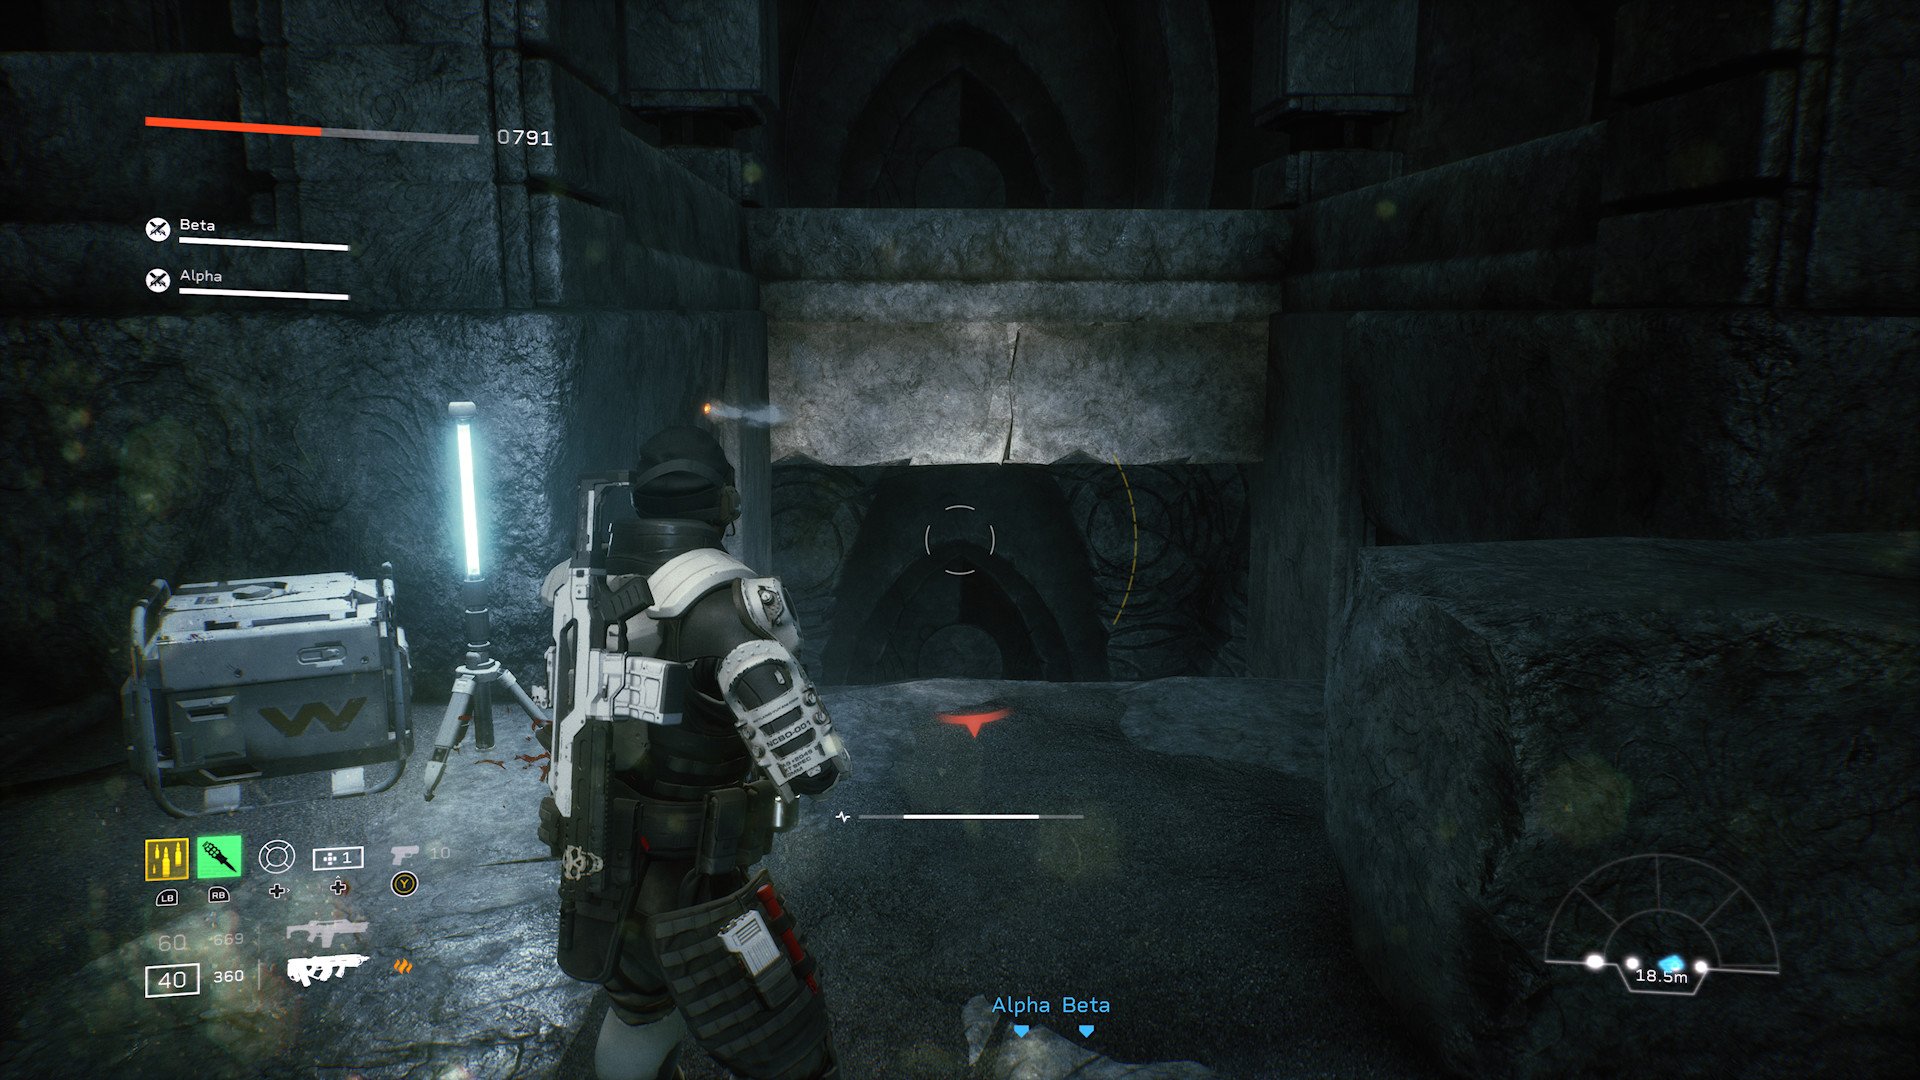
- At the end of the room there is a staircase that goes down, and if the hidden cache has spawned you'll see it at the bottom.
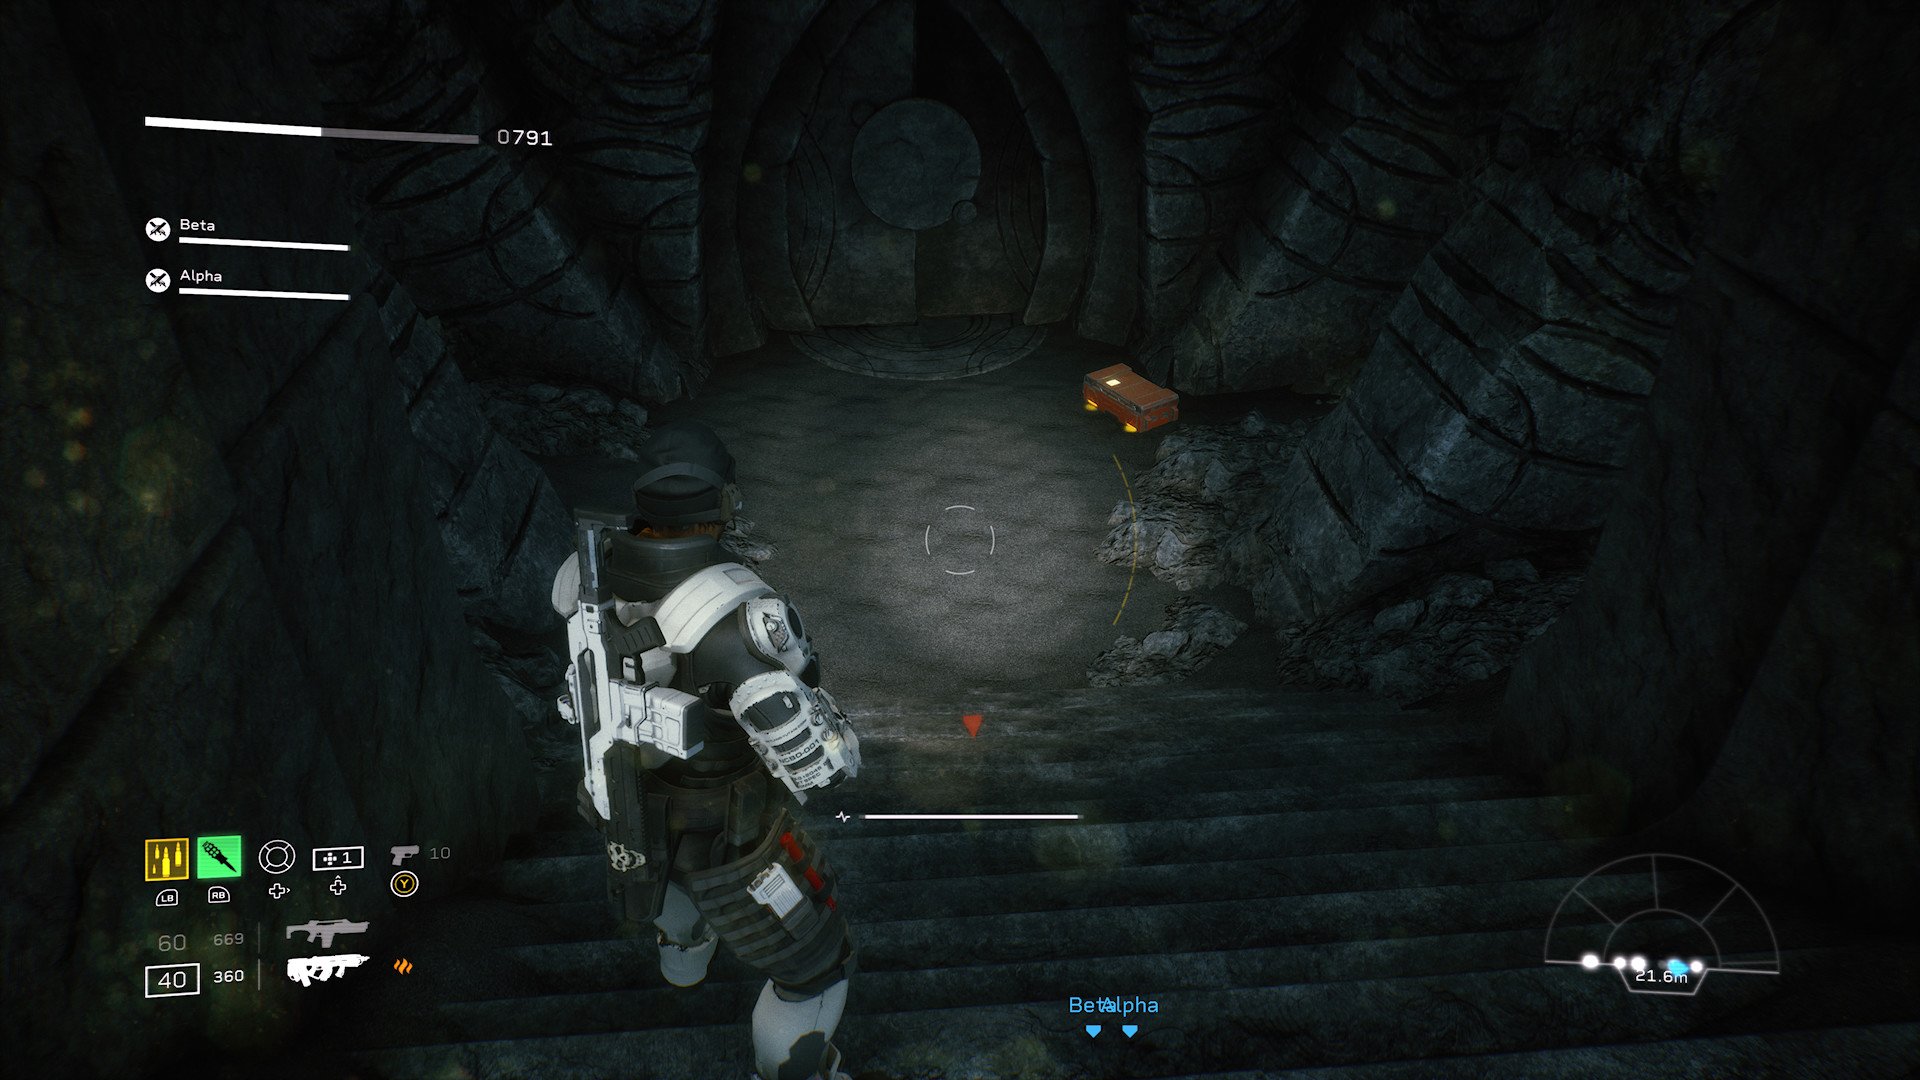
After you either get the hidden cache or you see it isn't there from the top of the stairs, you need to abandon the mission. Do this in the main menu, head over to the Settings tab, hit Abandon mission. and then the big red button in the middle. You'll then spawn back on the Endeavor.
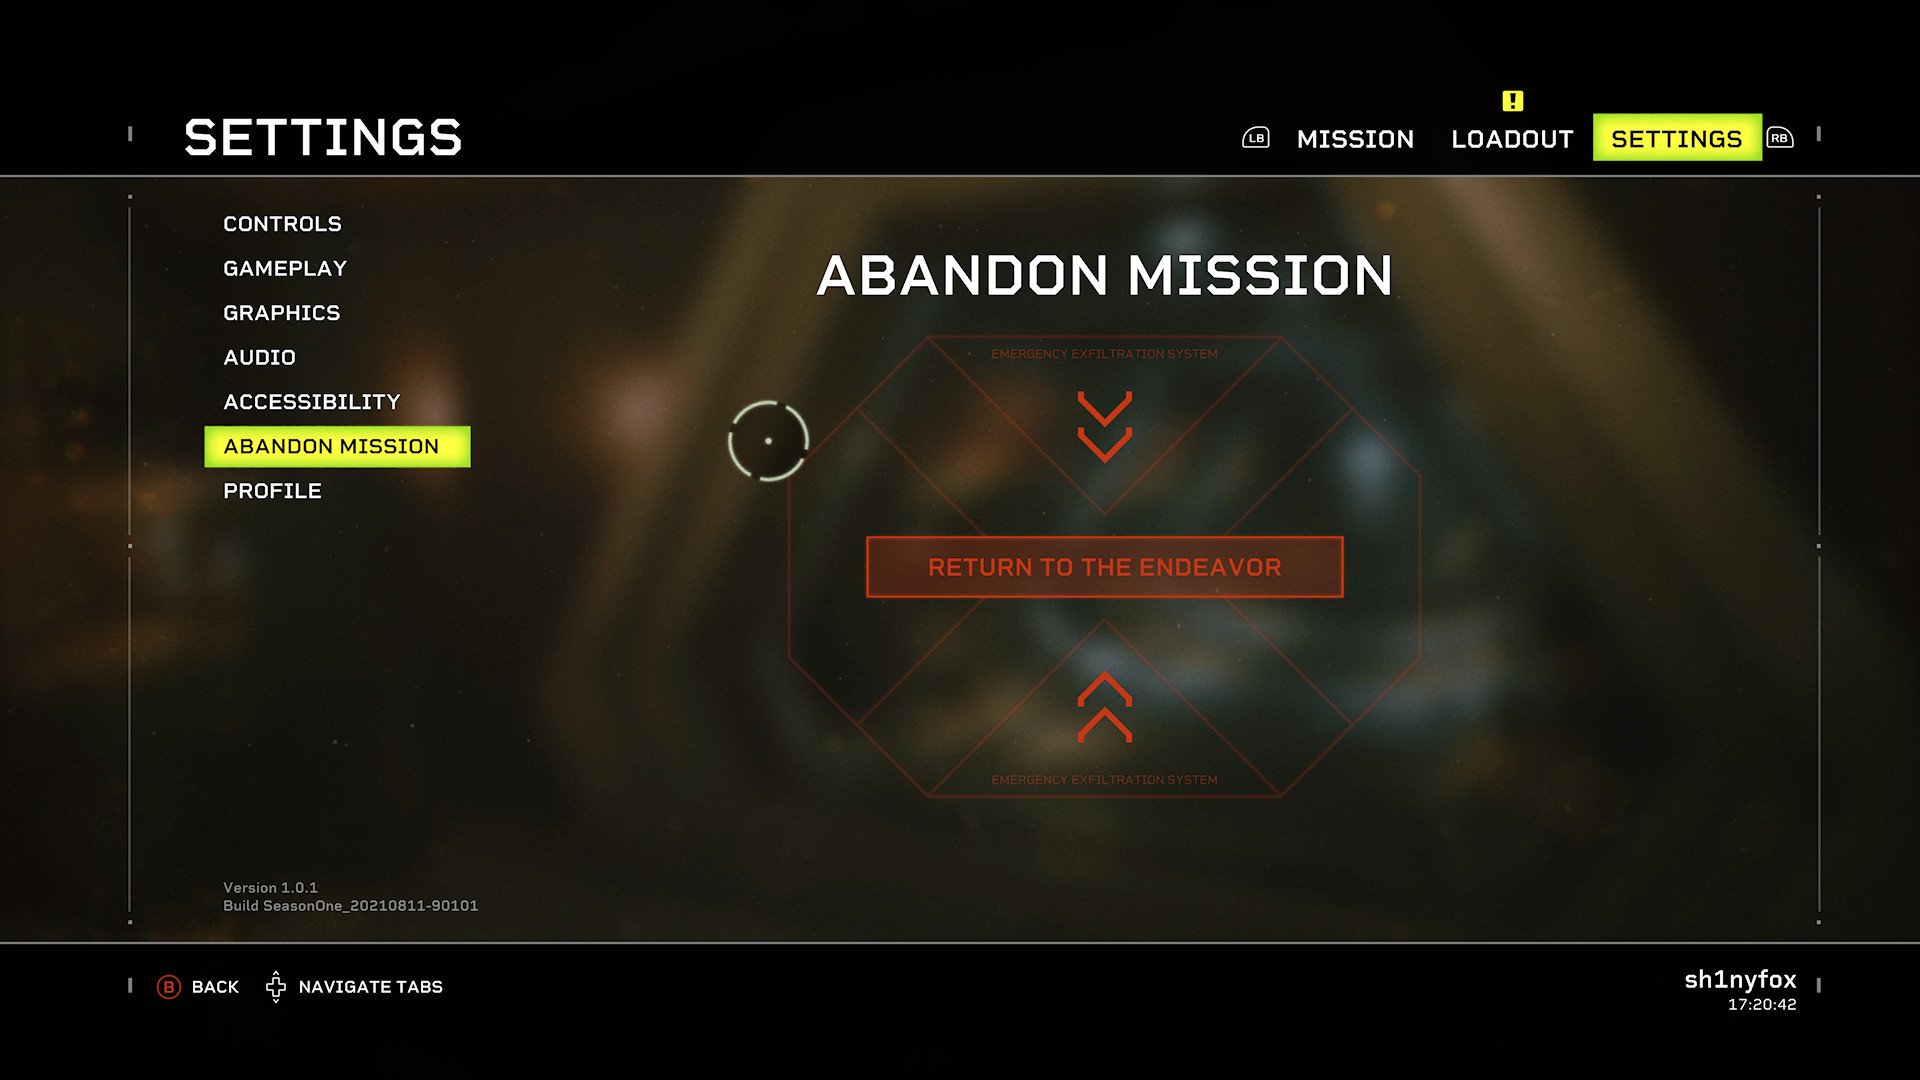
This whole run takes no more than 30 seconds, and on the Xbox Series X, Series S, PS5 and PC at least, loading times aren't too bad when you're trying to load in and then abandon the mission. On last-gen consoles, you will have a bit longer to wait.
The hidden cache won't be there every time, but as this is such a short run it's the most efficient way to farm for them. It can be quite lucrative, too, with a 10-minute spell doing this run getting me three hidden caches. Equally, you could get none in that time, but so far this hasn't come up empty for me without running it for a particularly long time.
Alternative hidden cache even new players can farm
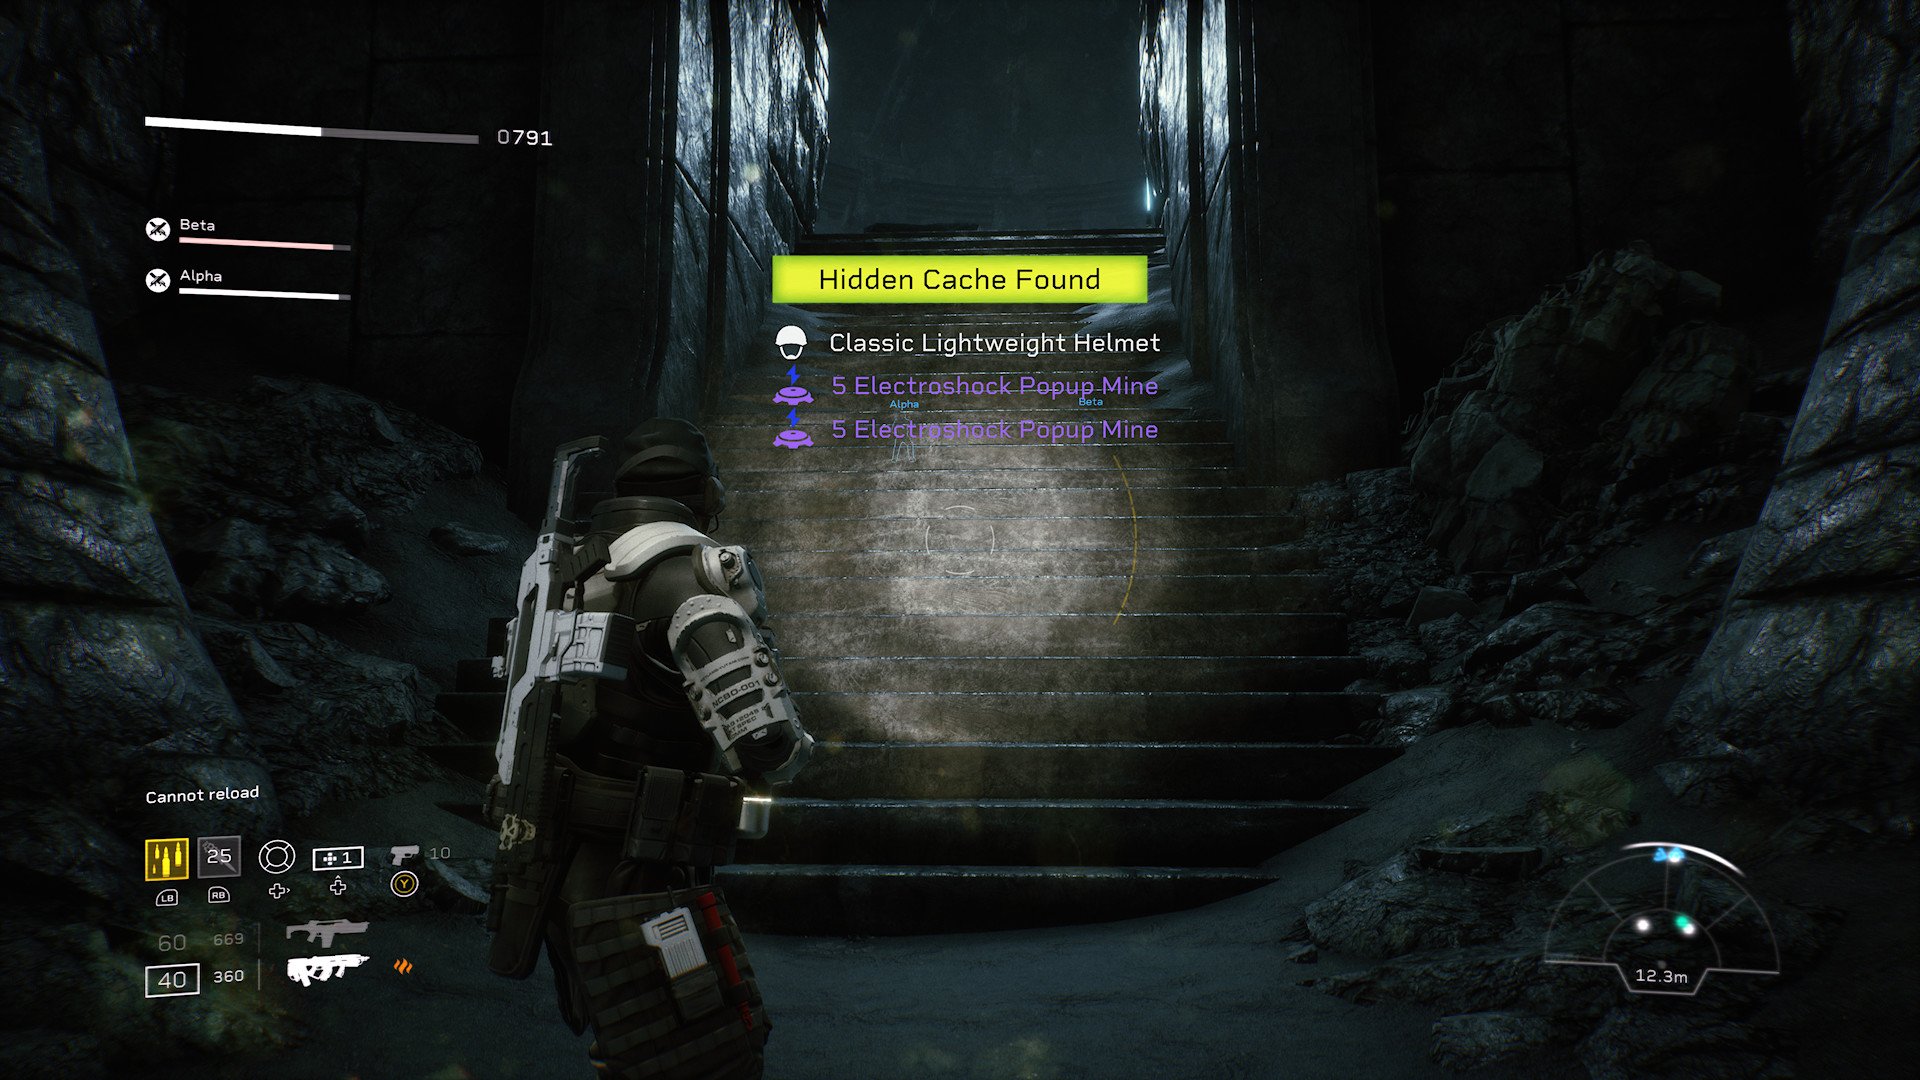
If you're a brand-new player to the game, there is an alternative hidden cache you can farm for in the very first mission. It isn't as fast, and in my experience hasn't been as lucrative, either, but if you're looking to get an edge early on it might be worth spending a little time on.
Once loaded into the first mission, here's what to do.
- Follow the objective marker until you have to download the plans.
- Once the plans are downloaded, set off again towards the next objective marker.
- When you get to the room where Herrera on comms comments on acid, stop.
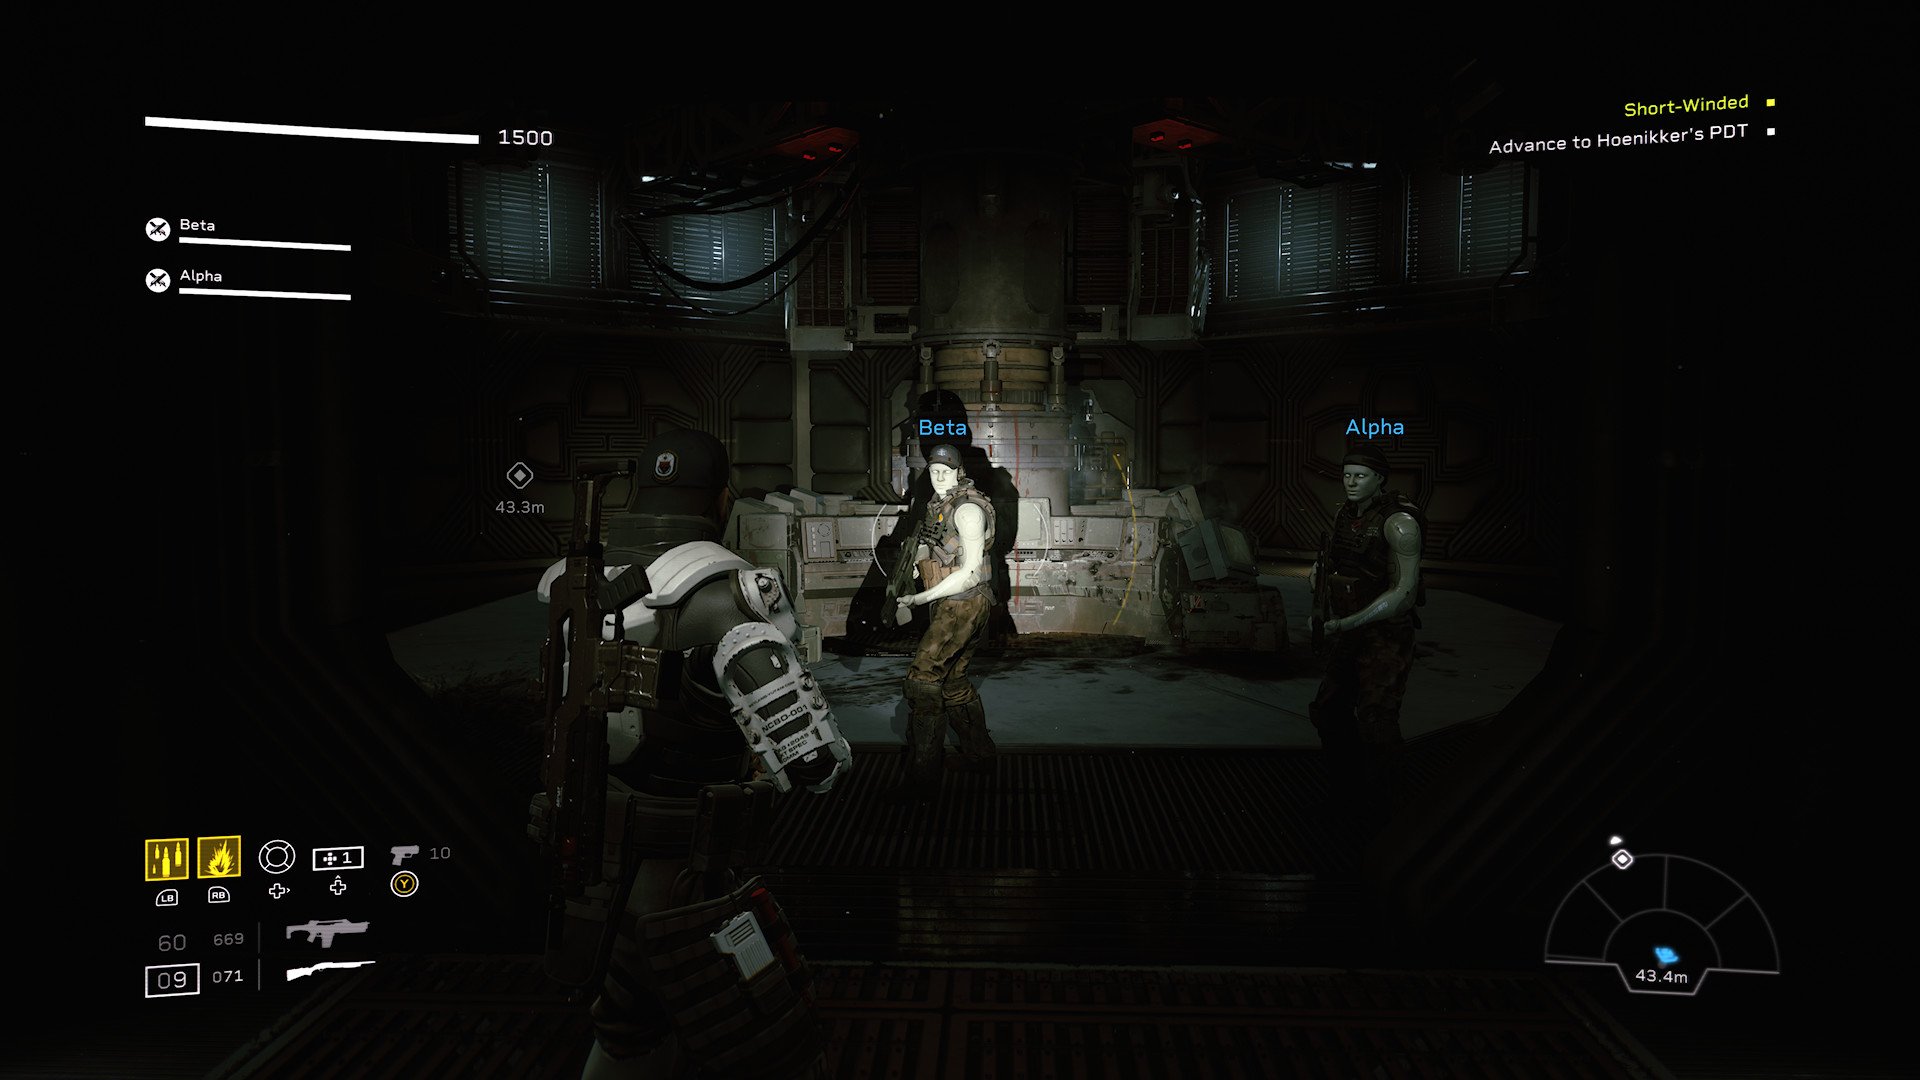
- Go to the right-hand side of this room where you'll see a blocked walkway.
- Look straight ahead and if you can see the orange chest, continue. If not, abandon the mission and reload, then try again.
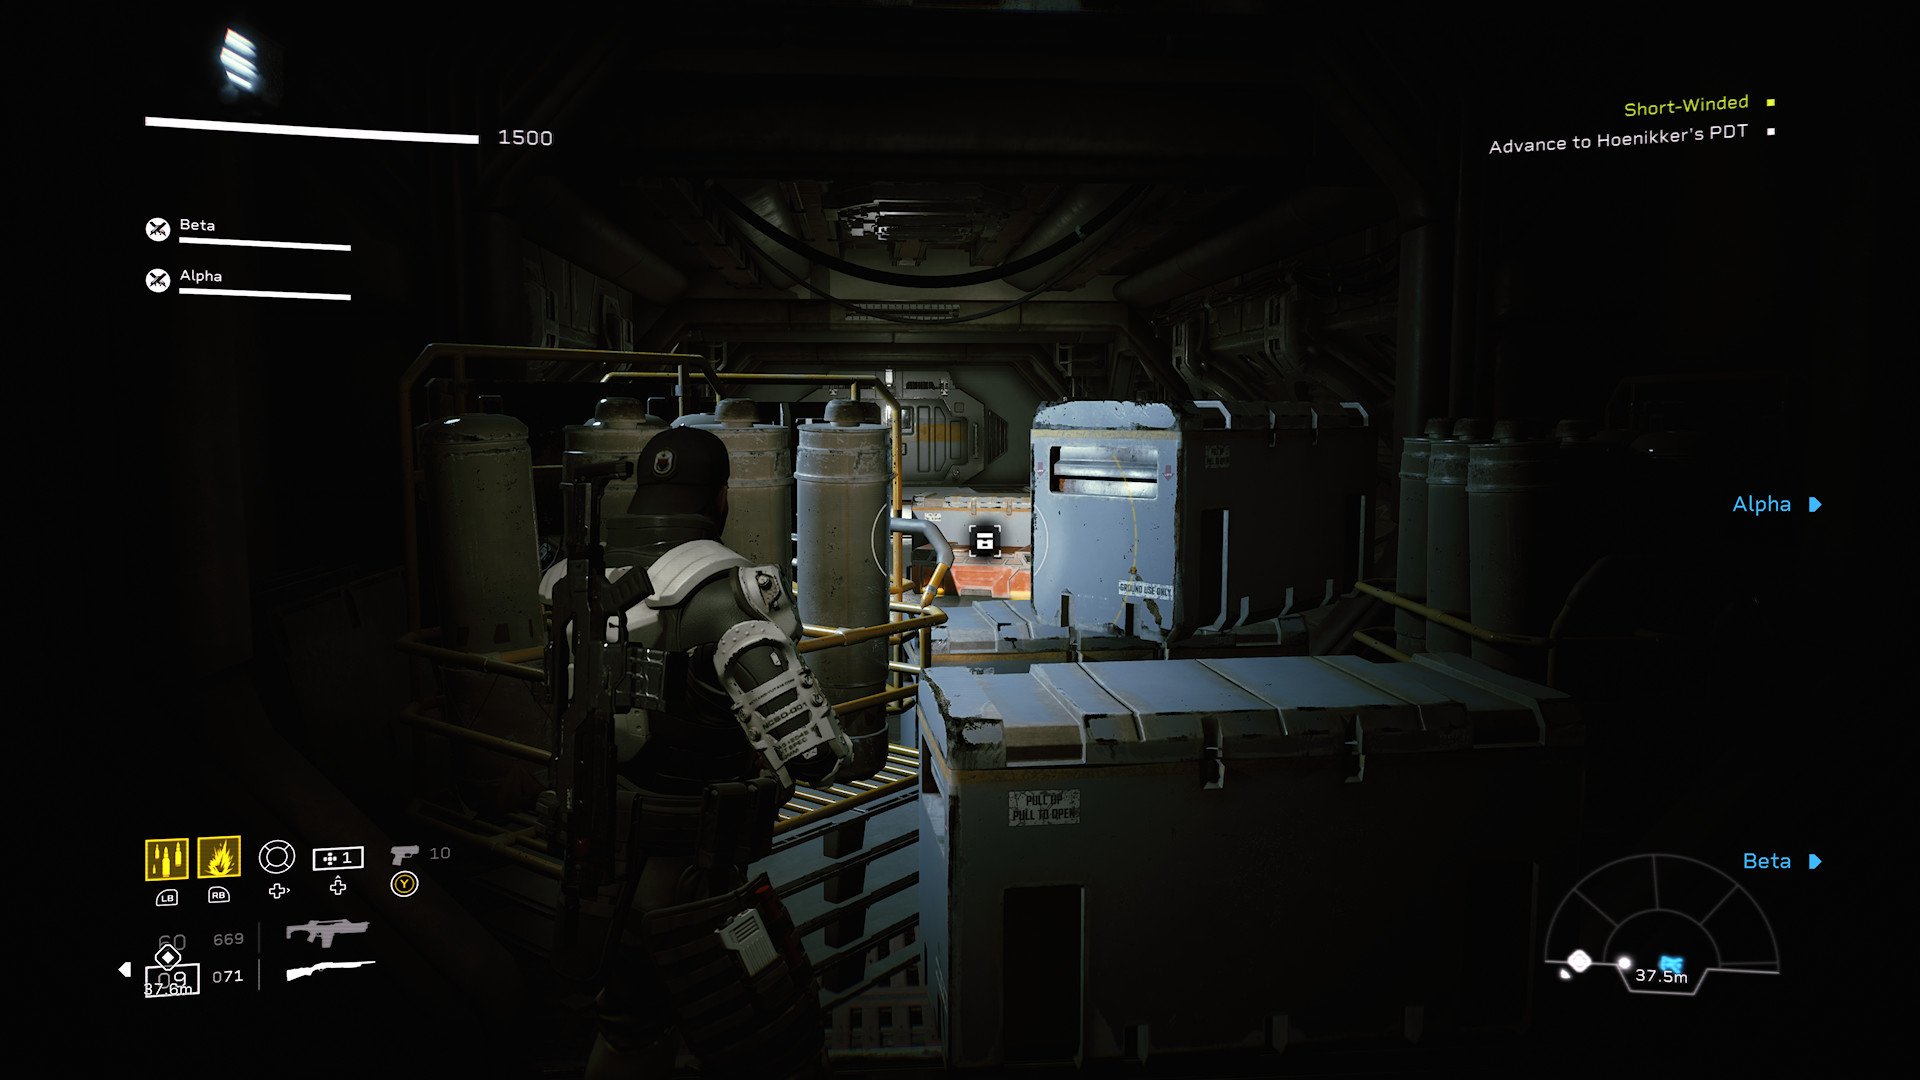
- If you see the hidden cache, carry on towards the objective marker.
- When you get there, keep running past the Xenos that spawn and follow the corridor round to the right.
- Go right again at the next junction.
- You'll now be on the other side of that blocked walkway and can claim the hidden cache.
That's all there is to it. You'll need some luck from the RNG gods for whichever of these methods you employ, but neither take that long nor require you to engage with any enemies. Once you unlock the final mission in Act 2, that's definitely the one to use, but the first mission can net you some tasty rewards, too.

Richard Devine is a Managing Editor at Windows Central with over a decade of experience. A former Project Manager and long-term tech addict, he joined Mobile Nations in 2011 and has been found on Android Central and iMore as well as Windows Central. Currently, you'll find him steering the site's coverage of all manner of PC hardware and reviews. Find him on Mastodon at mstdn.social/@richdevine

