How to enable mono audio on Windows 11
If you have only one speaker, in this guide, I'll show you the steps to use mono audio to hear every sound.
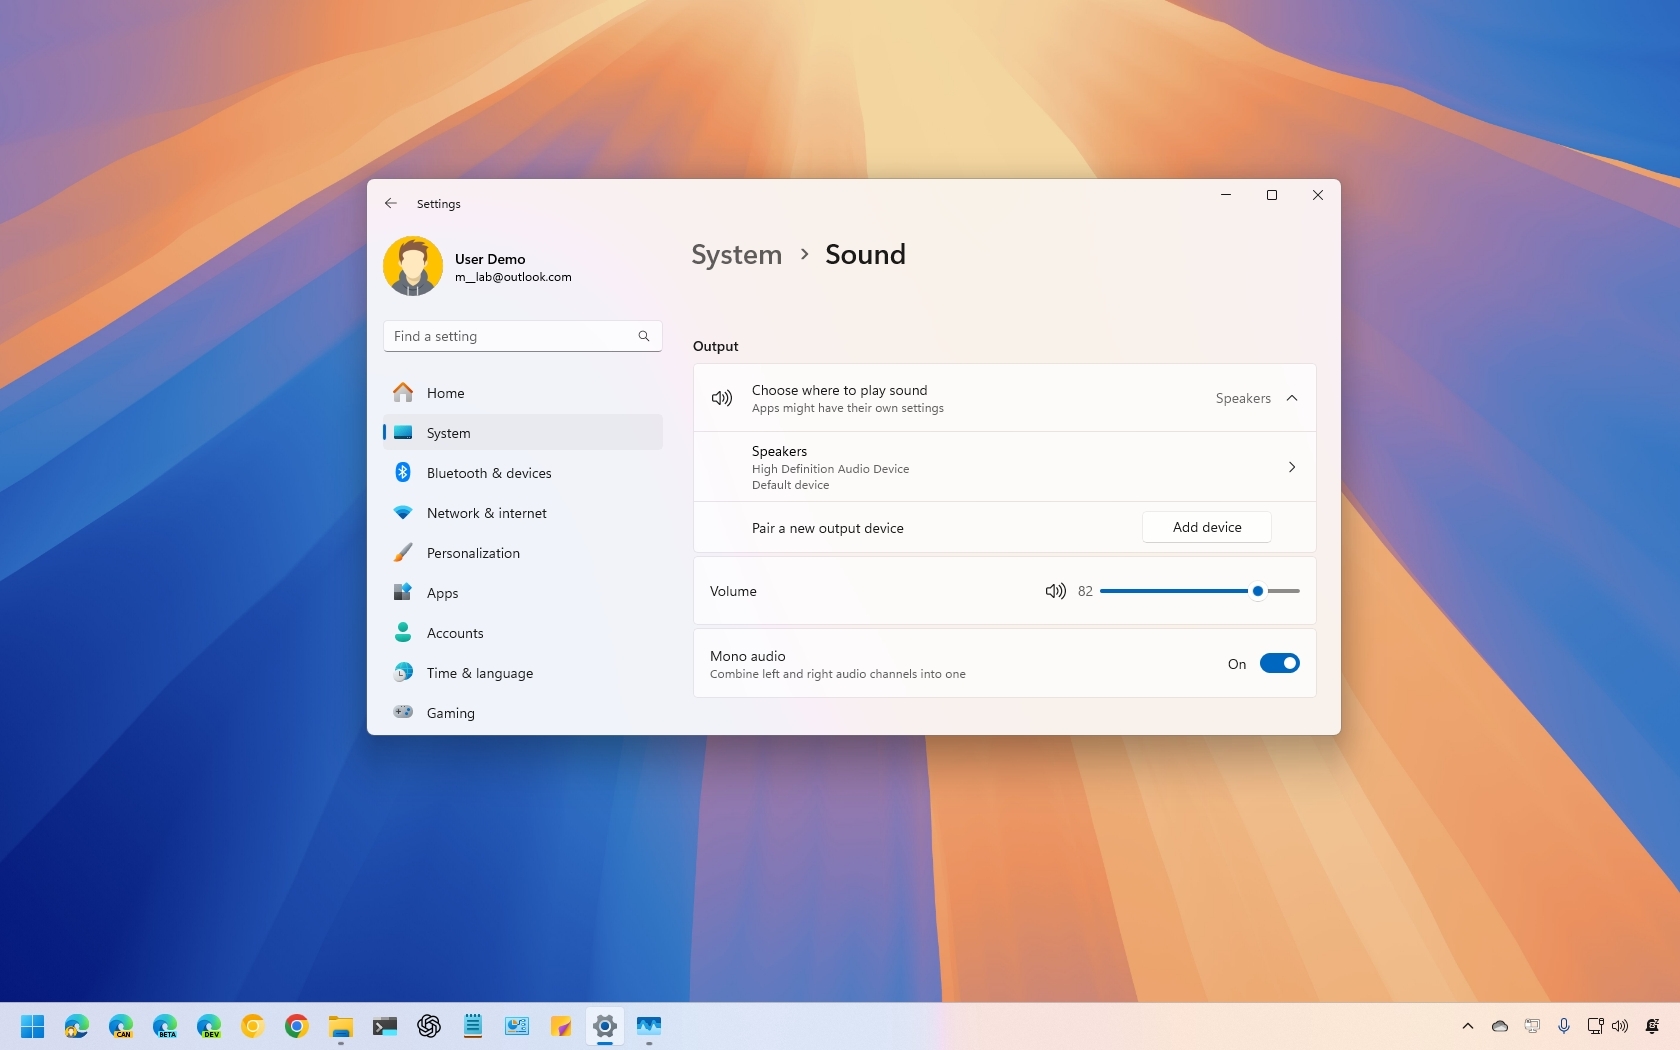
Imagine you're enjoying your favorite song or a captivating video on your Windows 11 device, but due to using a single speaker or headphones, you notice certain sounds are missing. This happens because Windows 11 typically distributes audio across multiple channels, which can lead to incomplete sound on devices with a single audio peripheral.
However, if you happen to have a single listening peripheral, Windows 11 includes a feature to convert a stereo sound into a single channel (or mono audio) to help you hear everything from one speaker or headphone.
In this how-to guide, I'll walk you through the steps to enable and disable mono audio on your laptop or desktop computer.
These instructions has been updated to ensure accuracy and reflect changes to the process in the operating system.
How to enable mono audio on Windows 11
To configure mono audio on Windows 11, use these steps:
- Open Settings.
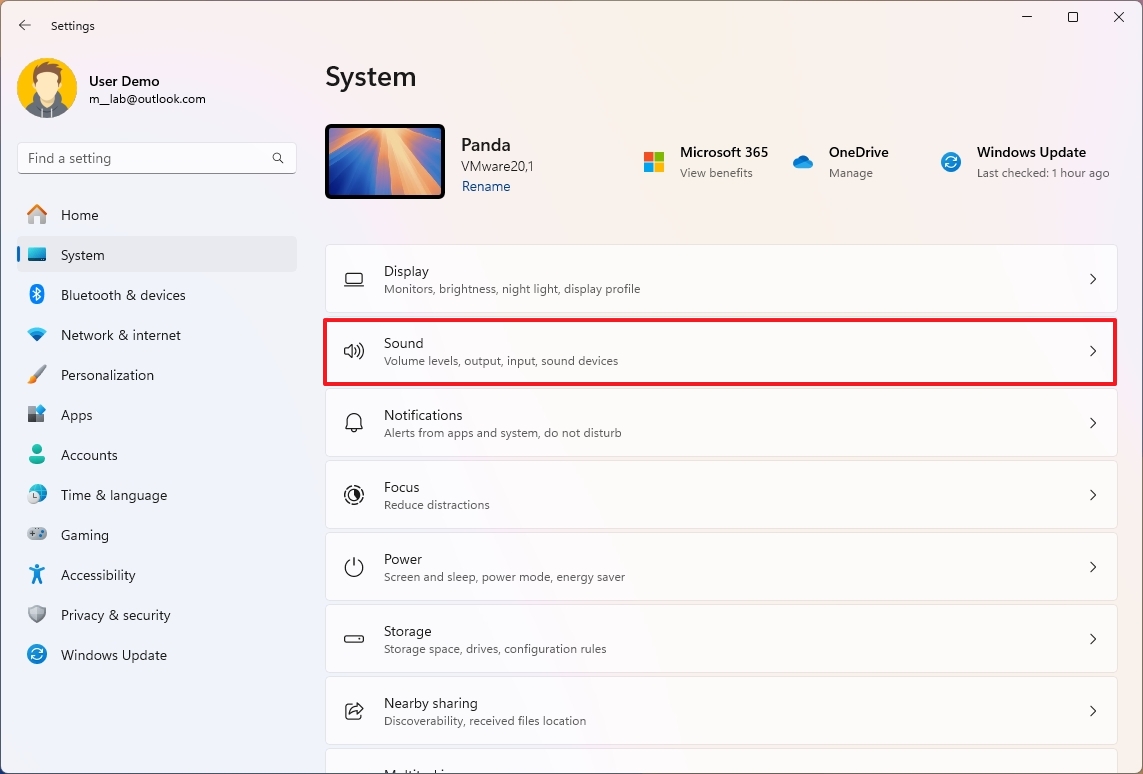
- Click on System.
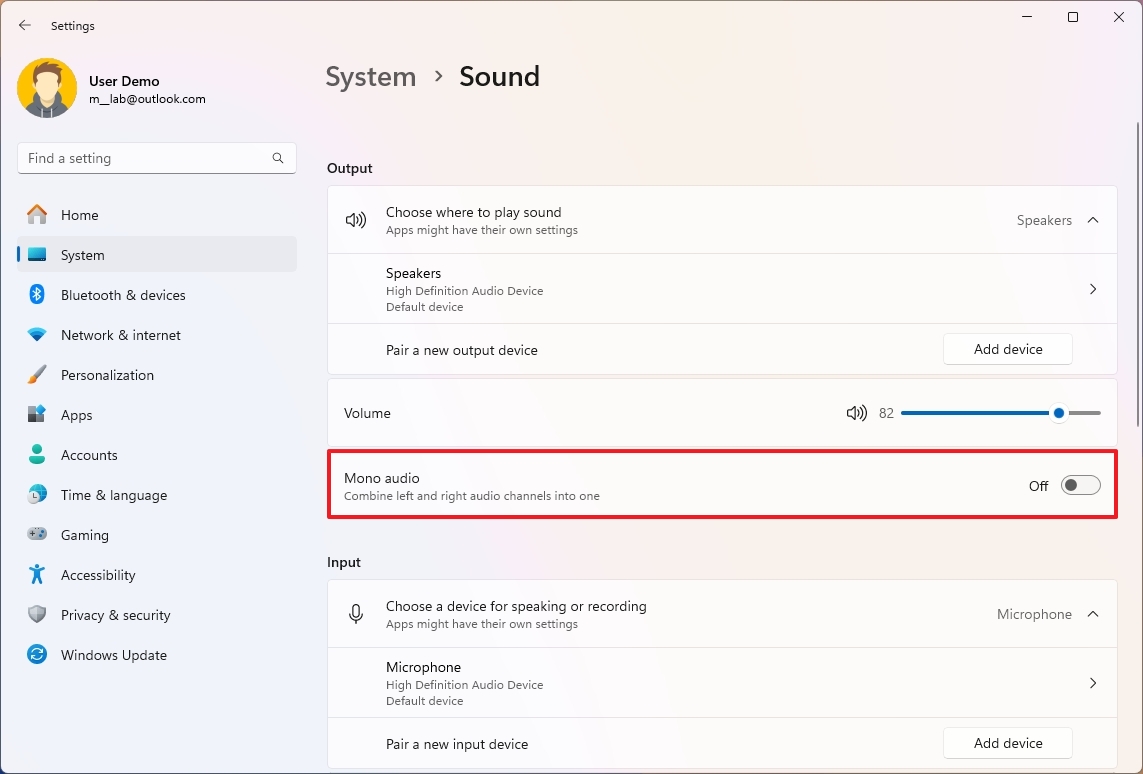
- Click the Sound page on the right side.
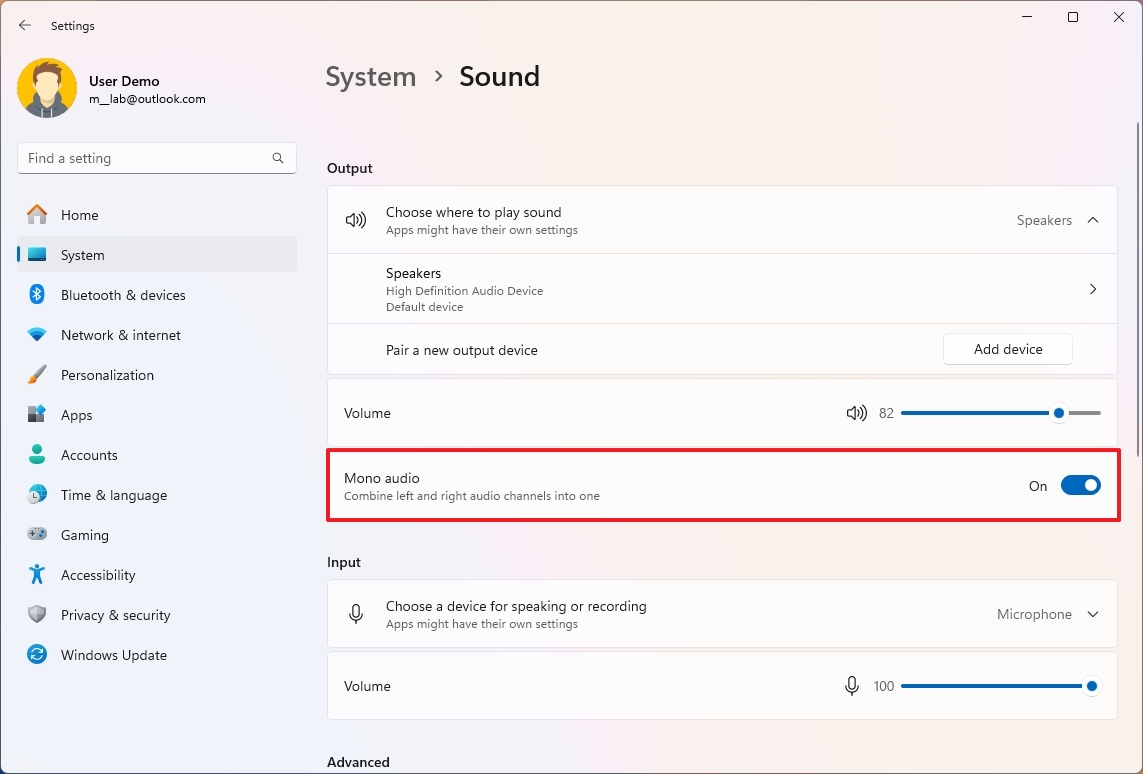
- Turn on the Mono audio toggle switch under the "Output" section.
Once you complete the steps, the stereo sound coming out of the computer will be combined into a single channel to hear everything from a single speaker or headphone.
Enable mono audio from Accessibility
Alternatively, you can also enable mono audio from the Accessibility section with these steps:
- Open Settings.
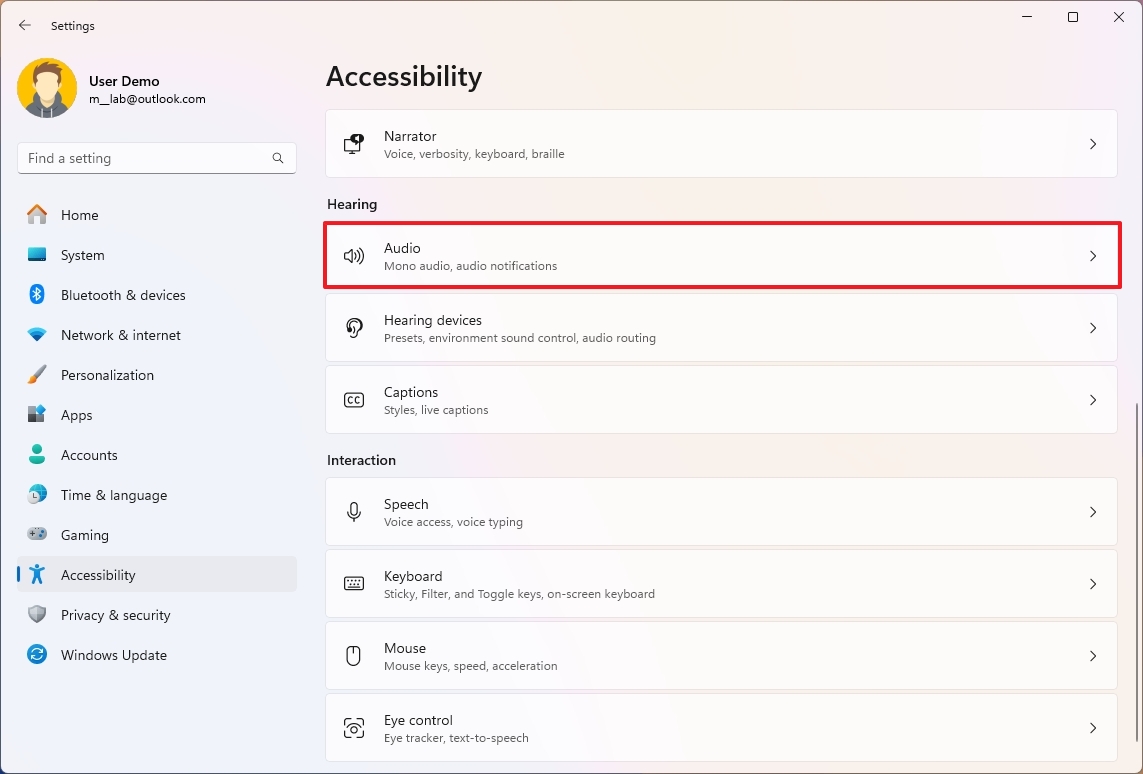
- Click on Accessibility.
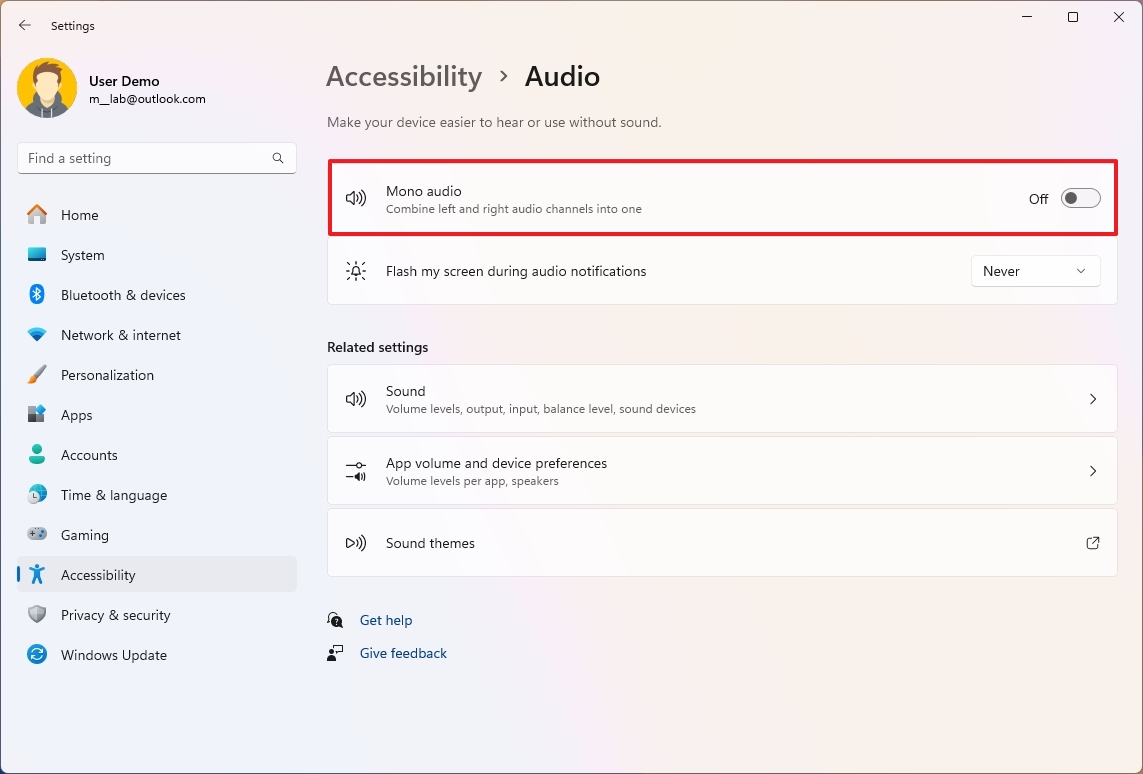
- Click the Audio page on the right side under the "Audio" section.
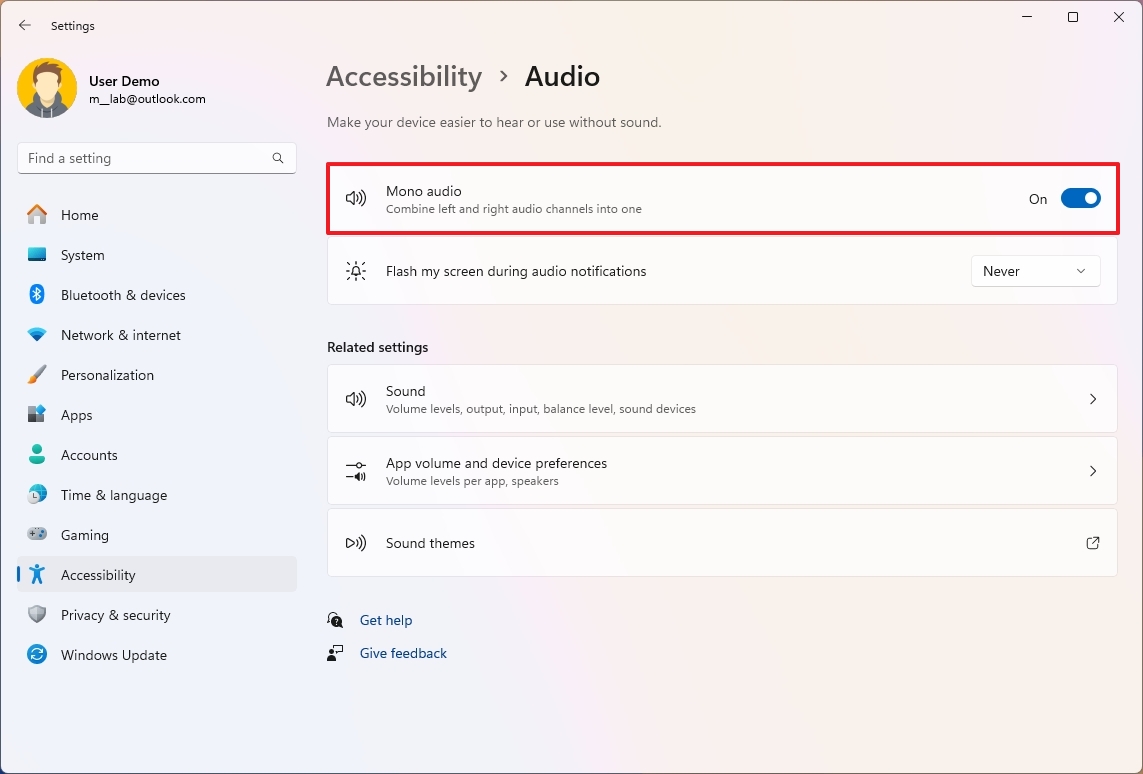
- Turn on the Mono audio toggle switch.
After you complete the steps, the stereo sound will be converted into a single channel to help you hear everything.
All the latest news, reviews, and guides for Windows and Xbox diehards.
How to disable mono audio on Windows 11
To disable mono audio to hear stereo sound on your computer, use these steps:
- Open Settings.
- Click on System.
- Click the Sound page on the right side.
- Turn off the Mono audio toggle switch under the "Output" section.
Once you complete the steps, the sound will be divided into its respective channels depending on your configuration.
Disable mono audio from Accessibility
To disable mono audio from the Accessibility settings, use these steps:
- Open Settings.
- Click on Accessibility.
- Click the Audio page on the right side under the "Audio" section.
- Turn off the Mono audio toggle switch.
After you complete the steps, the stereo sound will be converted into a single channel to help you hear everything.
More resources
For more helpful articles, coverage, and answers to common questions about Windows 10 and Windows 11, visit the following resources:

Mauro Huculak has been a Windows How-To Expert contributor for WindowsCentral.com for nearly a decade and has over 22 years of combined experience in IT and technical writing. He holds various professional certifications from Microsoft, Cisco, VMware, and CompTIA and has been recognized as a Microsoft MVP for many years.
You must confirm your public display name before commenting
Please logout and then login again, you will then be prompted to enter your display name.
