How to use Windows 10 Paint 3D to remove white backgrounds and make transparent images
Paint 3D is an underrated tool on Windows 10, which takes the standard MS Paint app and adds tons of modern features. One of the most useful tools is background removal. Here's how to do that.
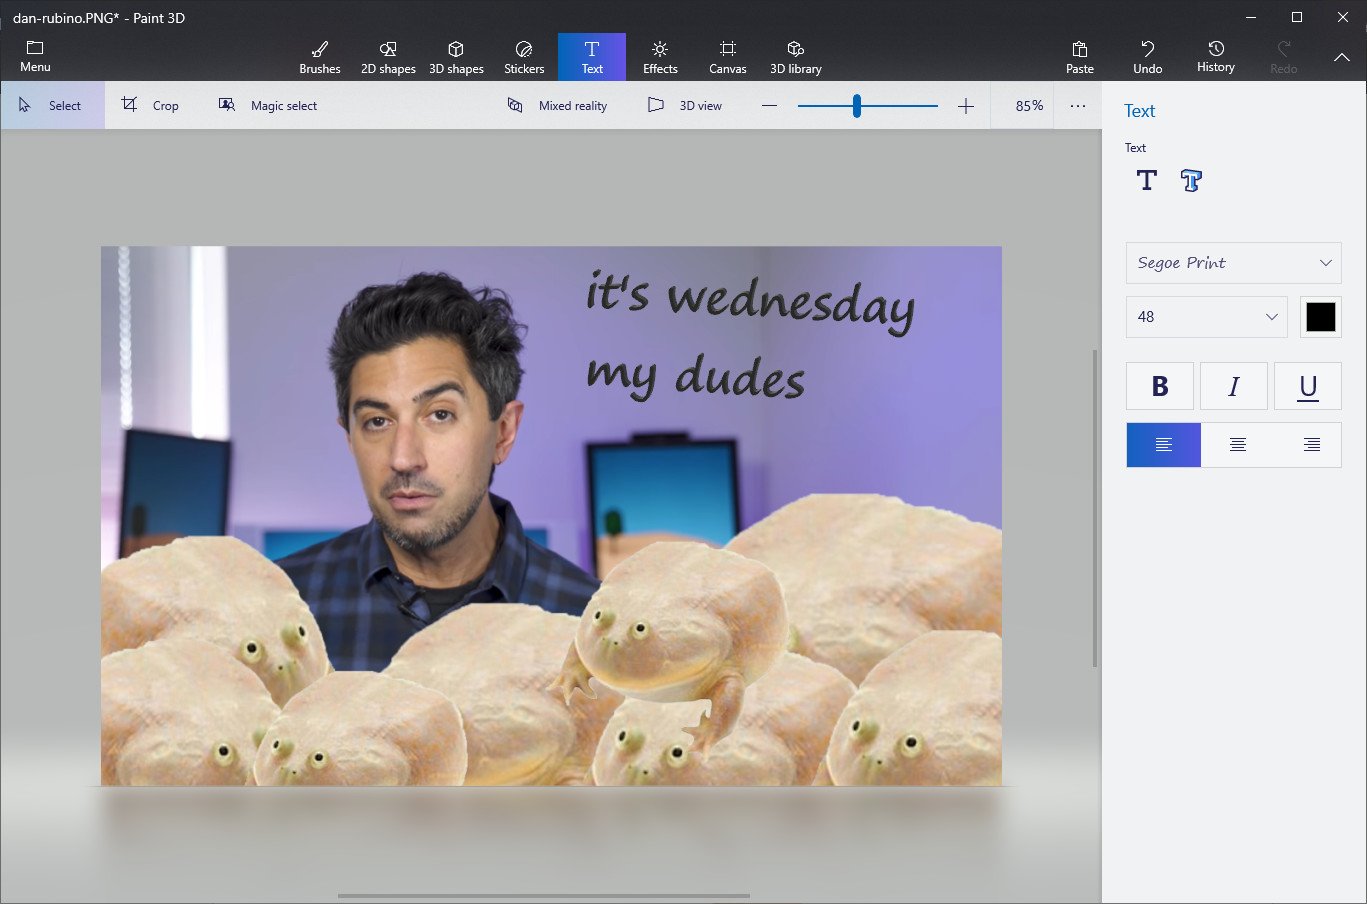
Paint 3D is an underrated Windows 10 app, which comes pre-installed on Windows 10 PCs. The app is a "modernized" version of Microsoft Paint, bringing tons of useful features. It's probably not powerful enough for professional image manipulation. Still, if you want to just quickly remove the white background from an image and make something transparent for use in a blog or making a meme, it's quite easy to do. Here's how.
Remove white backgrounds from images in Paint 3D
- Open Paint 3D by typing "Paint 3D" into the Start Menu.
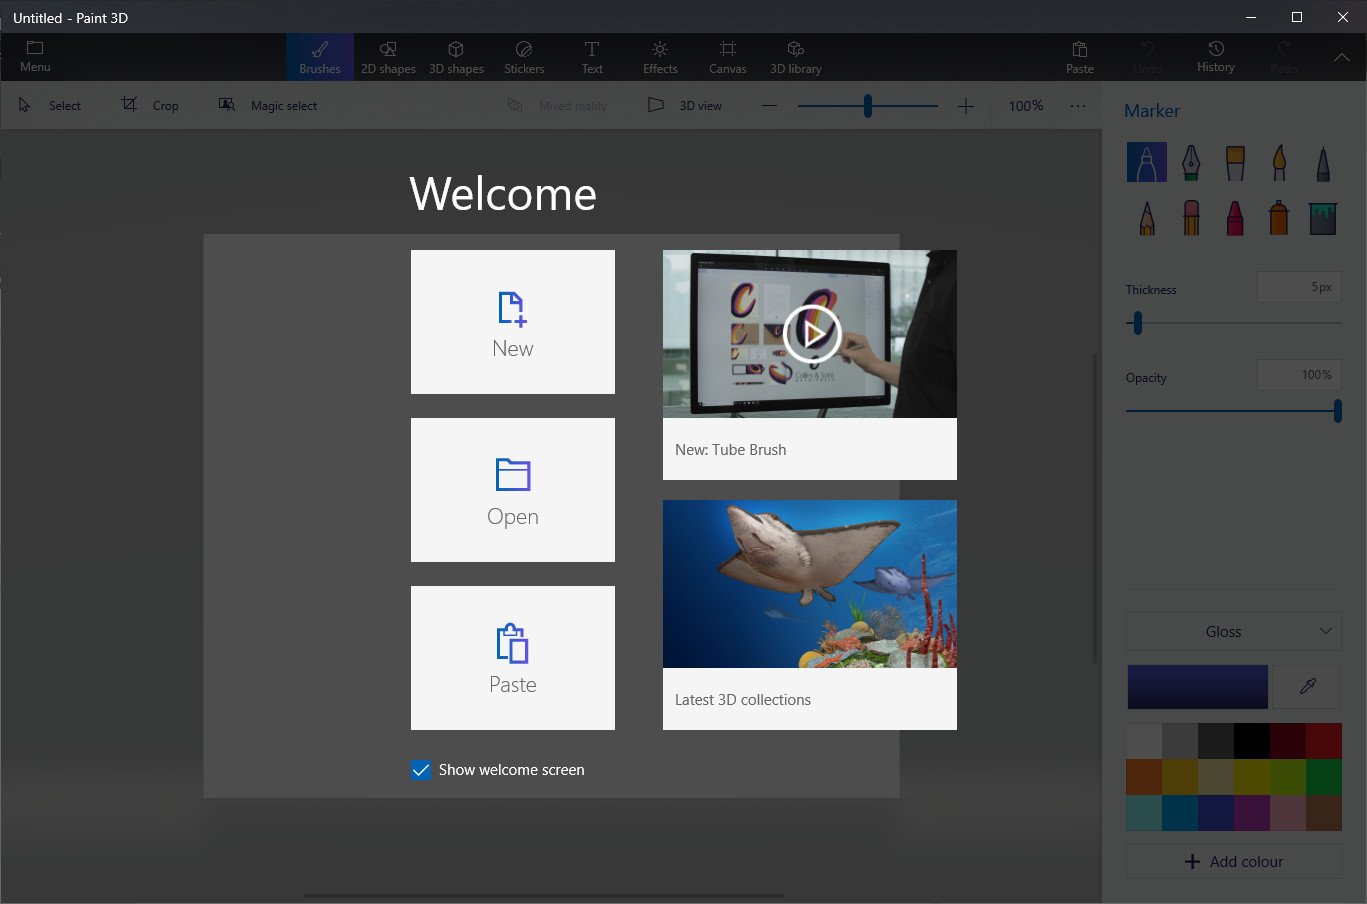
- Open the image you want to use, by selecting Open, then Browse Files from the Welcome Screen. Use the File Browser to find the correct file you want to edit. Alternatively, you can right-click on the file, and select edit with Paint 3D if you already know where the file is.
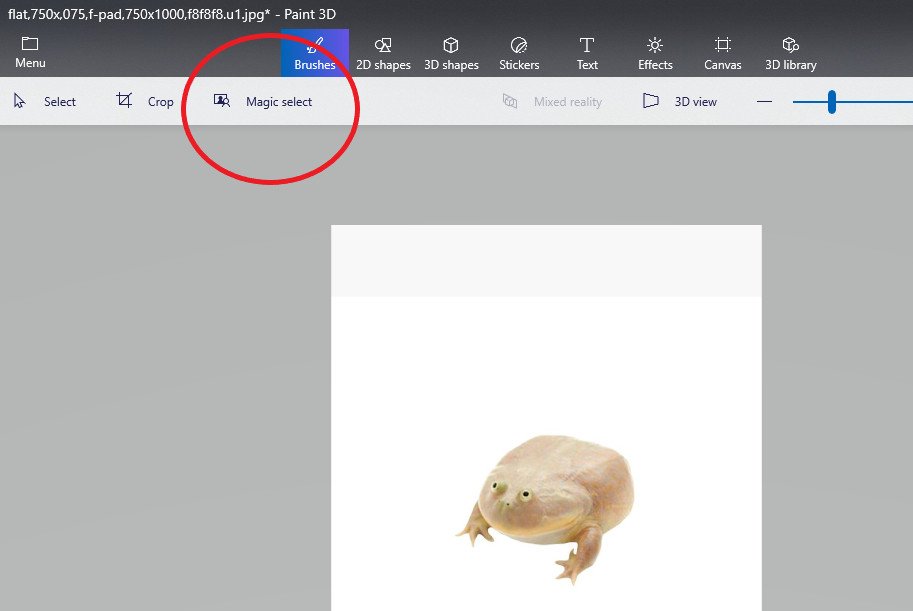
- Select the Magic Select tool, pictured here.
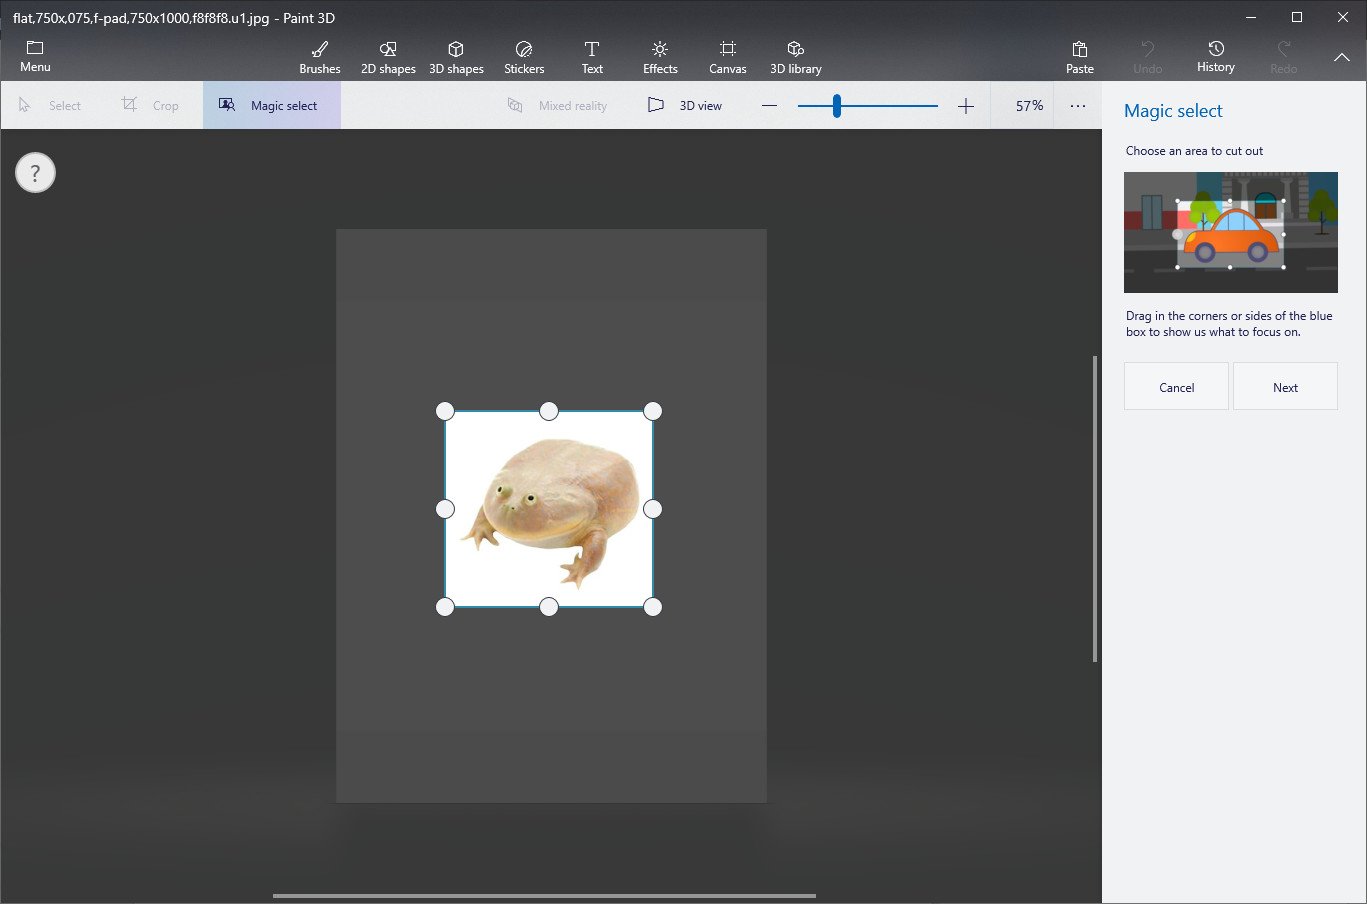
- Paint 3D will start guiding you through the process. Crop the image as shown here to remove unnecessary areas.
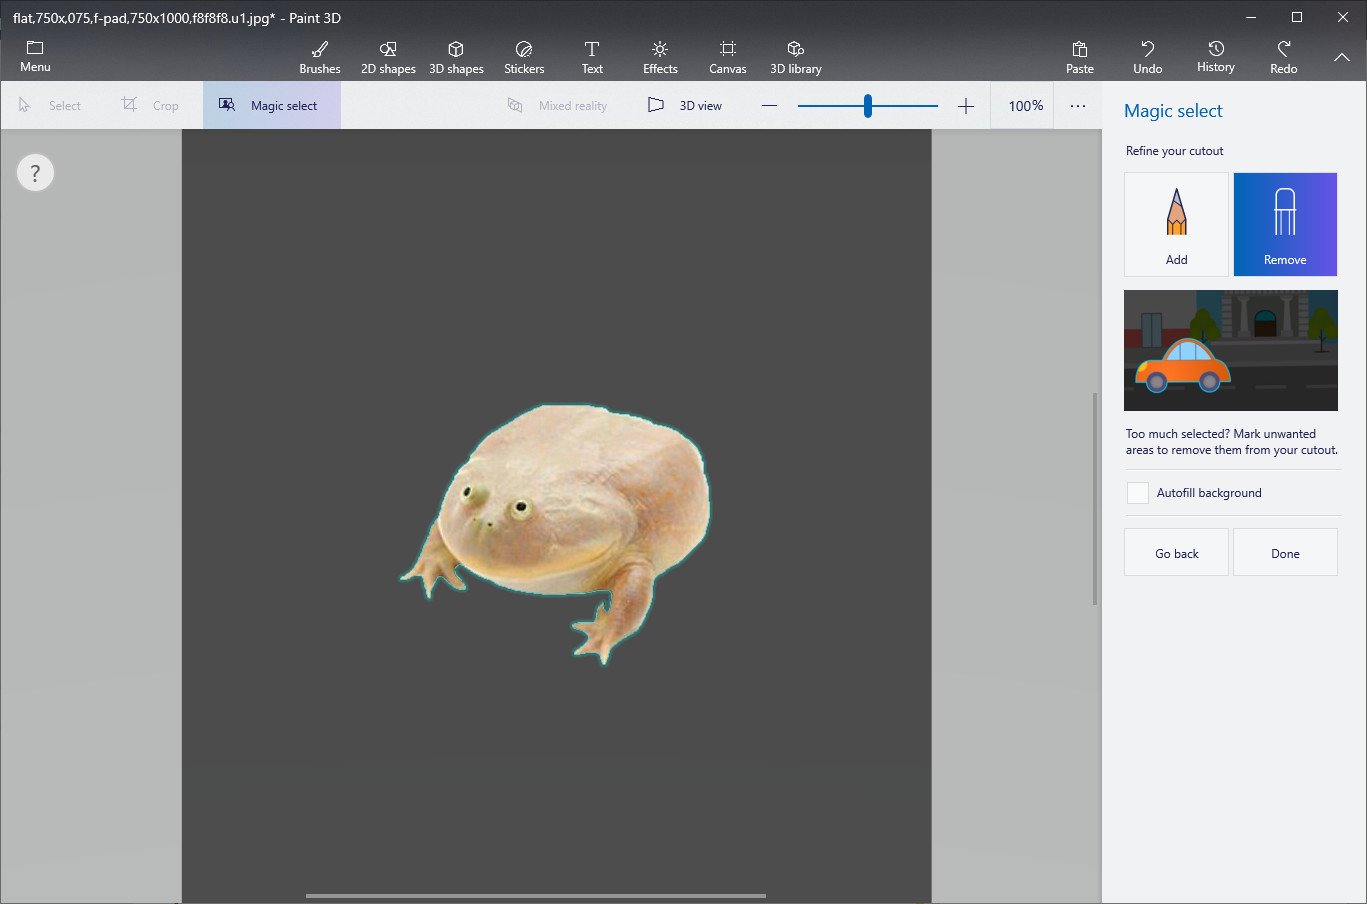
- Hit next. A green edge will appear around the picture Paint 3D thinks you want cut out.
- You can zoom in with the mouse scroll wheel. You can Remove or Add additional parts of the picture using the tools on the right side bar.
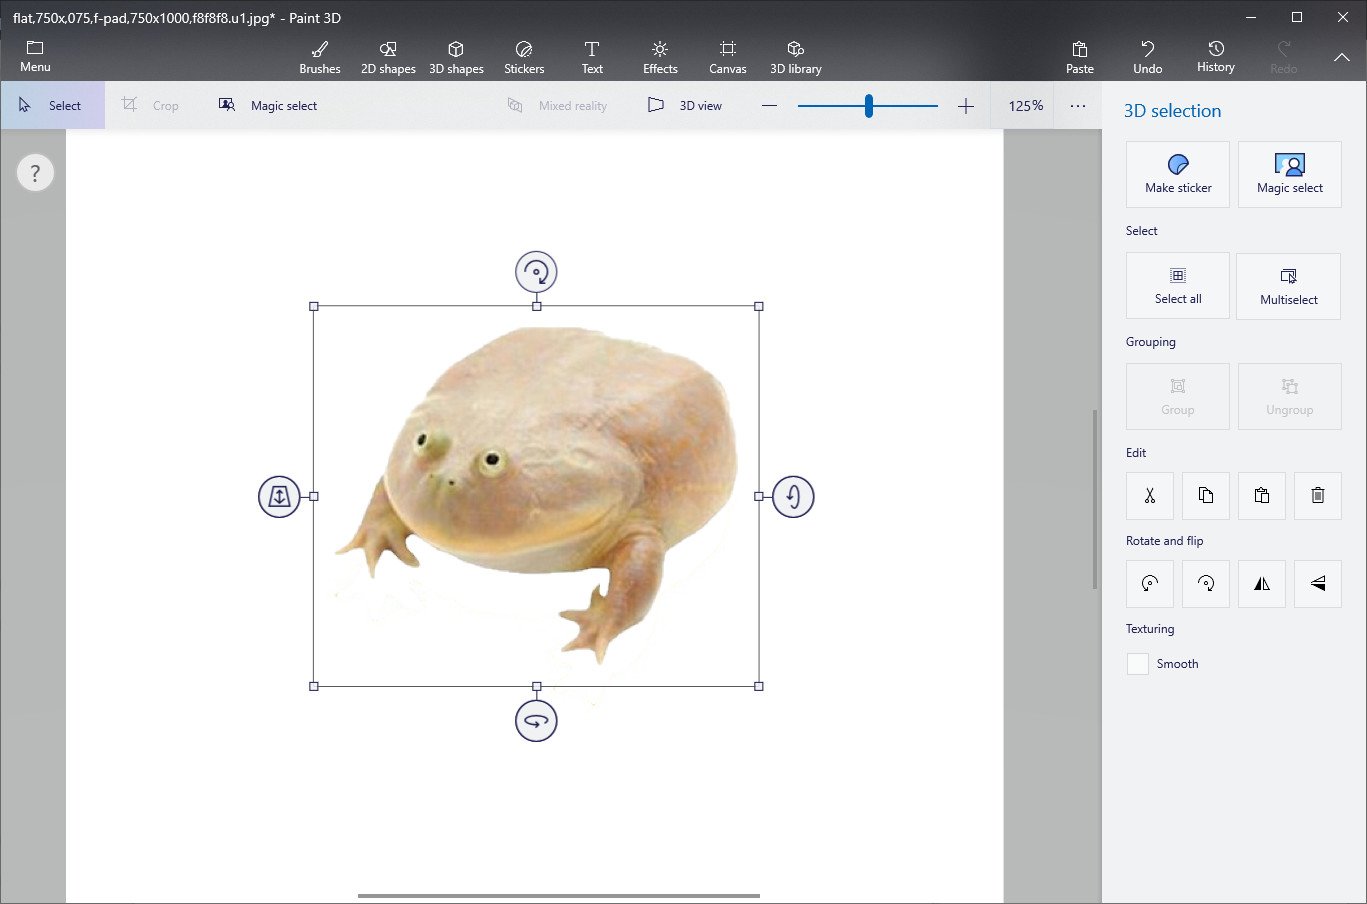
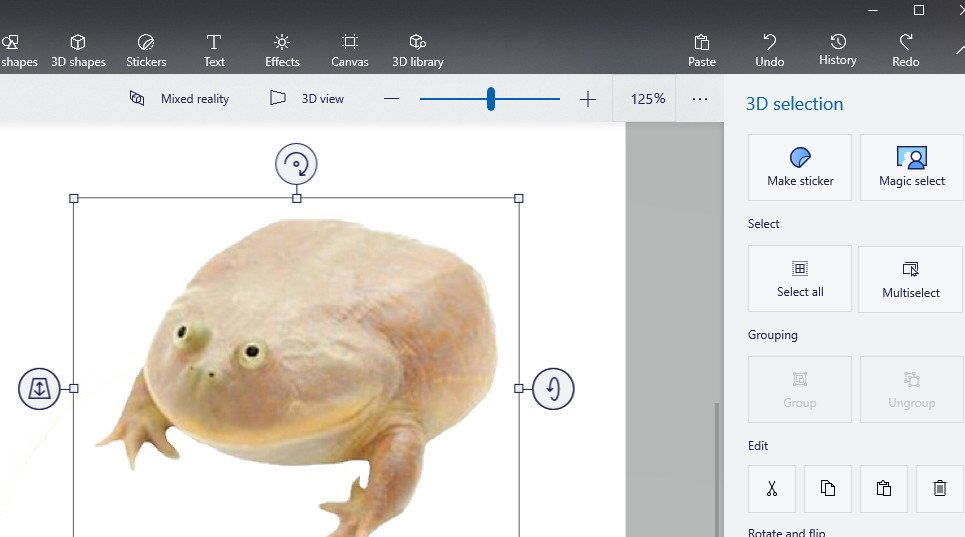
- When you hit Done, your image cut-out will appear as a separate object you can move around.
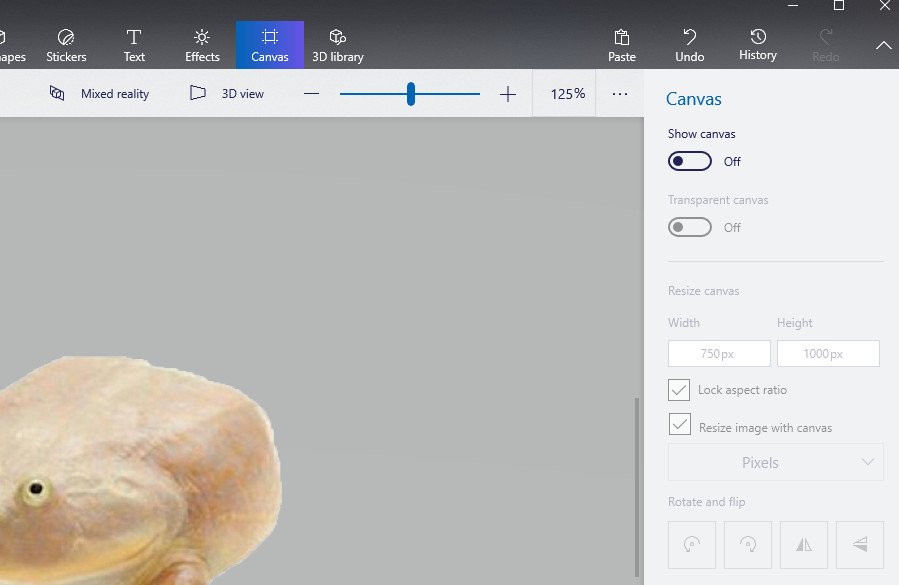
- Next, you'll want to remove the canvas background. Go to Canvas and select the Show Canvas toggle to hide it. The background will turn grey.
- Now, you'll want to save your picture as a transparent image. Go to Menu in the top left, and hit Save.
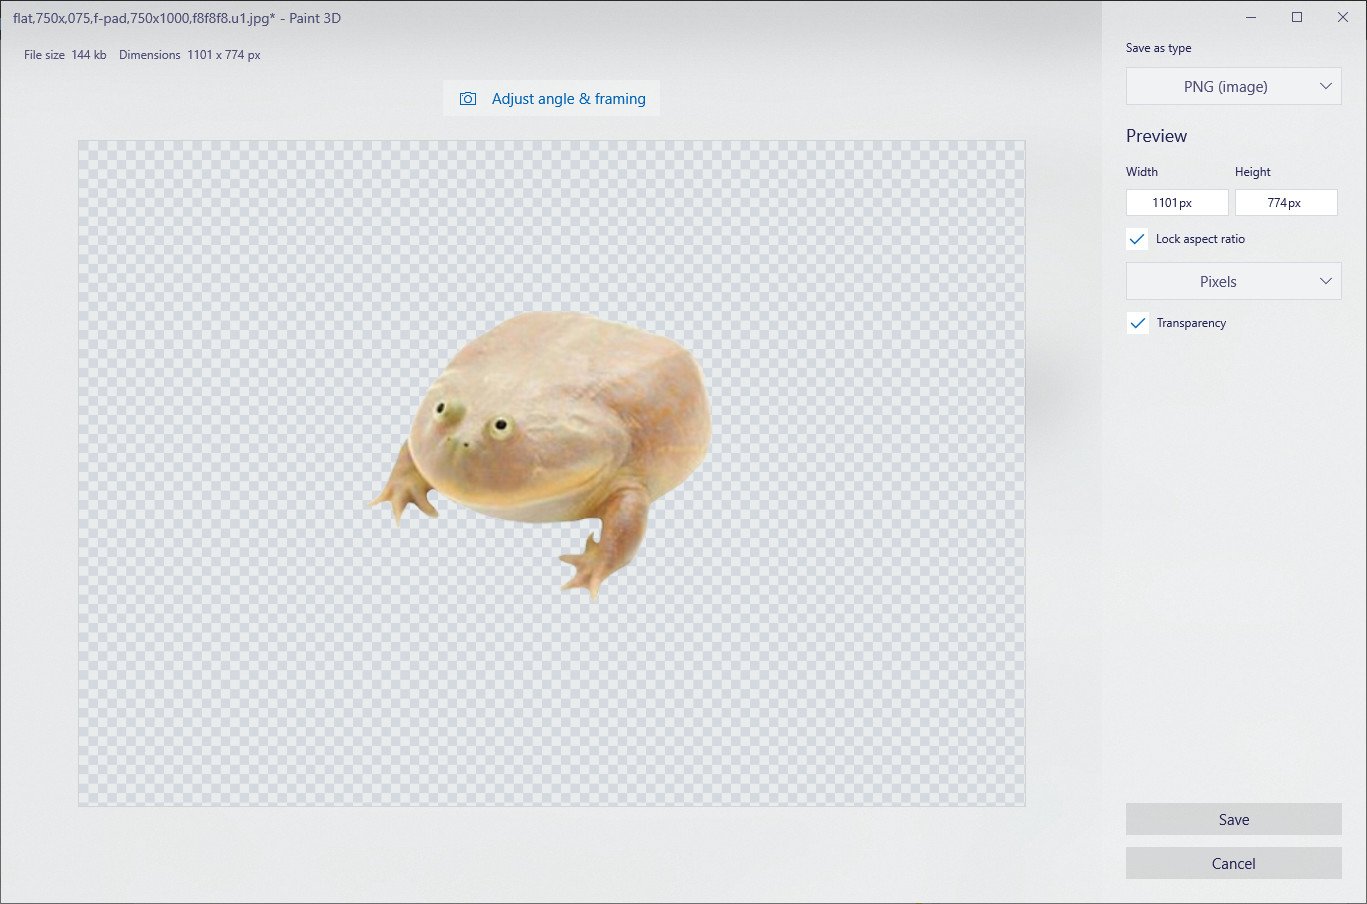
- You'll want to select PNG as your image type, since this is an image format that can detect transparency. Also select Transparency toggle from the box as shown here.
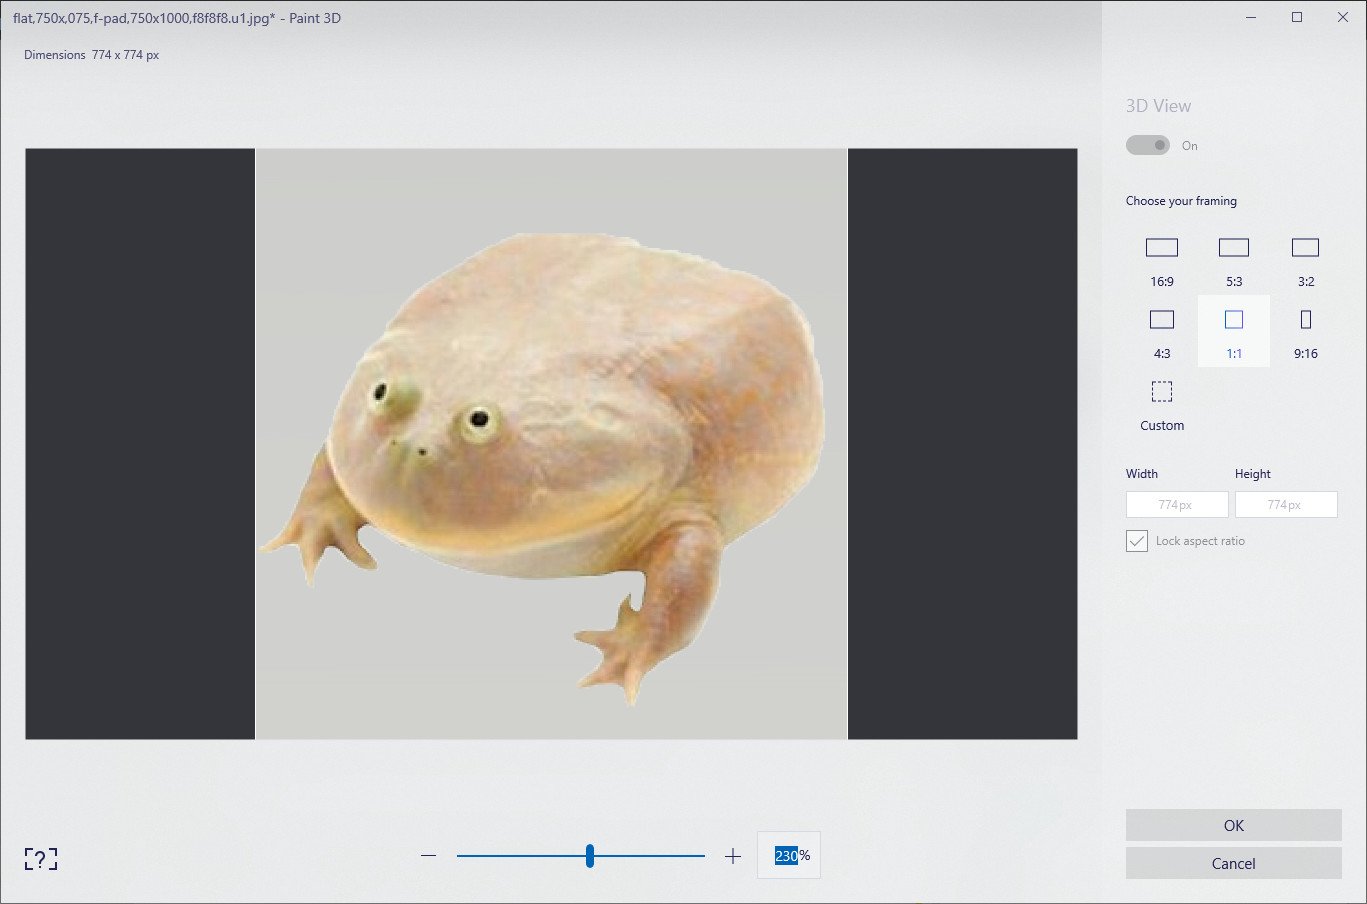
- If you want to remove additional space around your picture, select Adjust angle & Framing at the top.
- You can now select an image size ratio, and zoom and reposition your image to frame it as you see fit.
- Hit OK to return to the save screen, then hit Save and select a location for your final image.
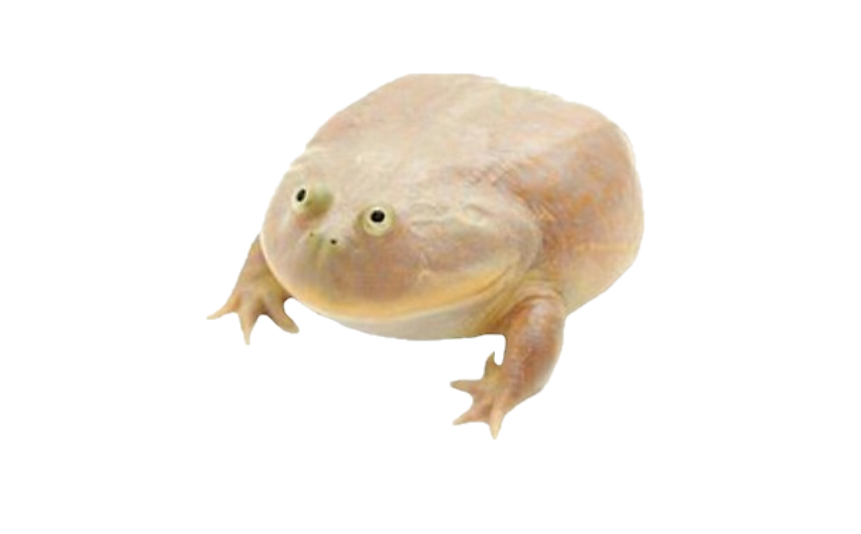
Turn your cut out image into a sticker
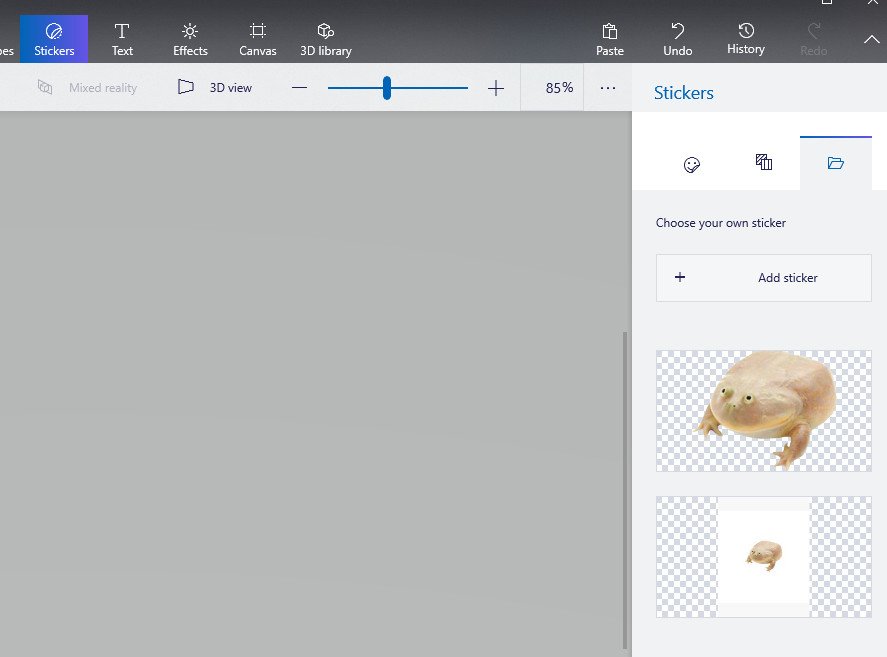
- You can use your new image as a Sticker for use in other projects. Simply select Make Sticker as shown here, after doing the initial cut out.
- Stickers remain in the list as long as you keep the app open, but you can start new projects with the sticker still in-tact. You can save it as a separate file for re-use, as well, using the guide above.
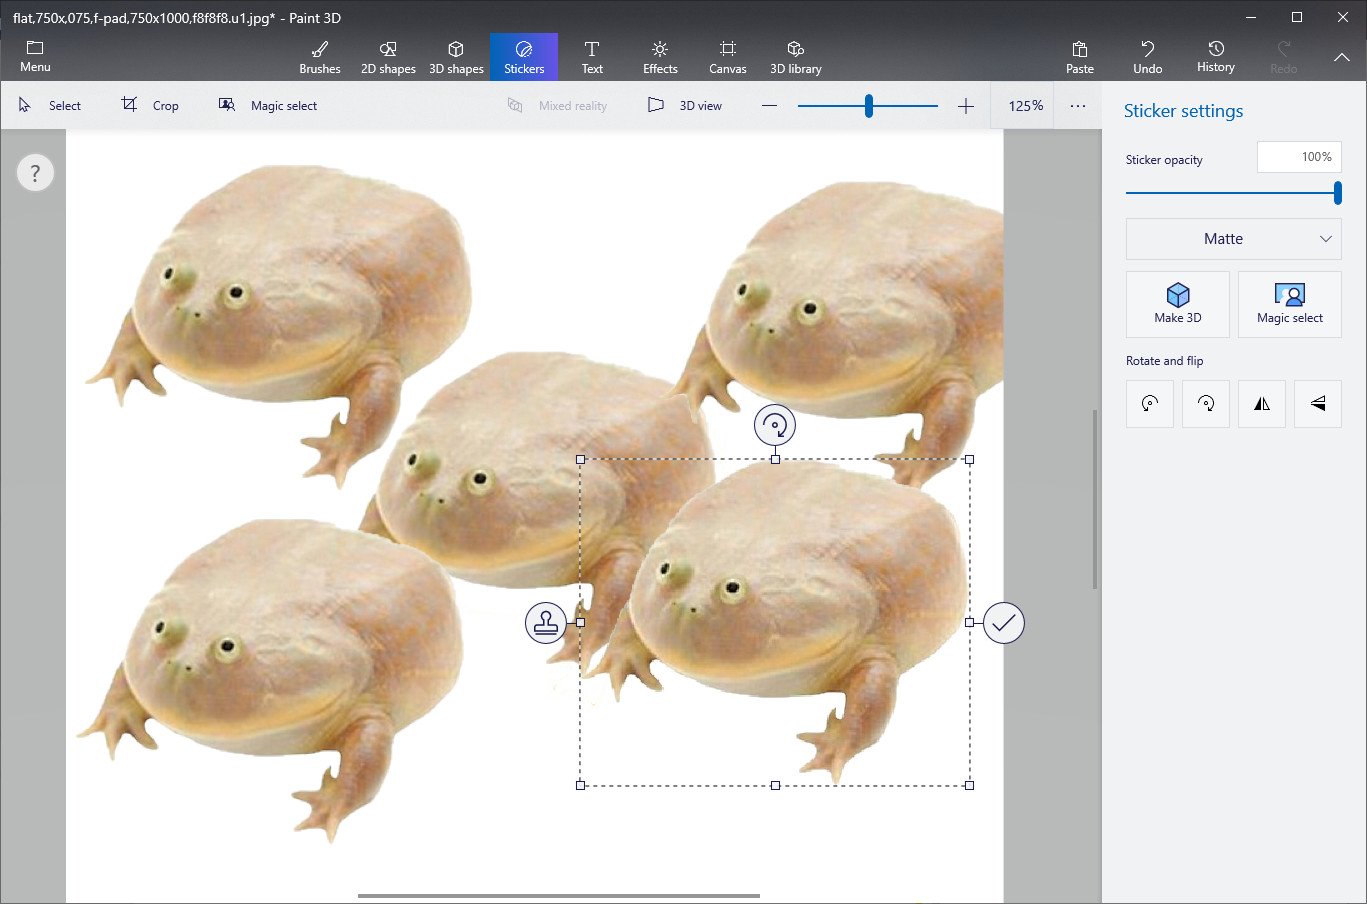
- Select the Stamp icon on the left of the box to paint the Sticker onto the canvas background, as shown.
- If you want to try it on another image, select Menu in the top right corner, and Open or start a New file. The Sticker will remain in the Custom Stickers list.
- With your new image, simply select the Sticker again, and get creative!
All the latest news, reviews, and guides for Windows and Xbox diehards.

Jez Corden is the Executive Editor at Windows Central, focusing primarily on all things Xbox and gaming. Jez is known for breaking exclusive news and analysis as relates to the Microsoft ecosystem while being powered by tea. Follow on Twitter (X) and tune in to the XB2 Podcast, all about, you guessed it, Xbox!
