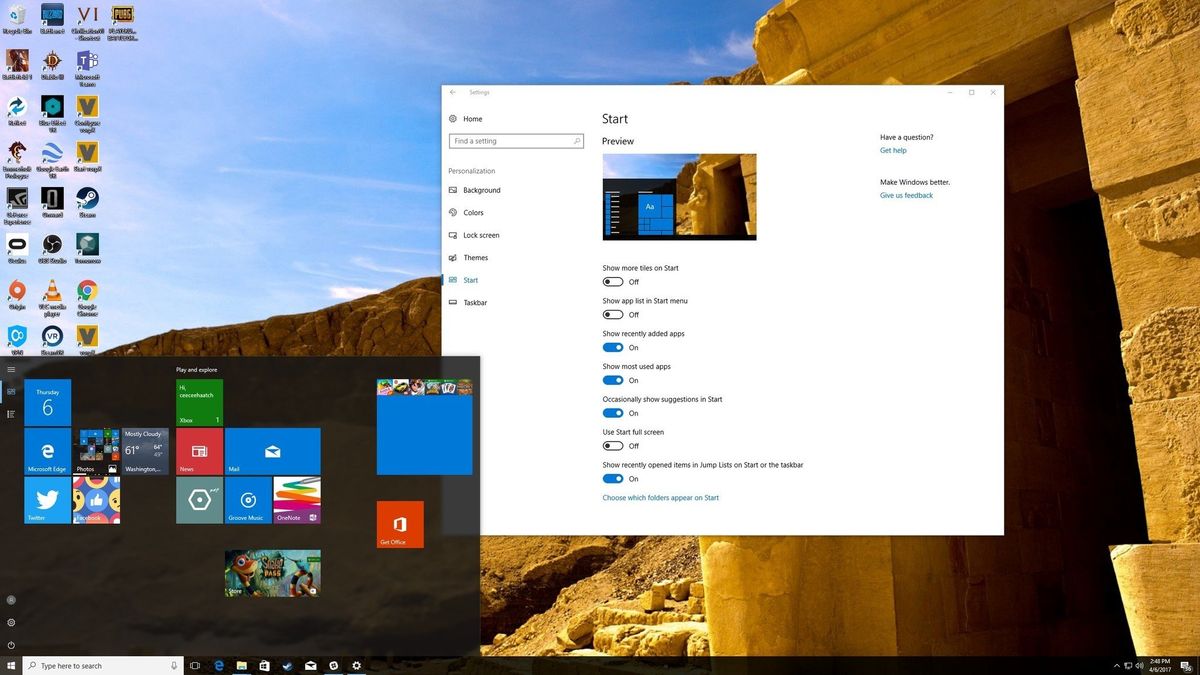
The Windows 10 Creators Update brings the Start menu a few new customization options to help make it feel more familiar.
You can now create and resize live folders to hold more apps in a smaller area, and you can remove the app list that normally appears on the left side of the Start menu. Let's take a look at how to create and customize live folders and how to hide your app list.
- How to create and customize a live folder in the Creators Update Start menu
- How to hide your app list in the Creators Update Start menu
How to create and customize a live folder in the Creators Update Start menu
Windows Mobile users will immediately recognize this feature that lets you group apps together into something called a live folder. This allows you to keep many more app tiles in your Start menu without having to expand the size. Here's how to create a live folder.
- Click the Start button.
- Click and drag a tile onto another tile. The live folder will be created automatically.
- Click the up-arrow tile to close the live folder.
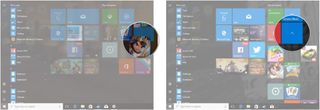
In some cases, you might want to resize the live folder so that all tiles within are visible, or perhaps you'd like to make the live folder smaller to save space.
- Click the Start button.
- Right-click the live folder.
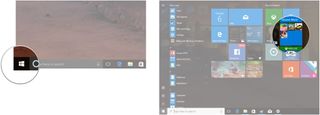
- Click Resize.
- Click a size.

Did you add an app to a live folder and now want to remove it? No problem.
- Click the Start button.
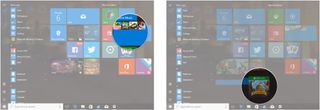
- Click the live folder.
- Click and drag a tile outside of the live folder.
How to hide your app list in the Creators Update Start menu
Further following the trend of having the Start menu on Windows 10 look more like the Windows Mobile Start screen; you can hide the list of your apps that normally appears when you click the Start button.
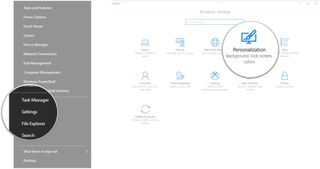
- Right-click the Start button.
- Click Settings.
- Click Personalization.
- Click Start.
- Click the switch below Show app list in Start menu so that it turns Off.
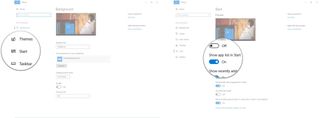
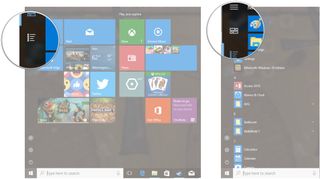
You can still see a list of your apps in the Start menu with the above option turned off.
Get the Windows Central Newsletter
All the latest news, reviews, and guides for Windows and Xbox diehards.
- Click the Start button.
- Click the All apps button. It is located near the top-left corner of the Start menu and looks like a series of lines and boxes stacked atop each other.
- Click the Pinned tiles button to return to the standard view. It looks like four tiles.
More Creators Update goodness
For more information on what the Creators Update for Windows 10 is all about, be sure to check out Zac Bowden's in-depth review. Also, check out our full guide to customizing your Start menu for more great tips and tricks.

Cale Hunt brings to Windows Central more than eight years of experience writing about laptops, PCs, accessories, games, and beyond. If it runs Windows or in some way complements the hardware, there’s a good chance he knows about it, has written about it, or is already busy testing it.