How to set up and connect to your ASUSTOR NAS
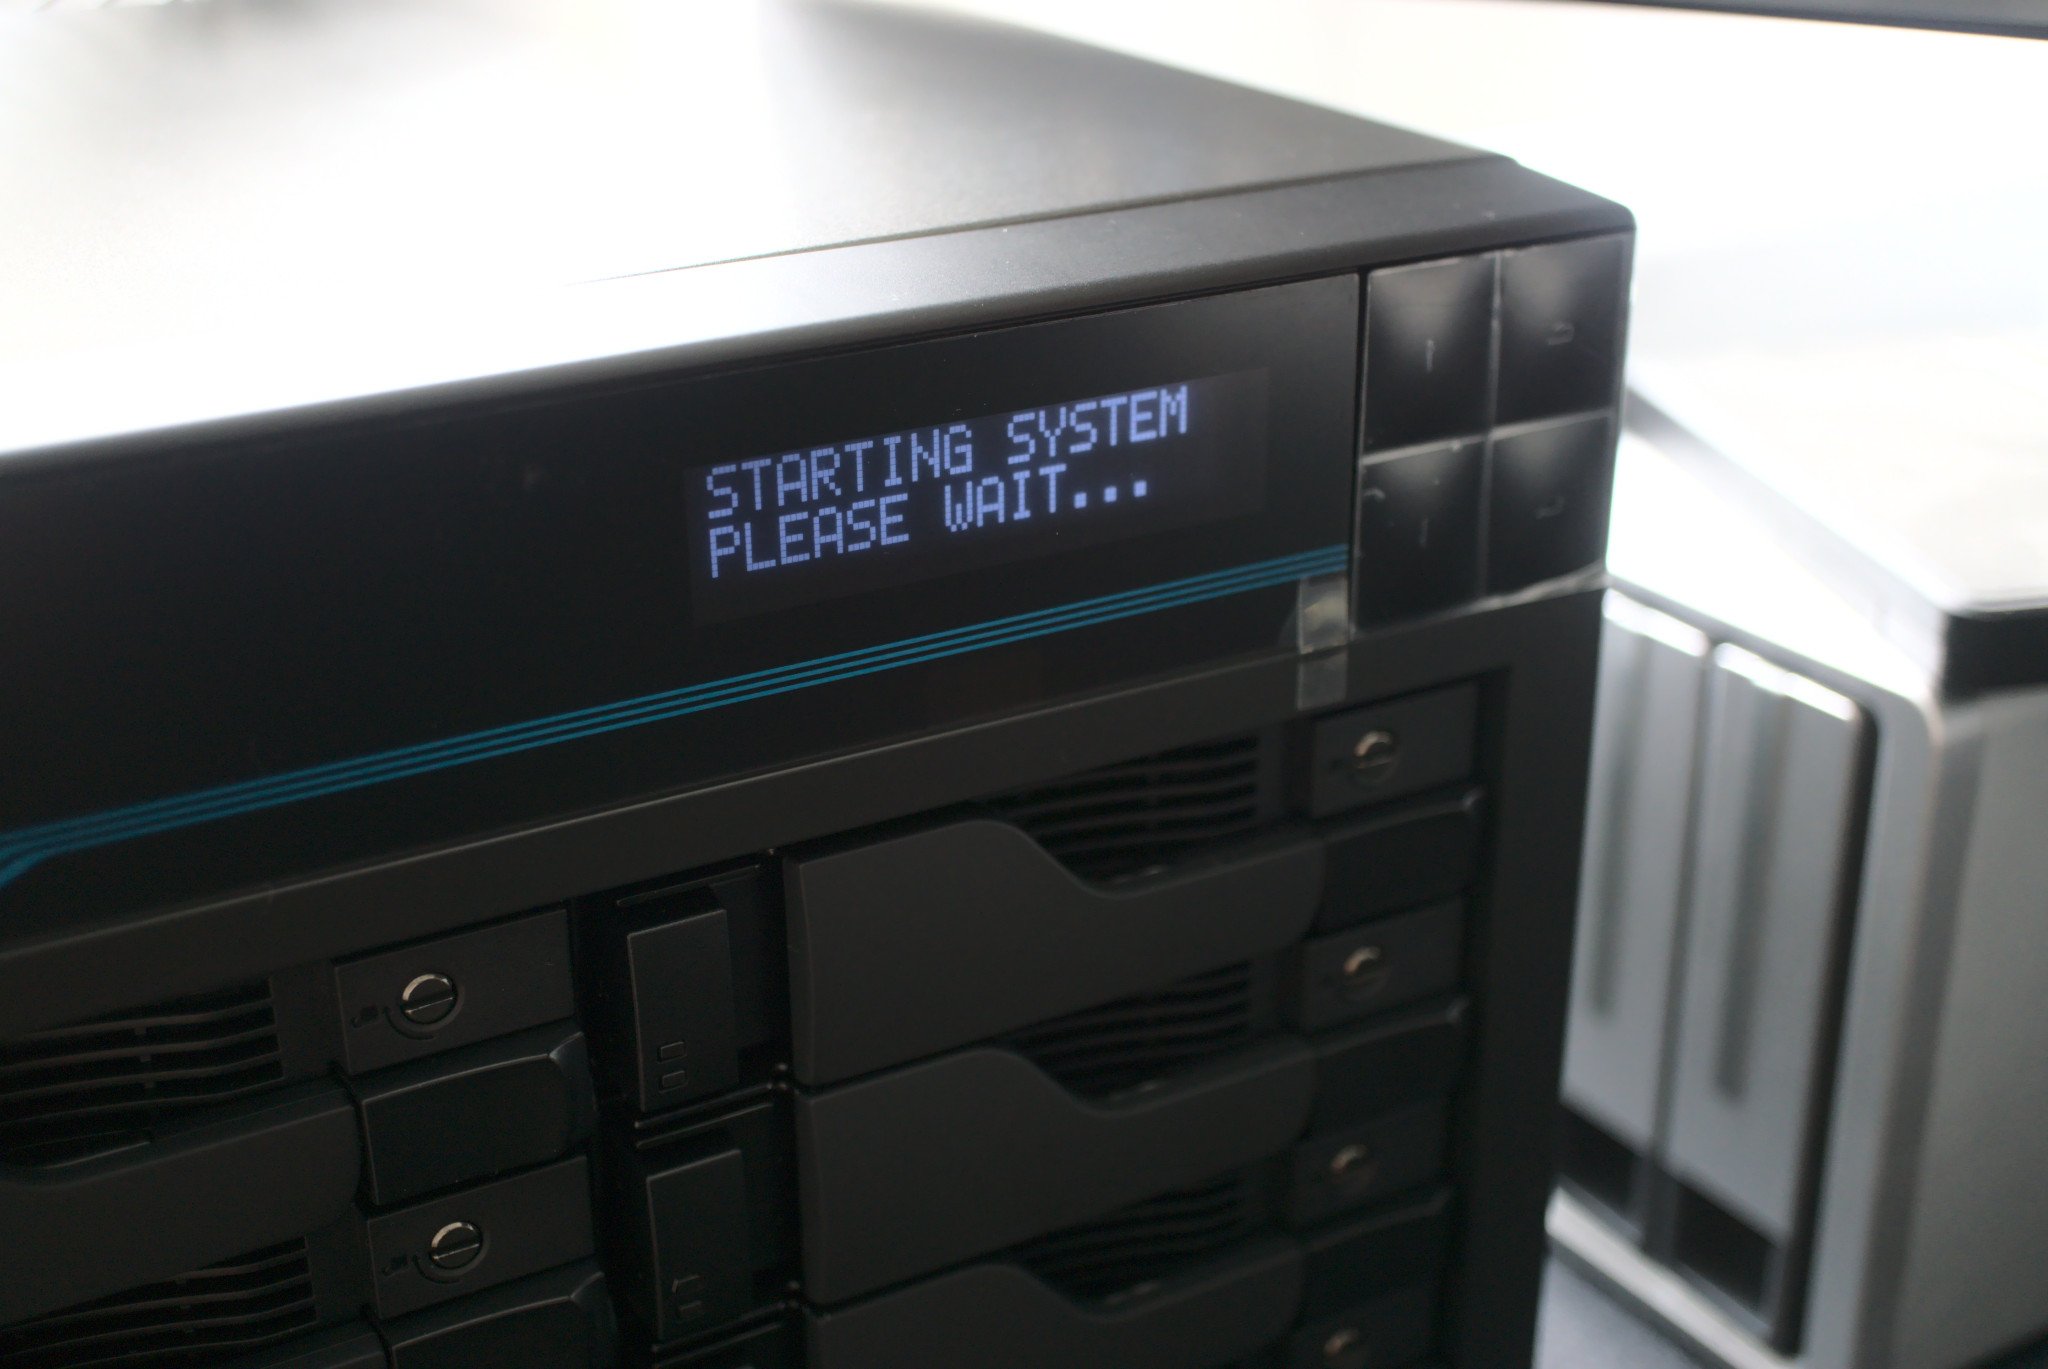
The initial setup process for an ASUSTOR NAS is incredibly straightforward, especially if your model comes with an LCD panel on the front. This small screen lets you perform the entire configuration process without firing up a PC. This guide will run you through the setup process for an ASUSTOR NAS with or without an LCD.
Products used in this guide
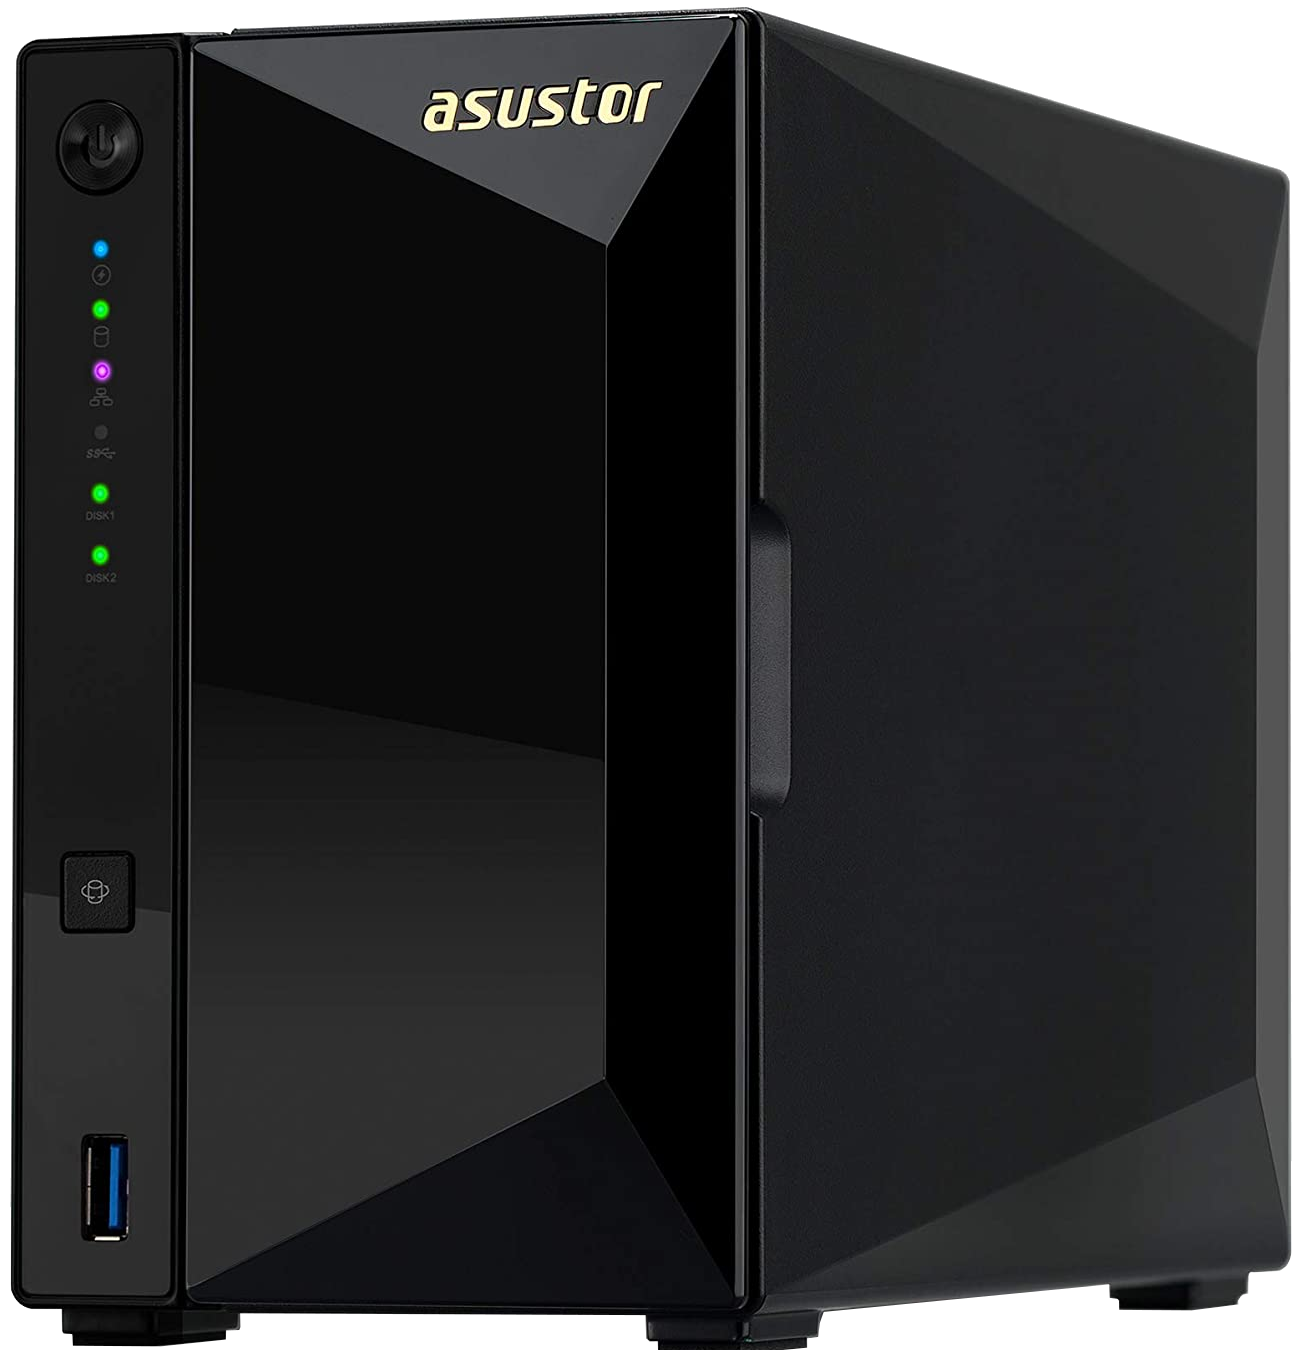
- Two-bay NAS: ASUSTOR AS4002T ($259 at Amazon)
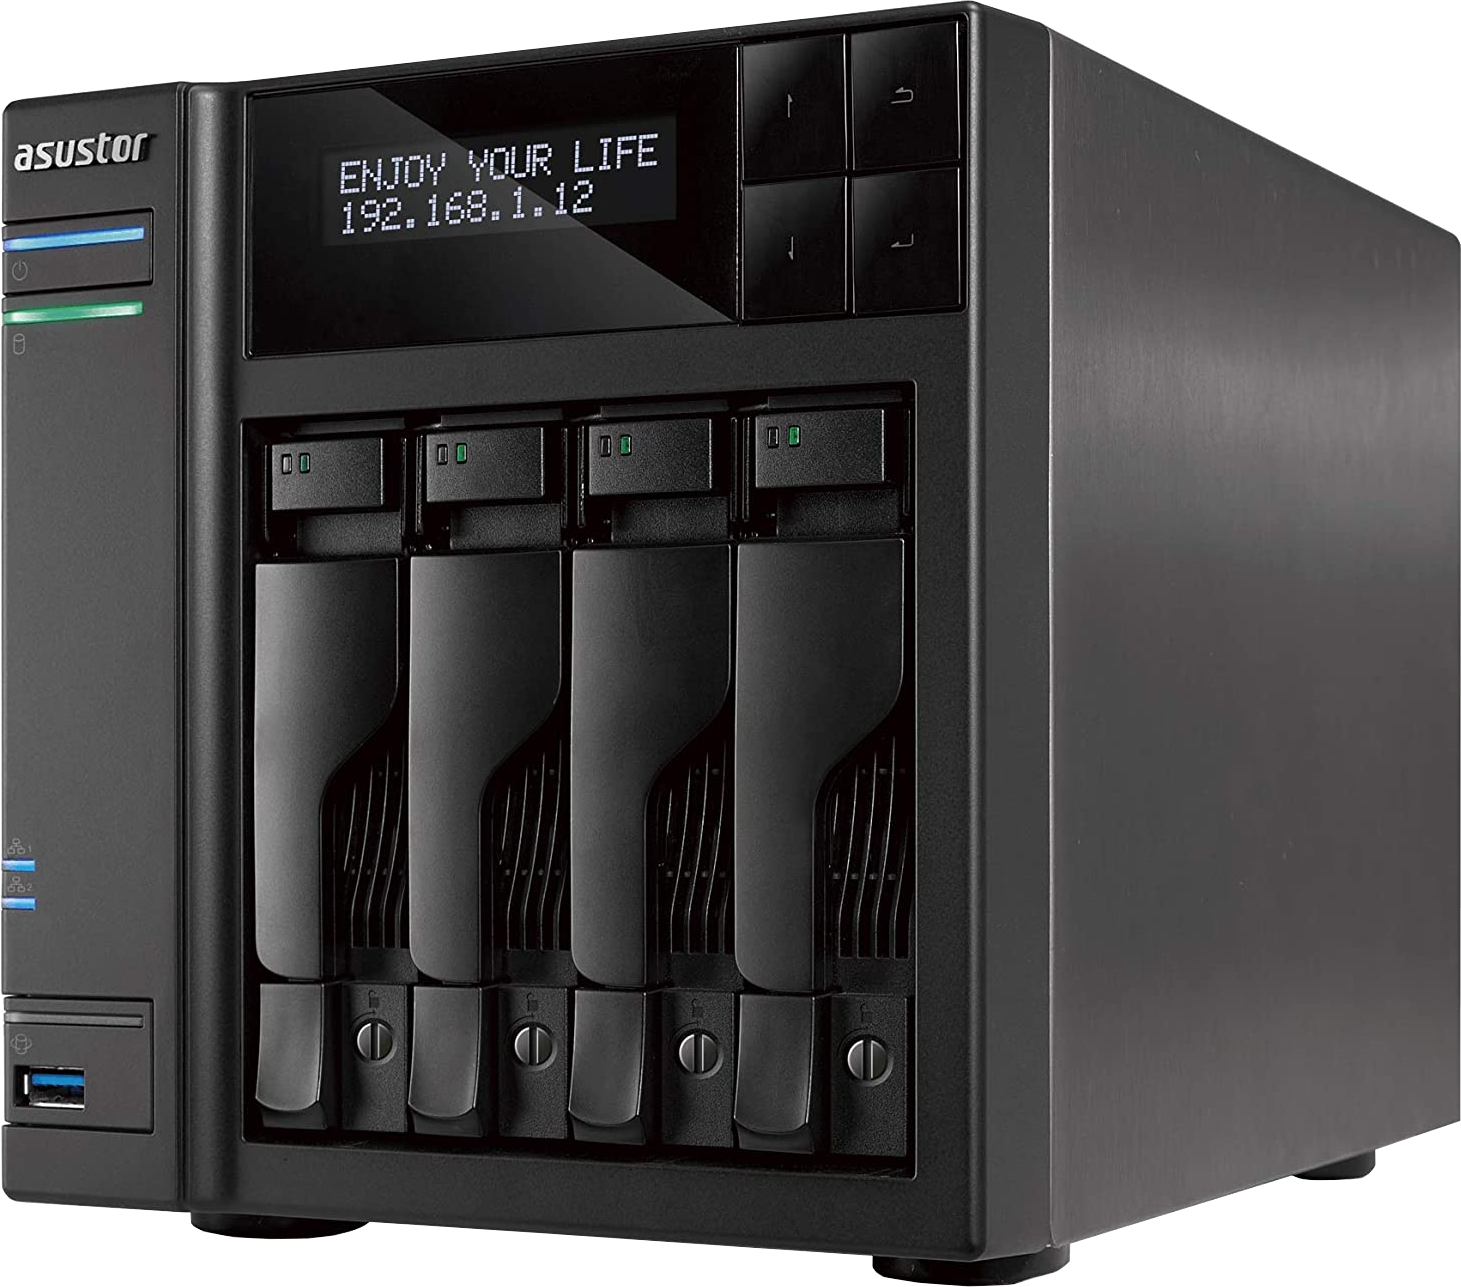
- Four-bay NAS with LCD: ASUSTOR AS6404T ($520 at Amazon)
How to set up and connect to your ASUSTOR NAS
Using the LCD
If the ASUSTOR NAS you own has a display, it's a seamless process. Here's how to get it up and running:
- Turn on the NAS.
- Wait for the unit to complete its boot sequence.
- Check the display and confirm the setup process.
- Copy the IP address displayed on-screen and load it on your favorite browser.
- Login credentials are:
- User: admin
- Password: admin
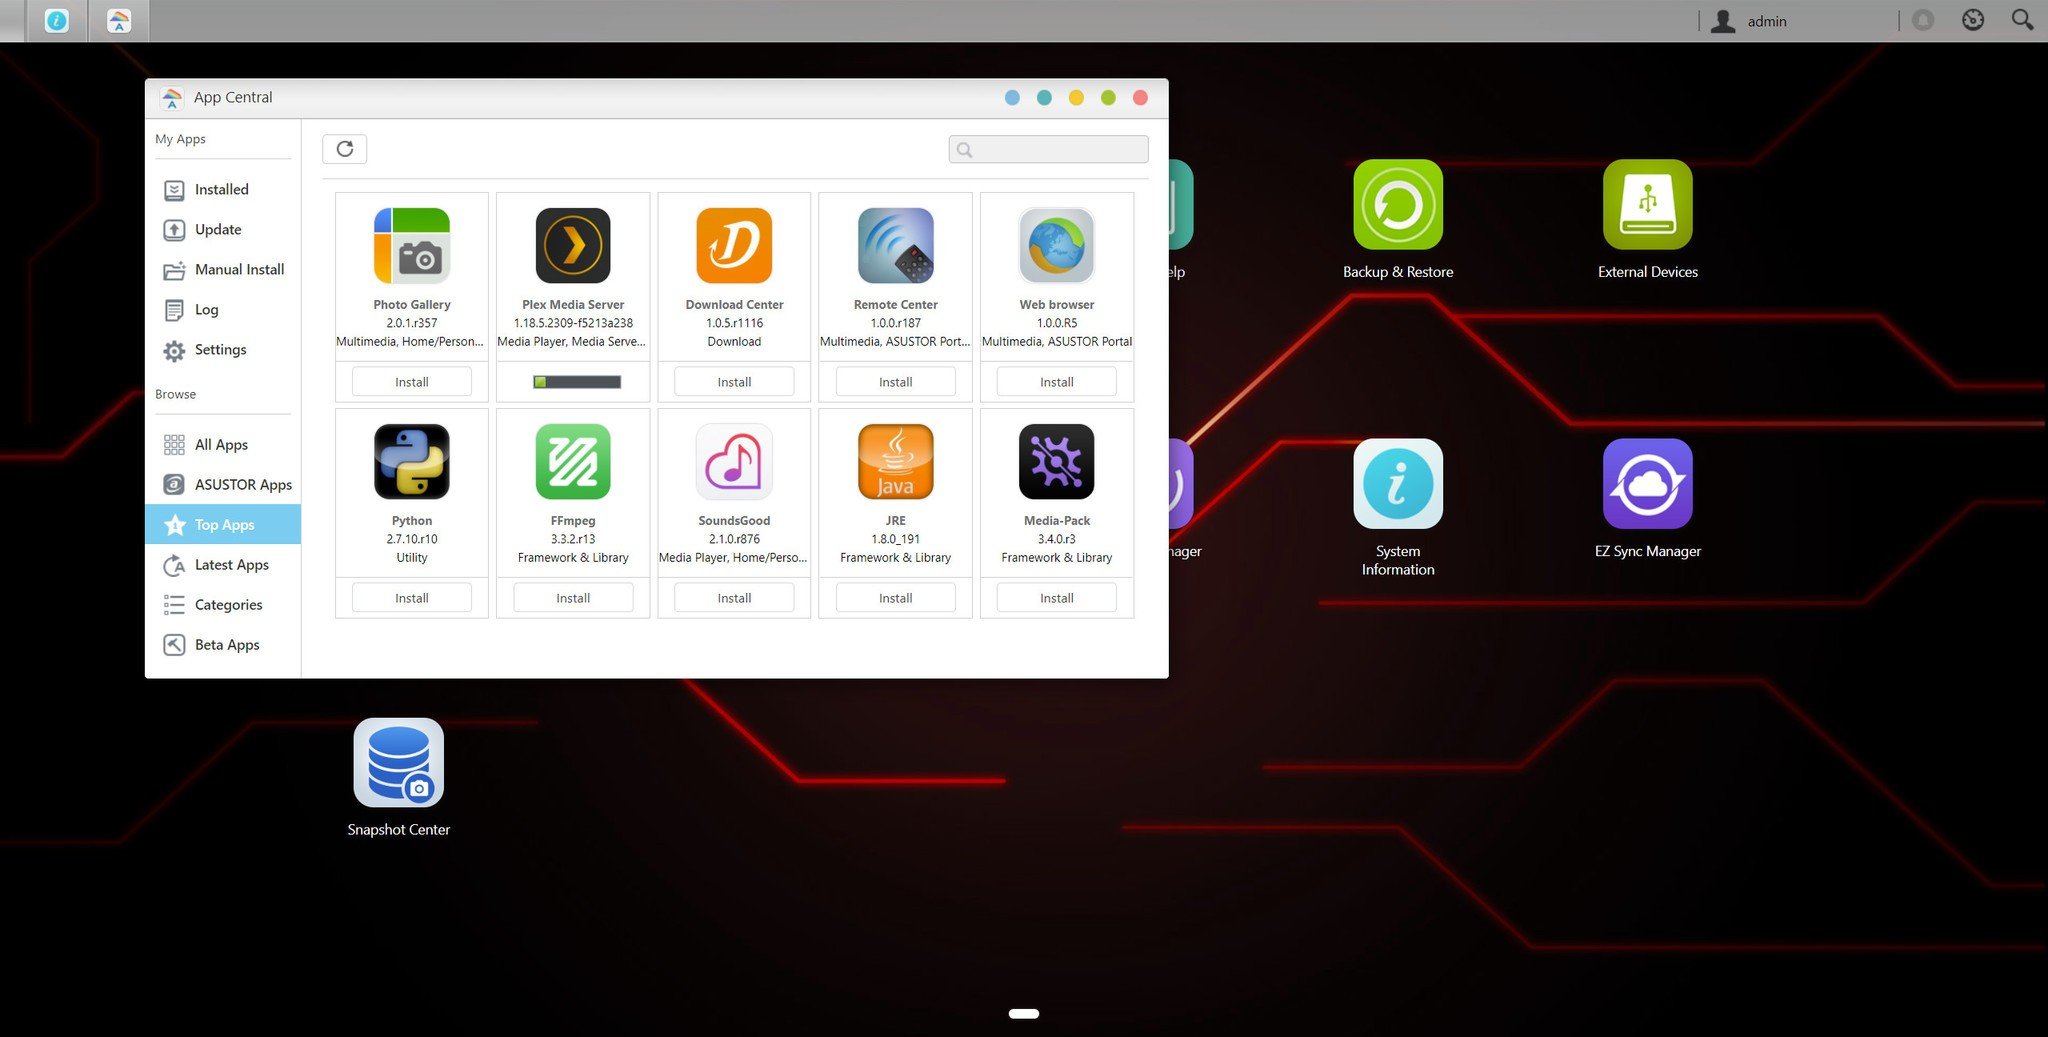
- You should now be greeted by ADM and are ready to go.
I strongly advise you to head into the account settings of the admin account and change the password from what's set as default. This will provide an additional layer of security for your NAS.
Using your PC
- Turn on the NAS.
- Look up the IP using your router or download ASUSTOR's desktop tool to search.
- Load the IP address in your favorite browser.
- Follow the initial setup wizard to configure the NAS.
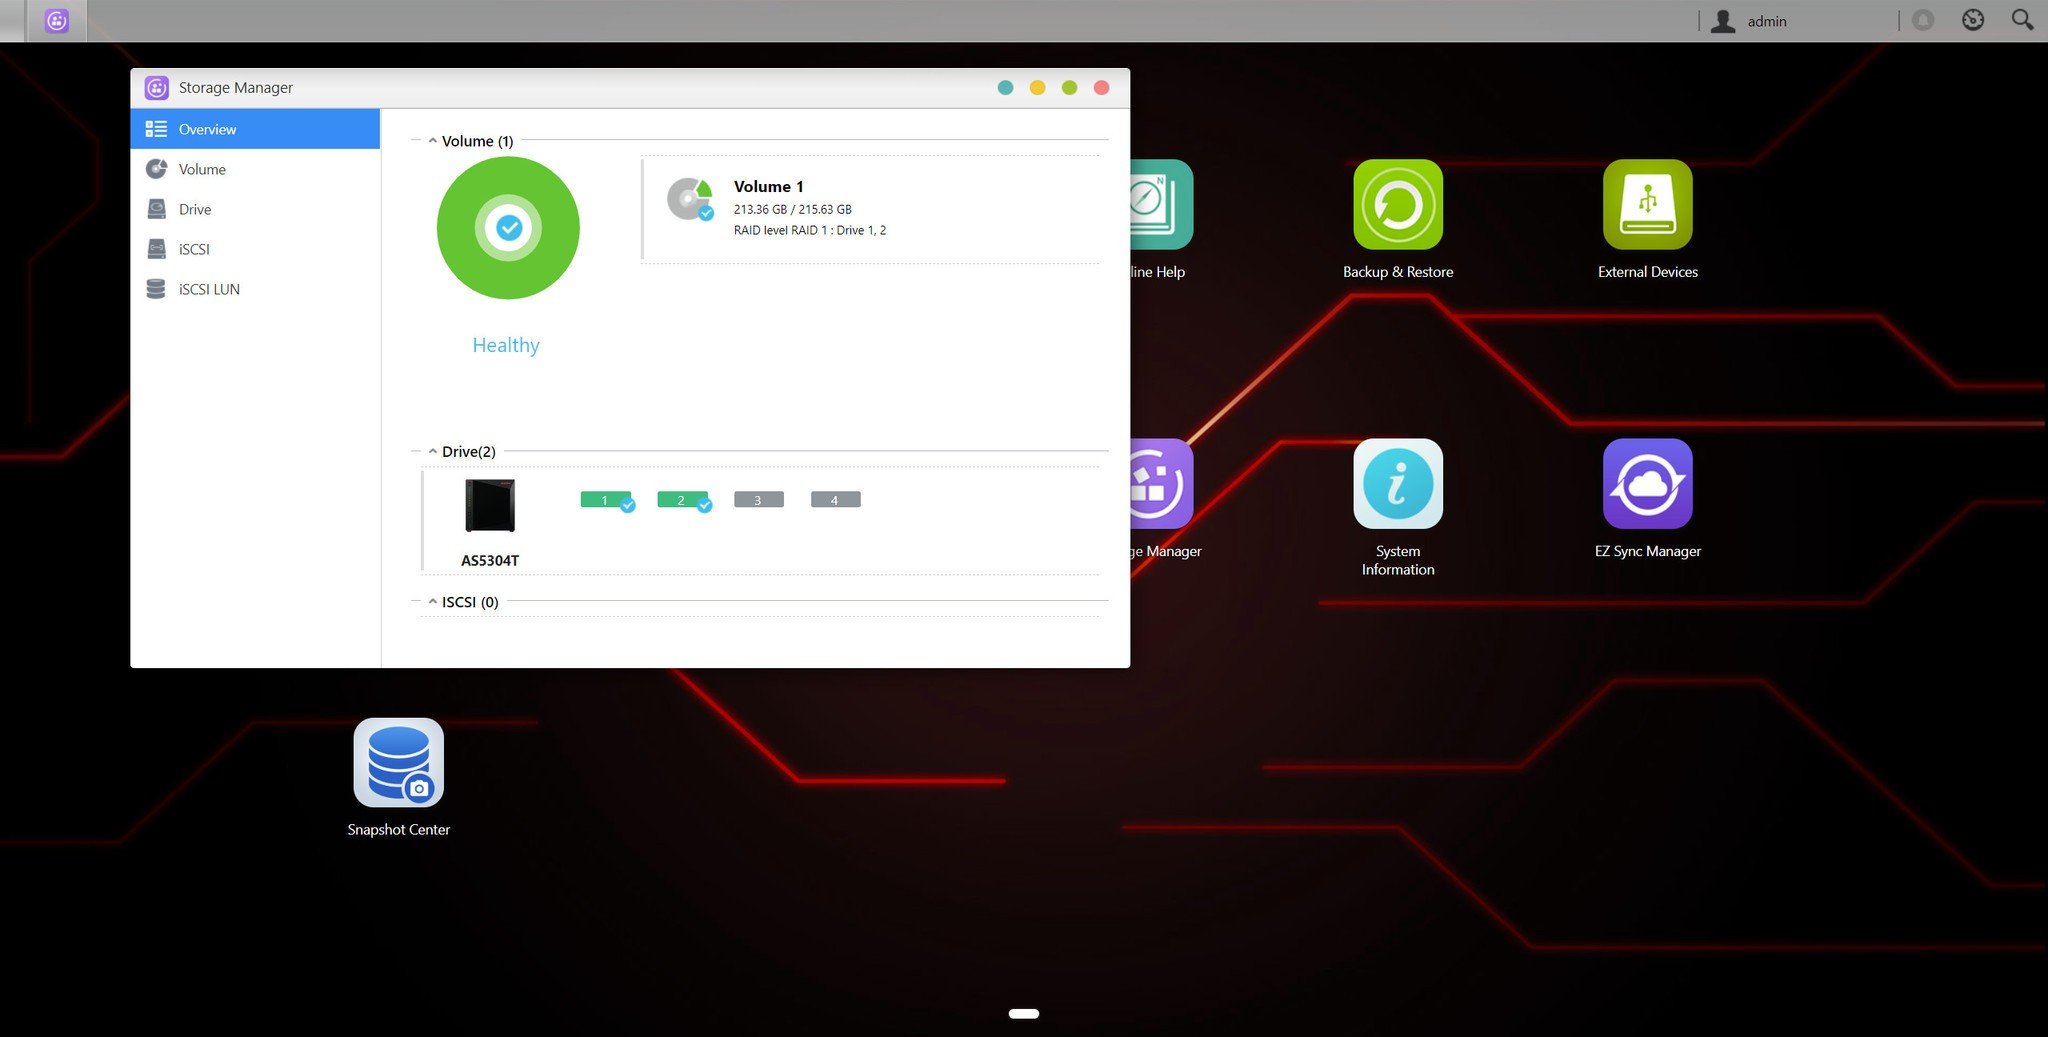
- Once complete, you'll be greeted by ADM and are ready to go.
All the latest news, reviews, and guides for Windows and Xbox diehards.

Rich Edmonds was formerly a Senior Editor of PC hardware at Windows Central, covering everything related to PC components and NAS. He's been involved in technology for more than a decade and knows a thing or two about the magic inside a PC chassis. You can follow him on Twitter at @RichEdmonds.
