How to connect non-USB professional studio microphones to your PC
Buying a dedicated microphone for your PC is a great investment to enhance the audio recorded for streaming, videos, gaming, communication, and podcasts. Here's how you can hook it up to your PC.
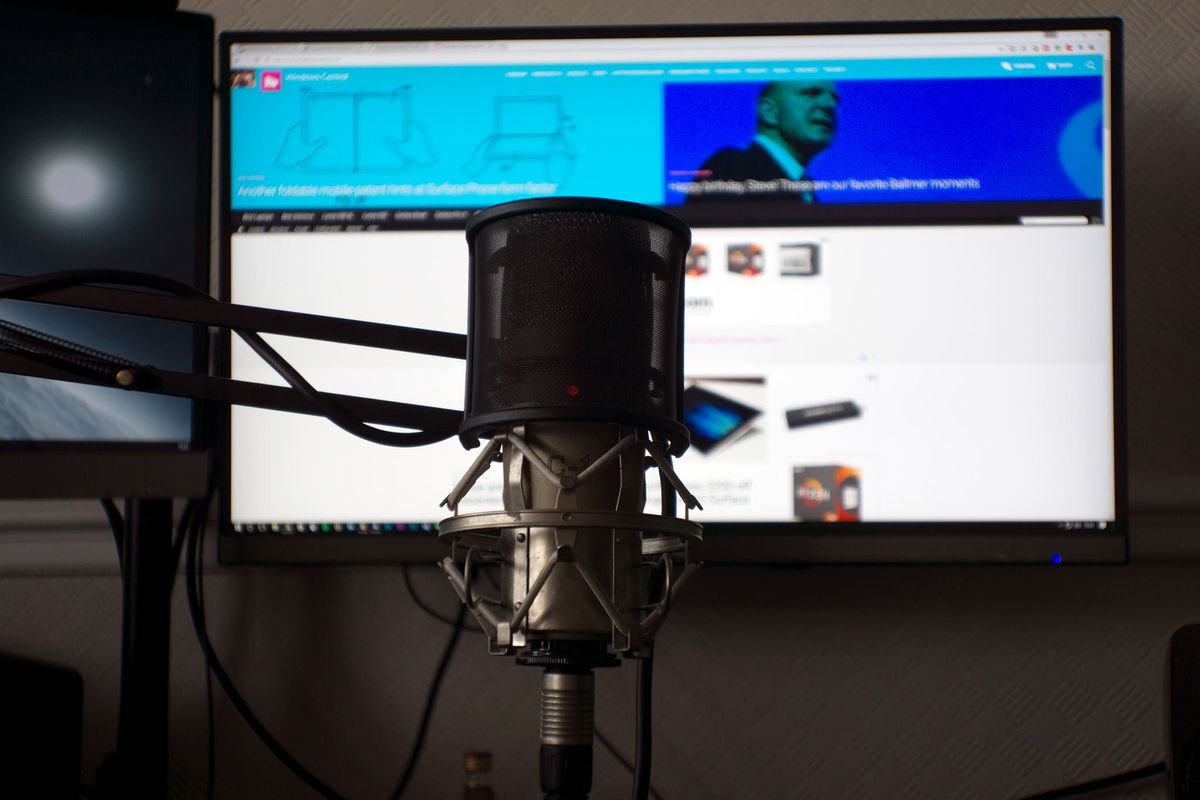
As is the case with microphones, they produce analog signals that needs to be converted into digital format for your PC to handle. To achieve this, we'll need a few extra things to ensure the microphone is able to connect to the PC and you (and others) will be able to hear recorded sound input. Here's a quick shopping list:
- XLR cables.
- Pre-amp mixer.
- Analog-to-digital converter.
- Phantom power.
Audio Interfaces
Audio interfaces are expensive solutions that handle everything we need for a microphone to PC connection to be established. They can also support more than one microphone and are an ideal investment if you're looking to setup a studio or have more than one person live at any given time. They're generally in rack format to allow for easy assembly in a server case.
If you have the money to splash out on an audio interface, it's recommended you do so for an optimal experience. It's also generally recommended to steer clear of cheap options. $150-200 is considered to be the minimum for good audio quality. Here are a few examples:
- BEHRINGER U-PHORIA UMC404HD - $99.99.
- Focusrite Scarlett 18i8 - $349.99.
- Native Instruments Komplete Audio 6 - $229.99.
- Zoom UAC-8 USB - $599.99
Simply plug the microphone into the unit and then use your chosen interface to form a bridge to the PC.
Pick-and-mix
If you don't have the cash to splash out on an expensive audio interface, or you simply don't require advanced features and capacity for what you wish to use the microphone for, it's possible to pick up a few items and hook everything up just fine with great results. We need a pre-amp, analog-to-digital conversion (which many pre-amps can handle), and phantom power.
Pre-amp Mixer
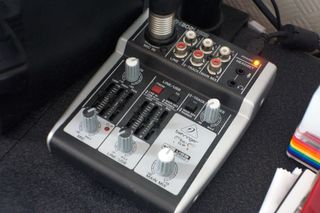
Picking up a USB pre-amp mixer is a good choice for anyone looking to plug a single microphone in for podcasting, some gaming or to do some voice-overs. Most of them are compatible with the USB interface, and some even offer support for phantom power. A pre-amp's job is to amplify the signal that is received by the microphone to make it stronger for the PC to use.
Here are a few examples:
Get the Windows Central Newsletter
All the latest news, reviews, and guides for Windows and Xbox diehards.
- Behringer XENYX 802 - $59.99.
- NOVIK NEO MIXER NVK 802FX - $149.99.
Phantom of the Mic
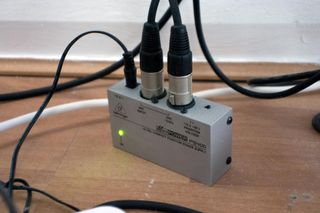
If your pre-amp doesn't support phantom power for the microphone, you'll need to add a small powered unit in-between the microphone and pre-amp to provide extra juice to the input device. Failing to do so will result in terribly low audio levels and quality. Luckily, these aren't expensive:
It's worth noting that dynamic microphones do not require extra power, though condenser microphones do. Regardless of how you go bout connecting your studio microphone to your PC, it's a simple process once you have the necessary equipment.
An easy alternative to all this hassle is USB microphones, though their quality is rarely as good as traditional microphones.
Updated on July 12, 2018: We refreshed this guide with everything you need to connect studio microphones to your PC.

Rich Edmonds was formerly a Senior Editor of PC hardware at Windows Central, covering everything related to PC components and NAS. He's been involved in technology for more than a decade and knows a thing or two about the magic inside a PC chassis. You can follow him on Twitter at @RichEdmonds.
