How to configure quarantine files removal on Windows Defender Antivirus
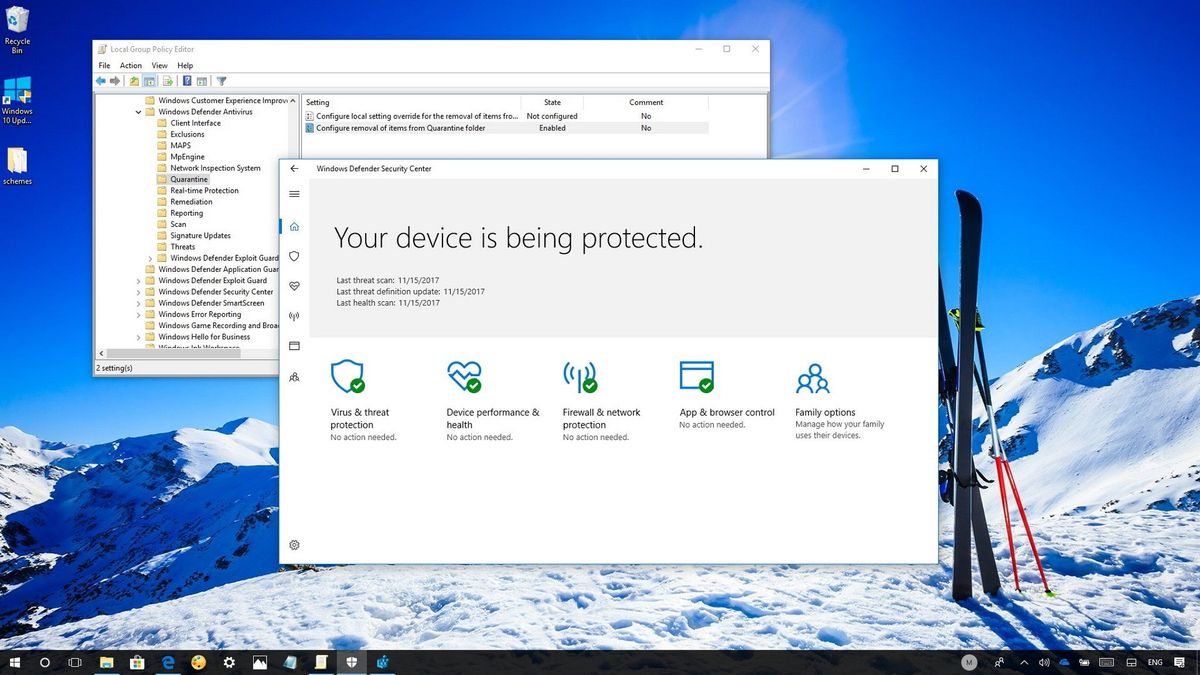
If you don't want Windows Defender Antivirus to keep quarantine items forever, you can use this guide to configure automatic removal after a specified number of days.

On Windows 10, when Windows Defender Antivirus can't fully determine if a suspicious file is infected, usually, it moves it to the Quarantine folder. This is a special location designed to isolate threats so that they can't harm your computer, or so you can restore false positives as necessary.
The only caveat is that these suspicious items will stay forever in the Quarantine folder. However, if you don't want to keep these items for a long time, or you want to prevent attackers potentially restoring quarantined threats back to your device (as we've recently seen with the AVGater exploit that affected several AV software), it's possible to configure the Windows 10 antivirus to remove quarantined items after certain number of days automatically.
In this Windows 10 guide, we'll walk you through the steps to configure Windows Defender Antivirus to remove quarantine items after a certain number of days you specify.
- How to manage quarantine items removal using Group Policy
- How to manage quarantine items removal using Registry
How to manage quarantine items removal using Group Policy
If you're running Windows 10 Pro or Enterprise, you can use the Local Group Policy Editor to configure the removal of threats in the Quarantine folder after a specified number of days.
Important: Use these instructions carefully and make sure to allow enough time to research the suspicious to find out if it's, in fact, a threat, and to restore the items if it ends up being a false positive.
- Use the Windows key + R keyboard shortcut to open the Run command.
- Type gpedit.msc and click OK to open the Local Group Policy Editor.
- Browse the following path:
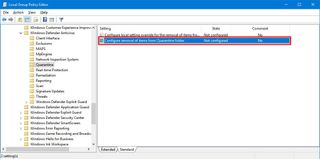
Computer Configuration > Administrative Templates > Windows Components > Windows Defender Antivirus > Quarantine - On the right side, double-click the Configure removal of items from Quarantine folder policy.

- Select the Enabled option.
- Under "Options," select the number of days (e.g., 14) that you want to keep infected items in quarantine.

- Click Apply.
- Click OK.
Once you've completed the steps, Windows Defender Antivirus will delete quarantine items after the number of days you specified, or immediately if you used 0 (zero) in the "Options" field.
If you change your mind, you can always revert the changes by using the same steps, but on step No. 5, make sure to select the Not Configured option.
Get the Windows Central Newsletter
All the latest news, reviews, and guides for Windows and Xbox diehards.
How to manage quarantine items removal using Registry
If you're running Windows 10 Home, you won't have access to the Local Group Policy Editor, but it's possible to change the quarantine settings for the Windows Defender Antivirus by editing the Registry.
Warning: This is a friendly reminder that editing the Registry is risky, and it can cause irreversible damage to your installation if you don't do it correctly. It's recommended to make a full backup of your PC before proceeding.
- Use the Windows key + R keyboard shortcut to open the Run command.
- Type regedit, and click OK to open the Registry.
- Browse the following path:
HKEY_LOCAL_MACHINE\SOFTWARE\Policies\Microsoft\Windows DefenderQuick Tip: On the Windows 10 Creators Update and later, you can copy and paste the path into the new Registry's address bar to quickly jump to the key destination. - Right-click on the Windows Defender (folder) key, select New, and click on Key.
- Name the key Quarantine and press Enter.

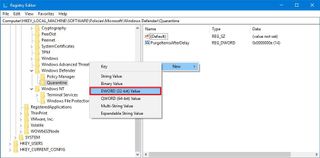
- Right-click on the Quarantine (folder) key, select New, and click on DWORD (32-bit) Value.
- Name the key PurgeItemsAfterDelay and press Enter.

- Double-click the newly created key, and select Decimal.
- In the "Value data" field, specify the number of days that the antivirus should keep infected items before removing them.

- Click OK.
After completing the steps, quarantine items will be purged from your computer after the number of days you specified in the Registry.
At any time, you can remove the settings by following the same instructions, but on step No. 5, right-click the Quarantine (folder) key and click Delete to remove the entries.
More Windows 10 resources
For more helpful articles, coverage, and answers to common questions about Windows 10, visit the following resources:
- Windows 10 on Windows Central – All you need to know
- Windows 10 help, tips, and tricks
- Windows 10 forums on Windows Central
Mauro Huculak has been a Windows How-To Expert contributor for WindowsCentral.com for nearly a decade and has over 15 years of experience writing comprehensive guides. He also has an IT background and has achieved different professional certifications from Microsoft, Cisco, VMware, and CompTIA. He has been recognized as a Microsoft MVP for many years.
