How to completely remove the 3D Builder app from Windows 10
If the 3D Builder app isn't for you, in this guide, we'll show you the steps to remove it while preventing from accidentally installing it back on Windows 10.
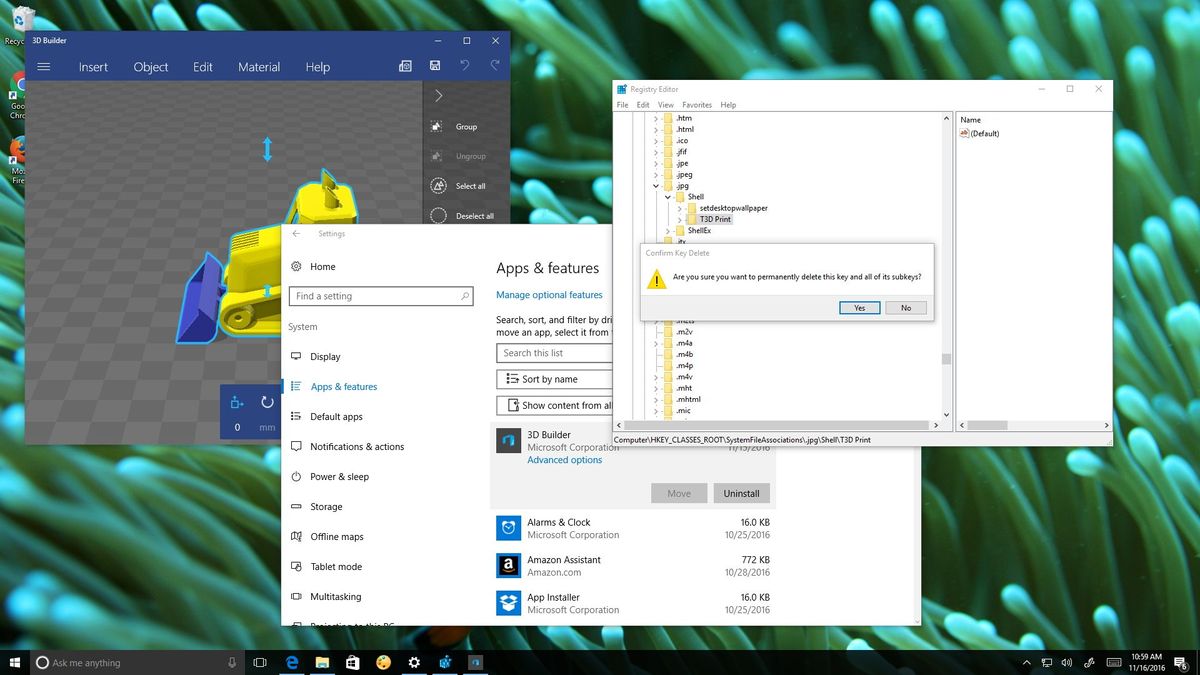
Windows 10 isn't only about new features and improvements. It's also about an operating system that focuses on apps. As Microsoft keeps updating the OS, you might have noticed that they are regularly replacing old apps with new modern ones and adding whole new apps.
One of these new default apps is the new 3D Builder app, which was designed to create, edit, and print 3D models to a 3D printer. However, even though 3D printers are now more affordable, not everyone has one nor needs to use the 3D Builder app.
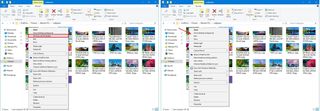
If you don't have an use for the 3D Builder app — like with other built-in apps — you can uninstall it from Windows 10. But there is a little problem: merely uninstalling the app will leave behind the "3D Print with 3D Builder" option in the context menu for .bmp, .jpg, and .png file extensions. And if you click the option by accident, the 3D Builder app will reinstall automatically. Fortunately there is a workaround to prevent this from happening.
In this Windows 10 guide, we'll walk you through the steps to completely remove 3D Builder by uninstalling, and removing the option from the context menu to prevent the app from coming back.
How to uninstall the 3D Builder app
- Open Settings.
- Click on System.
- Click on Apps & features.
- Select 3D Builder.
- Click Uninstall.
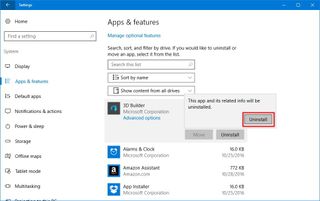
- Click the Uninstall button again to confirm and complete the task.
How to remove the 3D Builder context menu option
Once you uninstall the app, you'll need to edit the Registry to remove the "3D Print with 3D Builder" from the context menu to prevent the app from coming back to Windows 10.
Important: As always, this is a friendly reminder to let you know that editing the registry is risky, and it can cause irreversible damage to your installation if you don't do it correctly. It's recommended to make a full backup of your PC before proceeding.
- Use the Windows key + R keyboard shortcut to open the Run command
- Type regedit, and click OK to open the registry.
- Browse the following path:
HKEY_CLASSES_ROOT\SystemFileAssociations\.bmp\Shell - Under the Shell (folder) key, right-click the T3D Print subkey, and click Delete.
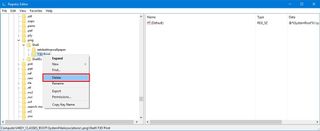
- Click Yes to confirm.
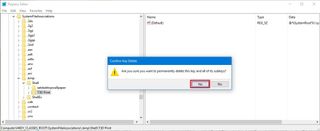
- Browse the following path:
HKEY_CLASSES_ROOT\SystemFileAssociations\.jpg\Shell - Under the Shell (folder) key, right-click the T3D Print subkey, and click Delete.
- Click Yes to confirm.
- Browse the following path:
HKEY_CLASSES_ROOT\SystemFileAssociations\.png\Shell - Under the Shell (folder) key, right-click the T3D Print subkey, and click Delete.
- Click Yes to confirm.
- Close the Registry to complete the task.
After completing the steps, when you right-click an .bmp, .jpg, or .png image files, the context menu will no longer show "3D Print with 3D Builder", which will also prevent you from reinstalling the app by mistake.
Get the Windows Central Newsletter
All the latest news, reviews, and guides for Windows and Xbox diehards.
How to bring back 3D Builder and the context menu option
If the time comes when you need 3D Builder back, you can always reinstall the app by downloading it from the Windows Store.
It's important to note that reinstalling the app won't bring back the T3D Print keys you deleted from the Registry. The only way to restore them is by using a previous backup or exporting each key before deleting them with the steps mentioned above.
To export the T3D Print keys before removing them from the Registry, do the following:
- Use the Windows key + R keyboard shortcut to open the Run command
- Type regedit, and click OK to open the registry.
- Browse the following path:
HKEY_CLASSES_ROOT\SystemFileAssociations\.bmp\Shell - Right-click the T3D Print subkey, and click Export.

- Save the file with a descriptive name.
- Browse the following path:
HKEY_CLASSES_ROOT\SystemFileAssociations\.jpg\Shell - Right-click the T3D Print subkey, and click Export.
- Save the file with a descriptive name.
- Browse the following path:
HKEY_CLASSES_ROOT\SystemFileAssociations\.png\Shell - Right-click the T3D Print subkey, and click Export.
- Save the file with a descriptive name.
When you want to restore the "3D Print with 3D Builder" option in the context menu, simply double-click each .reg files you exported with the above steps and click Yes to merge the key into the Registry.
More Windows 10 resources
For more help articles, coverage, and answers on Windows 10, you can visit the following resources:
- Windows 10 on Windows Central – All you need to know
- Windows 10 help, tips, and tricks
- Windows 10 forums on Windows Central
Mauro Huculak has been a Windows How-To Expert contributor for WindowsCentral.com for nearly a decade and has over 15 years of experience writing comprehensive guides. He also has an IT background and has achieved different professional certifications from Microsoft, Cisco, VMware, and CompTIA. He has been recognized as a Microsoft MVP for many years.
