How to clone GitHub repos on Windows 10, 11, and WSL
Cloning files from GitHub is really easy whether you're using Windows or the Windows Subsystem for Linux.

The Microsoft-owned GitHub platform is the largest of its kind for sharing and collaborating on a variety of code projects. It's also completely free to use for individuals and if a repository is public, anyone can clone it and use the files within.
GitHub is used for a variety of reasons, not least as a way to distribute your own code. One of the absolute basics is cloning a repository from GitHub to your local machine. If you've never done this before it could seem like a foreign concept, but it's really easy to do.
Whether you want to use regular old Windows or the Windows Subsystem for Linux (WSL) this is what you need to know.
Installing Git onto your PC
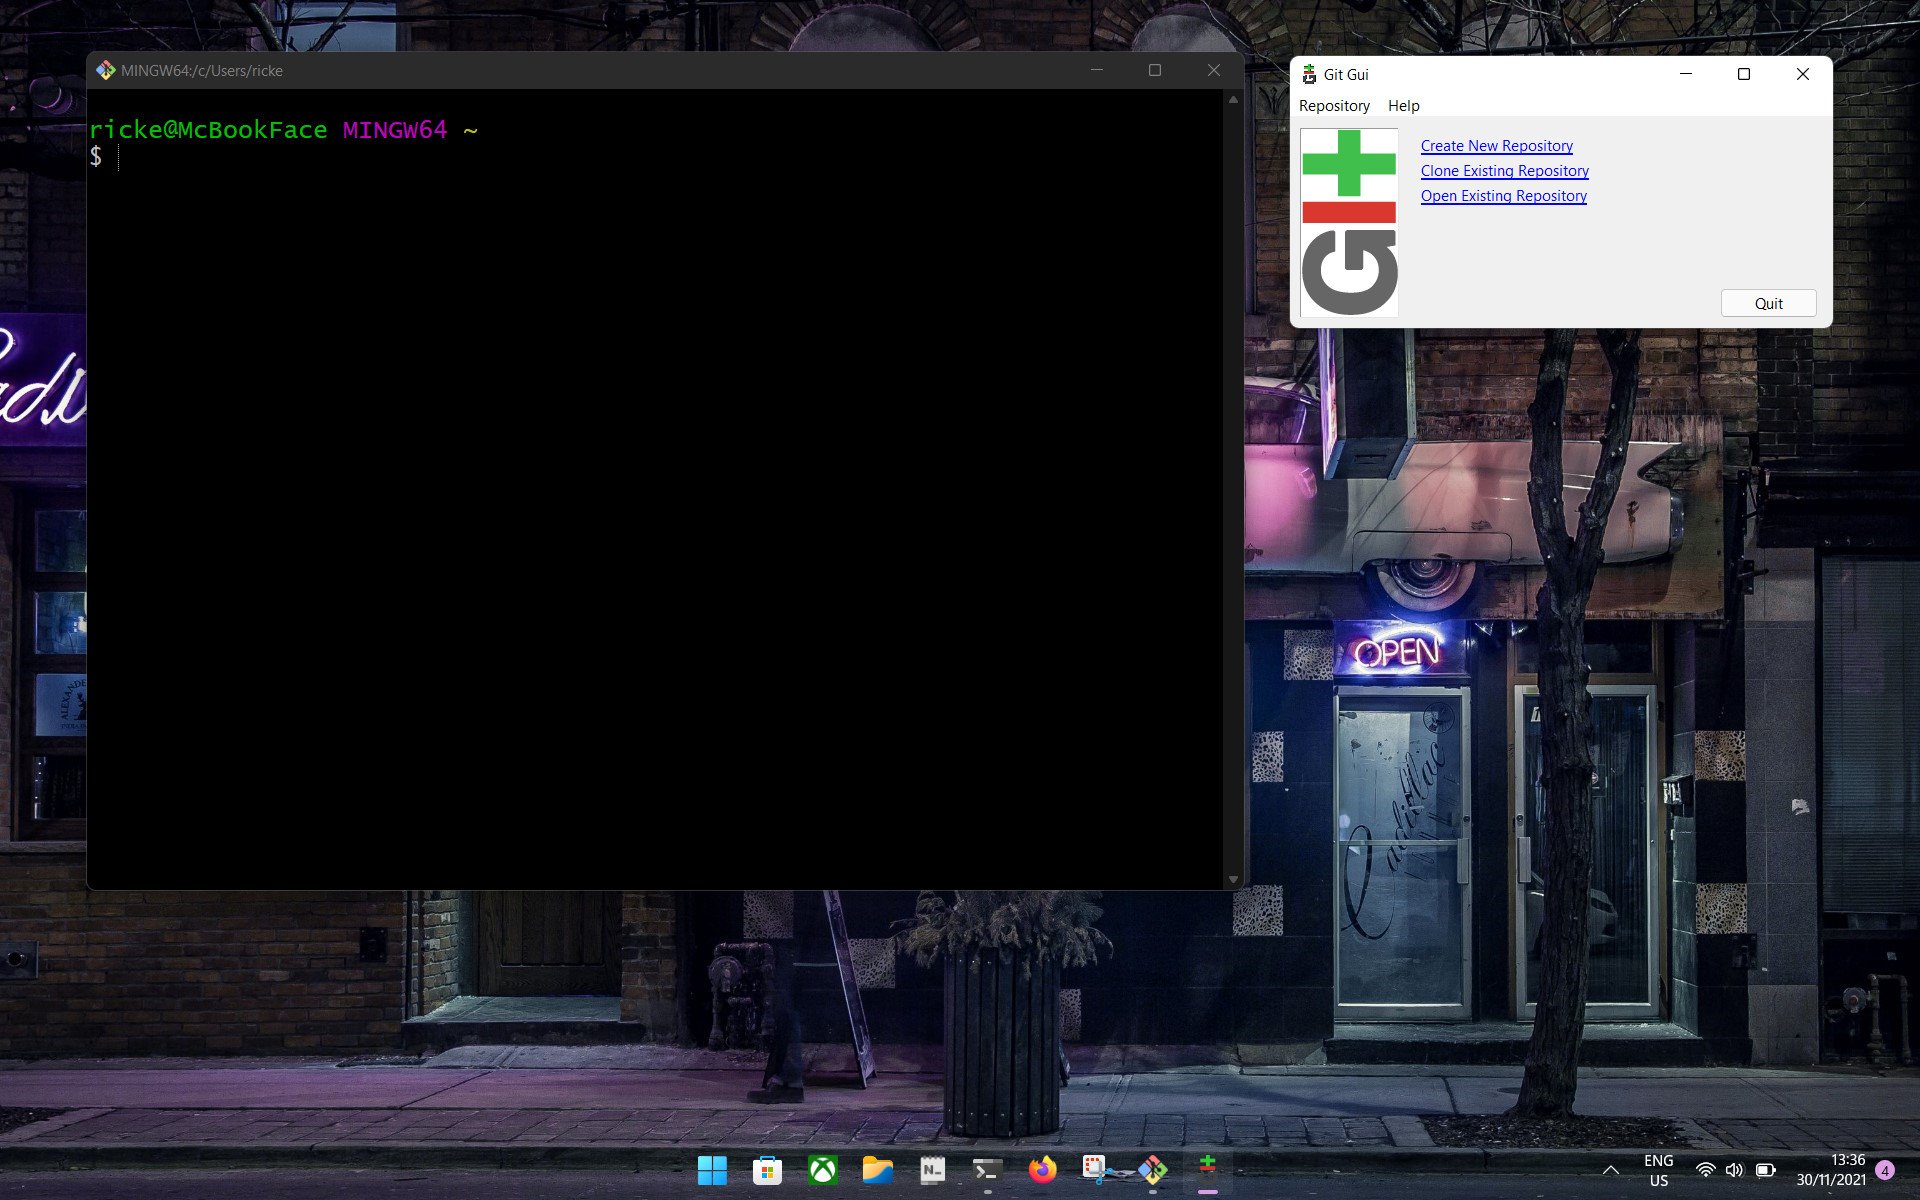
The main tool you'll be using with GitHub is Git. This can be confusing, but Git is the tool and GitHub is the service that interacts with it; Git is completely separate and has nothing to do with Microsoft.
The basic definition of Git is that it's a version control tool, allowing multiple people to interact with the same files independently with the option to merge changes into the master branch.
Git is also the tool that we'll be using to clone a GitHub repo from the cloud to a local machine.
To install Git on Windows you can simply go to the website and download the executable, or if you want to use the Windows Package Manager, open up a new PowerShell window and enter
Get the Windows Central Newsletter
All the latest news, reviews, and guides for Windows and Xbox diehards.
winget install git.
In WSL distros like Ubuntu and Debian you can install Git using the command
sudo apt install git. It should already be installed when you set up your WSL installation, but if it isn't this command is all you need.
On Windows, the Git installation will come with its own terminal. You can use this if you wish, but you can also just interact with it inside PowerShell. Especially if it's an environment you're already comfortable with.
How to clone a GitHub repo to your PC
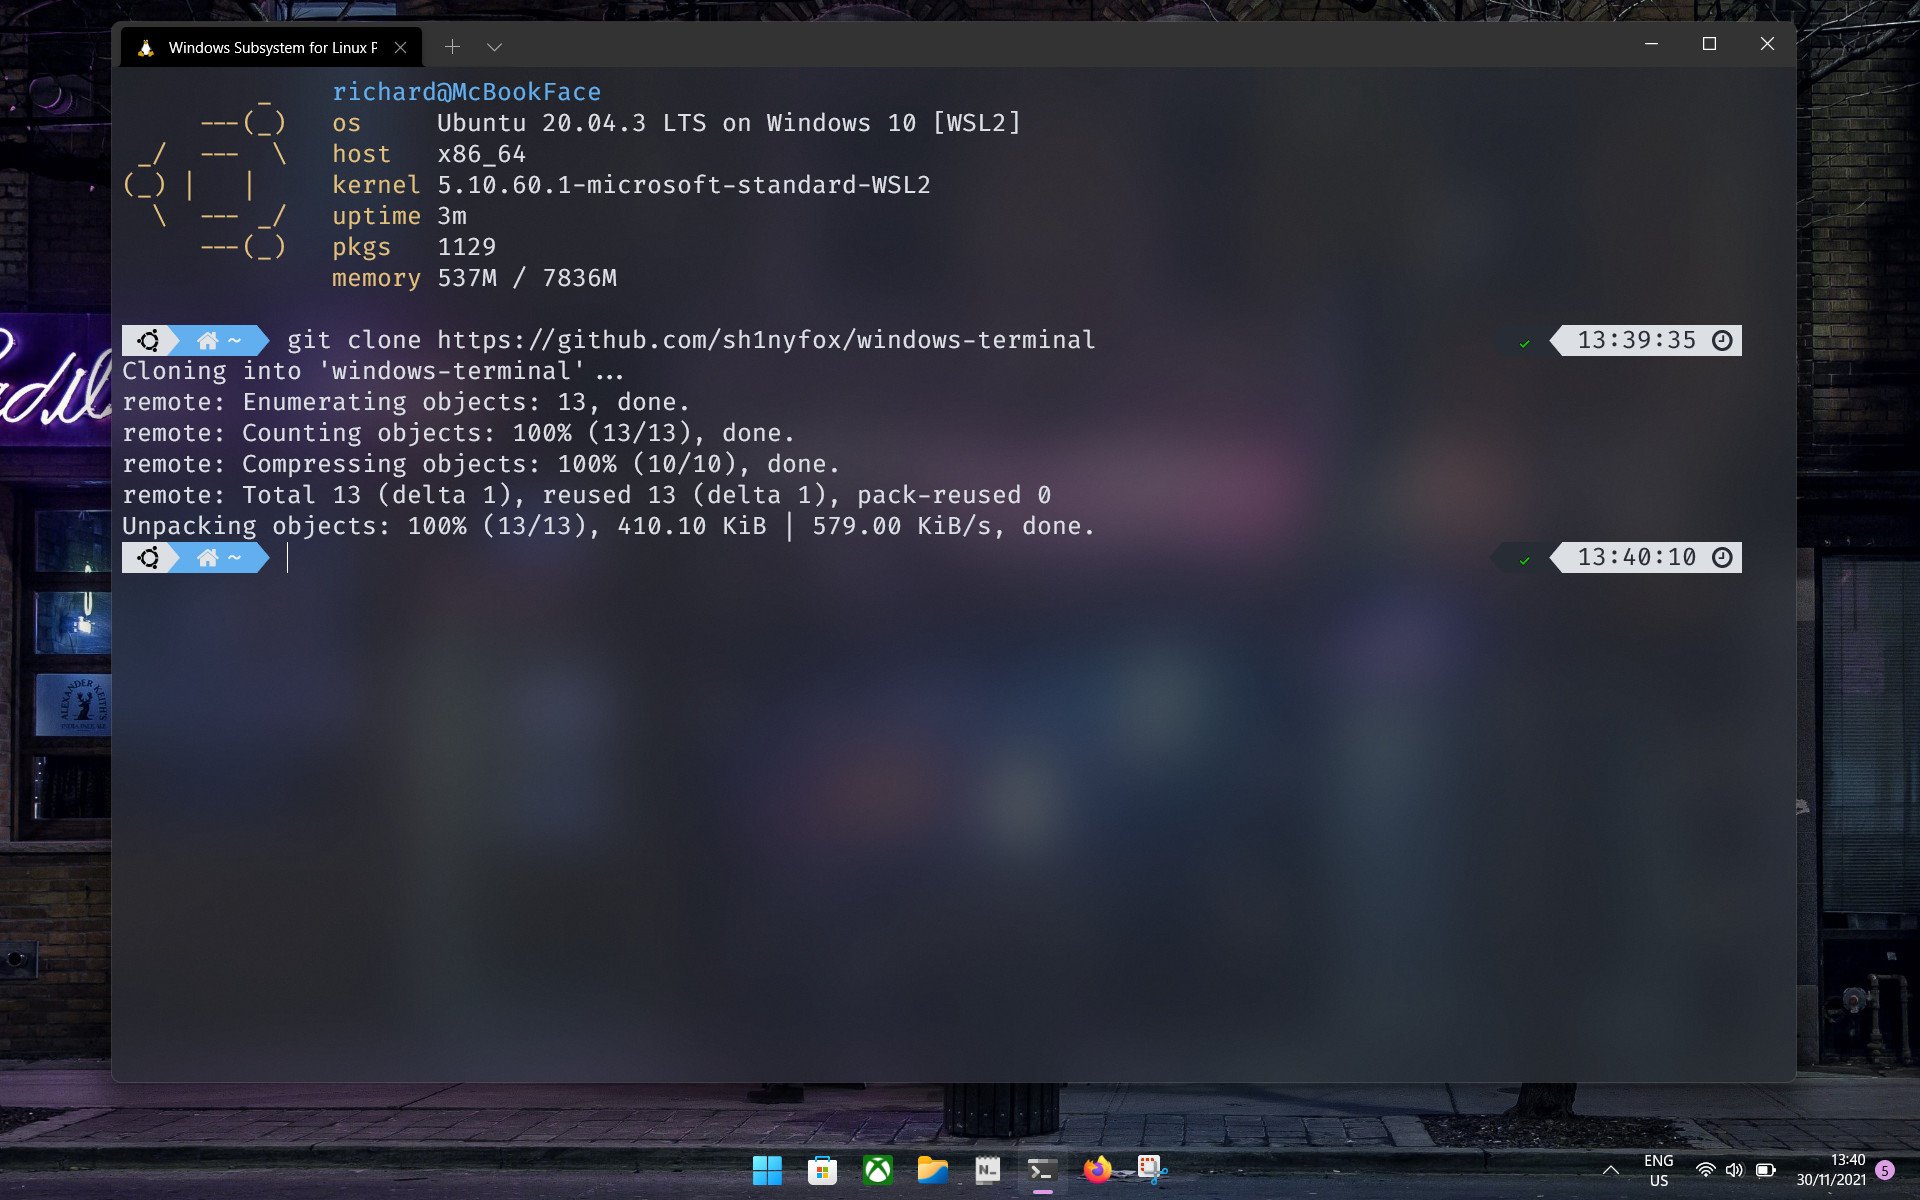
Cloning is one of the most basic functions of Git and one that you can use happily without getting in the weeds too much if all you're interested in is being able to pull content from GitHub. Cloning is essentially downloading, in so much as you point your local Git client at the destination on GitHub and it will pull the content down, creating a new directory on your local machine.
Whether you're working within PowerShell using Git for Windows or you're inside WSL, the commands you need are the same. Git is platform-agnostic, so you can learn it once and use it everywhere.
When you clone the repo in the terminal, it will create your local folder inside whatever directory your command line is in at that point. So if you want to put it somewhere specific, find the right location in File Explorer then right-click and open in PowerShell/Windows Terminal. WSL distros can also access the Windows filesystem so if you're using Linux on your Windows box, the same idea applies. It will only save to the Linux file system if you tell it to.
Cloning from GitHub basically requires you to get a web address to feed into the Git client. For this example, we're going to clone the Microsoft Visual Studio Code repo.
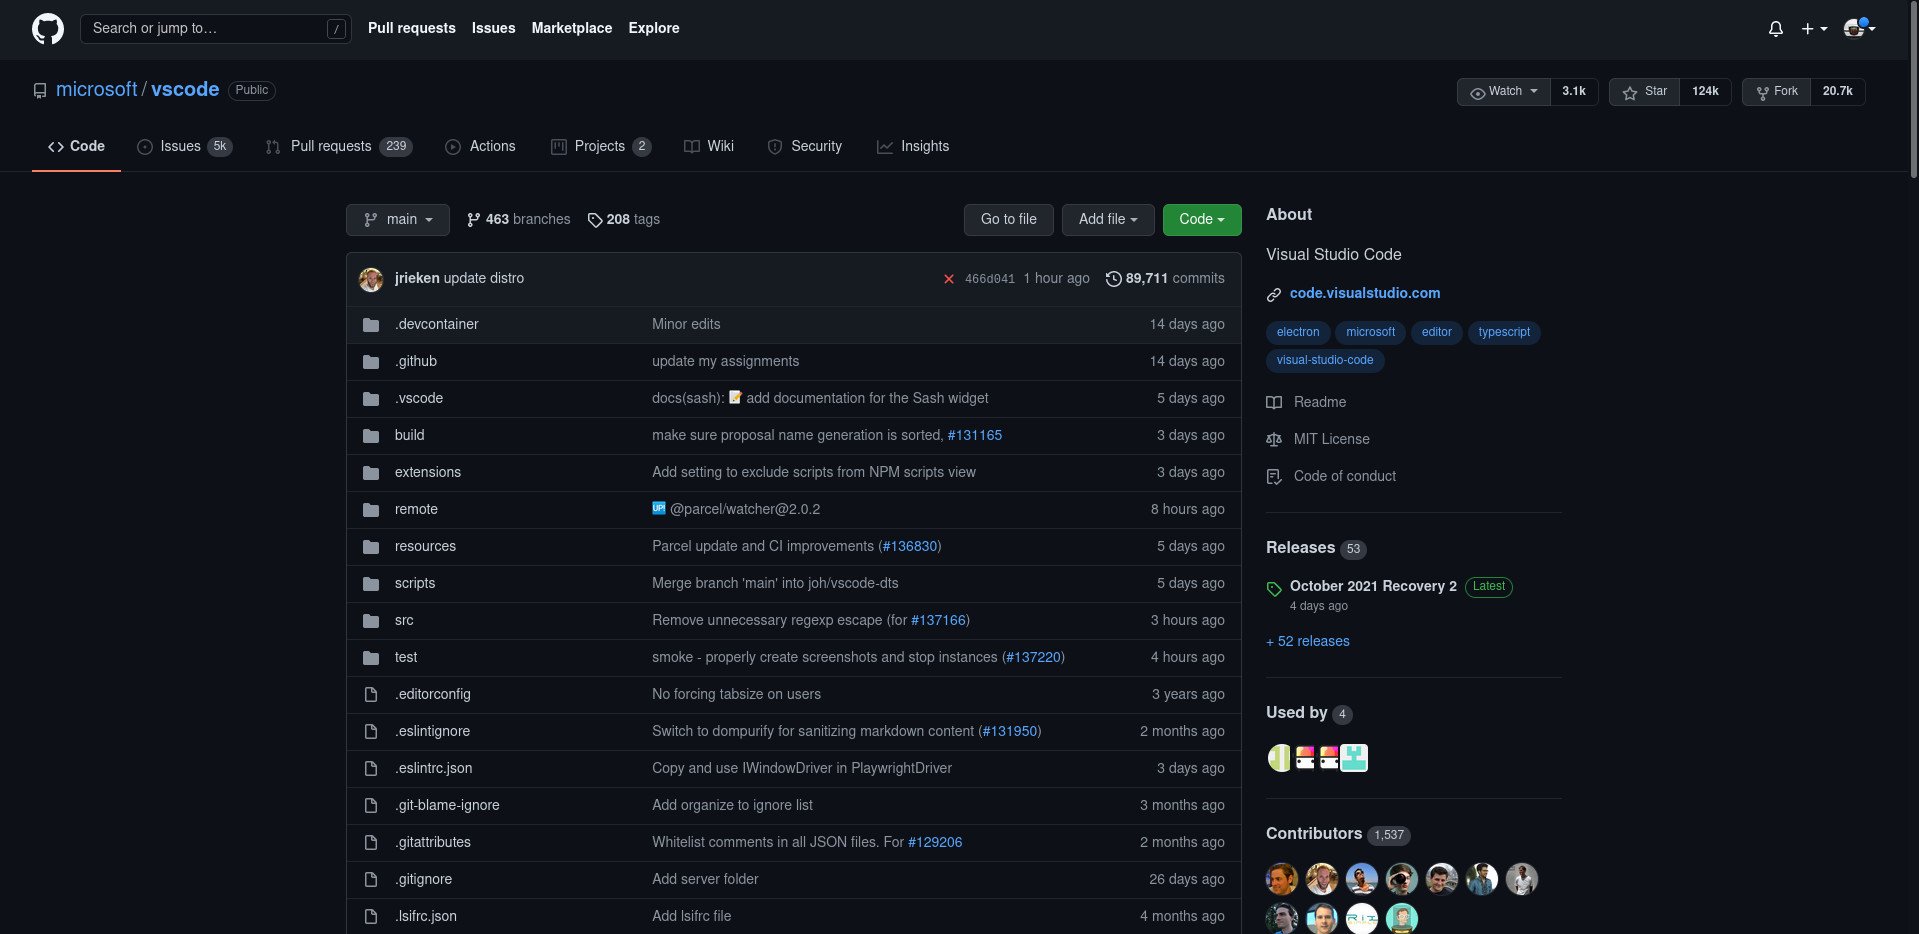
- Find the repo you want on the GitHub website. For this example, we're using https://github.com/microsoft/vscode
- Click the button labeled Code.
- Select HTTPS.
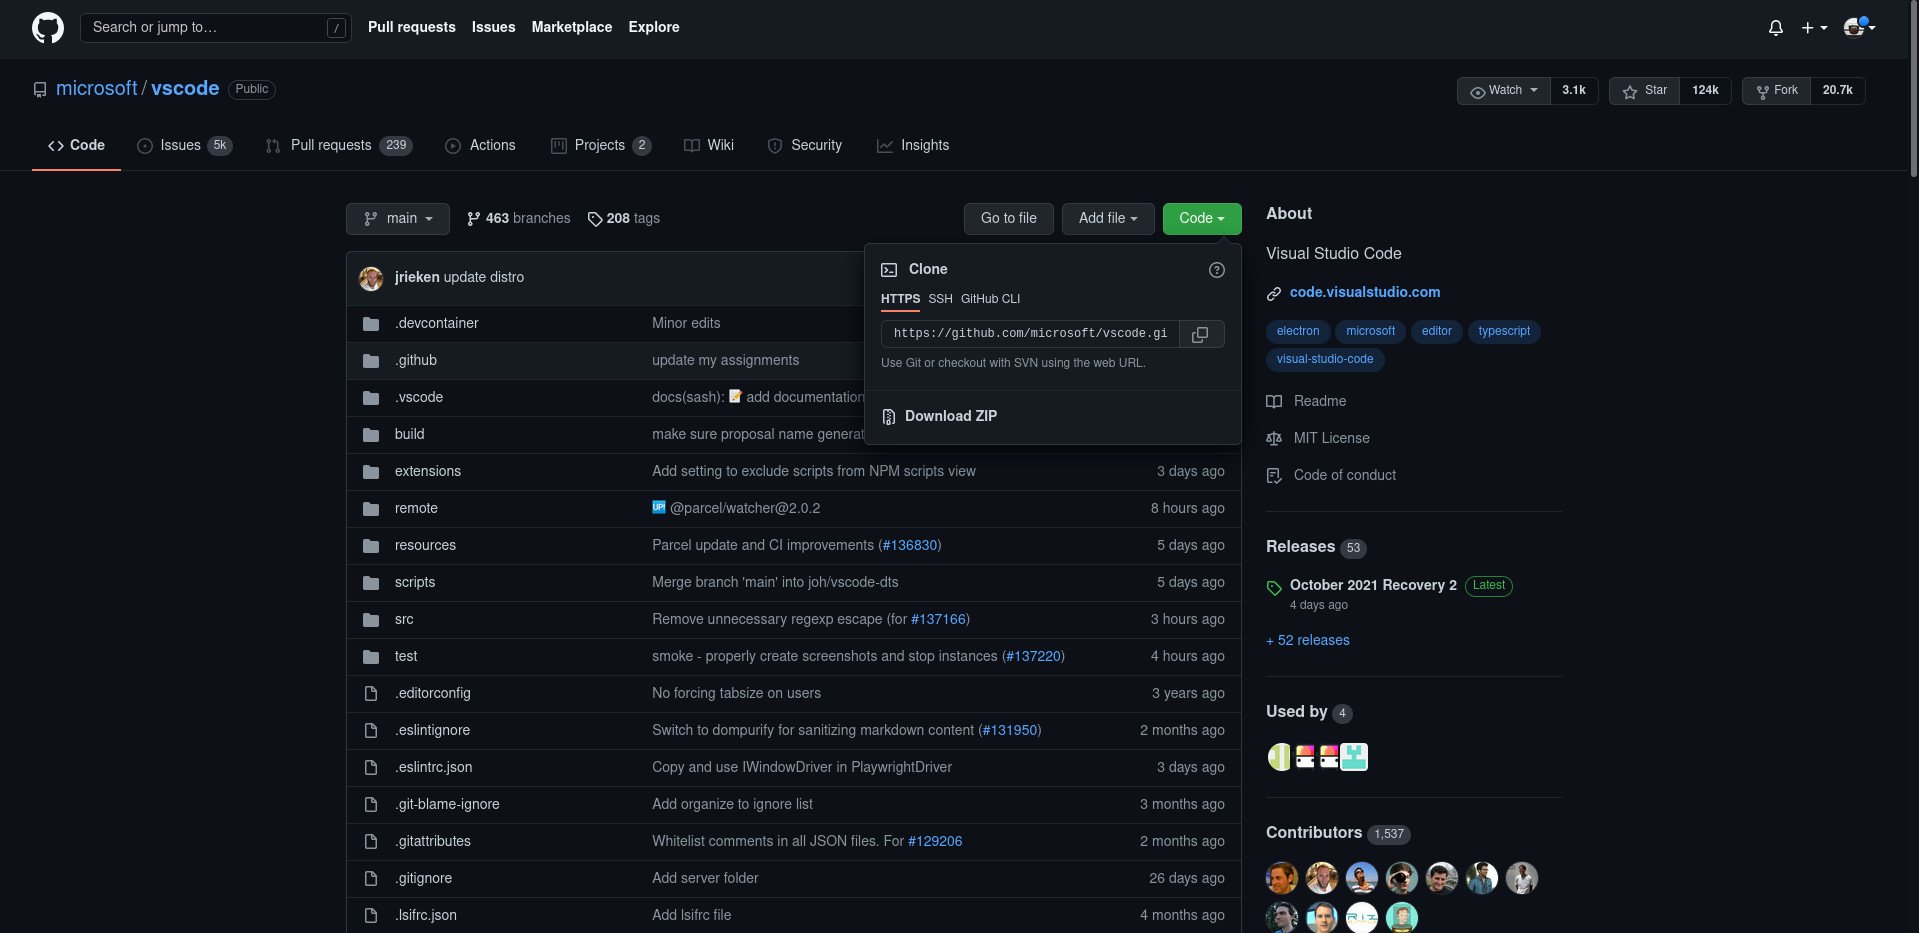
- Copy the URL.
- Open up your chosen terminal. Whether it's WSL or PowerShell the Git commands are the same.
- In the terminal enter
git clone https://github.com/microsoft/vscode
Git will now pull the entire contents of the chosen repository down to your local machine. It doesn't pick and choose; you get the whole lot. You'll also get the README.md file which is used to create any text and instructions on the front page of the repo.
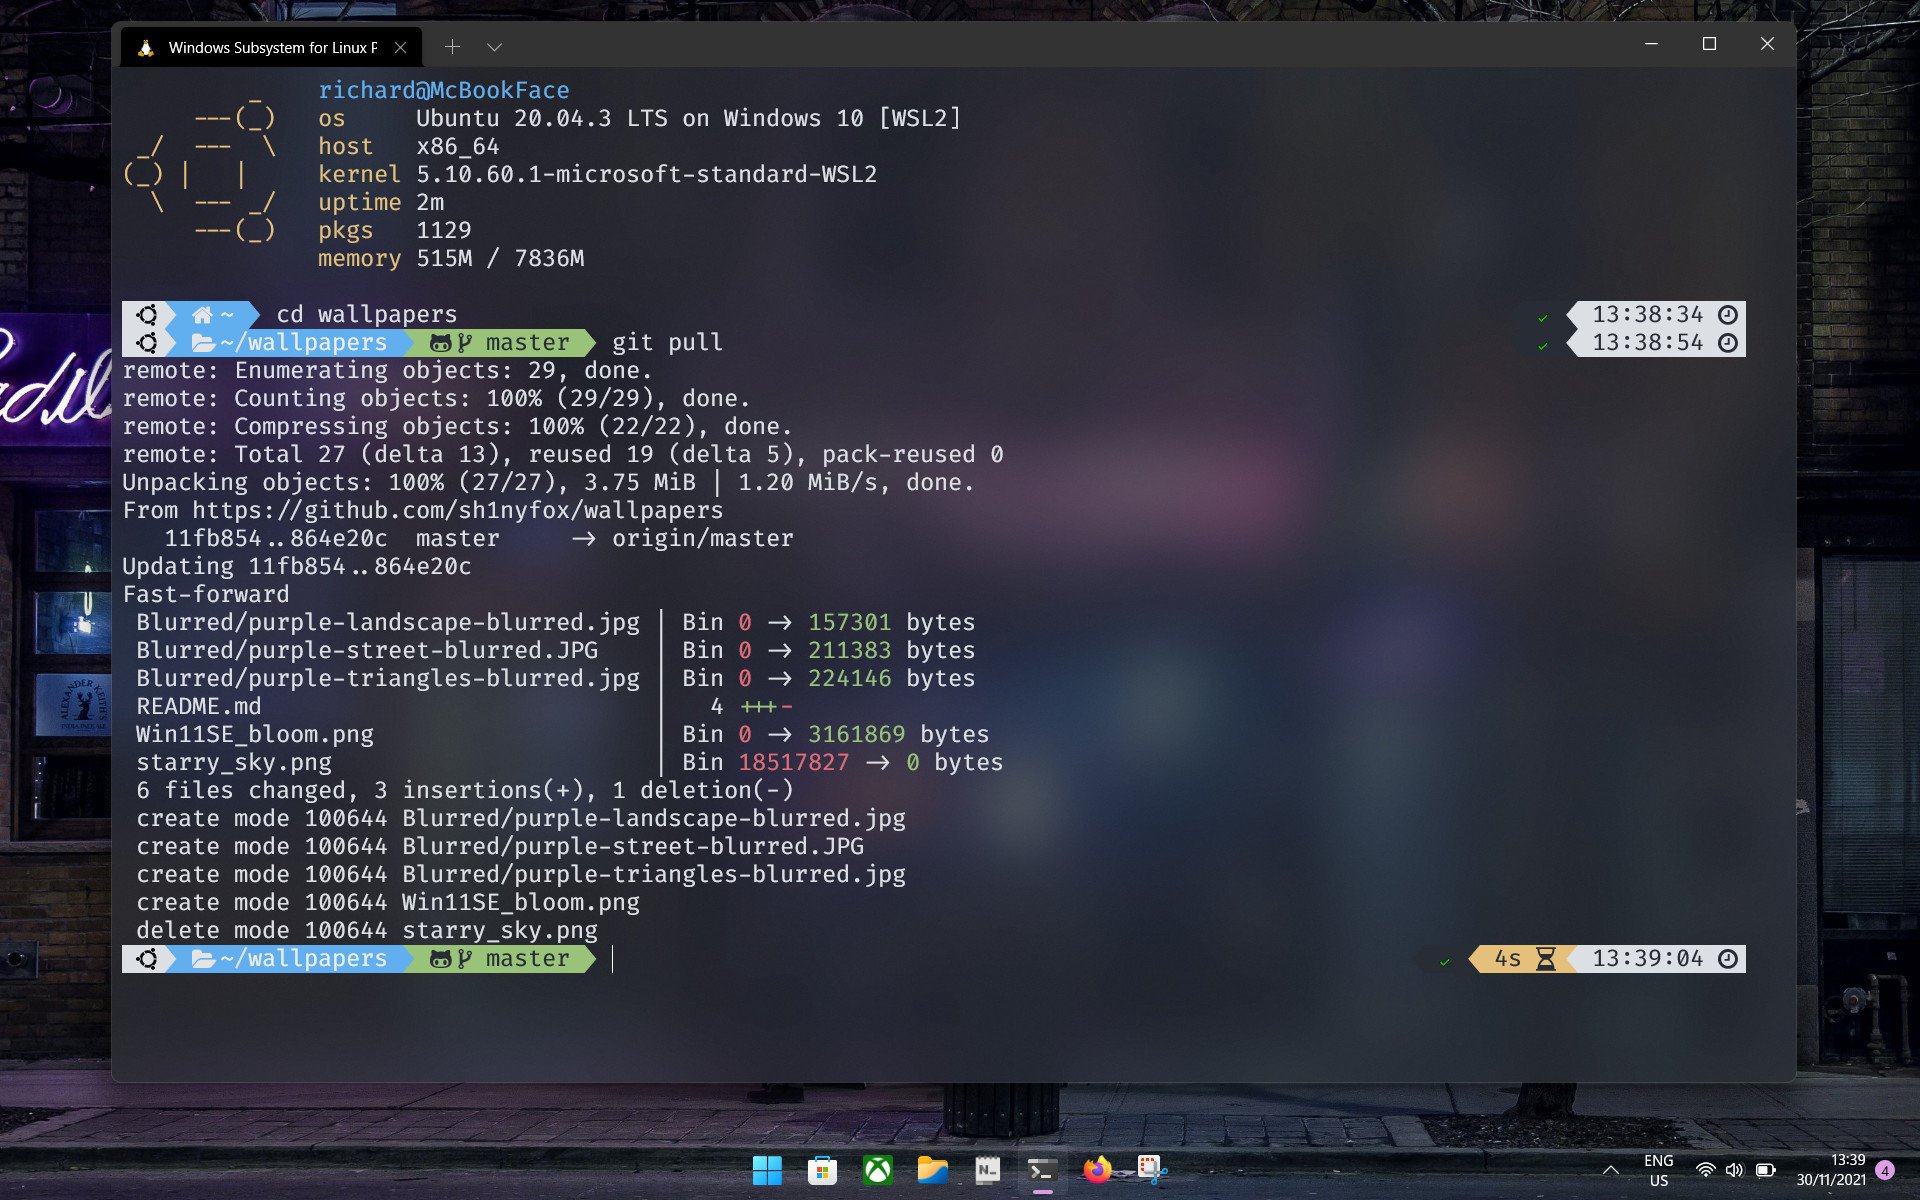
You now have a local copy of a GitHub repository, but what if it gets updated? Everything you pull from GitHub will be an initialized Git repository, with files inside that allow it to interact with Git, and in turn, allow you to pull updates. It allows much more but as this tutorial is only focused on cloning, updates are all we're interested in.
To get the latest update to a GitHub repository, open up your terminal inside the folder you initially cloned (using the steps above if it's easier) and enter
git pull. That's all there is to it, and Git will now compare your copy of the repository to that hosted on GitHub and will download any changes.
You now know how to clone and pull updates from any GitHub repository. Unless you have the right permissions you won't be able to make any changes to the hosted files, so anything you do locally is totally fine. Go forth and clone!

Richard Devine is a Managing Editor at Windows Central with over a decade of experience. A former Project Manager and long-term tech addict, he joined Mobile Nations in 2011 and has been found on Android Central and iMore as well as Windows Central. Currently, you'll find him steering the site's coverage of all manner of PC hardware and reviews. Find him on Mastodon at mstdn.social/@richdevine
