How to change a Windows 10 user account type and why you might want to
How Tos
By
Mauro Huculak
published
If you have to extend or restrict user control on a device, you can quickly complete this task by changing the account type, and here's how on Windows 10.
Add us as a preferred source on Google
How to change user account type using PowerShell
To change a Windows 10 account type with PowerShell, use these steps:
- Open Start.
- Search for PowerShell, right-click the top result, and select the Run as administrator option.
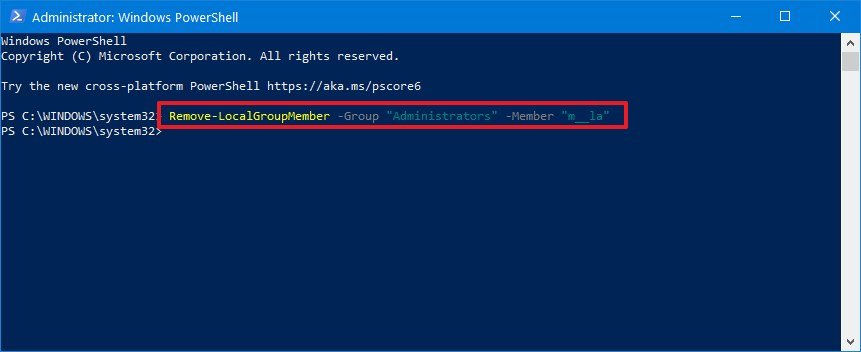
- Type the following command to change the account type to "Standard User" and press Enter:
Remove-LocalGroupMember -Group "Administrators" -Member "ACCOUNT-NAME"In the command, make sure to change the ACCOUNT-NAME for the actual name of the account that you want to change. If you're trying to change an account using a Microsoft account, then the account name would be the first five letters of the email address.
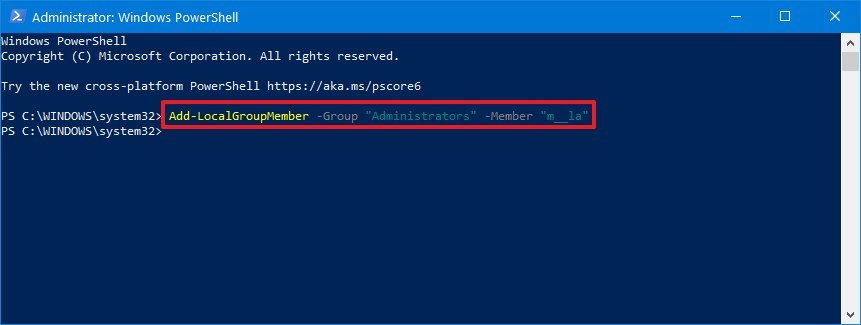
- Type the following command to change the account type to "Administrator" and press Enter:
Add-LocalGroupMember -Group "Administrators" -Member "ACCOUNT-NAME"In the command, make sure to change the ACCOUNT-NAME for the actual name of the account that you want to change.Quick note: Users with administrator accounts are part of both, the "Administrators" and "Users" groups. As a result, to make a user standard, you only need to remove the user from the "Administrators" group.
After you complete the steps, the account type will switch to the Administrator or Standard group depending on your configuration.
Get the Windows Central Newsletter
All the latest news, reviews, and guides for Windows and Xbox diehards.
TOPICS

Mauro Huculak has been a Windows How-To Expert contributor for WindowsCentral.com for nearly a decade and has over 22 years of combined experience in IT and technical writing. He holds various professional certifications from Microsoft, Cisco, VMware, and CompTIA and has been recognized as a Microsoft MVP for many years.
LATEST ARTICLES


