How to change mouse speed on Windows 11 or Windows 10
If you feel the need to change your mouse pointer speed, we'll show you three ways to complete this task on Windows 11.
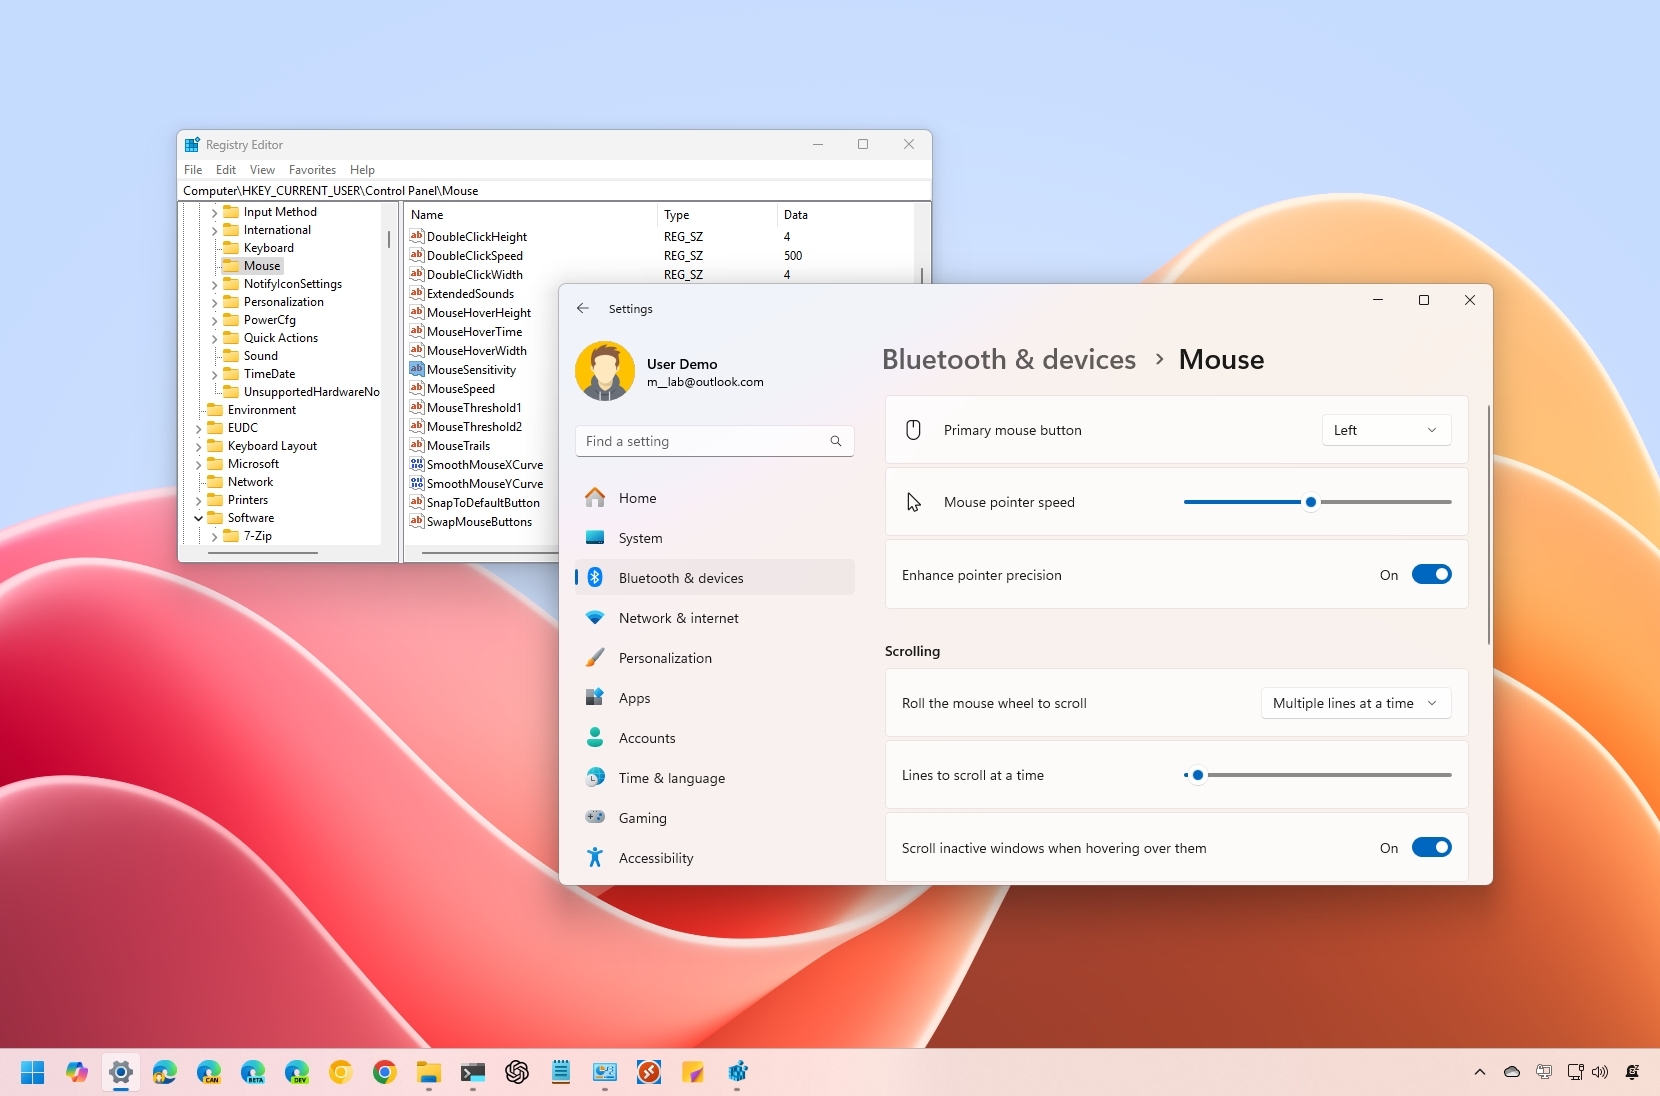
On Windows 11, the mouse is an essential tool for navigating and performing actions with ease. To ensure the best experience, it’s important to optimize its settings to match your preferences.
If the default mouse pointer speed feels too fast or too slow (perhaps you need quicker movement across a multi-monitor setup or slower pacing for better precision), Windows 11 provides several methods to adjust this feature. You can use the Settings app, Control Panel, or Registry Editor to fine-tune the speed to your liking.
In this how-to guide, I'll outline the steps to change the mouse speed on your computer.
Updated to include information on Windows 10 for all of you die-hards out there.
How to change mouse speed using Settings on Windows 11
To adjust the mouse pointer speed on Windows 11, use these steps:
- Open Settings.
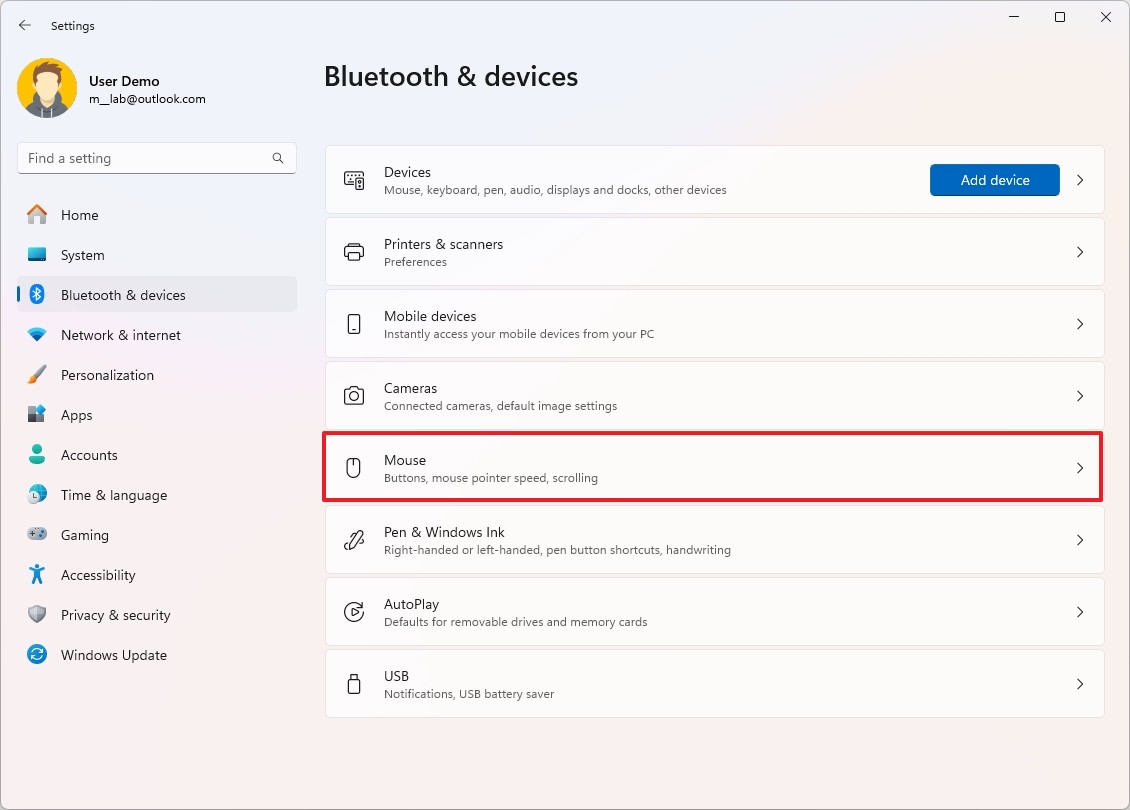
- Click on Bluetooth & devices.
- Click the Mouse page on the right side.
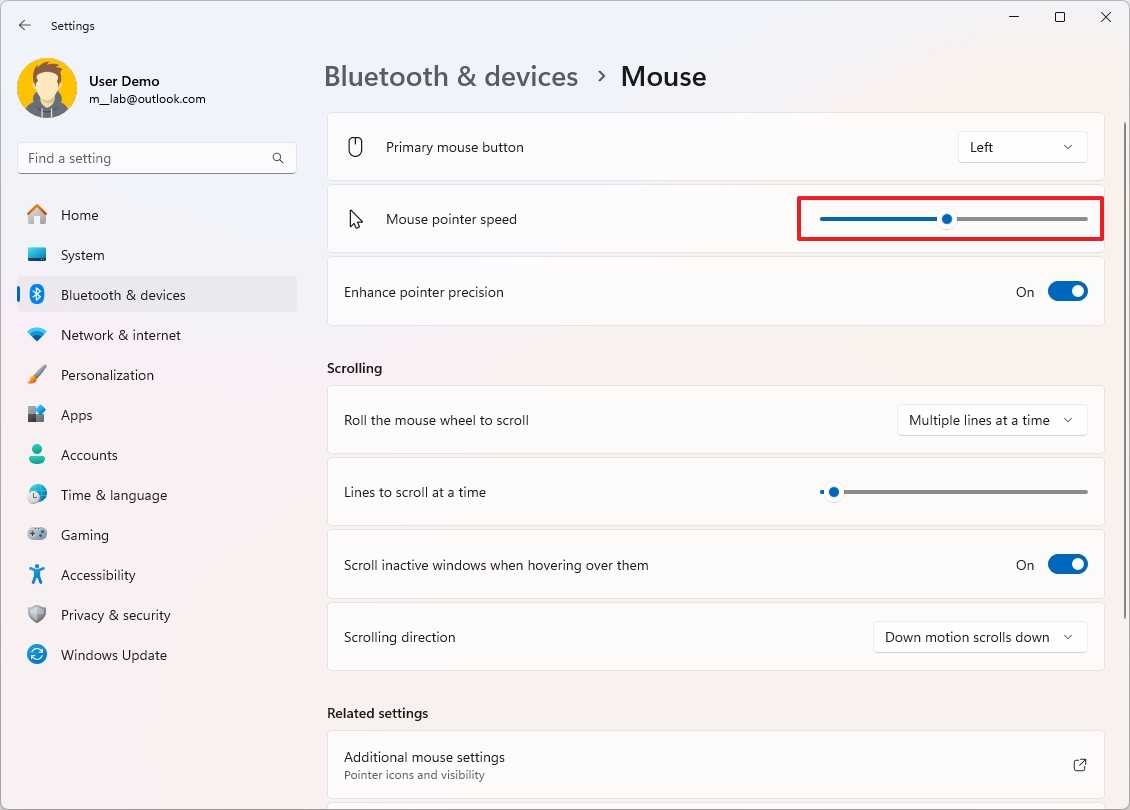
- Use the "Mouse pointer speed" slider to adjust the pointer speed.
Once you complete the steps, the mouse movements will reflect the speed you selected on the settings page.
How to change mouse speed using Control Panel on Windows 11
To change the mouse speed with Control Panel, use these steps:
- Open Settings.
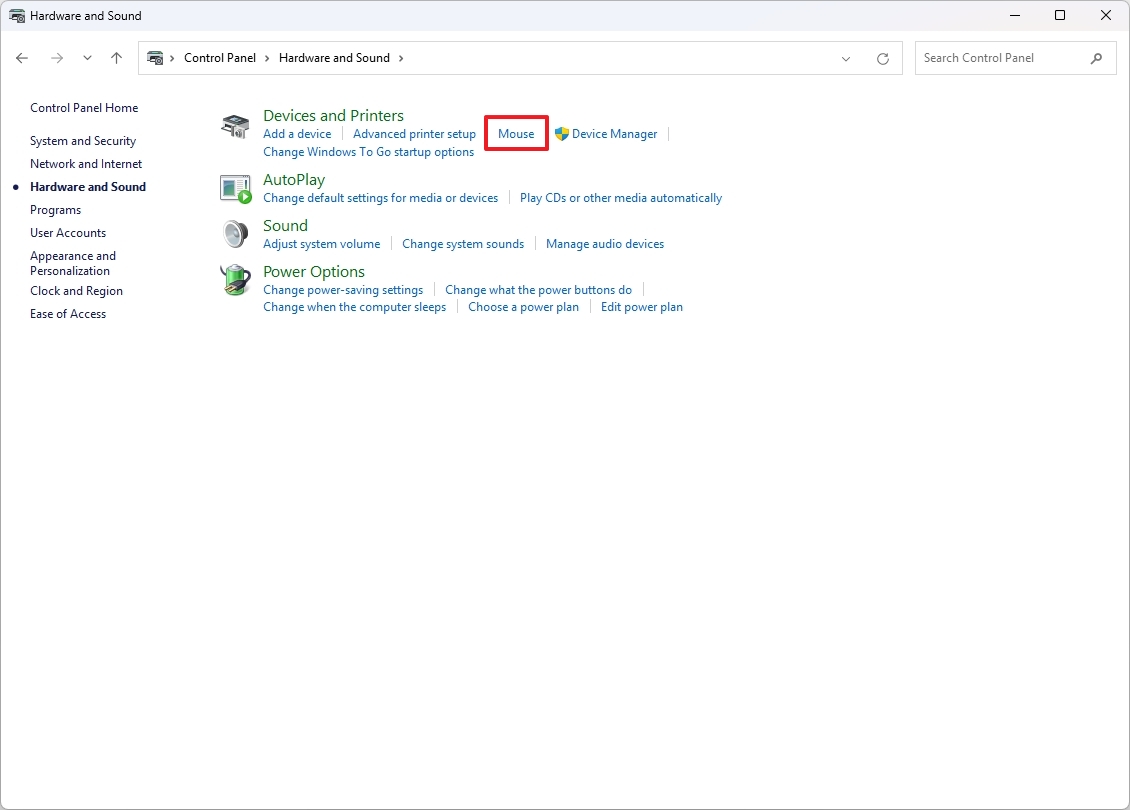
- Click on Hardware and Sound.
- Click the Mouse option under the "Devices and Printers" section.
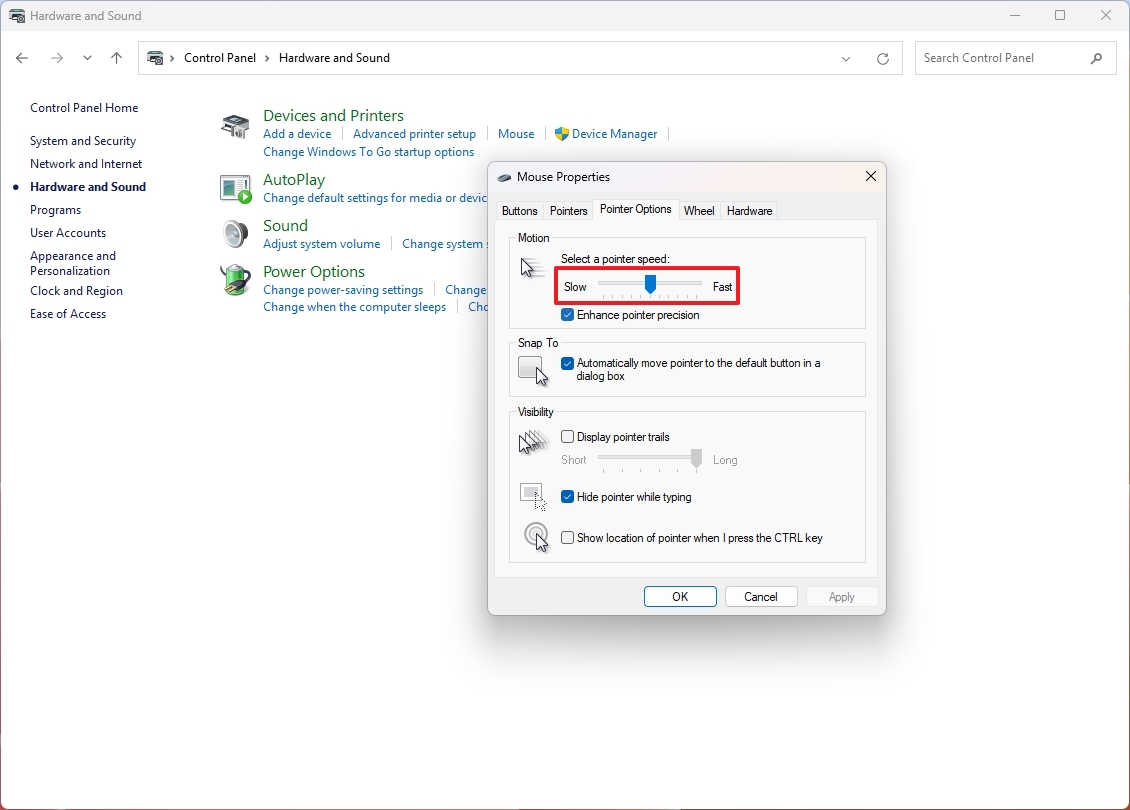
- Click the Pointer Options tab.
- Under the "Motion" section, use the slider to increase or decrease the speed of the mouse pointer.
After you complete the steps, Windows 11 will apply the new speed for the mouse pointer on your computer.
All the latest news, reviews, and guides for Windows and Xbox diehards.
How to change mouse speed using Registry on Windows 11
Warning: This is a friendly reminder that editing the Registry is risky, and it can cause irreversible damage to your installation if you don't do it correctly. Before proceeding, it's recommended to make a full backup of your computer.
To change the mouse speed through the Registry Editor, use these steps:
- Open Start.
- Search for regedit and click the top result to open the Registry Editor.
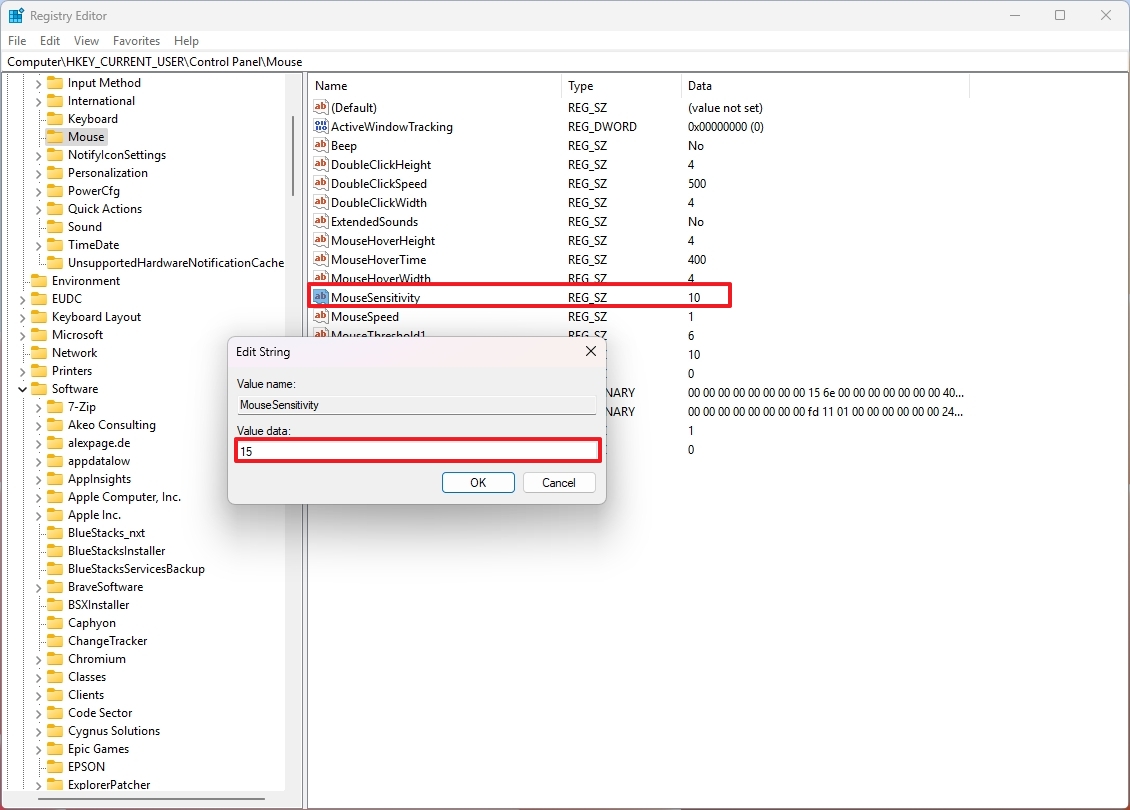
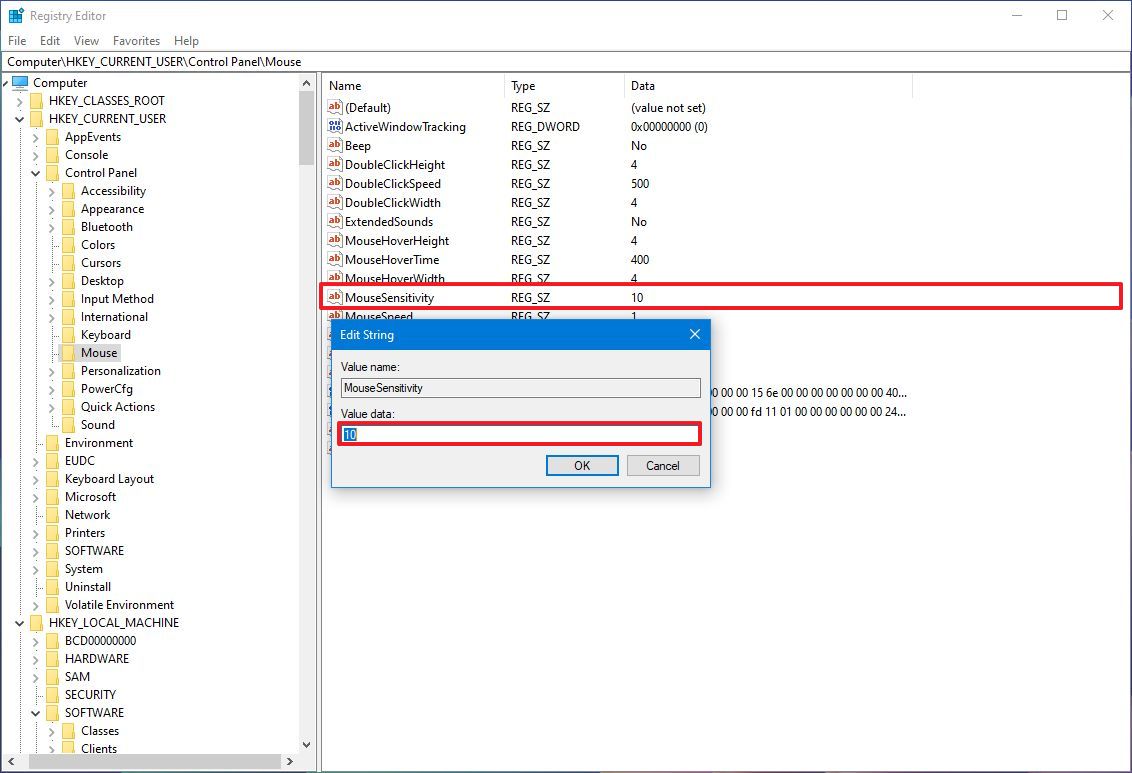
- Browse the following path: HKEY_CURRENT_USER\Control Panel\Mouse
- Double-click the MouseSensitivity key and set the value to any number from 1 to 20 to set the desired speed.
- Quick tip: The default value is "10," which means you should use a smaller number to slow the mouse or a higher number to speed up the mouse pointer.
- Click the OK button.
- Restart your computer.
Once you complete the steps, the mouse pointer should work at the speed you specified in the "MouseSensitivity" key.
If you want to reverse the changes, follow the same instructions outlined above, but in step 4, change the value to 10 to reset the speed to its default value.
More resources
For more helpful articles, coverage, and answers to common questions about Windows 10 and Windows 11, visit the following resources:
- Windows 11 on Windows Central — All you need to know
- Windows 10 on Windows Central — All you need to know
How to change mouse speed using Settings
To adjust the mouse speed on Windows 10, use these steps:
- Open Settings.
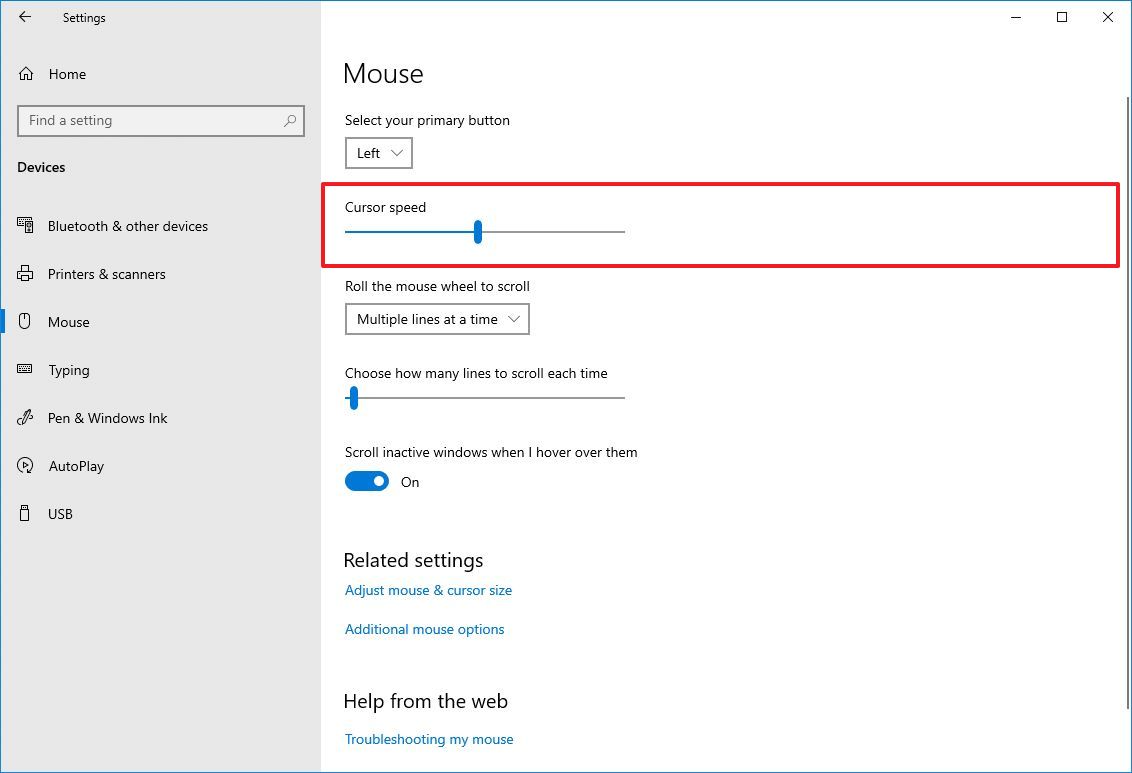
- Click on Devices.
- Click on Mouse.
- Use the Cursor speed slider and change the setting to the desired speed (slow or fast).
Once you complete the steps, the mouse speed will change to the level you specified.
How to change mouse speed using Control Panel
To change the mouse speed with Control Panel, use these steps:
- Open Control Panel.
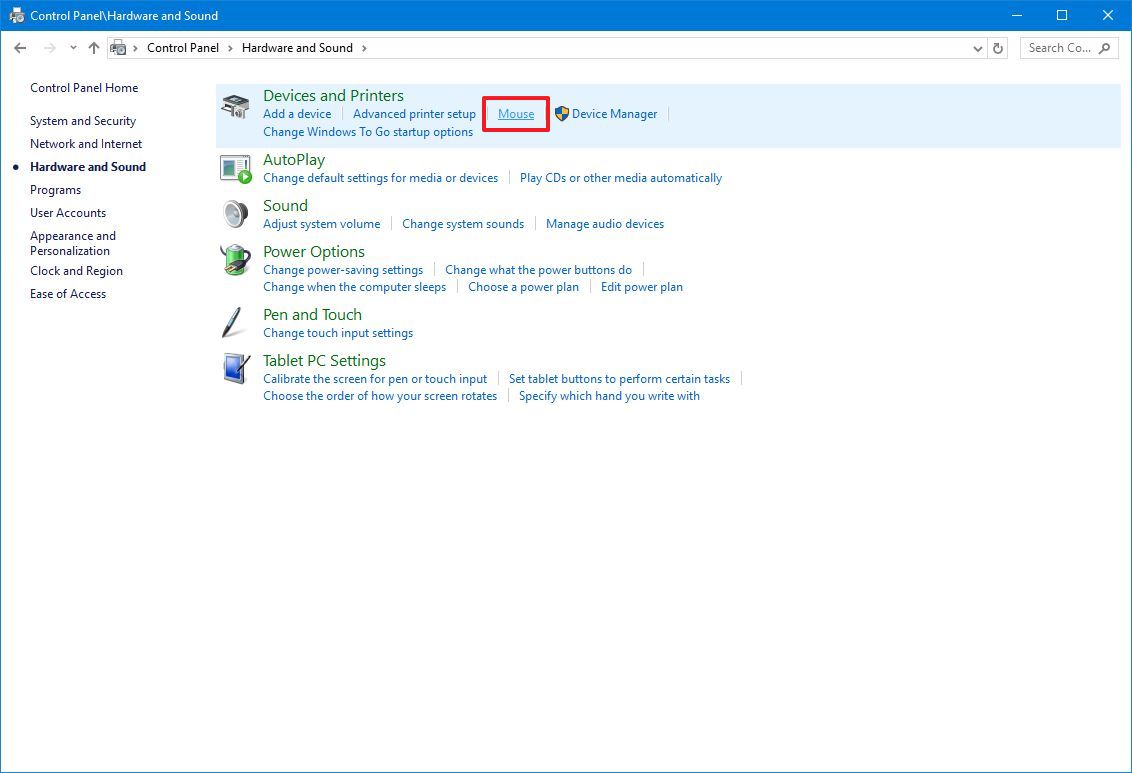
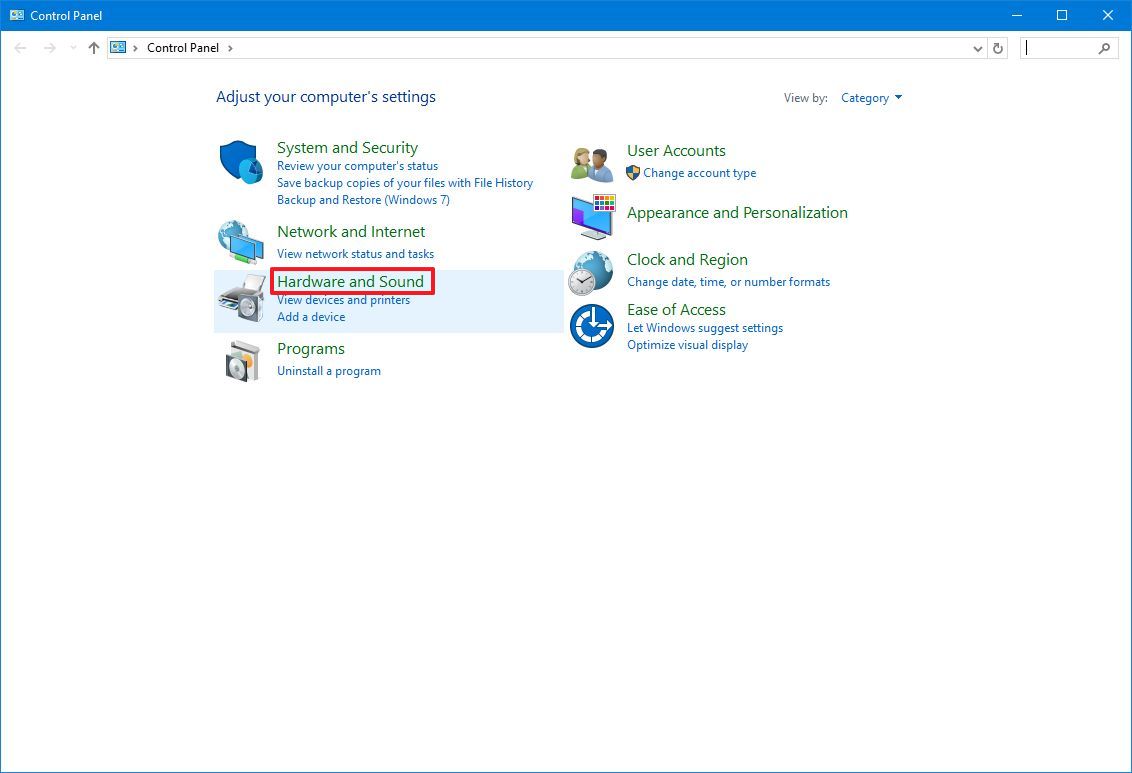
- Click on Hardware and Sound.
- Click the Mouse option under the "Devices and Printers" section.
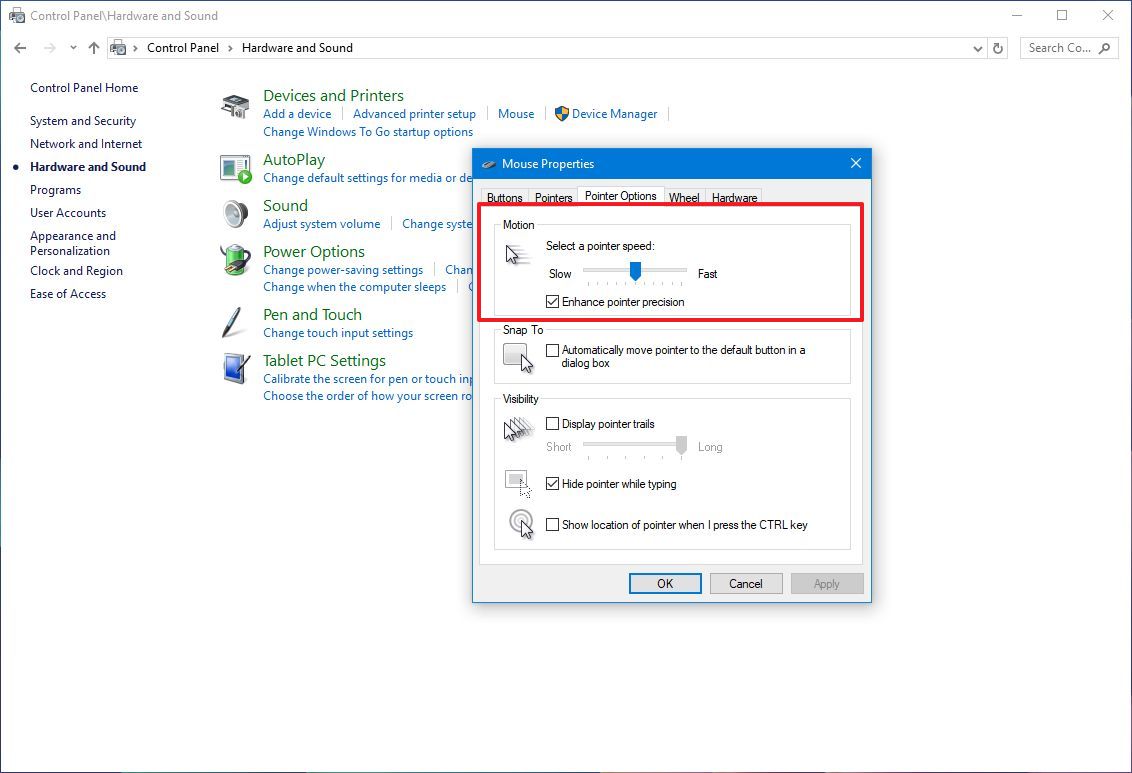
- Click the Pointer Options tab.
- Under the "Motion" section, use the slider to adjust the speed sensitivity.
- Click the Apply button.
- Click the OK button.
After you complete the steps, you can start using the mouse pointer with the speed you specified.
How to change mouse speed using Registry
Alternatively, you can adjust the mouse's sensitivity by modifying the registry.
Warning: This is a friendly reminder that editing the Registry is risky and can cause irreversible damage to your installation if you don't do it correctly. It's recommended that you make a full backup of your PC before proceeding.
To change the mouse speed by modifying the Registry, use these steps:
- Open Start.
- Search for regedit and click the top result to open the Registry.
- Browse the following path: HKEY_CURRENT_USER\Control Panel\Mouse
- Quick tip: On Windows 10, you can now copy and paste the path in the Registry's address bar to quickly jump to the key destination.
- Double-click the MouseSensitivity key and set the value to any number from 1 to 20 to set the desired speed.
- Quick tip: Usually, the default value is "10." Anything below this number will make the mouse pointer slower, and anything higher will make it faster.
- Click the OK button.
- Restart your computer.
Once you complete the steps, the speed of the mouse should be reflected after restarting the device.
You can always revert the changes by using the same instructions, but on step 4, make sure to set the value to 10 or the previously configured value.
More resources
Find in-depth guides, troubleshooting tips, and the latest updates on Windows 11 and 10 here:

Mauro Huculak has been a Windows How-To Expert contributor for WindowsCentral.com for nearly a decade and has over 22 years of combined experience in IT and technical writing. He holds various professional certifications from Microsoft, Cisco, VMware, and CompTIA and has been recognized as a Microsoft MVP for many years.
You must confirm your public display name before commenting
Please logout and then login again, you will then be prompted to enter your display name.
