How to change default OneDrive folder location on Windows 10
If you have a primary drive with limited storage, use this guide to move your OneDrive files to a different location on Windows 10.
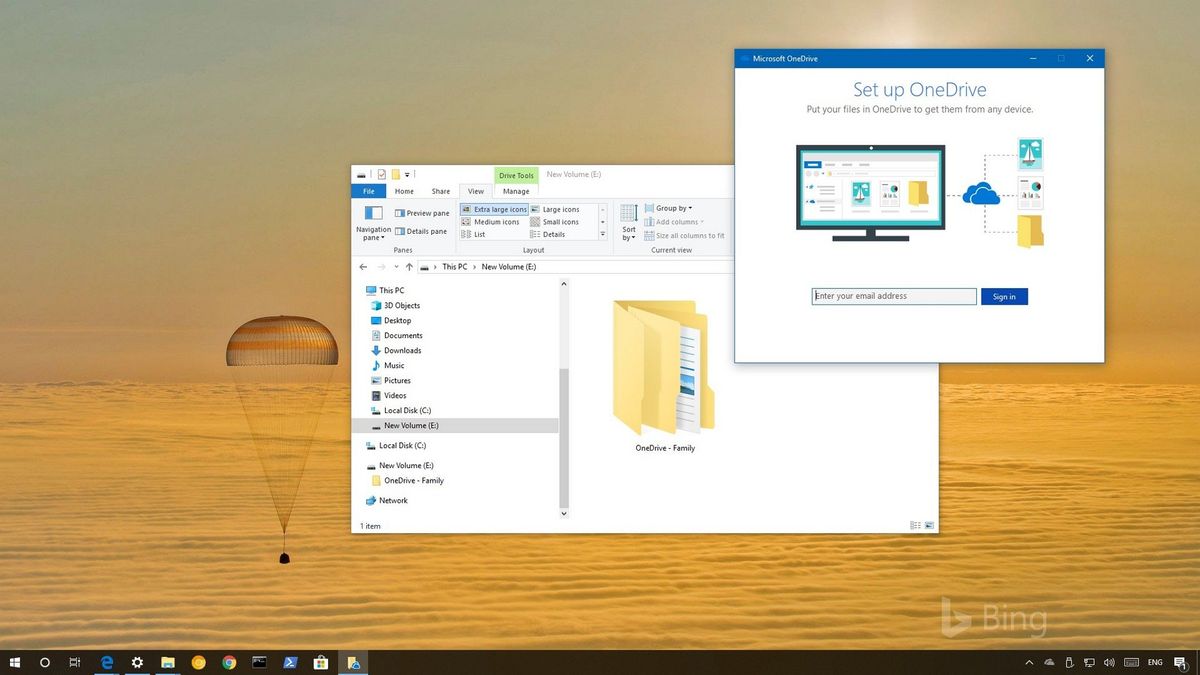
The OneDrive client for Windows 10 now includes Files On-Demand, a feature that allows you to access your files in the cloud using File Explorer without having to sync them directly to your device. Although File On-Demand is a nifty feature, if you must keep your files always available locally and backed up in the cloud, but your system drive doesn't have enough storage, OneDrive doesn't include an option to use a removable storage or secondary hard drive in its settings.
However, if you're in this situation, you can relocate the default OneDrive folder to another folder, partition, or external hard drive doing a simple disconnect, move, and reconnect process.
In this Windows 10 guide, we'll walk you through the steps to change the OneDrive default folder location without having to re-sync the files already stored locally on your computer.
How to relocate OneDrive folder on Windows 10
If you want to use a different location to store your OneDrive folder without spending additional time and bandwidth to sync your files again, then use these steps:
- Click theOneDrive (cloud) icon in the taskbar.
- Click the More button.
- Click on Settings.
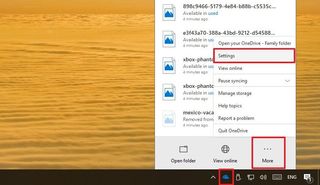
- Click on the Accounts tab.
- Click the Unlink OneDrive option.

- Click the Unlink account button.
- Close the "Set up OneDrive" page (if applicable).
- Open the Run command (Windows key + R).
- Enter the following path and click OK:
%USERPROFILE%

- Select the OneDrive folder.
- Click the Home tab.
- Click the Move to drop-down menu, and select the Choose location option.

- Browse and select the new location to move your OneDrive files locally stored on your computer.Quick Tip: You can use a different partition, secondary drive, or even an external USB storage. The only requirement is that it needs to be a drive that will be connected all the time to your device.

- Click the Move button.
- Open Start.
- Search for OneDrive, and click the top result to open the experience.
- Enter your email address.
- Click the Sign in button.

- Enter your account password.
- Click the Sign in button.
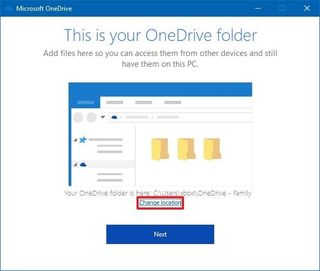
- Click the Change location link.
- Browse to the new folder location, and click the Select Folder button.
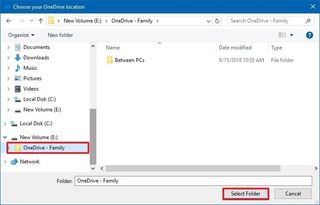
- Click the Use this location button.
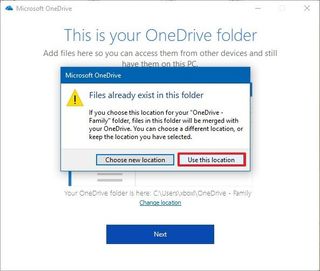
- Click the Next button.
- Click through the OneDrive tips.
- Click the Open my OneDrive folder button.
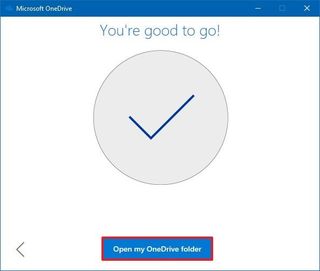
Using this new version of OneDrive won't prompt you to select the folders you want to sync. If you've previously selected a set of folders that you want to sync, you'll need to open the OneDrive settings, and in the Account tab, click the Choose folder to select the files you want to access locally.
Once you've completed the steps, the OneDrive folder will now sync your files in the new location.
Although you could have a lot of reasons to use the approach that we're outlining in this guide, you should consider changing the OneDrive folder default location only with a good reason. Also, after moving your files to another location, make sure that you keep the drive in a secure place to prevent your data falling into the wrong hands.
Get the Windows Central Newsletter
All the latest news, reviews, and guides for Windows and Xbox diehards.
More Windows 10 resources
For more helpful articles, coverage, and answers to common questions about Windows 10, visit the following resources:
- Windows 10 on Windows Central – All you need to know
- Windows 10 help, tips, and tricks
- Windows 10 forums on Windows Central
Mauro Huculak has been a Windows How-To Expert contributor for WindowsCentral.com for nearly a decade and has over 15 years of experience writing comprehensive guides. He also has an IT background and has achieved different professional certifications from Microsoft, Cisco, VMware, and CompTIA. He has been recognized as a Microsoft MVP for many years.
