How to back up a Windows Subsystem for Linux (WSL) distribution
Just like a regular PC, you can grab a backup of your WSL distributions on your Windows machine. Here's how.
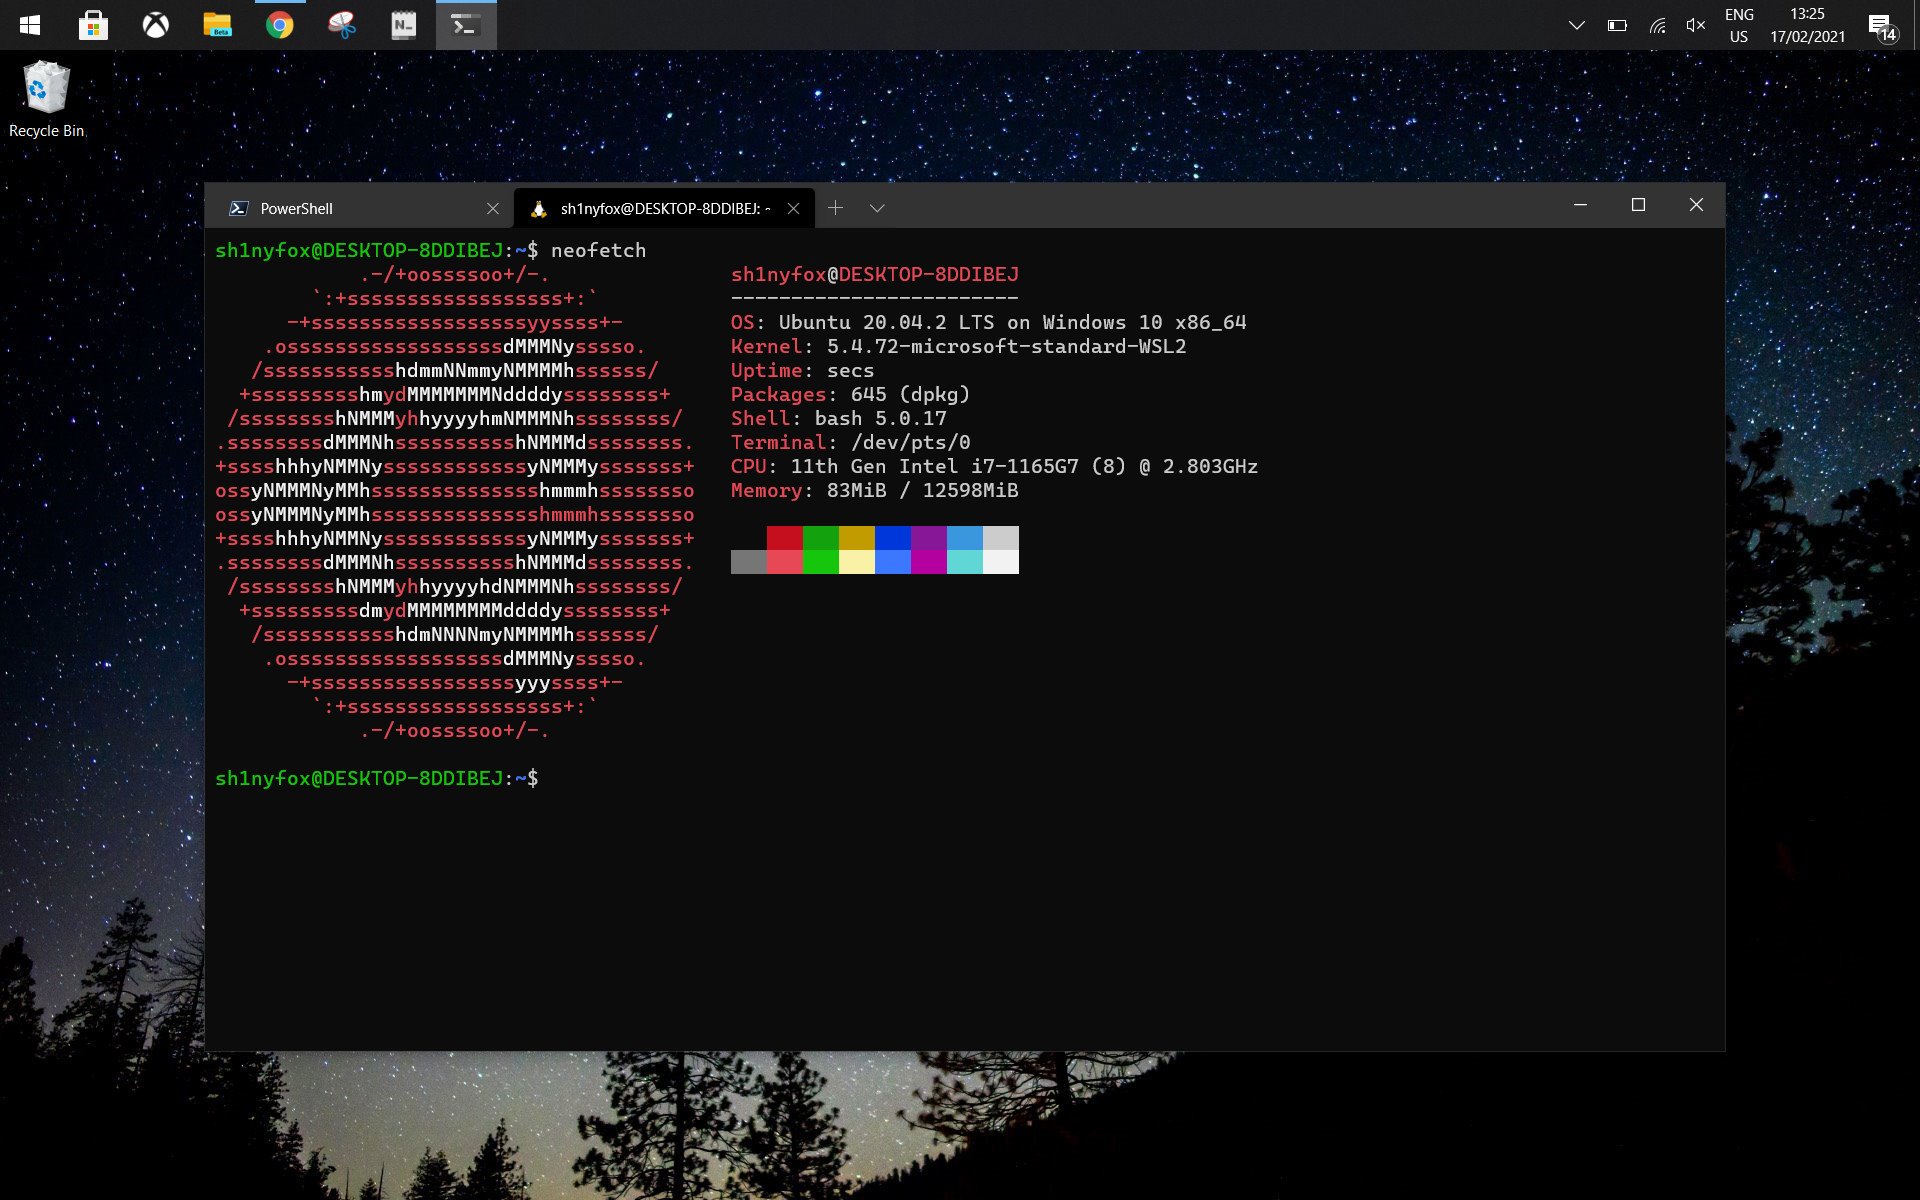
Regular backups are a good thing. You never know when something bad is going to happen and having a backup of the data on your PC could save more than a few headaches.
If you're dabbling with the Windows Subsystem for Linux (WSL), it might not have crossed your mind. WSL is incredibly easy to set up, and if you destroy an installation it's always fast to get going again. But you can, and probably should, take regular backups if you're using it a lot.
Here we'll show you how to export your entire Linux distribution into a file on your Windows 10 PC for safe keeping.
How to backup a WSL distribution
The neat thing about doing this is that you only need a single command in PowerShell to choose which of your distributions you want to export and the file name you want to give it.
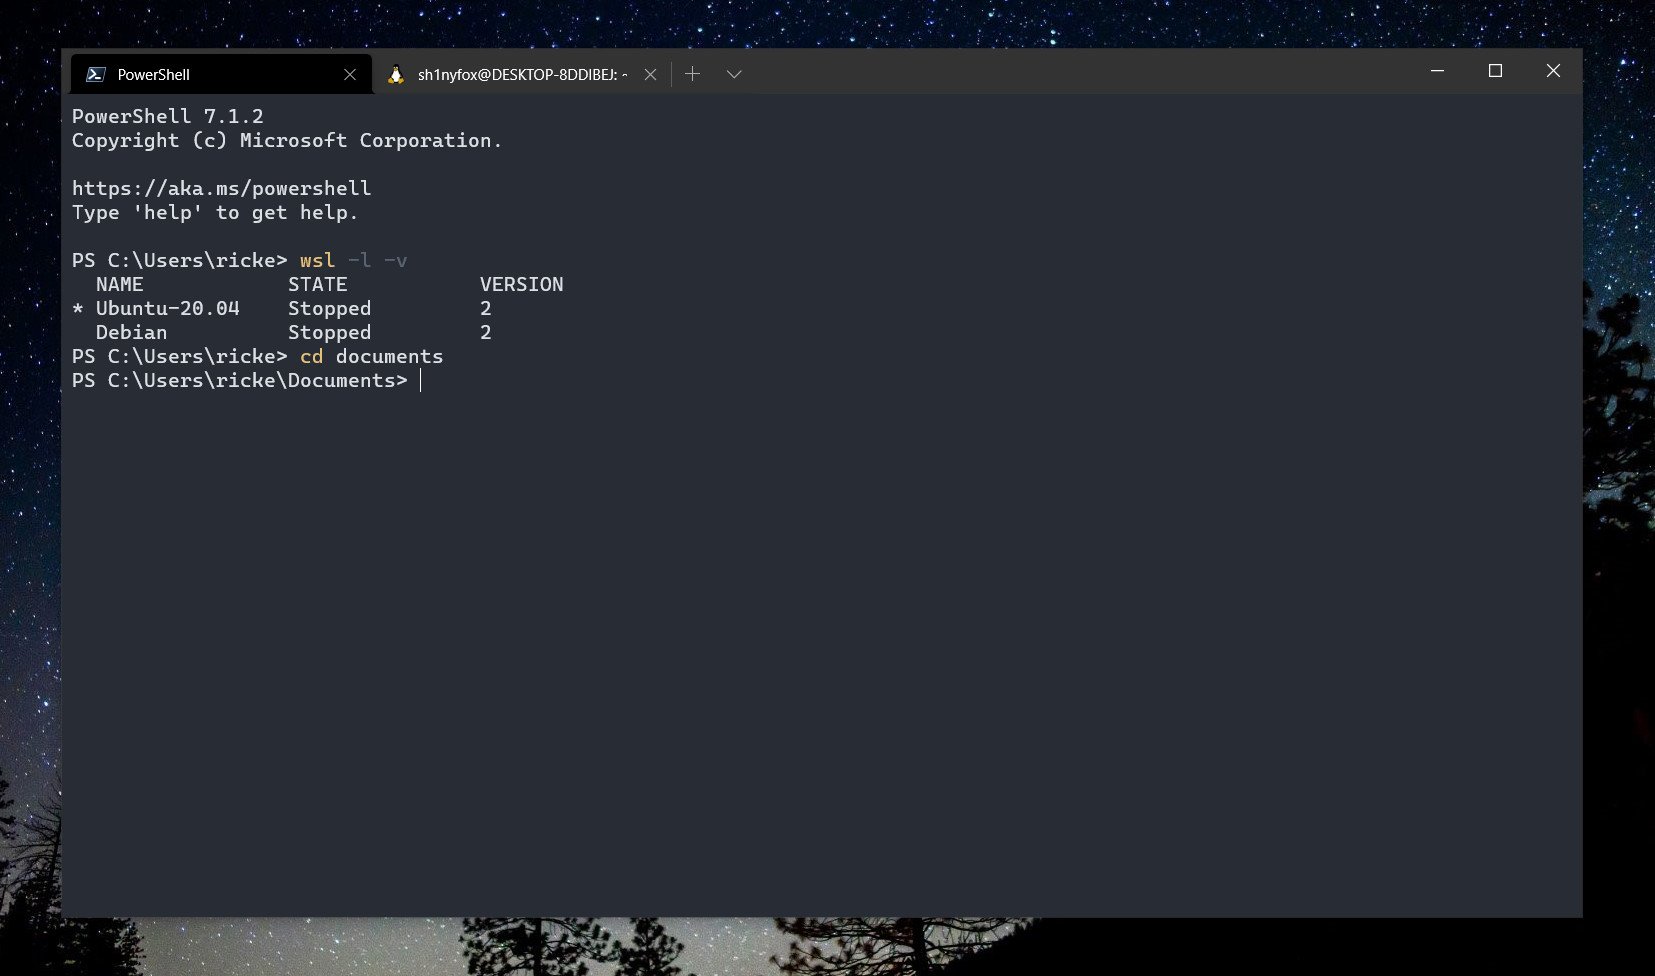
There are a couple of things you might want to do before you begin, though.
- Run
wsl -l -vto get a full list of the distribution names. This is important because you need to match exactly, and if you have "Ubuntu-20.04" you will need to use that. Just "Ubuntu" won't work. - Use the
cdcommand to navigate into the directory you want to save your export to. It will save to whatever directory you're at the command line in, which by default will be your users folder.
Once you're happy with the above, the export command follows this template:
wsl --export (distribution) (filename.tar) 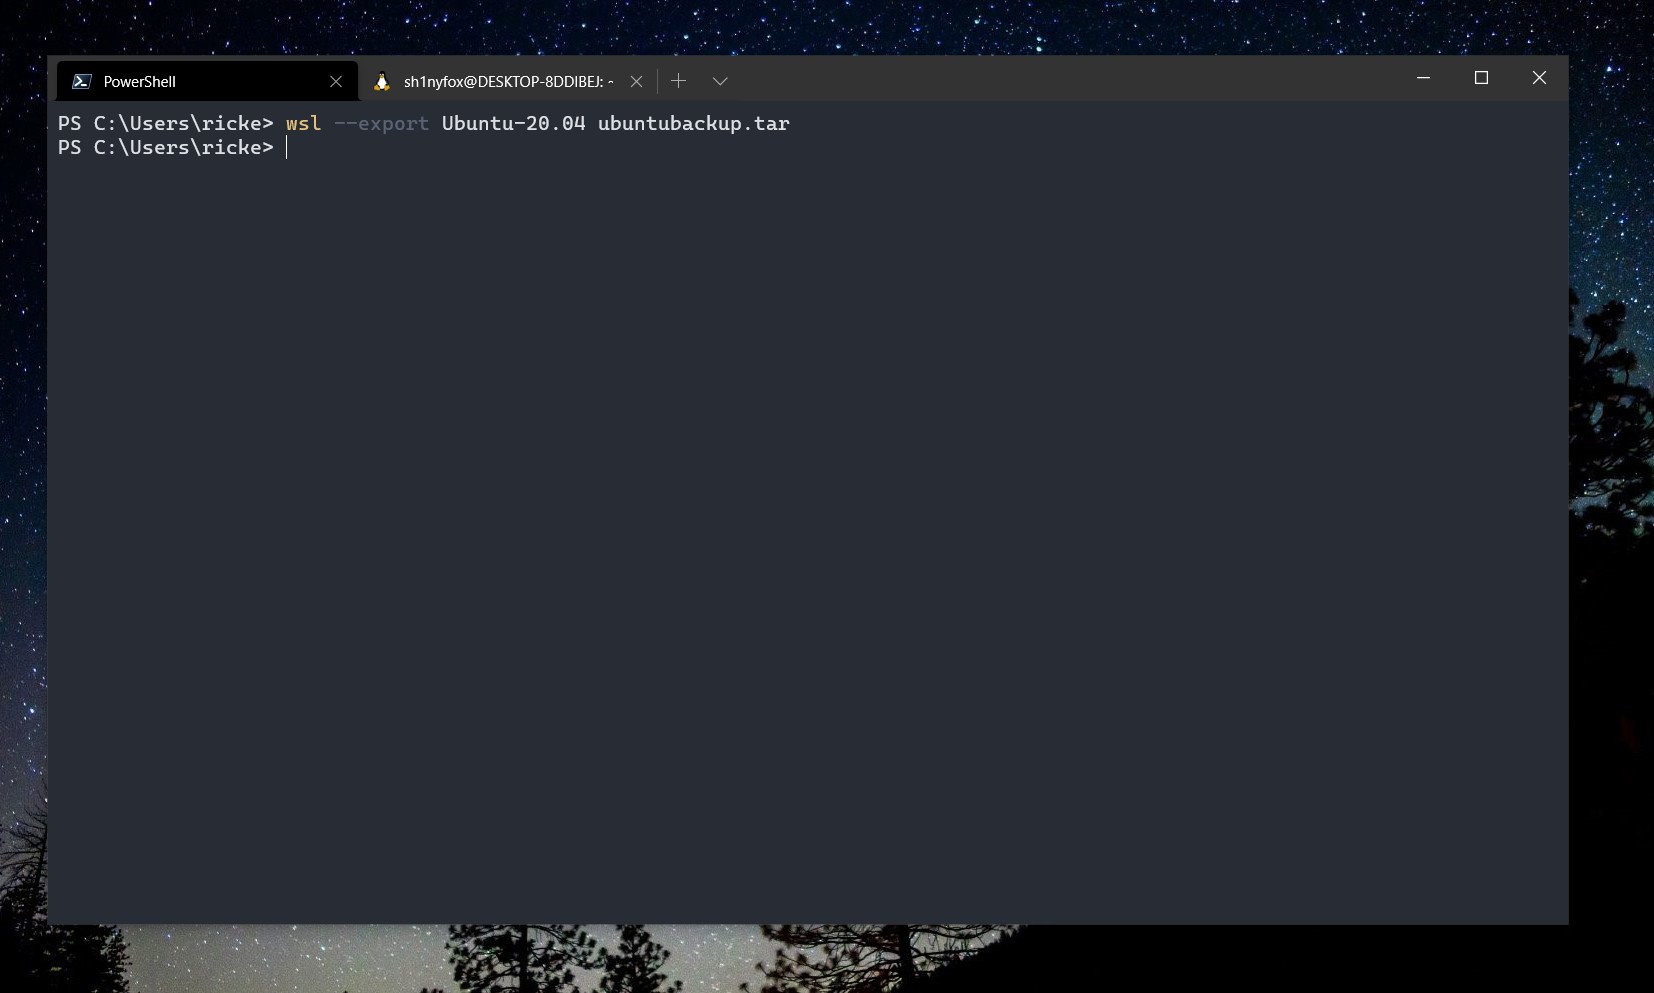
So, to export Ubuntu 20.04 the command would be:
All the latest news, reviews, and guides for Windows and Xbox diehards.
wsl --export Ubuntu-20.04 ubuntubackup.tarMake sure to add the .tar extension as well to your filename otherwise you may run into some issues.
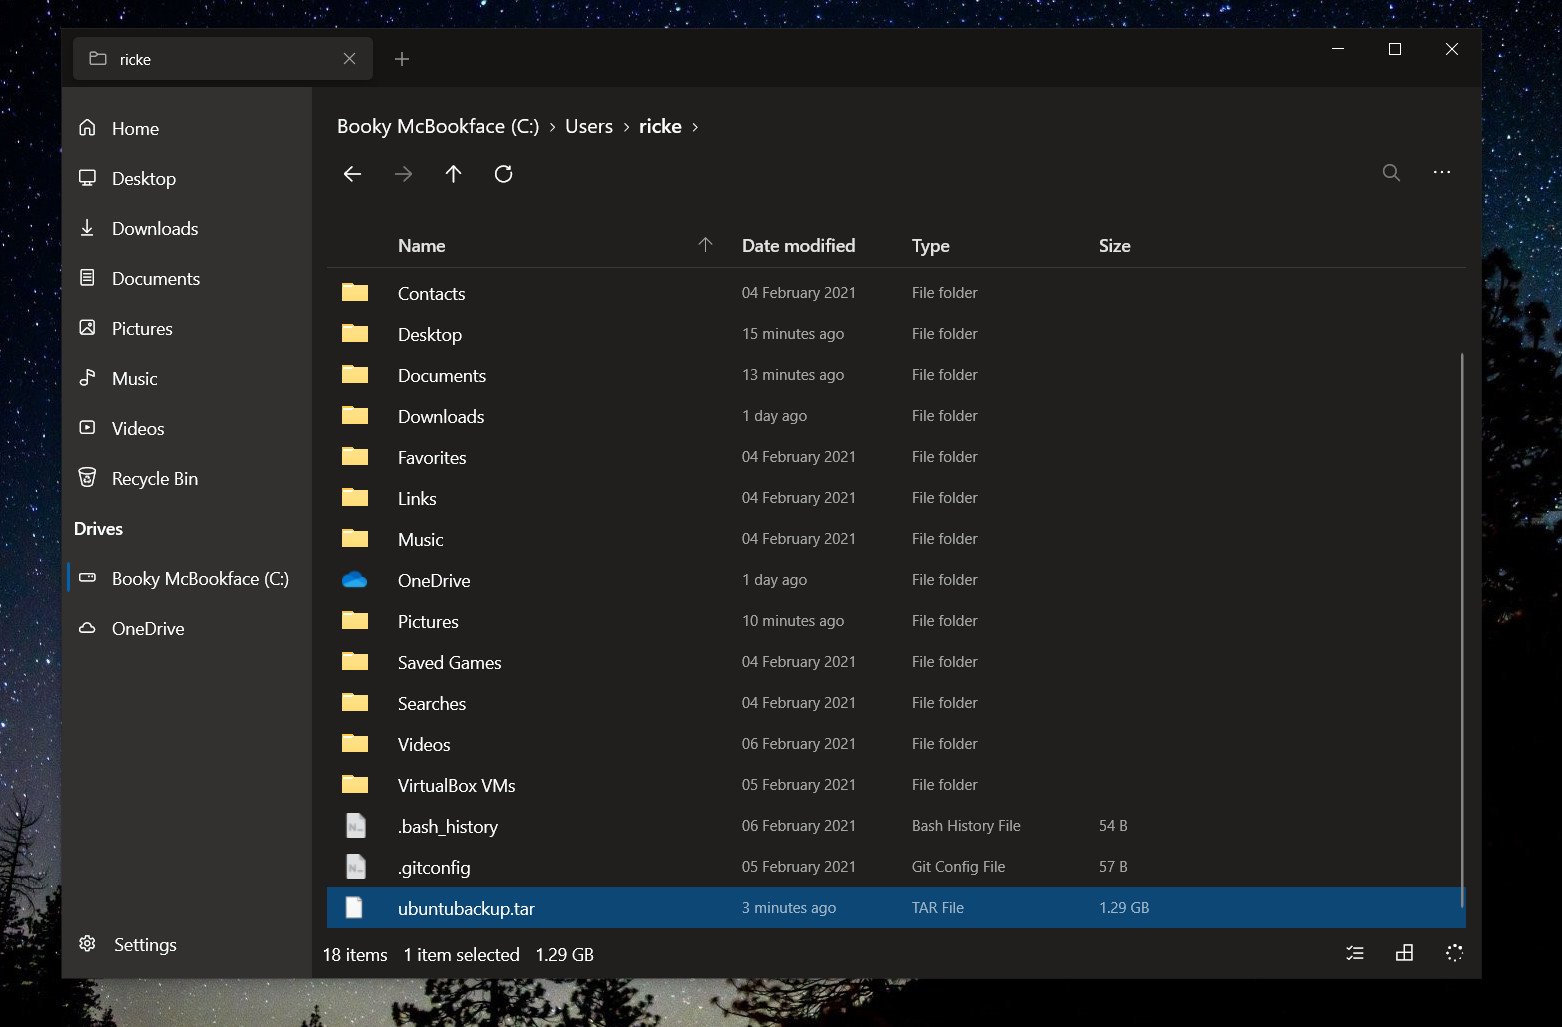
It only takes a few seconds to run and then you'll be able to see the exported backup in whichever folder you saved it to.
Importing a previously exported .tar file
If you're using the export feature to backup one of your WSL Linux distributions then there's a good chance you might also want to use it at some point.
Fortunately, should the moment arise, there is an equally simple command template to import your .tar files to a specified install location.
wsl --import (distribution) (install location) (file location and filename) So it might look something like:
wsl --import Ubuntu-20.04 C:\Users\MyPC\AppData\Local\Packages\Ubuntu C:\Users\MyPC\Documents\ubuntubackup.tar 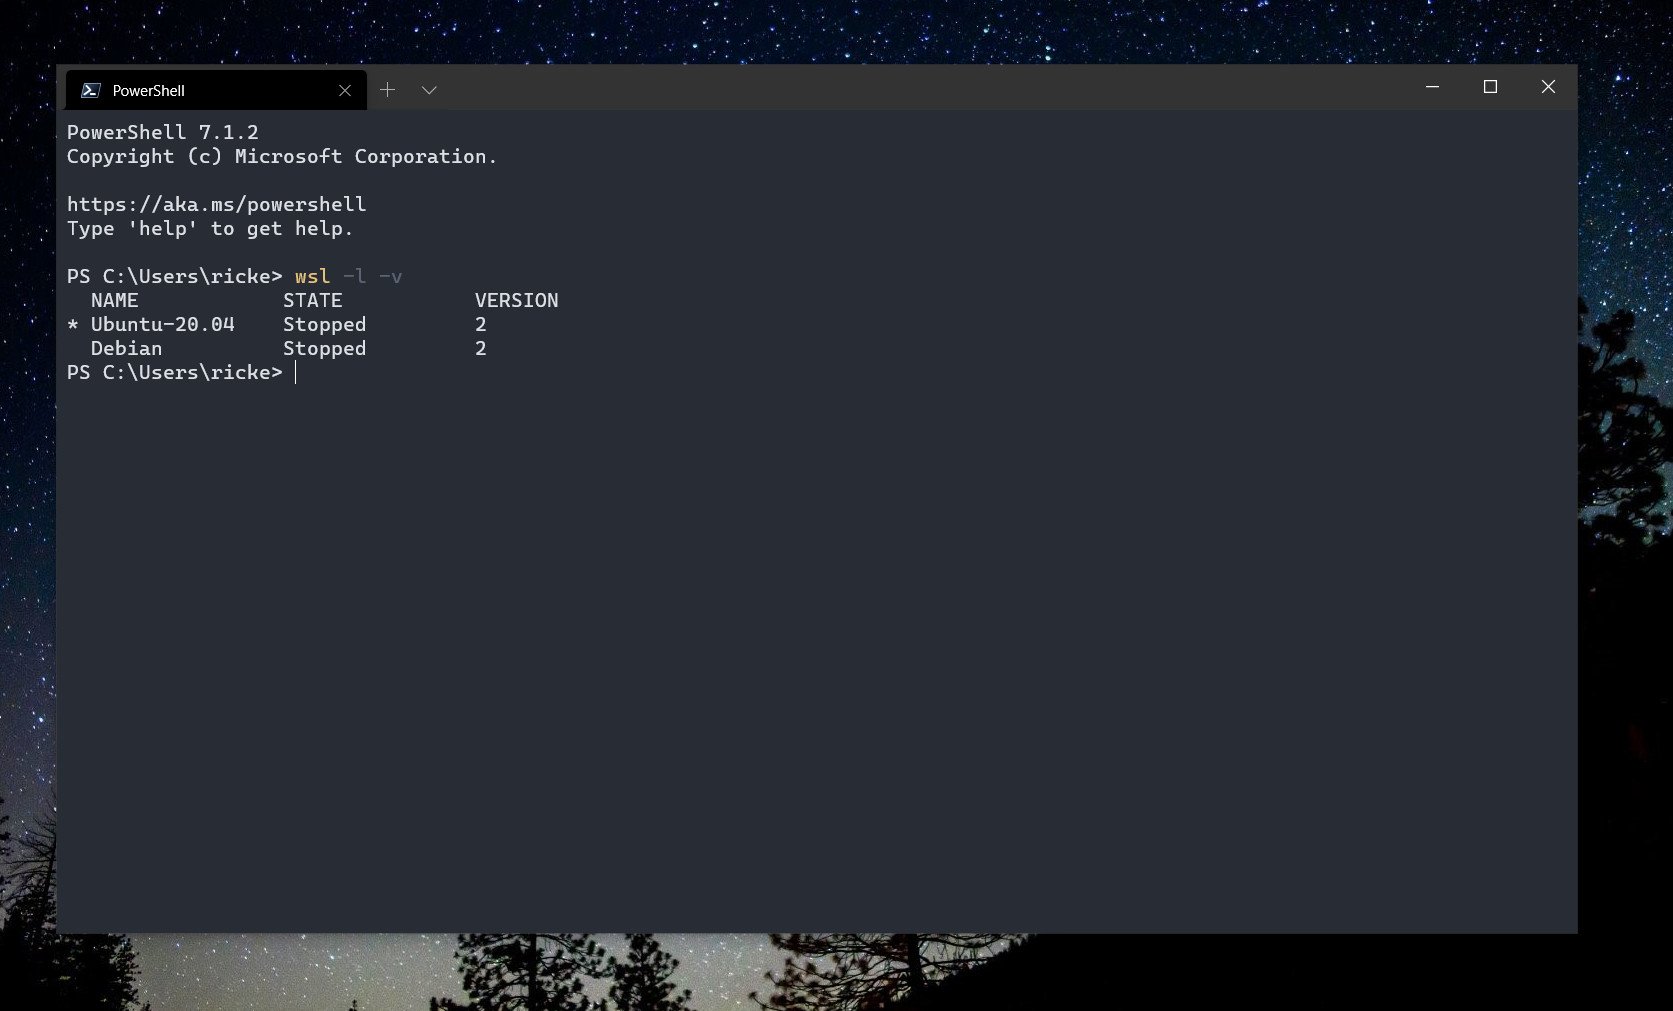
To check it imported correctly, run the
wsl --listcommand and you should now see your newly imported distribution.

Richard Devine is a Managing Editor at Windows Central with over a decade of experience. A former Project Manager and long-term tech addict, he joined Mobile Nations in 2011 and has been found on Android Central and iMore as well as Windows Central. Currently, you'll find him steering the site's coverage of all manner of PC hardware and reviews. Find him on Mastodon at mstdn.social/@richdevine
