How to backup photos and videos from your smartphone to a Synology NAS
It's easy to start backing up photos and videos from your smartphone to a Synology NAS. Here's how.
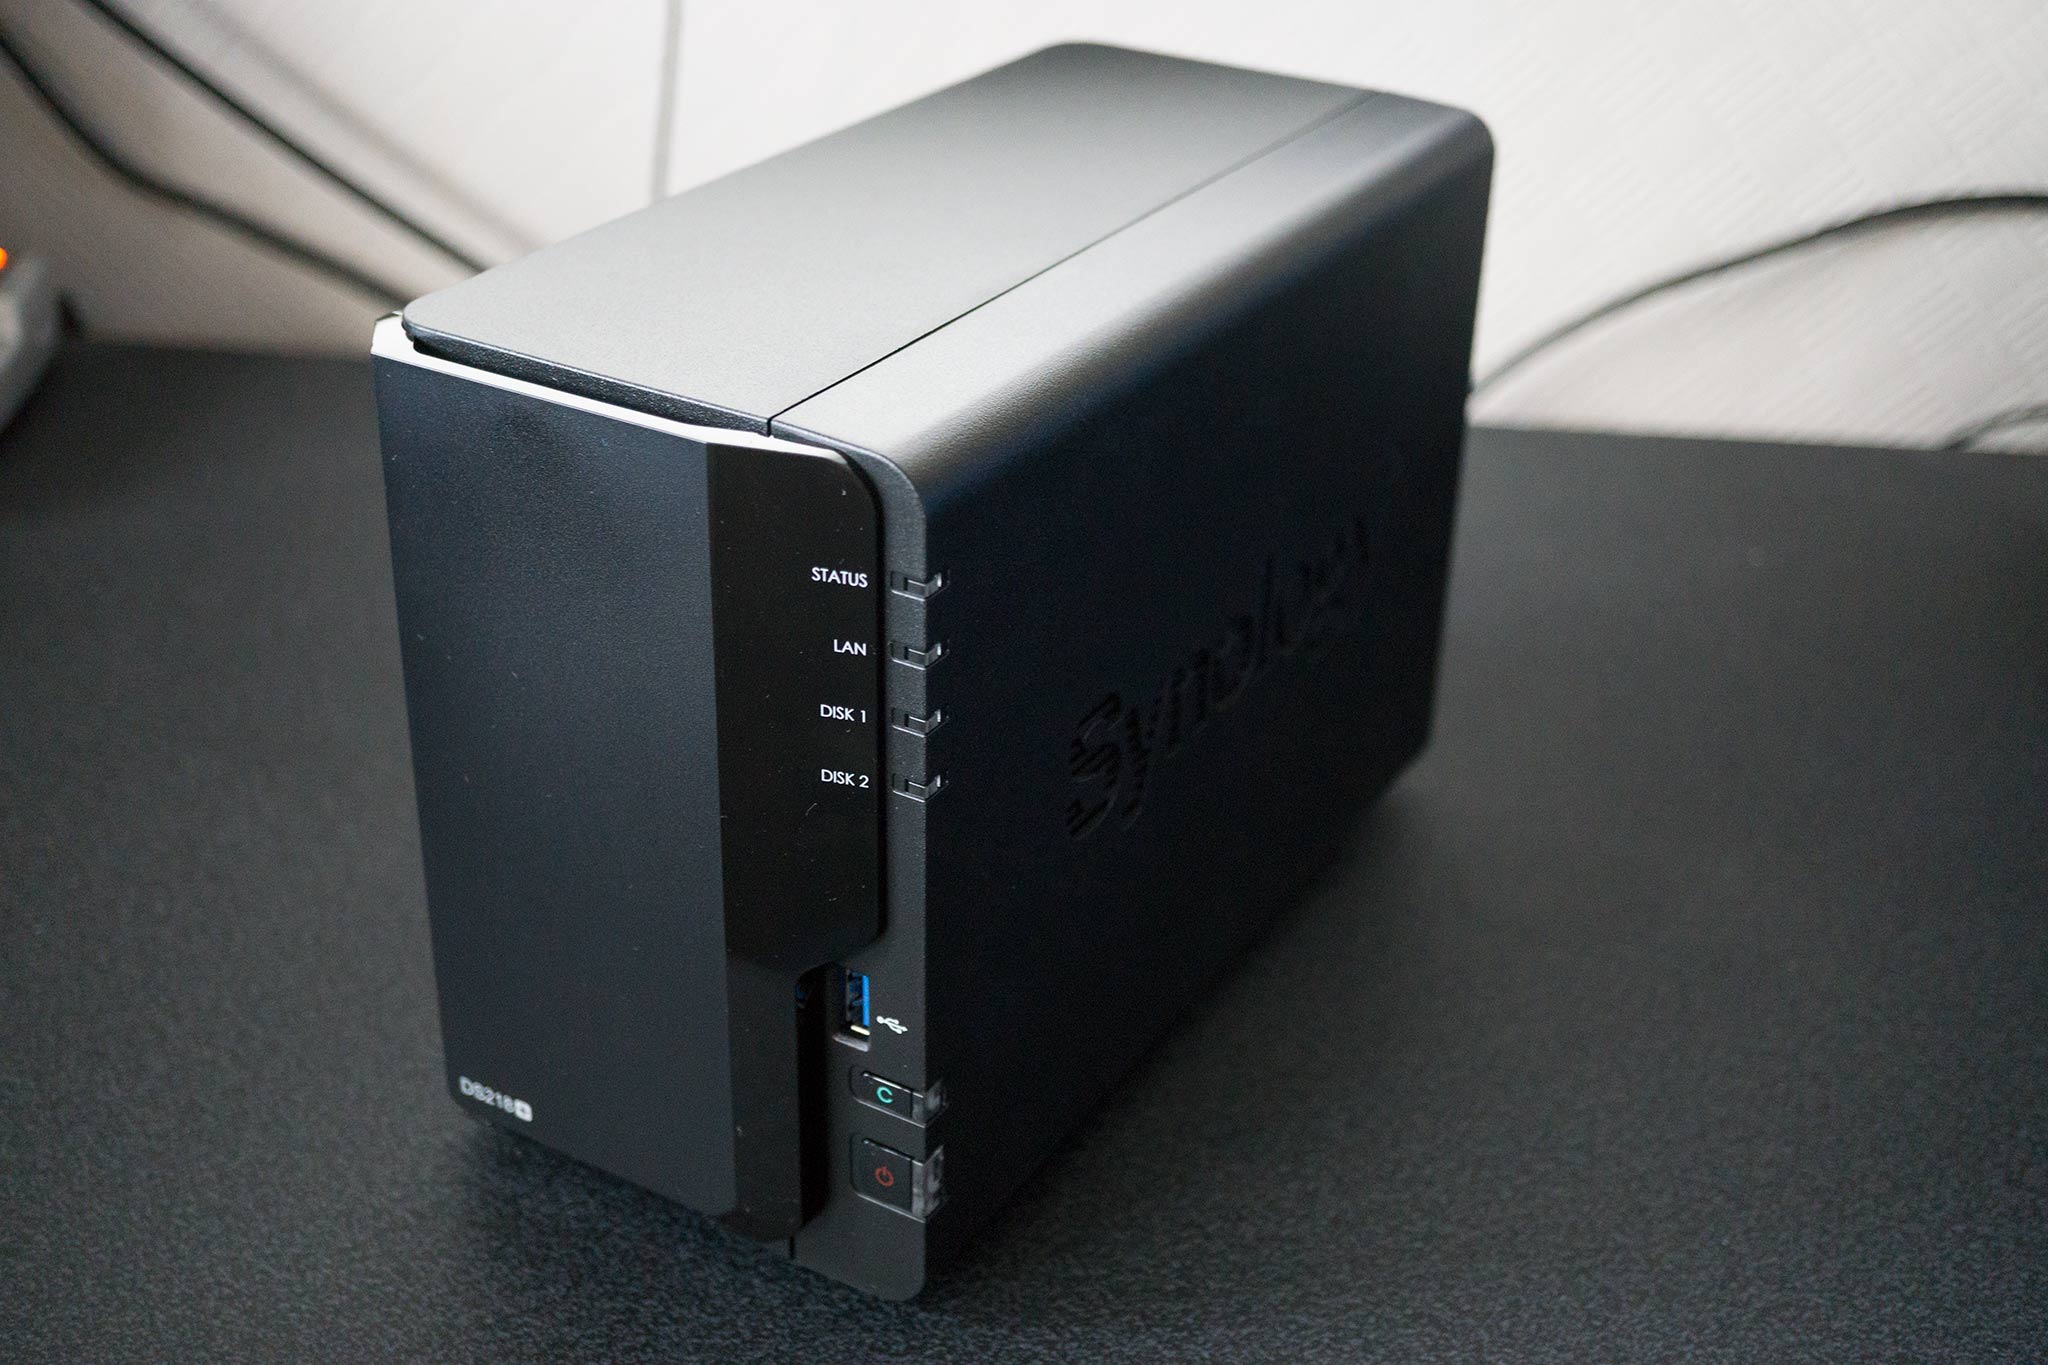
As well as backing up important Windows installations and making sure all your files have a redundant copy, there's nothing worse than losing photos and videos of sacred moments in your life. We're going to run you through how to configure a Synology Network Attached Storage to automatically backup media from your smartphone. It's really easy, and you have a few options available.
Synchronizing clouds
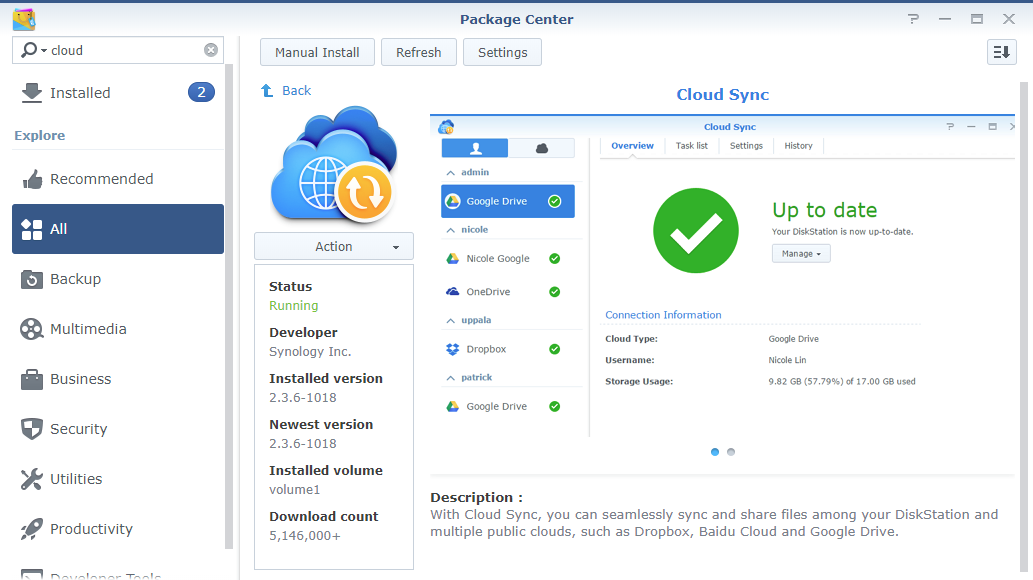
The easiest way to configure the backup of photos and videos taken on your smartphone to your home NAS is to synchronize everything saved to popular clouds services like OneDrive and Google Drive. This is also the option you'll wish to go with should you already rely on a cloud service for storing files from a smartphone.
Synology allows you to have all this configured using just the Cloud Sync app. Simply follow the below instructions, and you'll have copies of photos and videos transferred across from popular cloud storage solutions.
- Log into your NAS using your favorite web browser.
- Download and install Cloud Sync (if not already installed) using the Package Center.
- Open Cloud Sync.
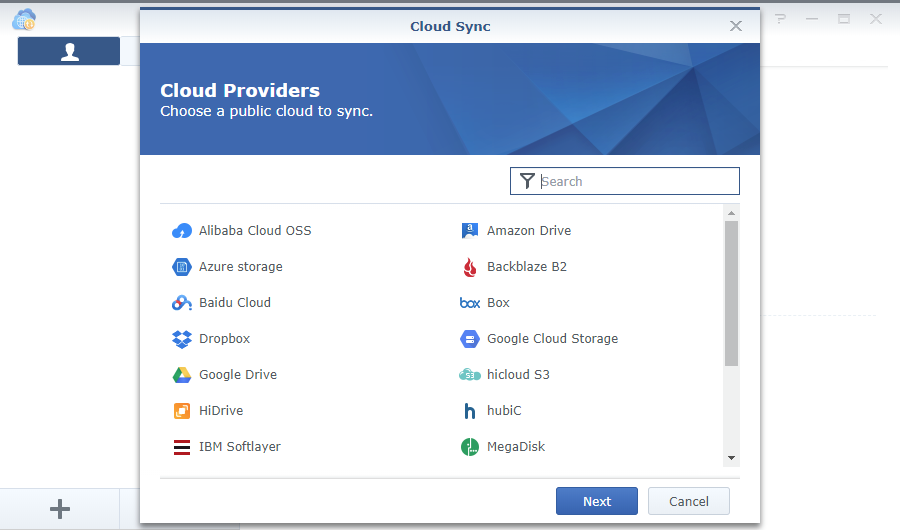
- Select the cloud storage service.
- Log in using your credentials.
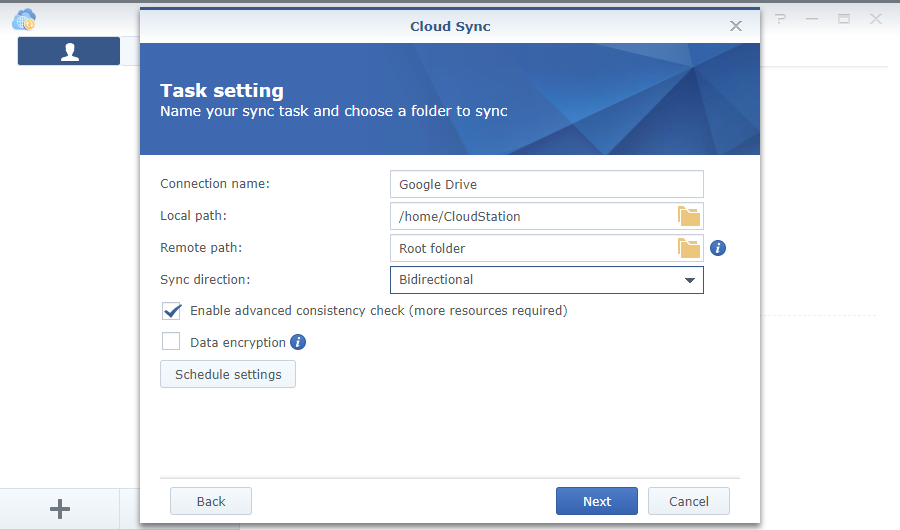
- Configure how you wish the NAS to synchronize the files:
- Local path: Where all the synchronized files will be stored.
- Remote patch: The folder you wish to synchronize from the cloud service. ("Root" saves everything.)
- Sync direction: Select how you wish for the NAS to synchronize with the service.
- Click "Schedule settings" to control when the synchronization task runs.
And you're all set! You can use this to save just photos and video or all files, depending on what you have stored on the cloud server, as well as which root path you choose. You can even stack the scheduled tasks by connecting multiple cloud services, keeping all your data in a single location.
Saving from the phone
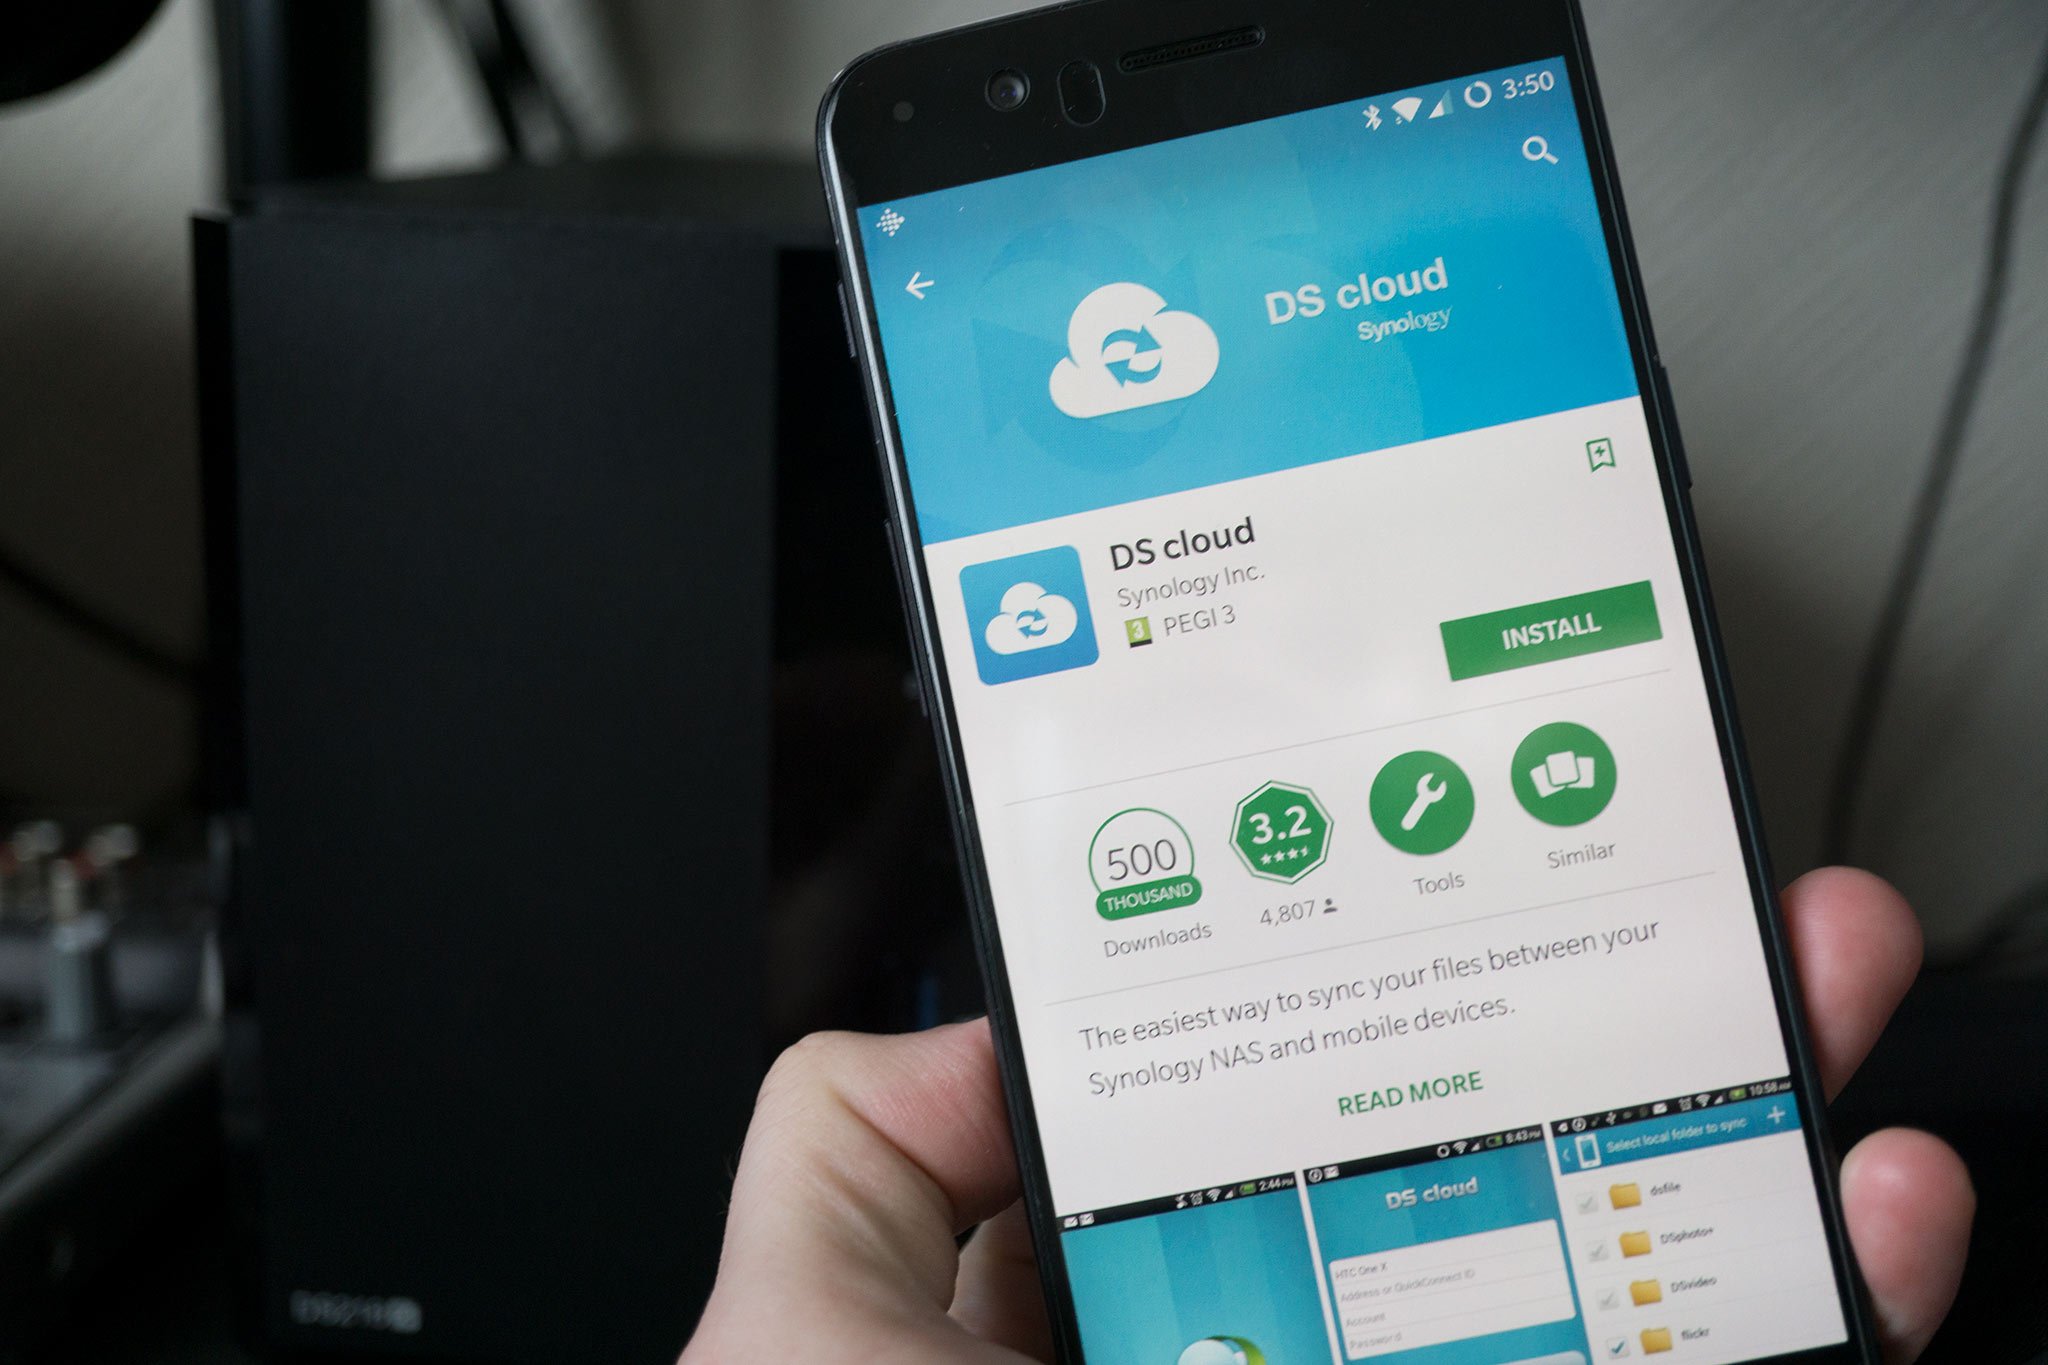
- Download DS Cloud for Android or iOS.
- Open the app and fill in your NAS details.
- Select the server folder to sync.
- Hit next.
- Select the local folder to sync.
- Hit next.
- Configure the synchronization profile.
- Hit OK.
Your smartphone should now begin synchronizing all selected files with the NAS unit, and by using the QuickConnect connection, you will be able to achieve this from anywhere with a network connection.
Related resources
- How to get started with the Synology DS218+
- How to back up Windows 10 to a Synology NAS
- 5 cool and creative ways to use NAS
- Best NAS for the Home in 2018
Get the Windows Central Newsletter
All the latest news, reviews, and guides for Windows and Xbox diehards.

Rich Edmonds was formerly a Senior Editor of PC hardware at Windows Central, covering everything related to PC components and NAS. He's been involved in technology for more than a decade and knows a thing or two about the magic inside a PC chassis. You can follow him on Twitter at @RichEdmonds.
