How to add a shortcut to open Timeline from desktop context menu on Windows 10
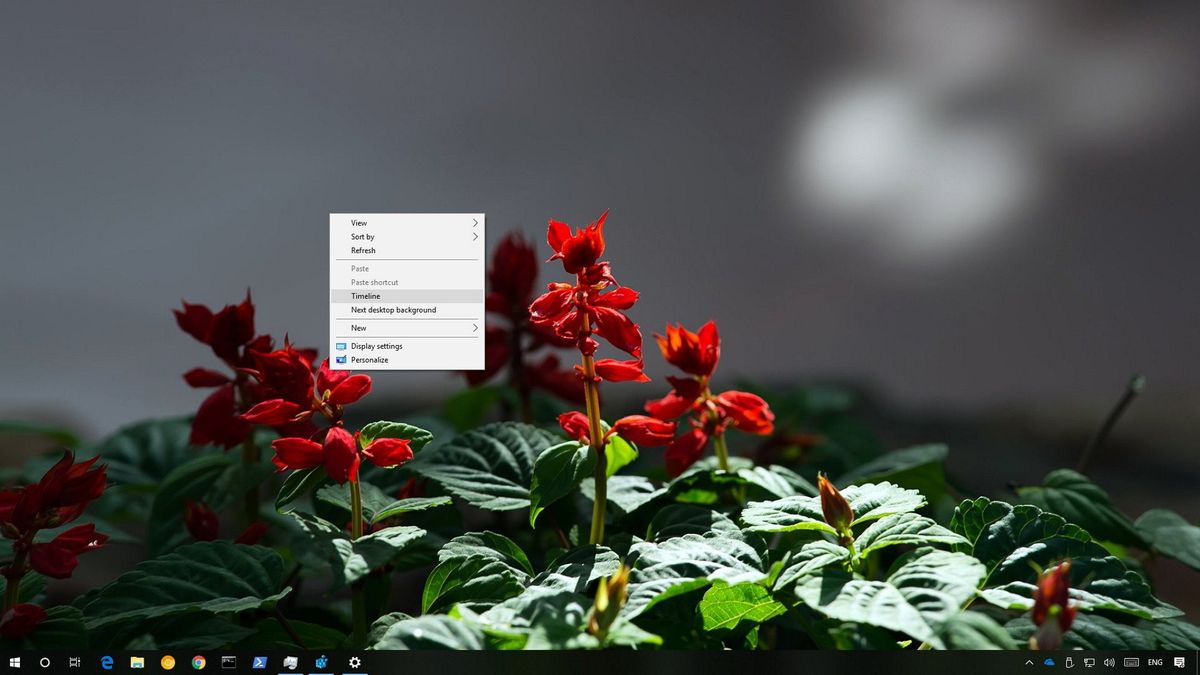
You can add an option to open Timeline using the context menu from the desktop. Here's how.

On Windows 10, Task View is an experience designed to help you organize apps and create virtual desktops to multitask more efficiently. Using this feature, you can see and quickly switch between your running applications or jump to a different virtual desktop.
Starting with Windows 10 April 2018 Update (version 1803), Task View also gives you access to your Timeline activities, to pick up tasks where you left off on apps you were working in the past — on your computer or other devices, including iOS and Android devices.
While you can access the experience using a dedicated button in the taskbar, you can also add an option to the context menu to open Timeline from the desktop.
In this Windows 10 guide, we walk you through the steps to modify the Registry to add a new context menu option to access your Timeline, part of Task View, and running applications by right-clicking the desktop.
How to add an option to open Windows 10 Timeline using the desktop context menu
If you want to access Timeline using the right-click context menu, use the following steps.
Warning: This is a friendly reminder that editing the Registry is risky, and it can cause irreversible damage to your installation if you don't do it correctly. We recommend making a full backup of your PC before proceeding.
- Use the Windows key + R keyboard shortcut to open the Run command.
- Type regedit, and click OK to open the Registry.
- Browse the following path:
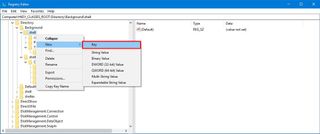
HKEY_CLASSES_ROOT\Directory\Background\shellQuick Tip: Alternatively, you can now copy and paste the path in the new Registry's address bar to quickly jump to the key destination. - Right-click the shell (folder) key, select New, and click on Key.

- Name the key Timeline and press Enter.
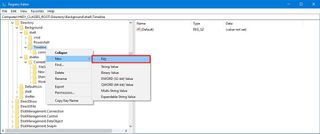
- Right-click the newly created key, select New, and click on Key.

- Name the key command and press Enter.
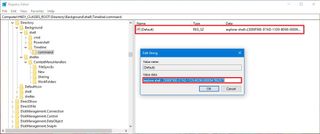
- On the right side, double-click the Default string and set the following value:
explorer shell:::{3080F90E-D7AD-11D9-BD98-0000947B0257}

- Click OK.
Once you complete these steps, restart your computer, and you should be able to right-click on the desktop to access Task View, which includes your Timeline activities.
Get the Windows Central Newsletter
All the latest news, reviews, and guides for Windows and Xbox diehards.
You can now right-click the taskbar, and clear the Show Task View button option to remove the button and free up space to pin another application in the bar.
At any time, you can revert the changes using the same instructions, but on step No. 4, right-click the Timeline key and select the Delete option.
You can also use these steps on Windows 10 version 1709 or earlier releases, but you'll only be able to access Task View, because Timeline is only available on version 1803 and later.
More Windows 10 resources
For more helpful articles, coverage, and answers to common questions about Windows 10, visit the following resources:
- Windows 10 on Windows Central – All you need to know
- Windows 10 help, tips, and tricks
- Windows 10 forums on Windows Central
Mauro Huculak has been a Windows How-To Expert contributor for WindowsCentral.com for nearly a decade and has over 15 years of experience writing comprehensive guides. He also has an IT background and has achieved different professional certifications from Microsoft, Cisco, VMware, and CompTIA. He has been recognized as a Microsoft MVP for many years.
