How to upgrade the RAM in your Dell XPS 15 (9570)
If you bought a Dell XPS 15 (9570) with only 8GB of RAM, you may want to add more. Here's how to double, or even quadruple, the amount of RAM in your XPS 15.
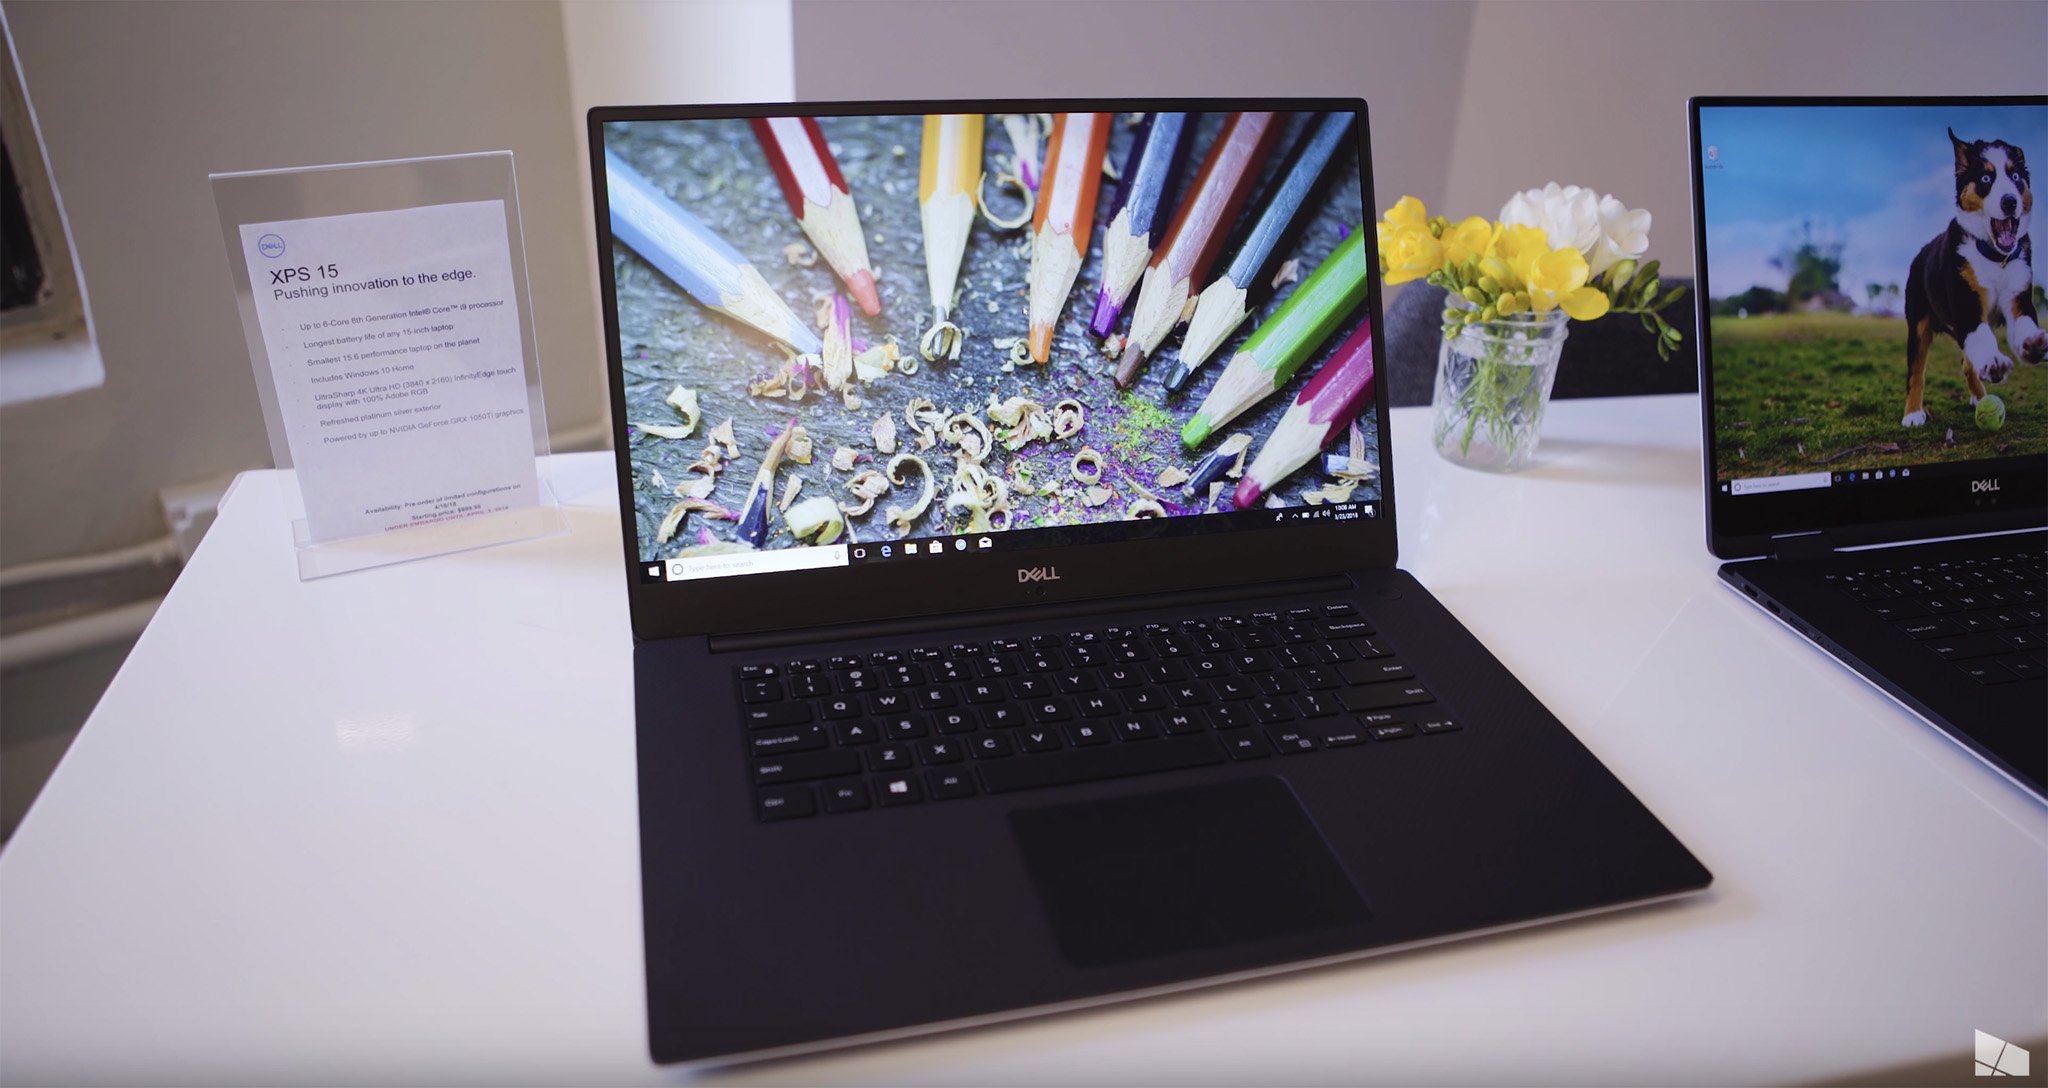
Dell XPS owners upgrade their RAM to as much as 32GB of premium DDR4 2666 MHz memory, but doing so isn't exactly simple, due to specific RAM brands required and difficult-to-manage screws.
That why we put together this XPS 15 (9570) RAM guide.
Dell XPS 15 RAM: Faster or more (or both)?
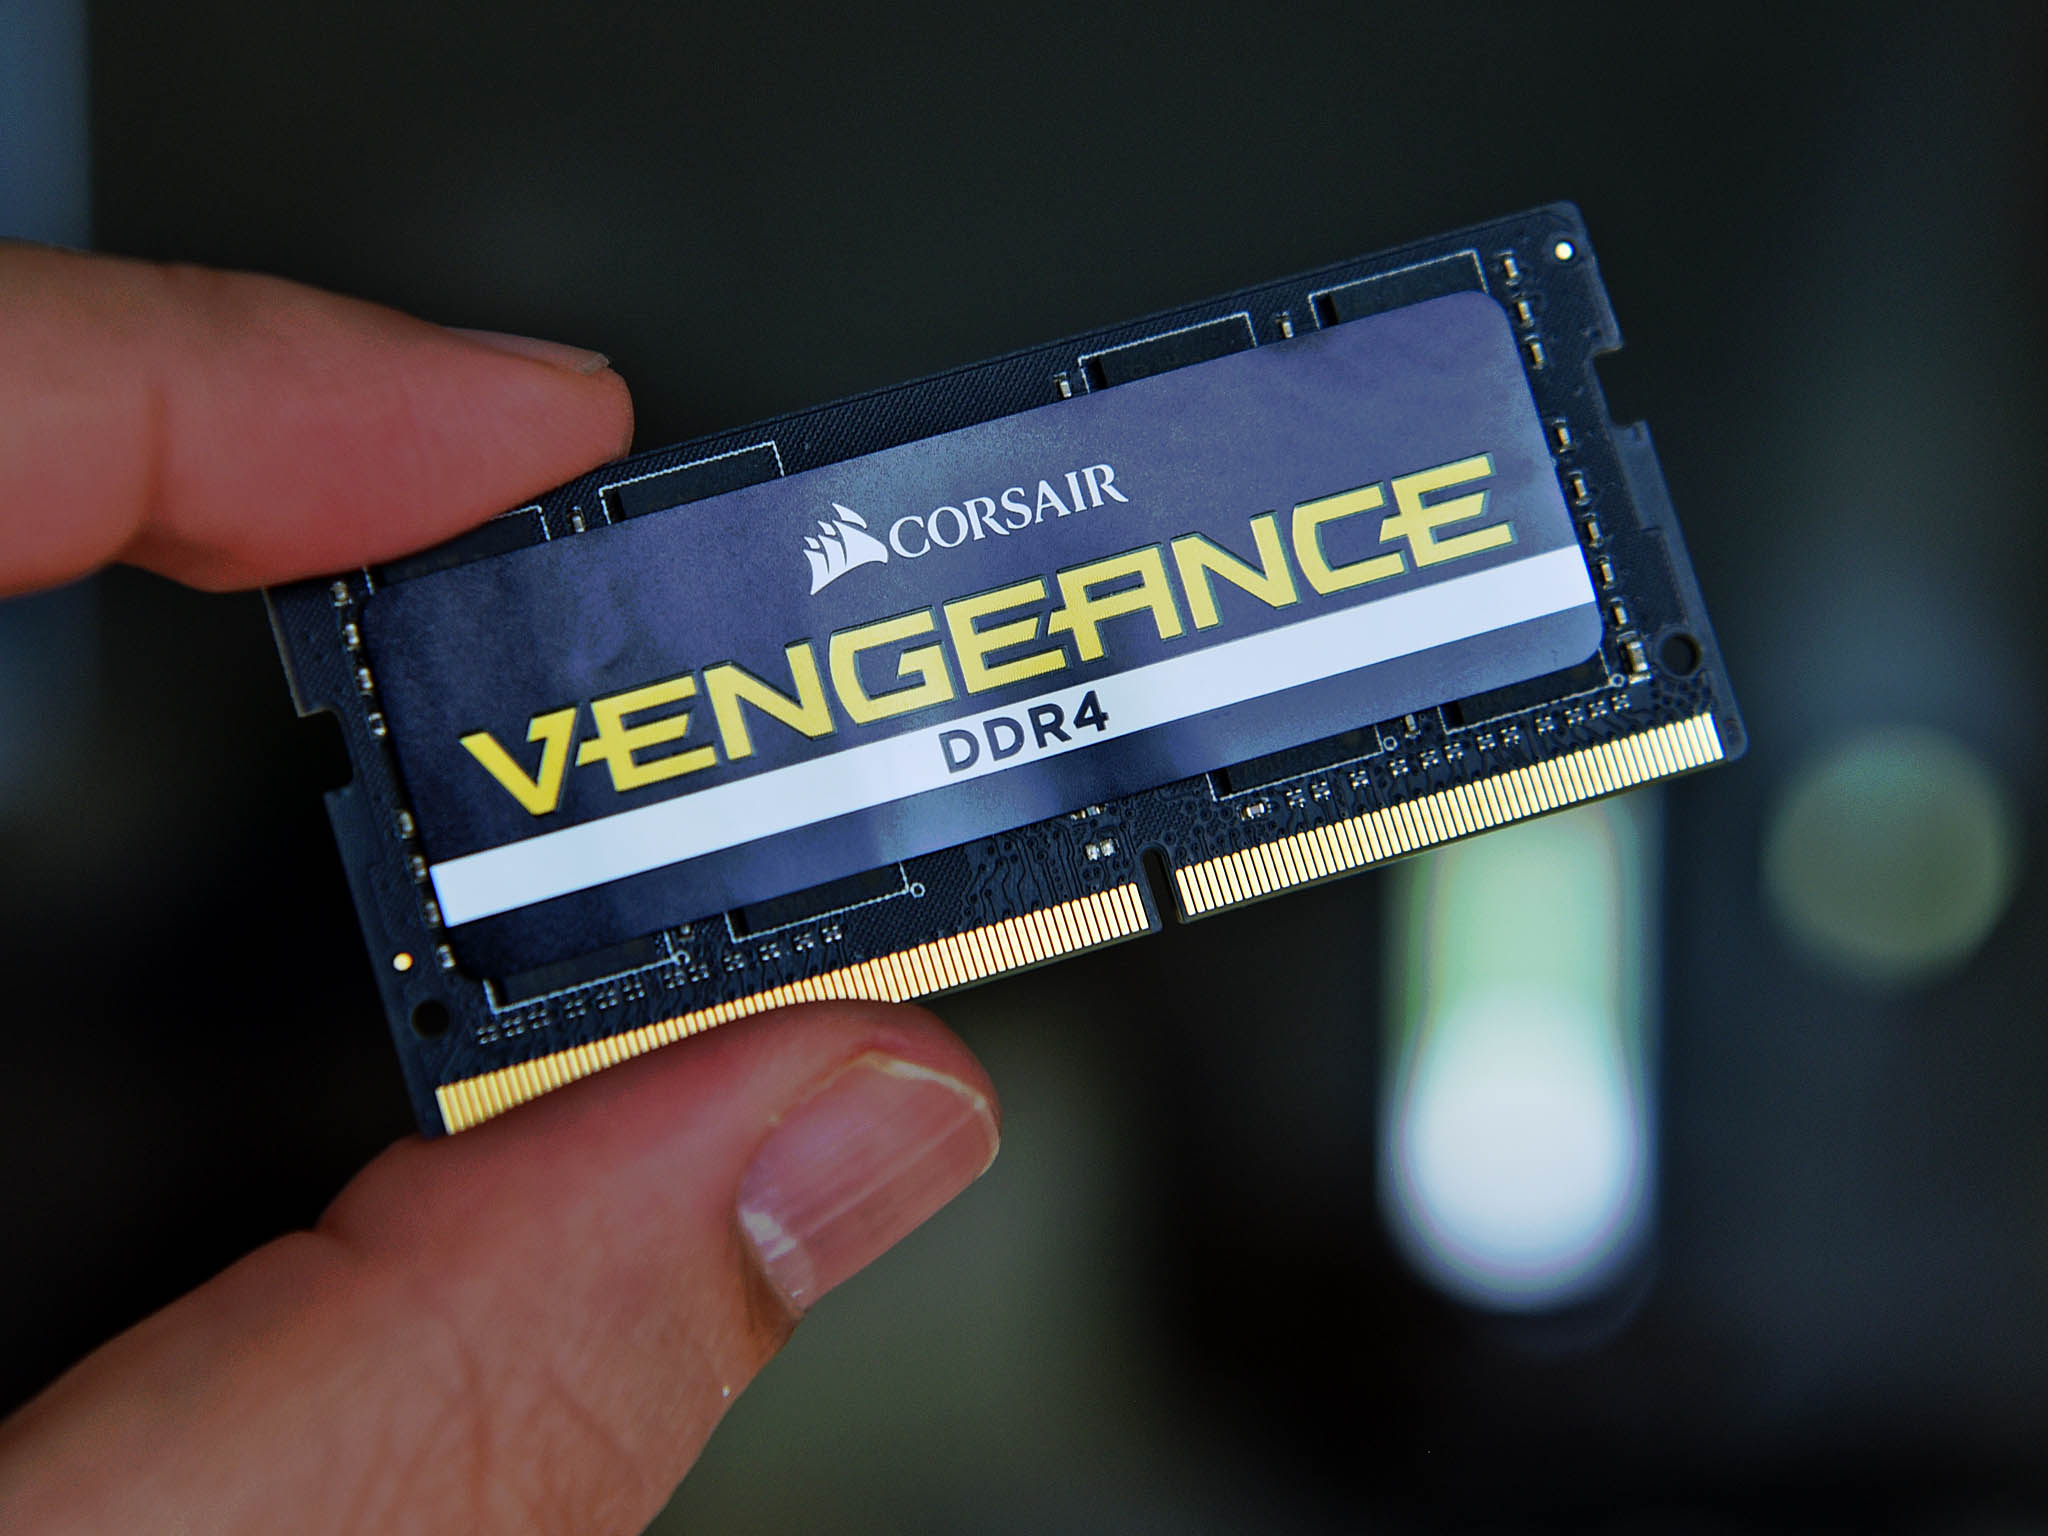
Before going to the actual how-to, let's talk about why you want to upgrade your RAM. Chances are, you either want more RAM, faster RAM, or both.
If your XPS 15 has 8GB of RAM and you want 16GB, you can easily drop in more memory.
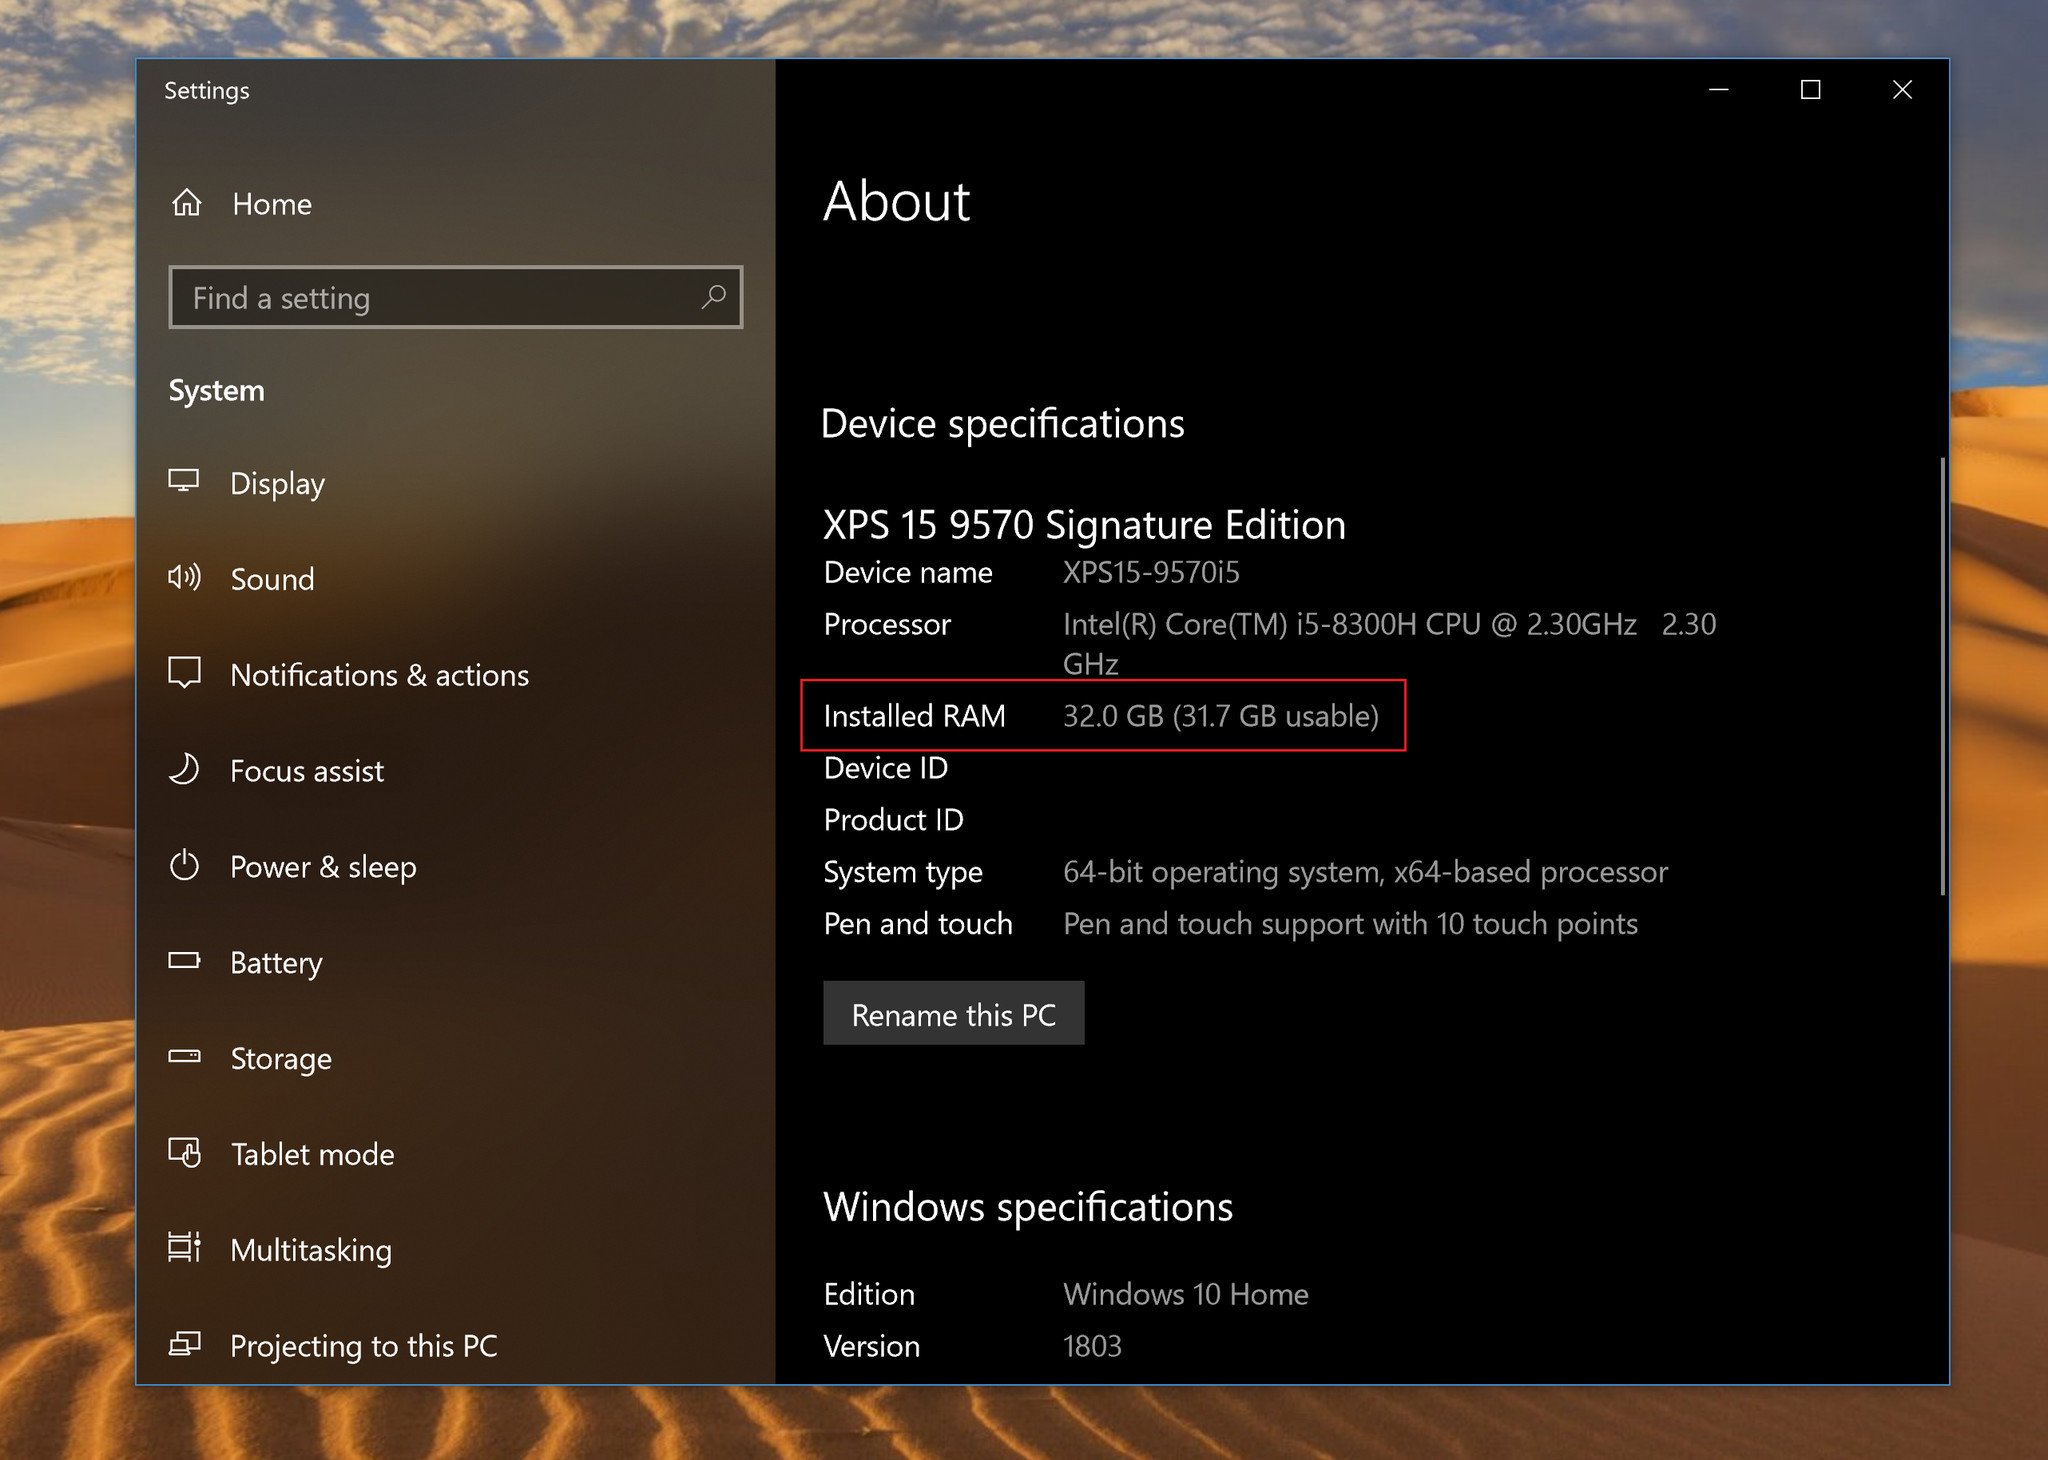
Faster RAM is a bit trickier. The XPS 15 (9570) ships with 8GB, 16GB, or 32GB of DDR4-2666MHz (CAS 19) memory, which is great already. The only way to really make it any "faster" is by buying RAM with better Column Address Select (CAS) latency, but this a dubious upgrade and probably not worth the effort or cost alone.
Additionally, there seem to be issues with the XPS 15 9570 handling anything less than CAS 17, making CAS 16 RAM a no-go. Dell is constantly releasing BIOS updates to address this but for now, it means you must be very selective on which RAM you choose.
More RAM also uses more energy from the system, but it's such a negligible amount that you'll barely notice it. In fact, if you're maxing out your current RAM, you're using more power by putting the power-hungry SSD to work as overflow memory.
Get the Windows Central Newsletter
All the latest news, reviews, and guides for Windows and Xbox diehards.
Finally, the Dell XPS 15 (9570) maxes out at 32GB of DDR4 RAM (a pair of 16GB sticks), but theoretically models with an Intel Core i7 or Core i9 processor could support up to 64GB. However, there are currently no dual 32GB sticks on the market.
How to find the right RAM for your XPS 15 (9570)

Unfortunately, you cannot just buy any random sticks of RAM to put into the XPS 15 (9570), due to some drive and BIOS compatibility issues. The good news is the fine folks on Reddit have cobbled together a working list of what is working and what is not.
Here are two brands and sizes that should work:
- 16GB (2x 8GB) Crucial 8GB 2400 (CT8G4SFS824A) [$94].
- 32GB (2x 16GB) Corsair Vengeance DDR4-2666MHz SODIMM [$190].
Remember it is always preferable to increase RAM amount over RAM speed. If you must pick one, go for more RAM. I do not advise buying less RAM that is clocked faster. The XPS 15 (9570) already ships with fast RAM, so it is the amount we are looking to improve.
RAM upgrade difficulty rating
We previously rated XPS 15 RAM upgrades as simple, but that's changed a bit with the 9570. The actual swapping of RAM is easy, but removing the bottom cover on the XPS 15 (9570) is harder than it should be due to two reasons:
- Dell used very soft Torx T5 screws that strip easily.
- Dell used a light thread-locker, which makes them harder to remove.
Doing this upgrade on our XPS 15 (9570), we ended up just stripping out all the screws and using a Torx T6 driver, but it was very hard to remove them. It was arduous, intensive, and if you slip you could scratch the body of the XPS 15.
Having a good Torx screwdriver is a good start. The other is having patience. The bright side is even if you strip out the head of the screw by using a larger format you can still force the screw off. But it can be laborious and stressful.
Difficulty rating: Moderate to hard.
Tools you need to upgrade Dell XPS 15 (9570) RAM
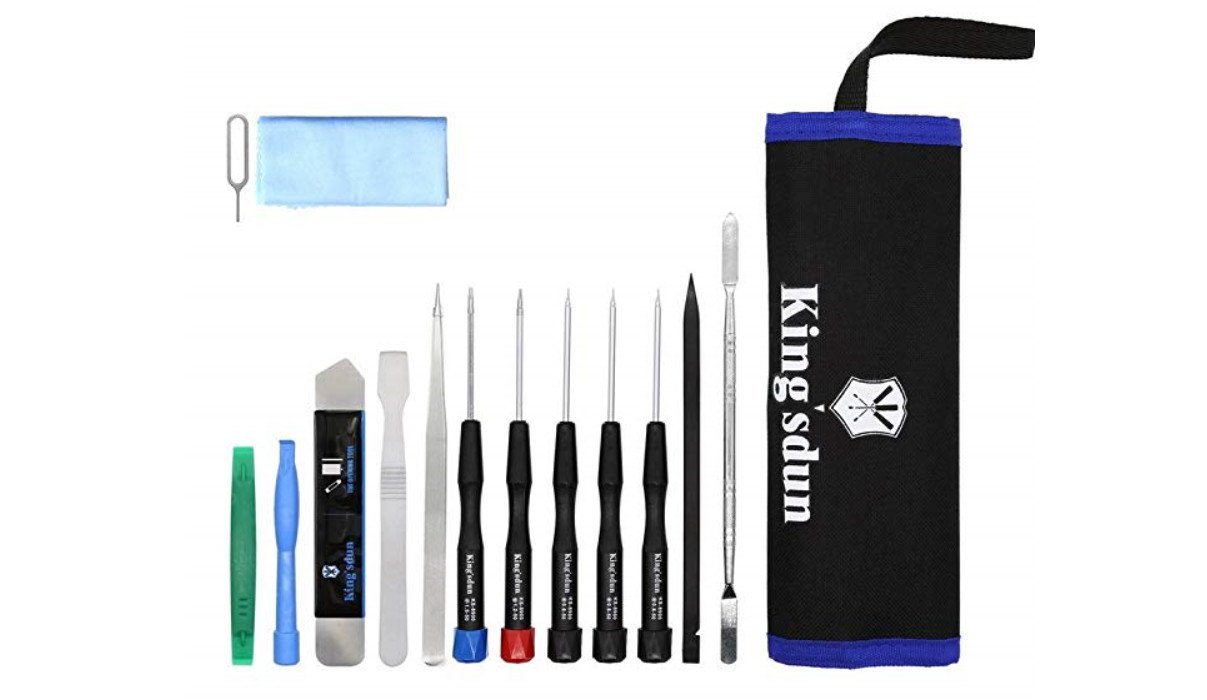
You need Torx and Philips screwdrivers and a small pry tool to help remove the bottom cover on the XPS 15.
You may have your own tools, but I picked up the Kingsdun 14 in 1 Precision Screwdriver Repair Tool Kit on Amazon. Ignore the "for Apple" marketing, as this kit has all bits you'll need for this job, including a Torx T5 screwdriver. It was a mere $14 and includes every tool you will need to work on electronics like a laptop, and it will also likely come in handy in the future.
Kingsdun Repair Tool Kit ($14)
You will also want a clean and well-lit workspace, and somewhere safe to put the screws from the bottom of the XPS 15. An anti-static wrist strap is not necessary, but it's very useful.
Rosewill Anti Static Wrist Strap ($6)
If you would like to purchase some screws in anticipating of having to replace them (not a bad idea at all) this $10 kit has the right M2*3 screws (black) that will fit. They're also regular Philips screws, which will be more convenient later if you need to remove the cover again.
Opening the Dell XPS 15 (9570)
Before you begin, power down (not sleep or hibernate) your laptop and unplug it from the power adapter.
To open the XPS 15 (9570), you should follow these steps
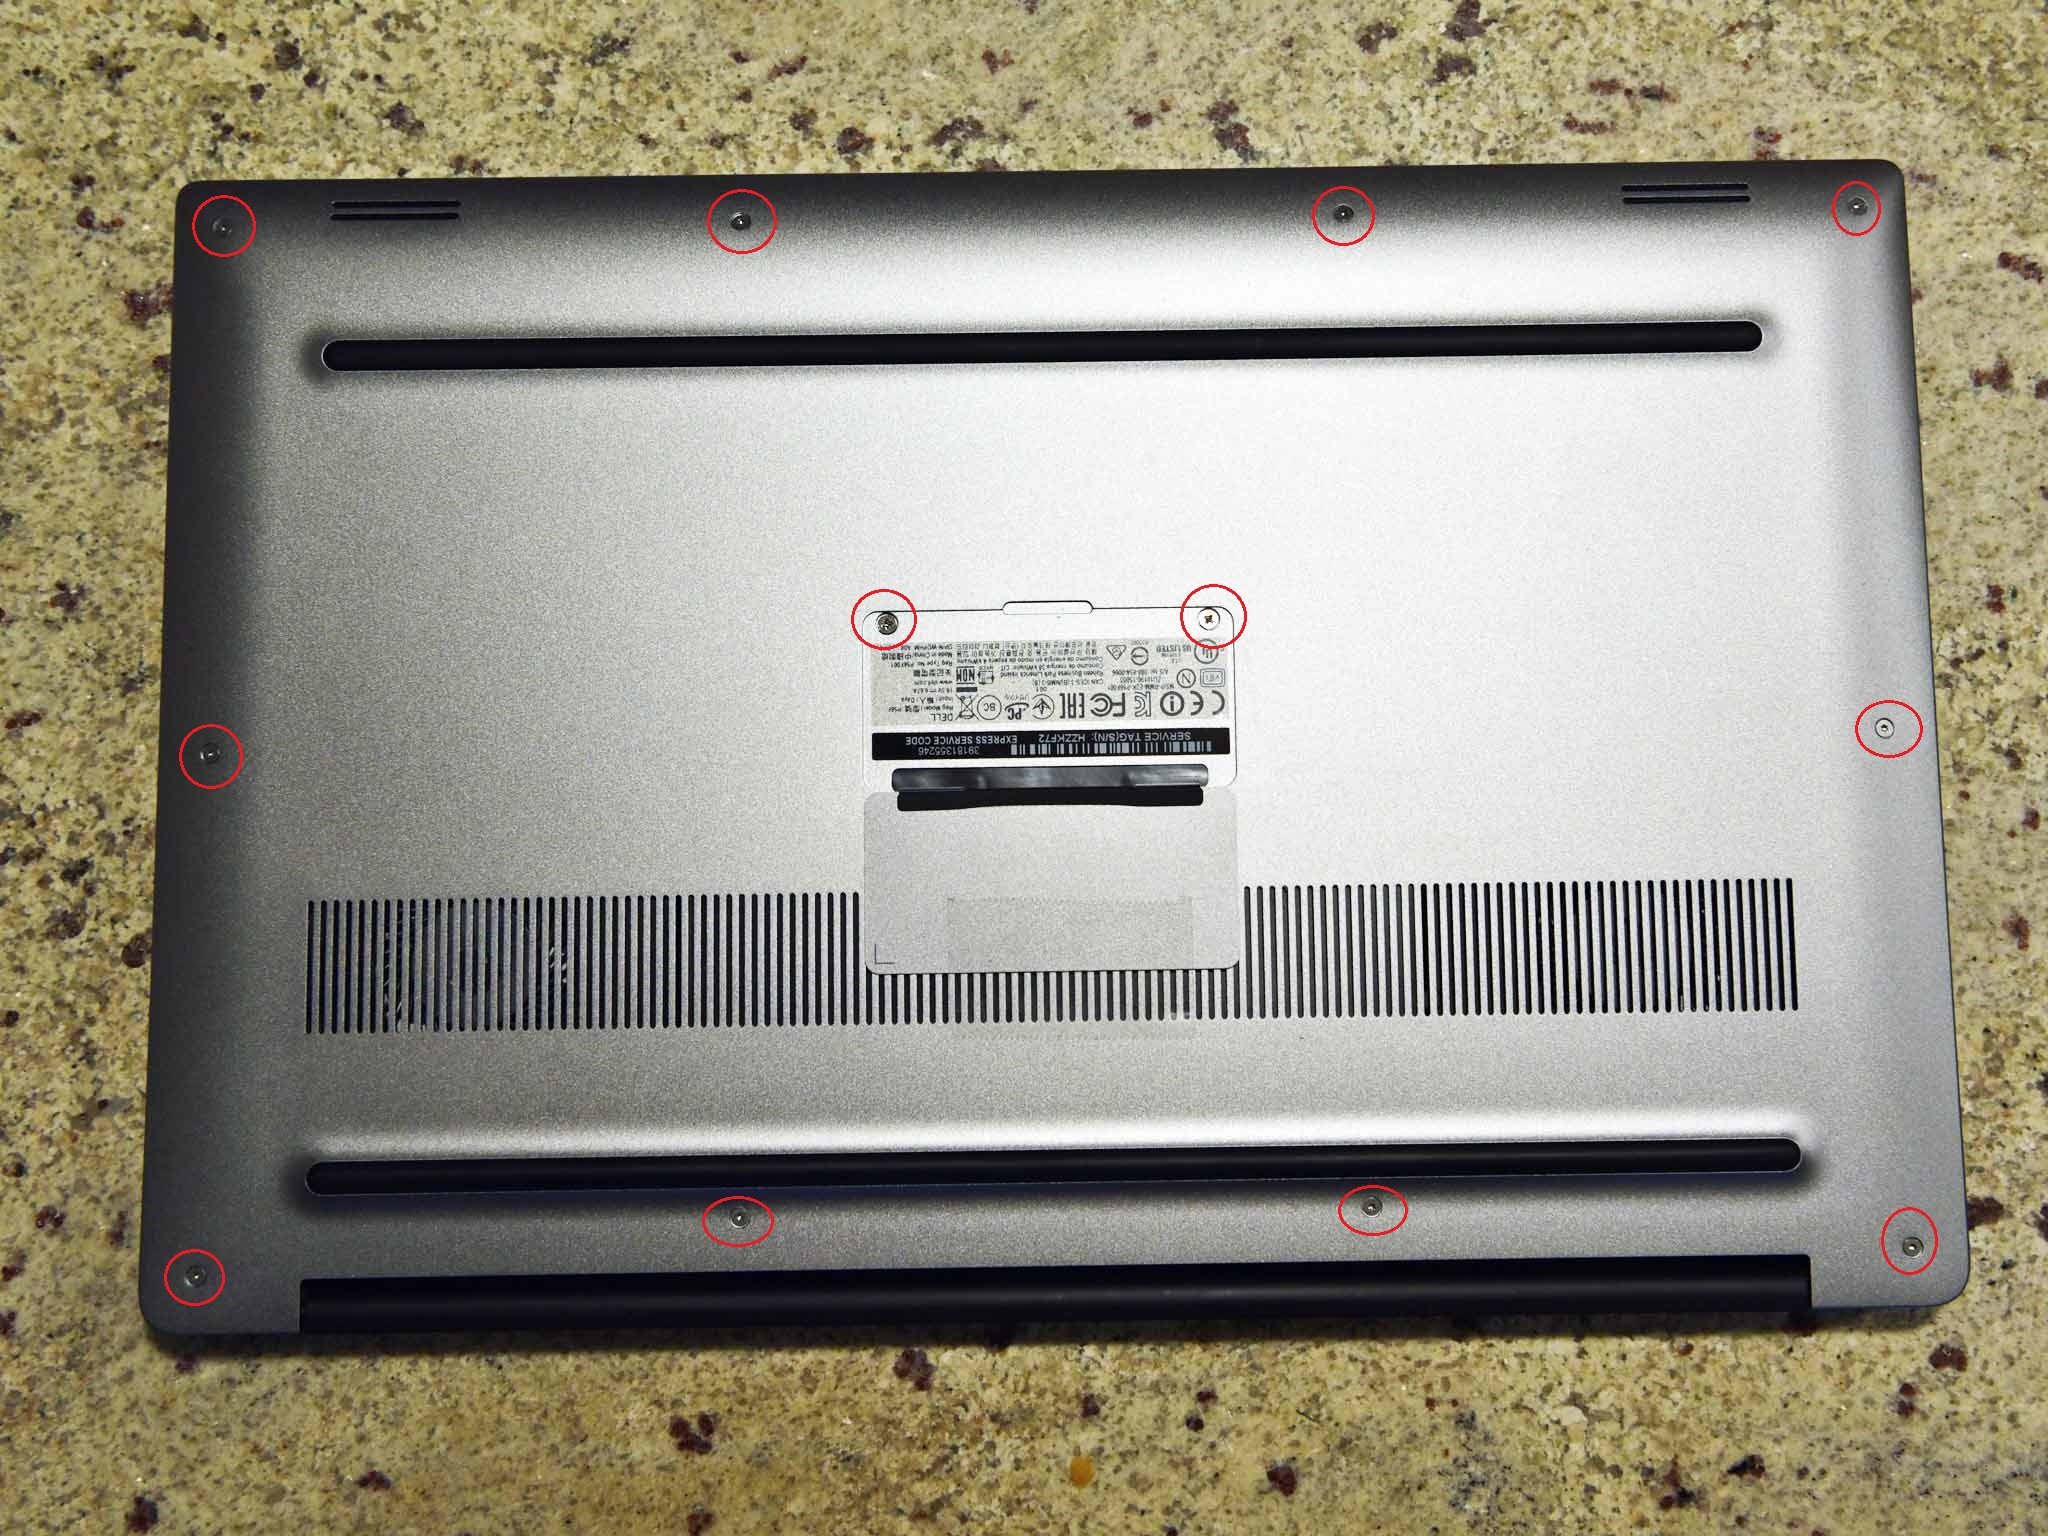
- Place the XPS 15 face down. (I recommend using a cloth to prevent any scratches.)
- Remove the 10 Torx head screws from the bottom edges.
- Remove the 2 Philips head screws from beneath the XPS label in the center (lift the cover).
- Pry the cover off gently using a pry tool.
The cover should just click and come off without much force after all 12 of the screws are removed.
Changing the XPS 15 (9570) RAM
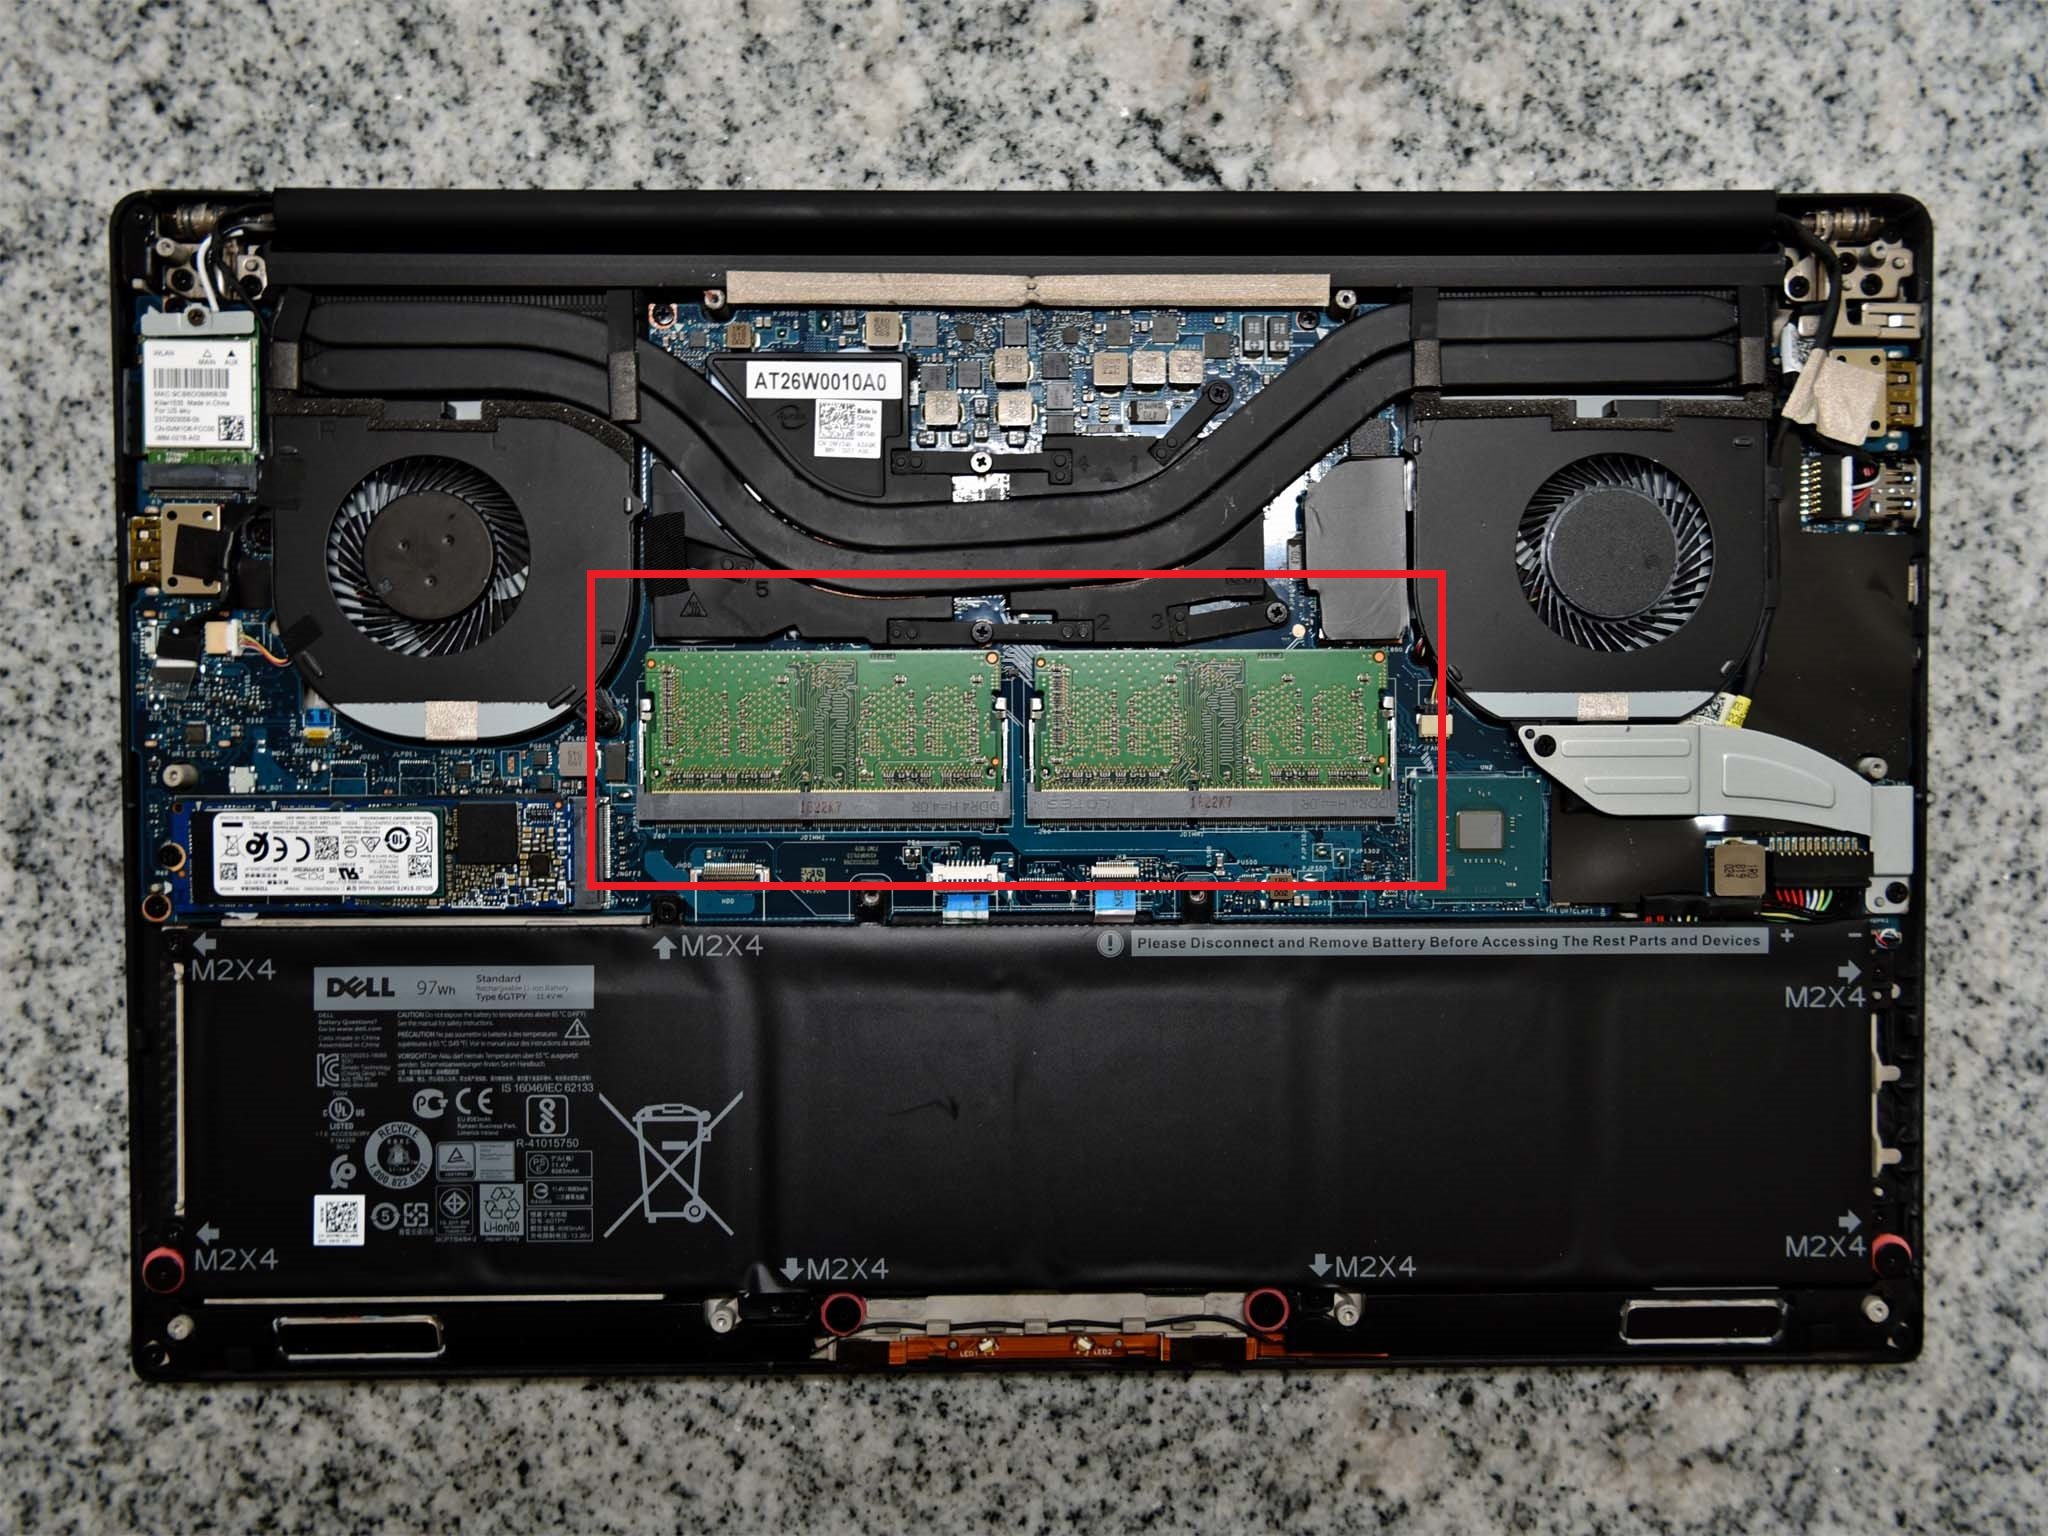
The RAM is easily found on the opened XPS 15 (9570) as it is right in the middle of the machine and unobstructed. You can see the placement in the above image.
The RAM is held down by clamps on each side of the chip. Using a small pry tool, push the clamp to the side, away from the RAM. Once you do this for each side, the chip should pop up at a 45-degree angle.
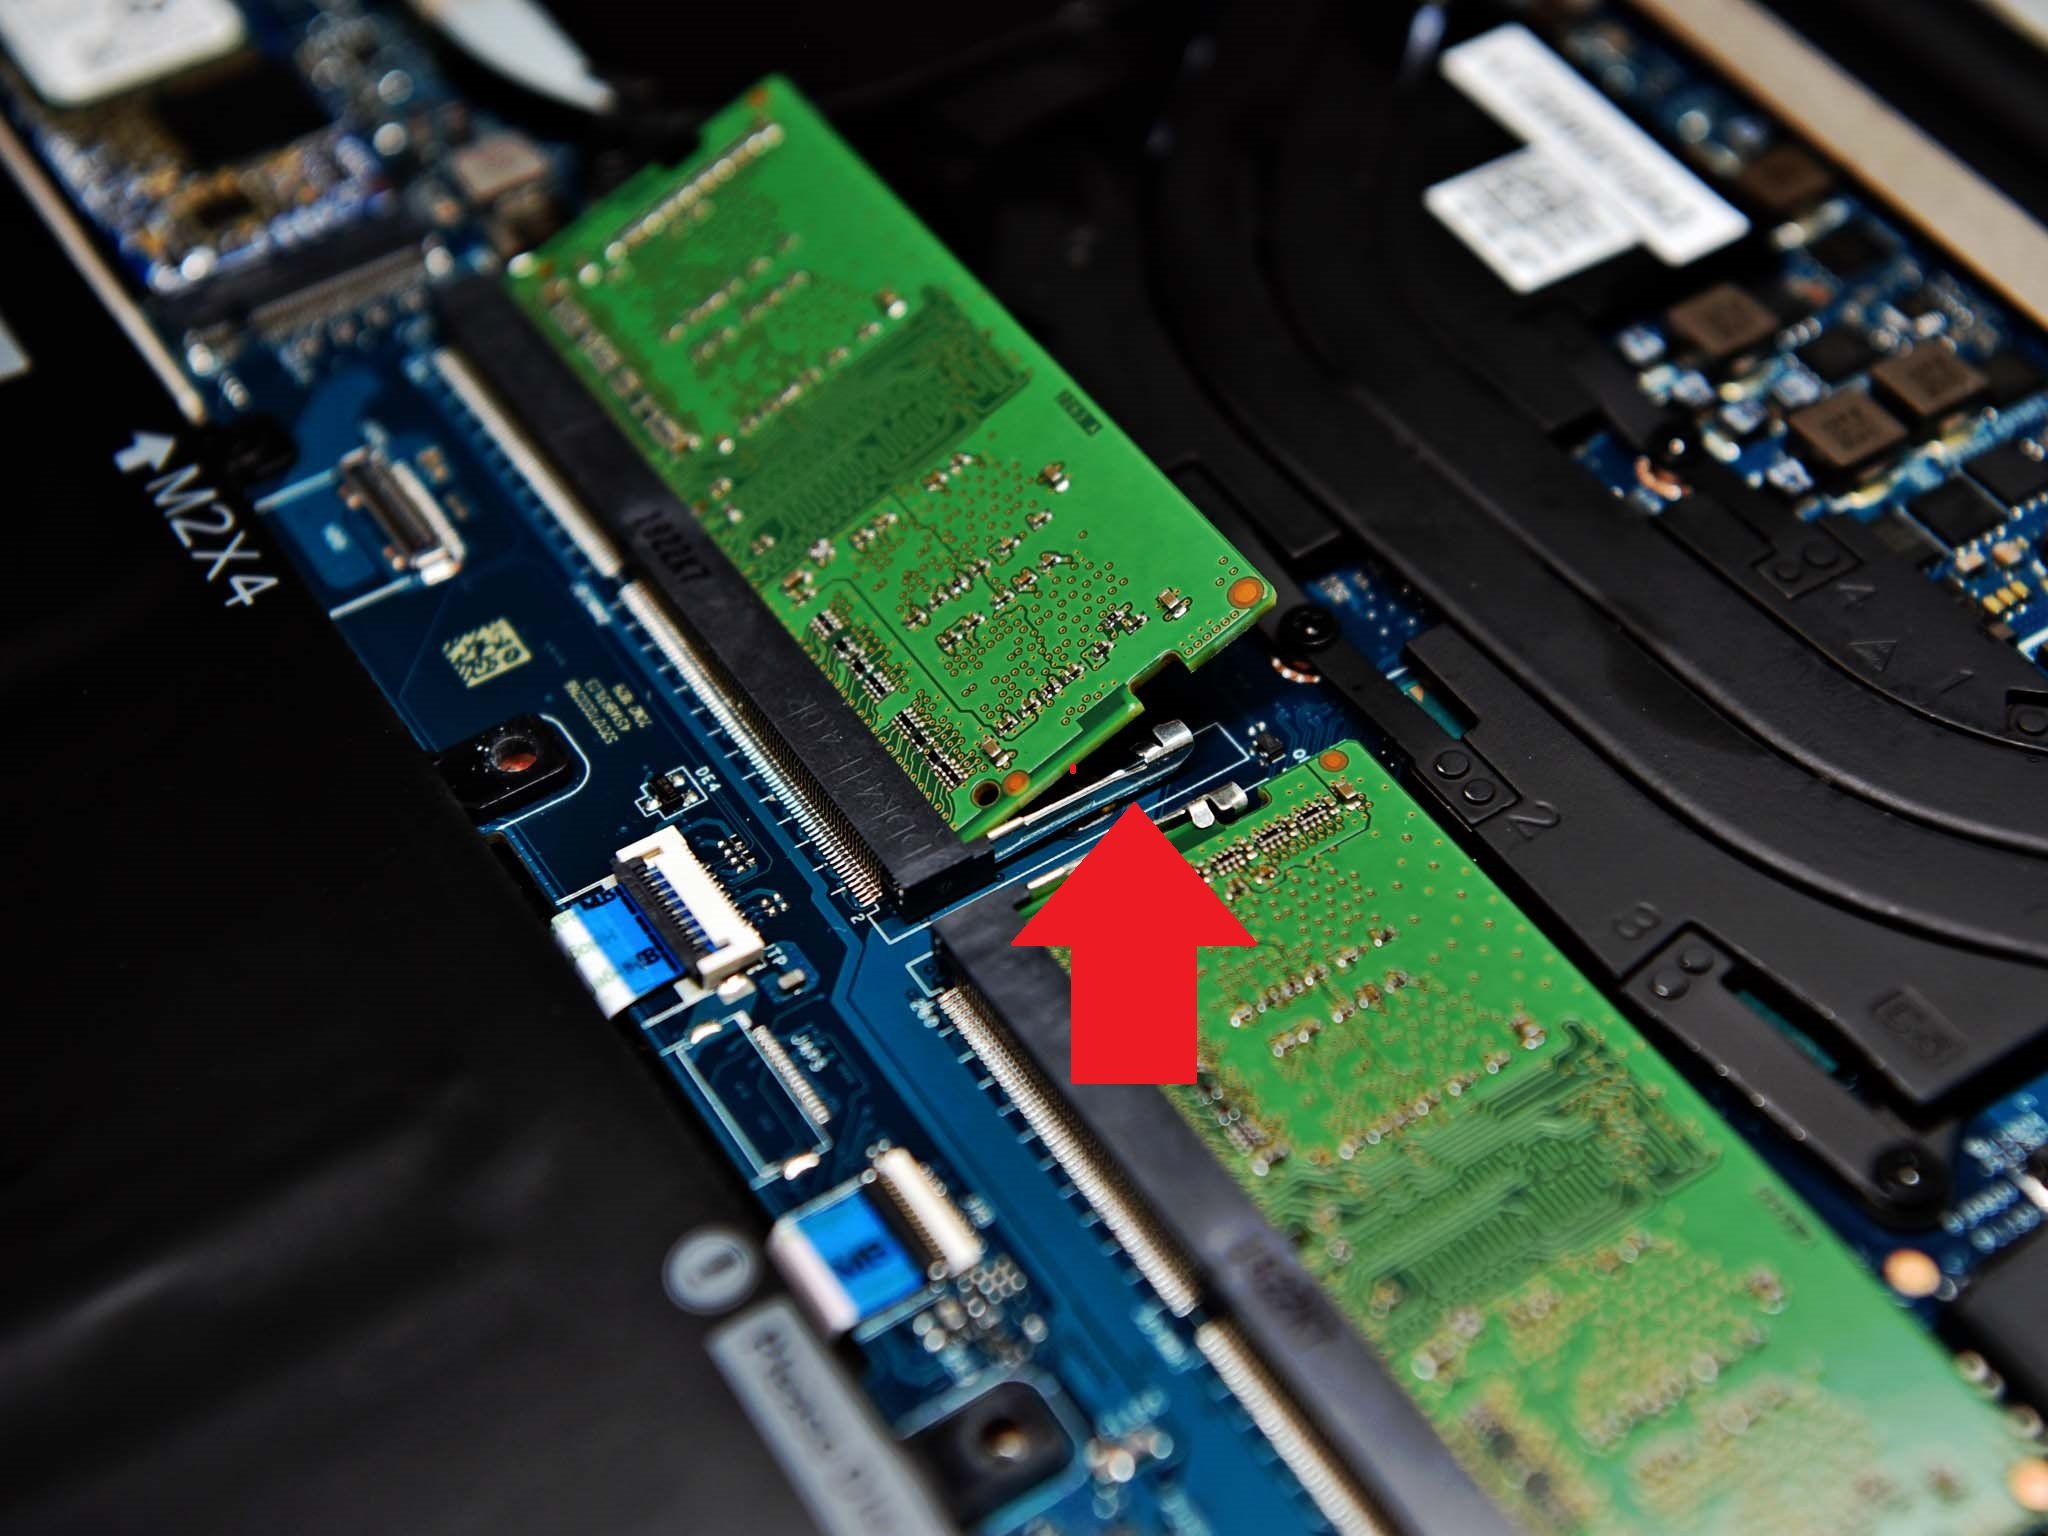
Next, follow these steps to remove and replace the RAM in your XPS 15:
- Push clamps to the side for each RAM chip. (When RAM is free from the clamps they should pop up slightly.)
- Gently pull the chip away from the motherboard.
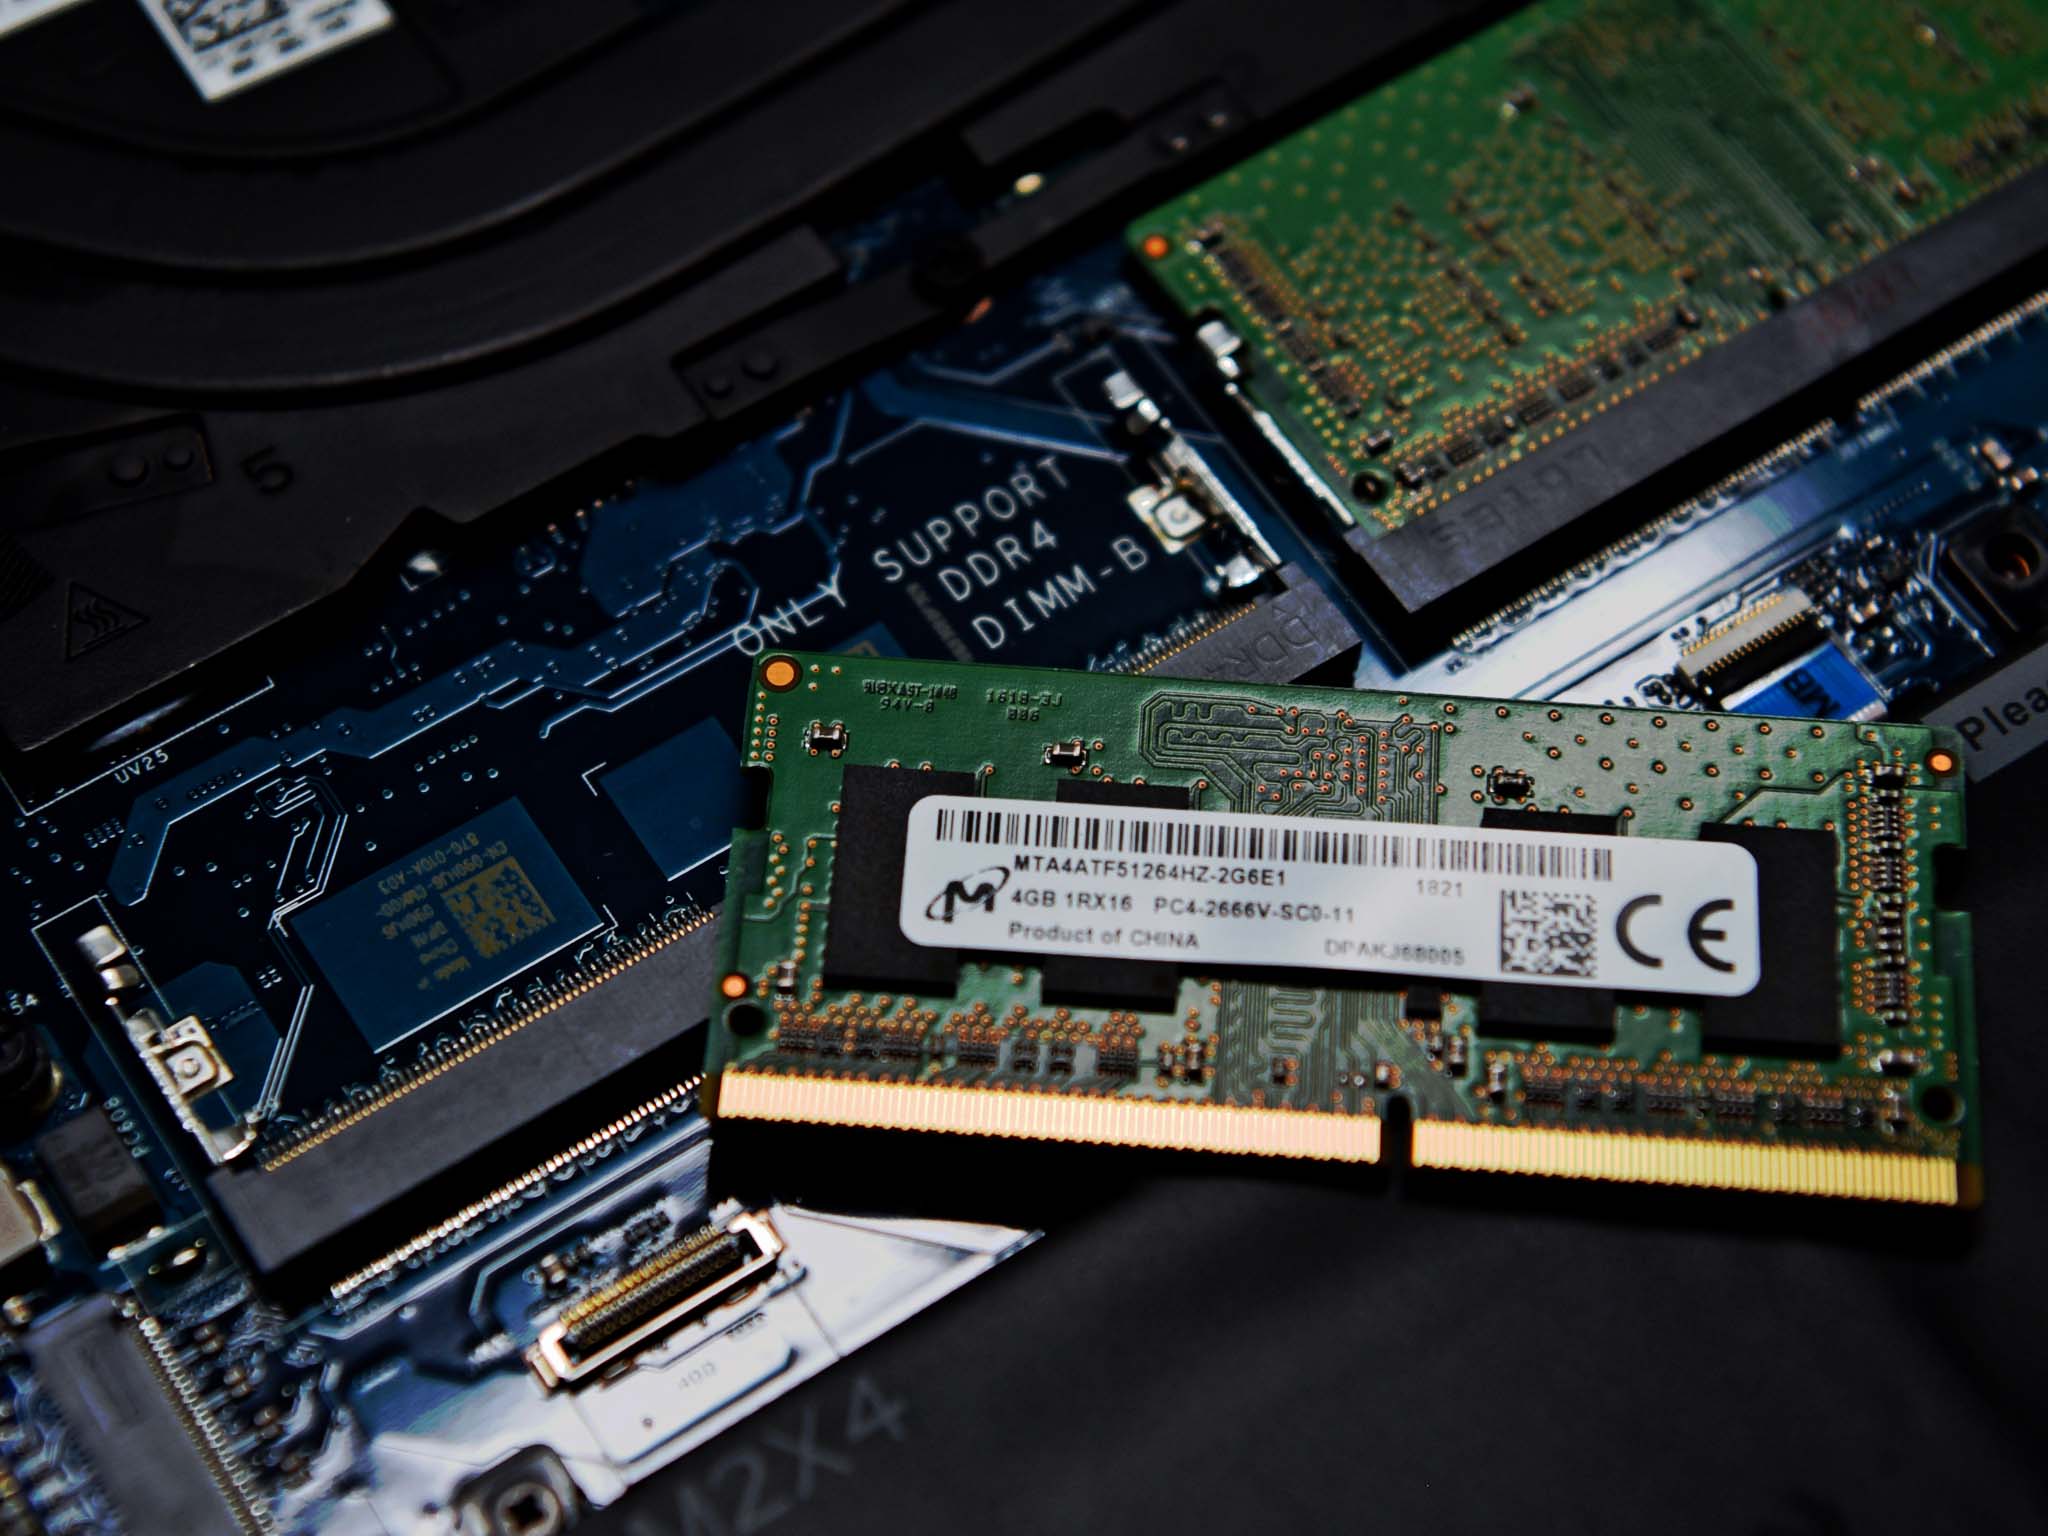
- Slide in the new RAM (label will be facing out).
- Gently press downwards on the RAM until you hear the clamps click.
- Repeat for secondary RAM chip.
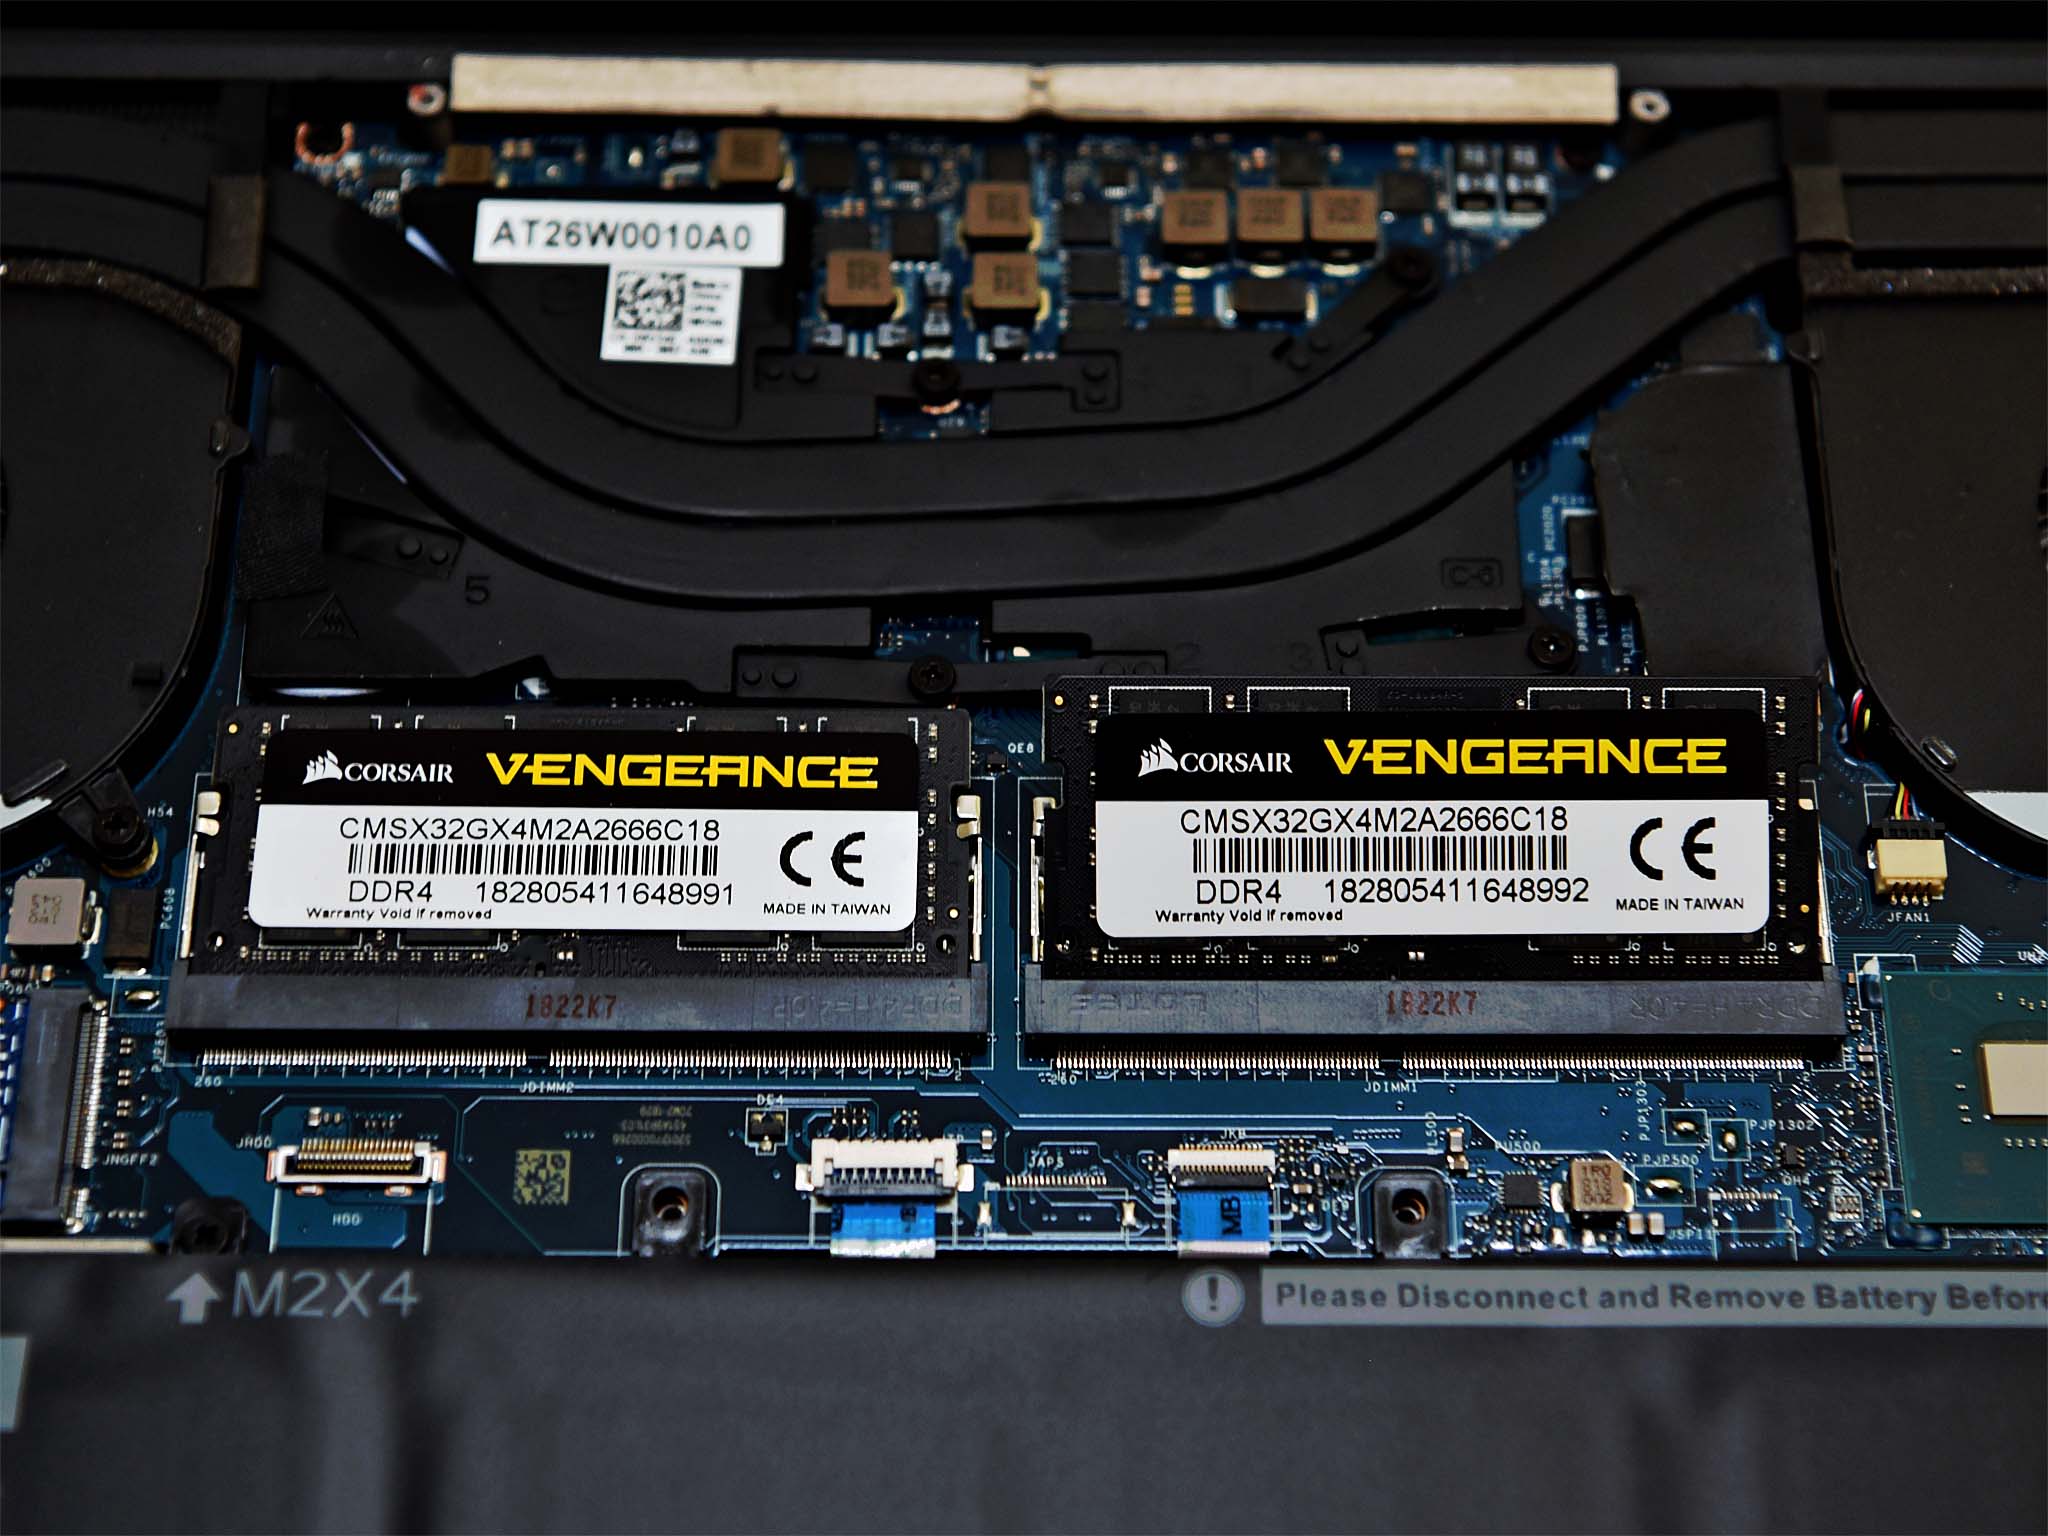
Once the RAM is clicked into place, and the clamps are holding it, you can reassemble the XPS 15. Start from the center (under the XPS label cover) then do the four corners and finally fill in the middle and side screws. Do not overtighten the screws because the Torx head screws are soft and you can easily strip the heads. Tighten them gently.
Finishing up your Dell XPS 15 (9570) RAM upgrade
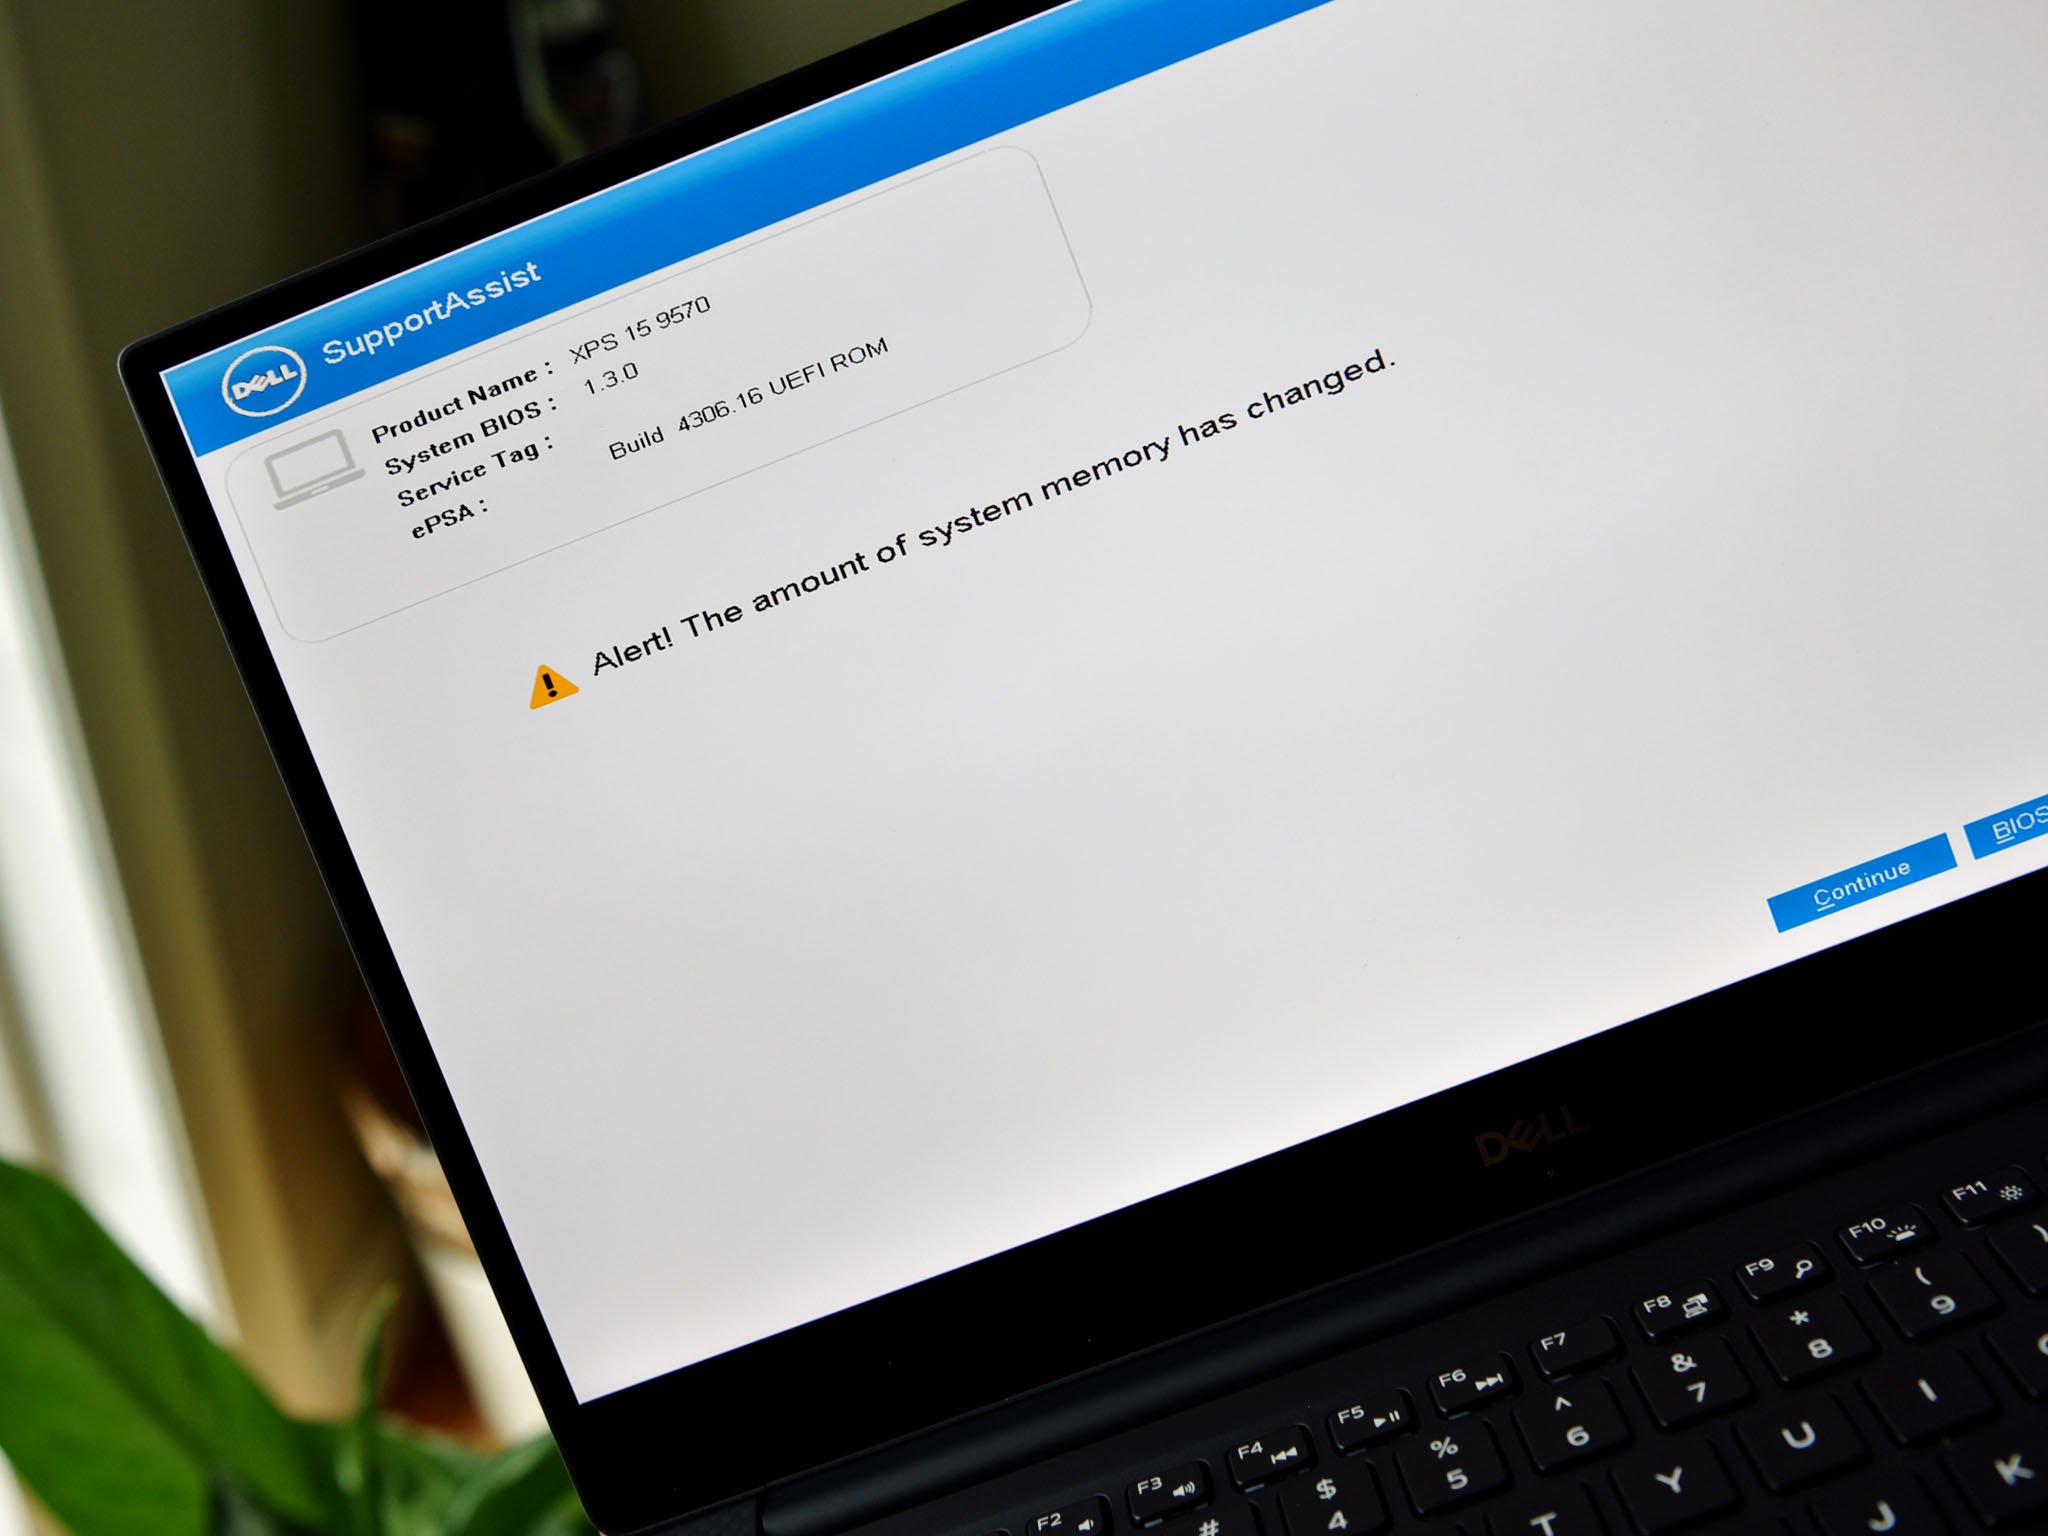
When you turn the XPS 15 on for the first time after the upgrade, the display will stay black for around 30 seconds. Don't panic, as the BIOS is checking for changes. Soon you will see a BIOS-like screen informing you that the hardware changed. This is normal, and you can select "Continue" to proceed to boot up Windows.
You should not have to change anything in the system BIOS or Windows, as both will just recognize the new RAM. If you want to, you can check that you have the correct speed and amount when the XPS 15 is booting, using these steps:
- Hit F12 when you see the Dell logo.
- Go to BIOS settings.
- Navigate to General > System Information and check Memory Speed.
You should see 2666MHz and the amount of RAM listed under "System Information."
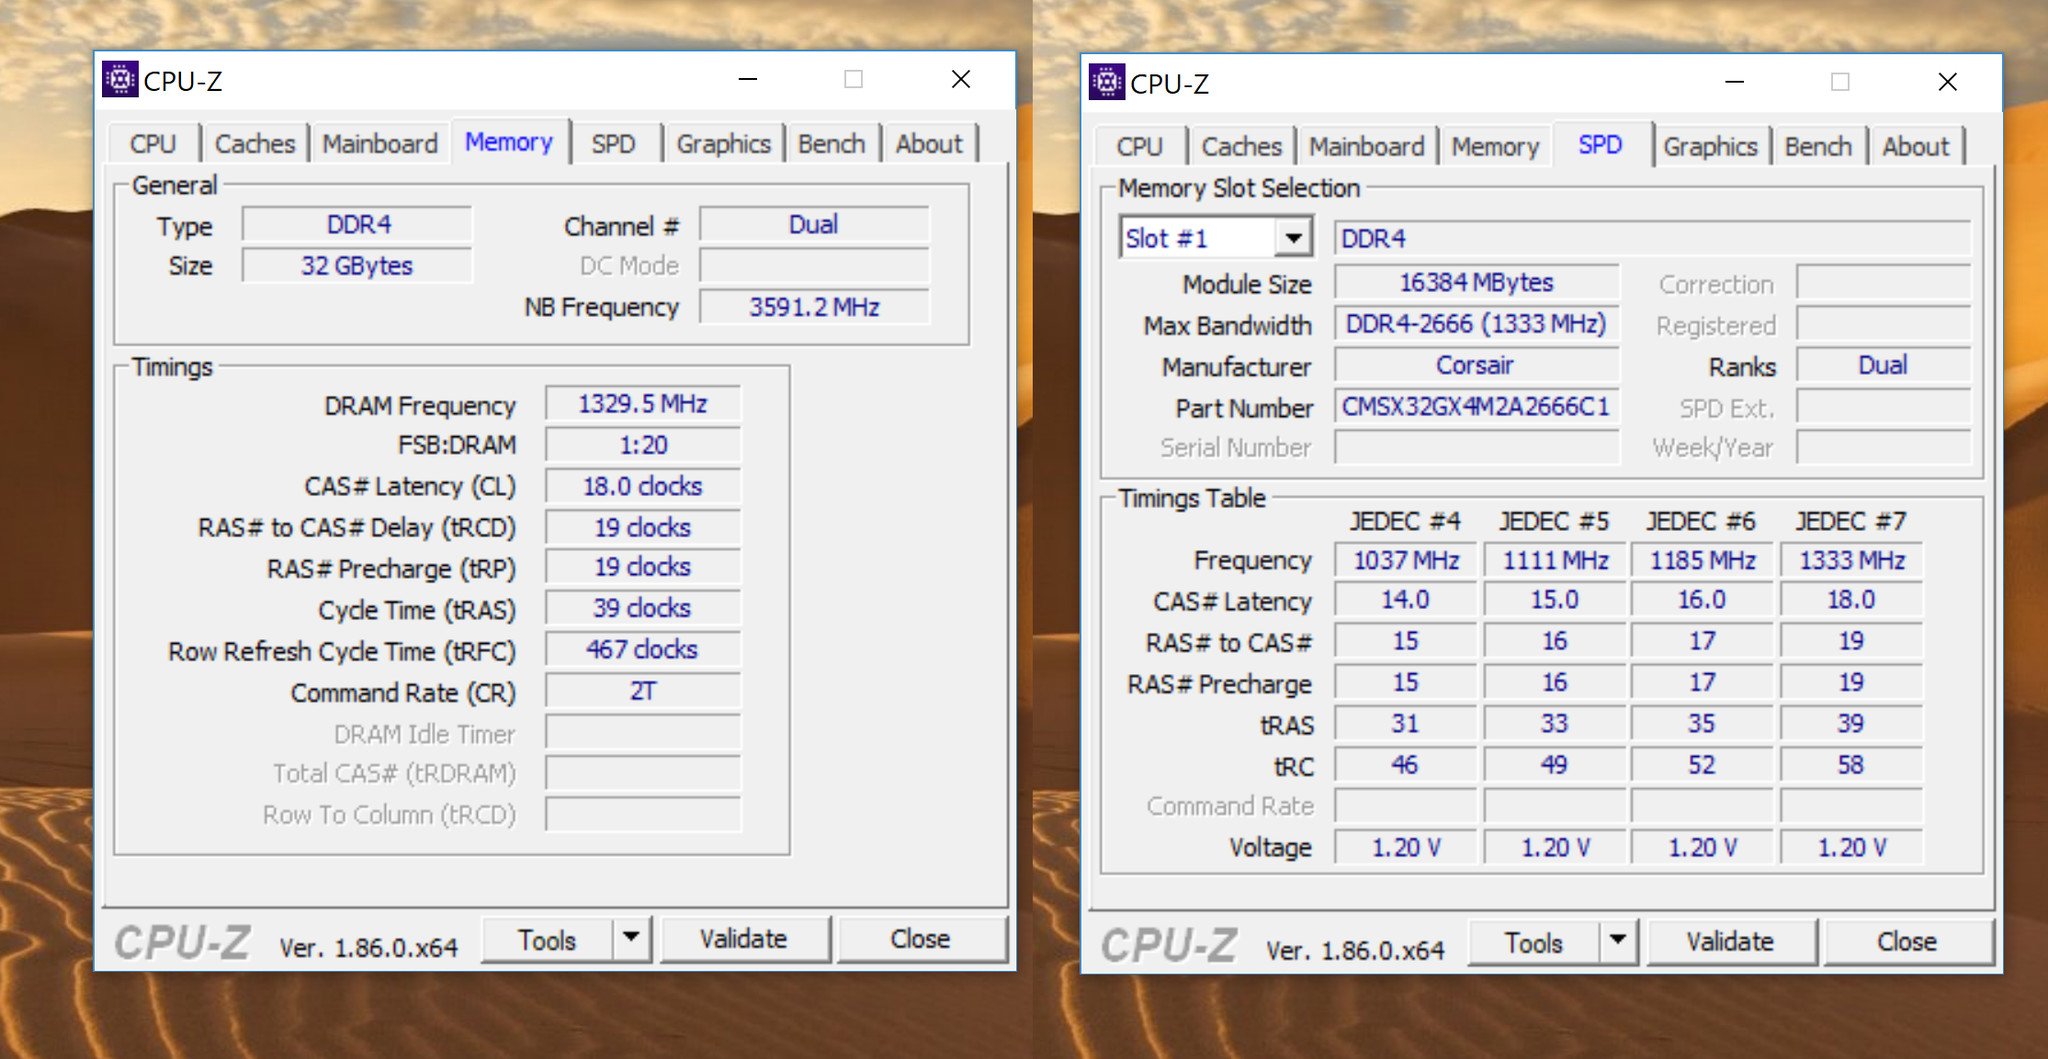
Alternatively, you can use the free app CPU-Z to verify even more details about your system's configuration.
Dell XPS 15 (9570), RAM and you
Were you able to successfully upgrade your XPS 15's RAM? Did you come across any issues? What RAM did you use for your upgrade, and how much? Let me know in comments.

Daniel Rubino is the Editor-in-chief of Windows Central. He is also the head reviewer, podcast co-host, and analyst. He has been covering Microsoft since 2007 when this site was called WMExperts (and later Windows Phone Central). His interests include Windows, laptops, next-gen computing, and wearable tech. He has reviewed laptops for over 10 years and is particularly fond of 2-in-1 convertibles, Arm64 processors, new form factors, and thin-and-light PCs. Before all this tech stuff, he worked on a Ph.D. in linguistics, performed polysomnographs in NYC, and was a motion-picture operator for 17 years.
