How to turn an old PC case into a test bench — and save money
Needing a test bench to test various PC components, I turned to various prebuilt solutions that are available to buy and put together.
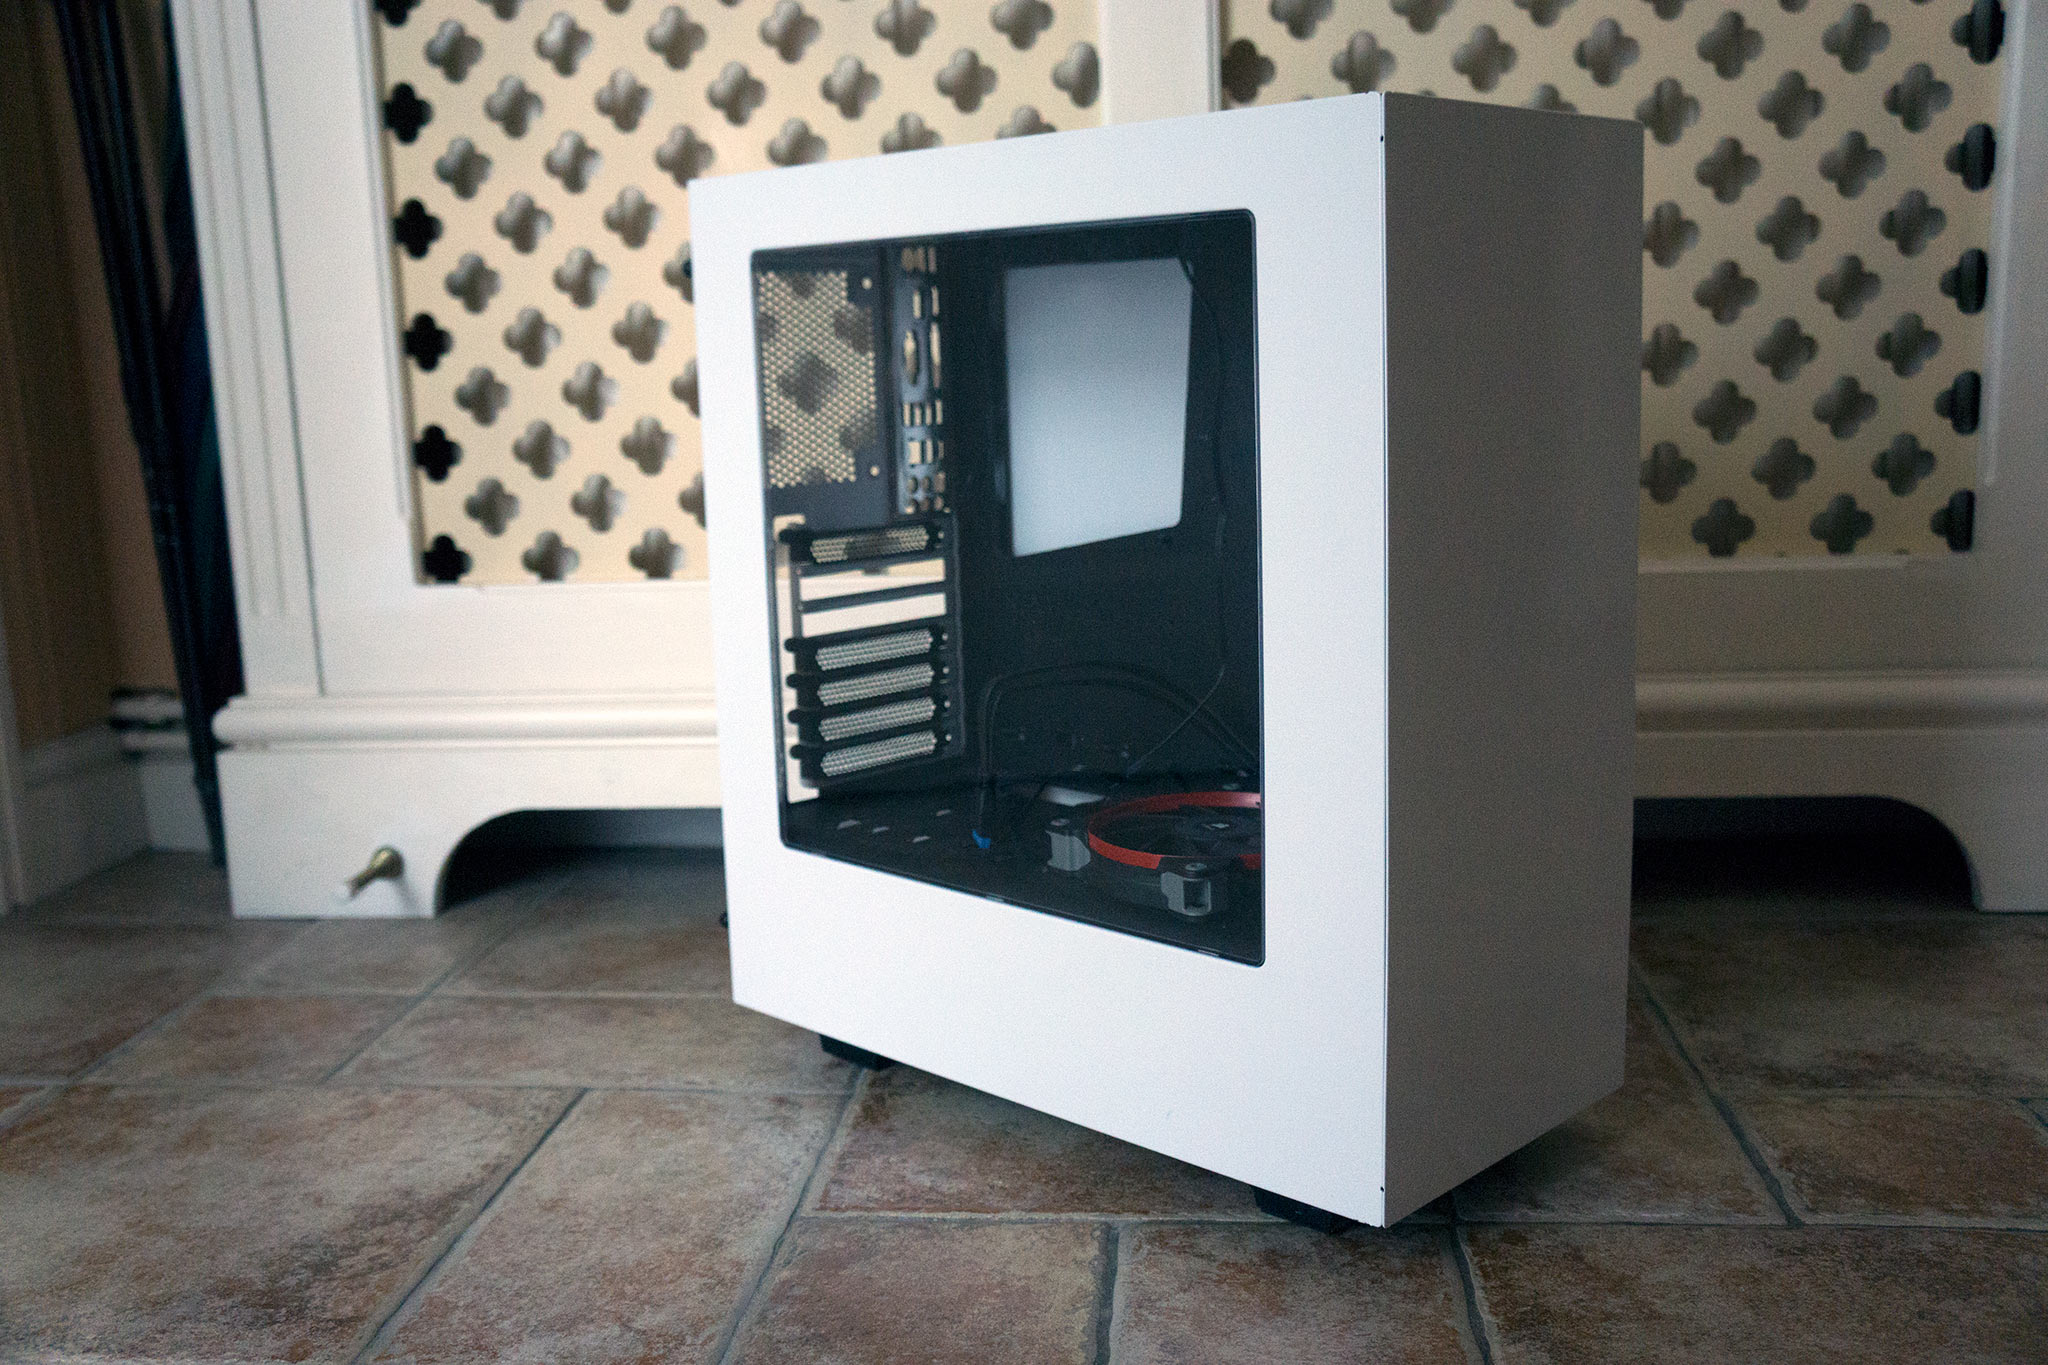
Unfortunately, as covered in our piece on whether you should buy a test bench platform or build one yourself, this can prove to be very expensive. For a solid test bench, you could spend up to $200, so I took a long hard look around and noticed I still had an old NZXT S340 case collecting dust. My virtual light bulb shone as bright as a sunrise.
My idea was to turn the old case into an open platform, which could then sit on a desk or be raised above my Xbox One to save on surface space. This project led me to invest in a few new tools (some of which were long overdue), so this wasn't completely free. But I didn't go anywhere near some of the price tags I've seen. Here's what I used for this little project:
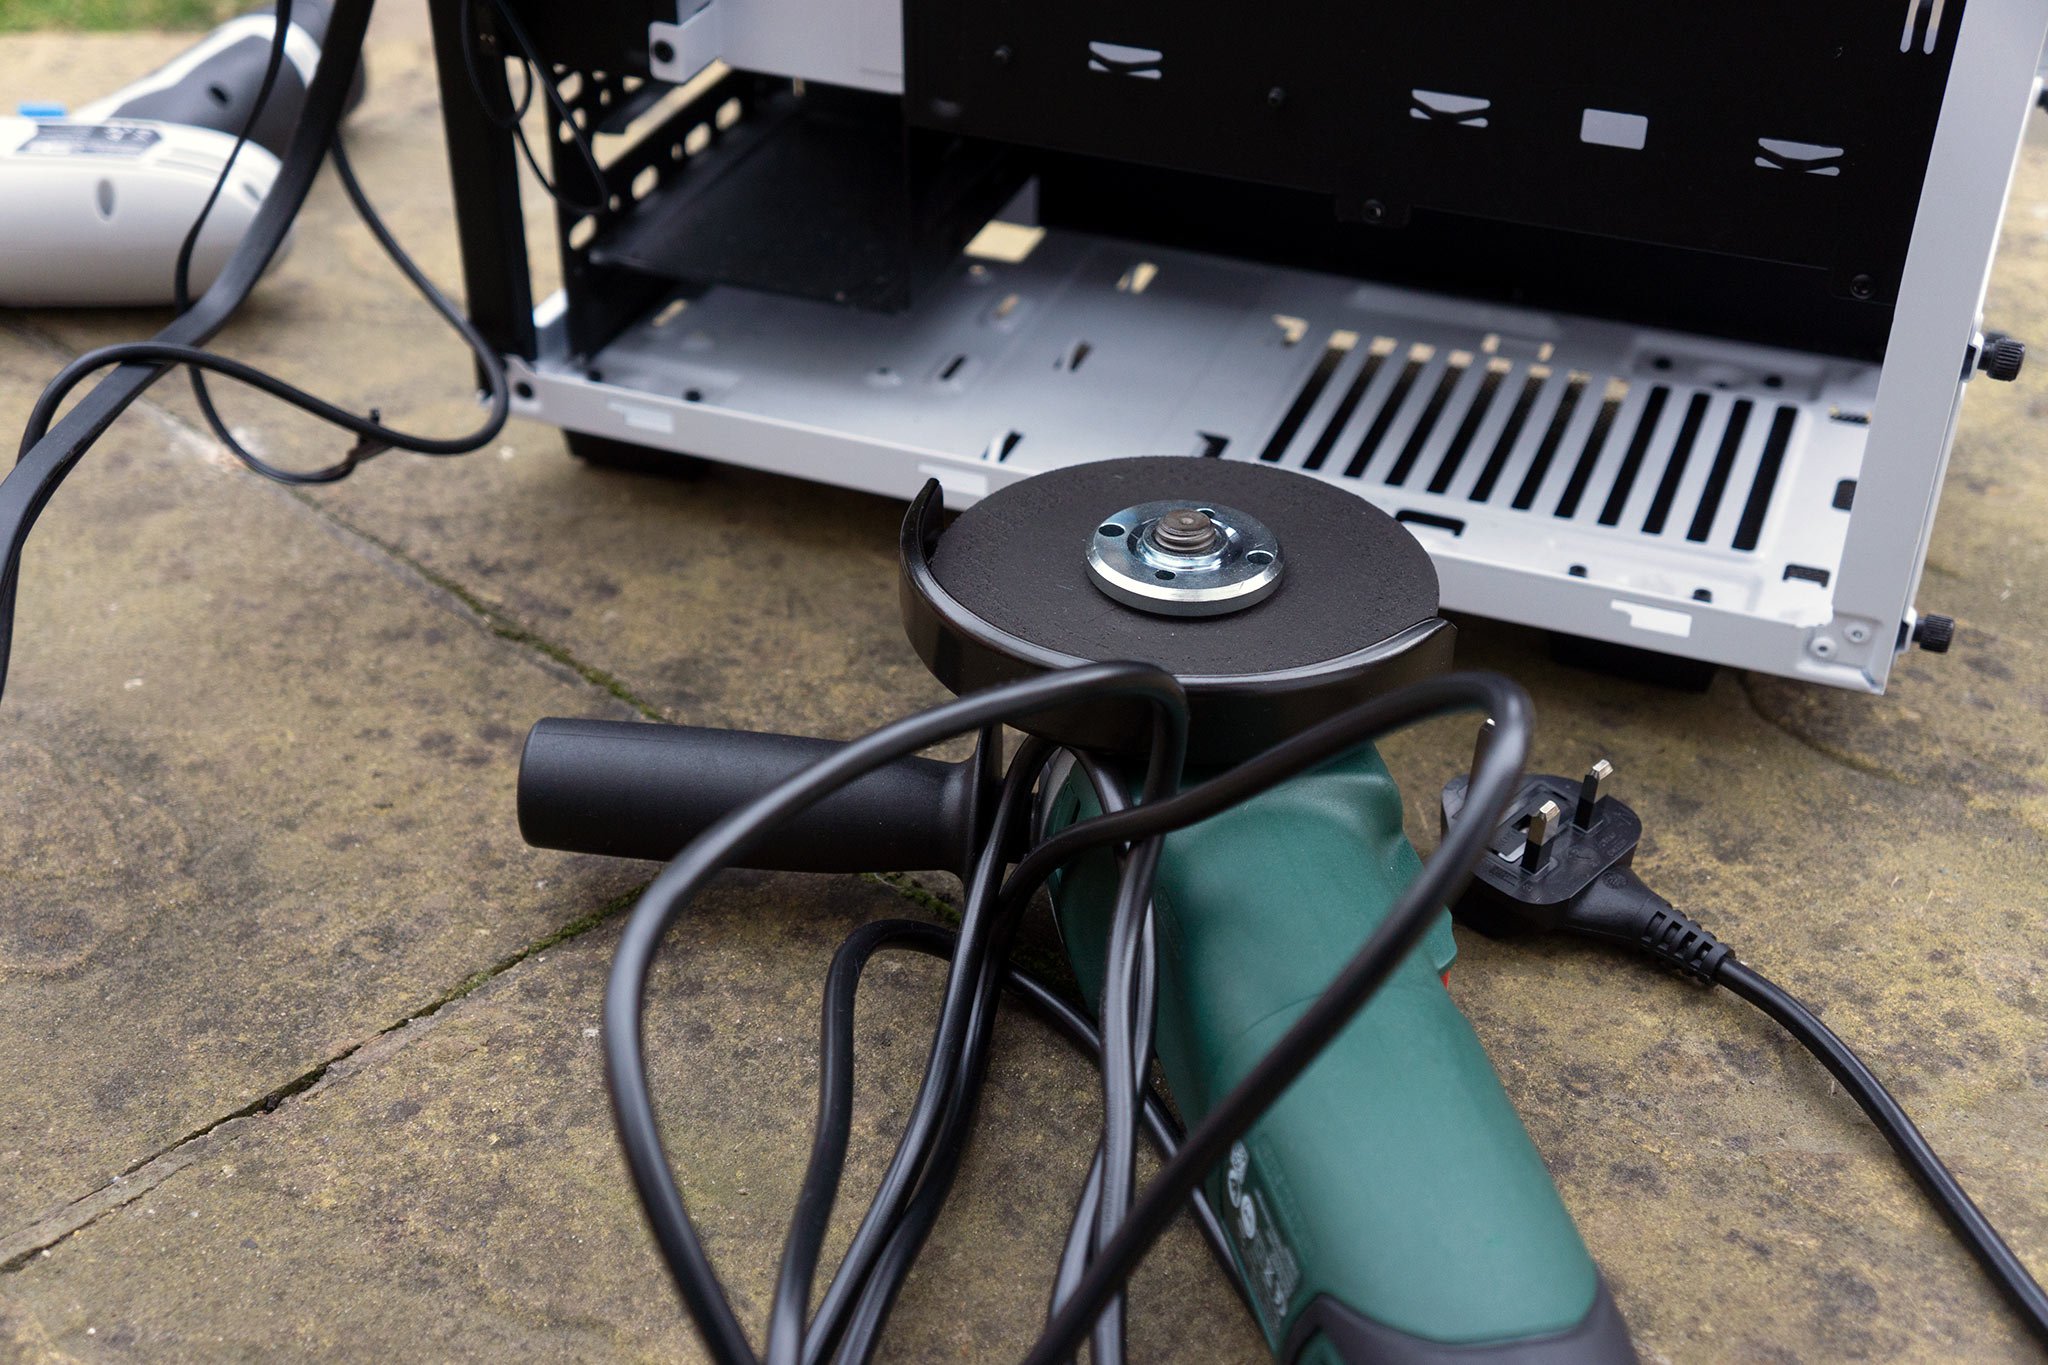
- Bosch angle grinder.
- B&Q electric-powered drill and screwdriver.
- Various metal filers.
- Metal (and other material) adhesive.
- Eye protection and gloves.
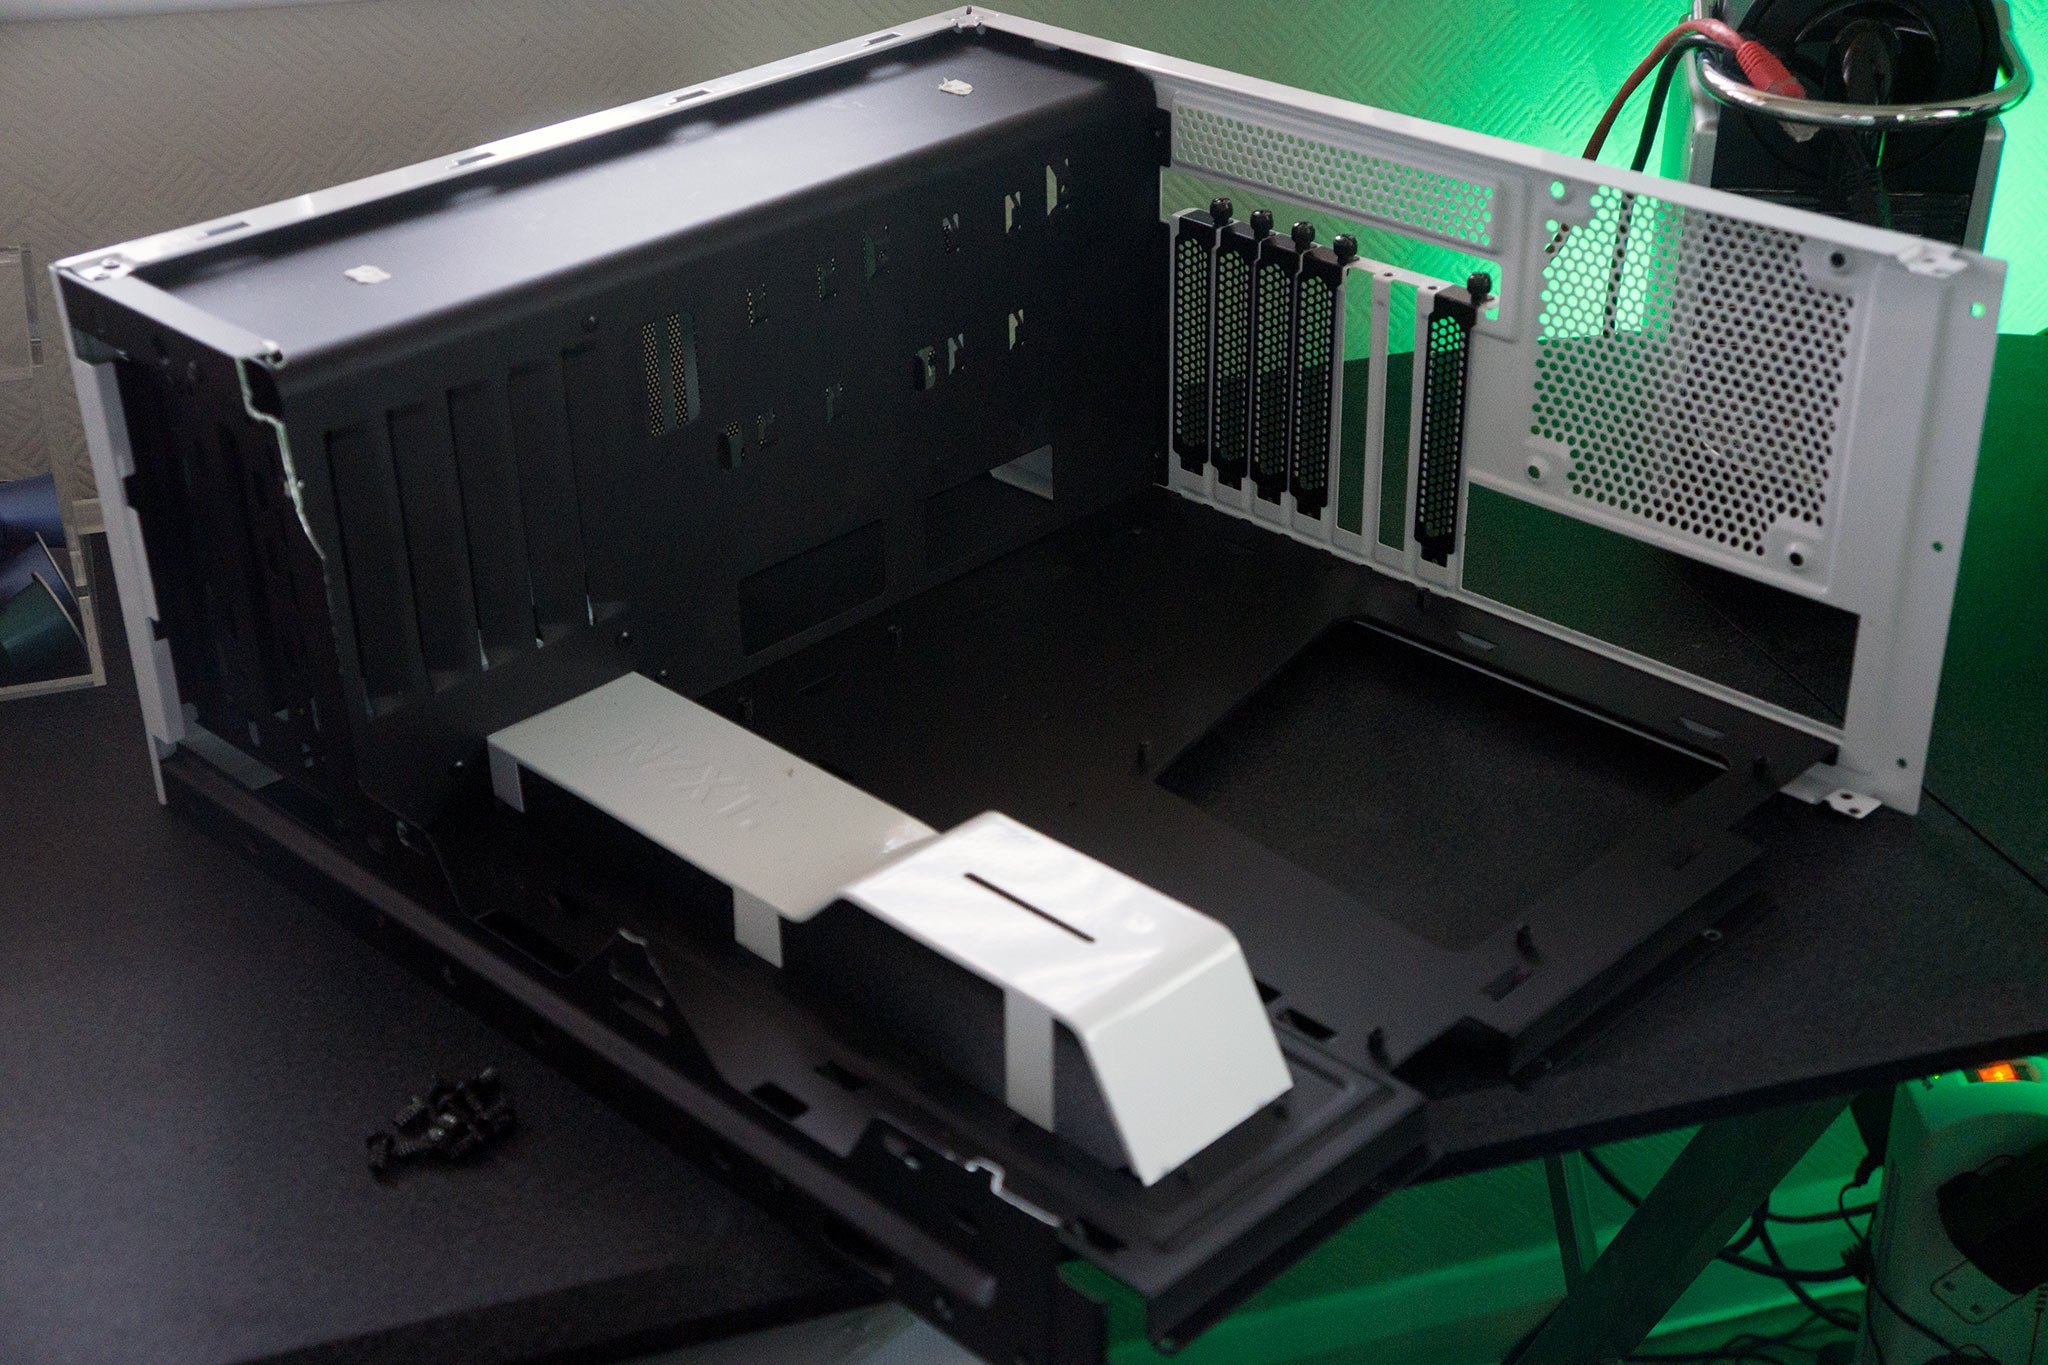
The plan was to remove the top panel, as well as both the outer and inner front panels, which would provide ample access to the motherboard and other internal components. I wanted to keep as much metal as possible to ensure I didn't weaken the overall structure, and because I wouldn't be touching the PSU as often, I opted to ignore the shroud that separates the unit from the rest of the case. It was also attached to both ends and the white metal bracket that I left for styling points. With everything jotted down in my memory, it was time to get to work.
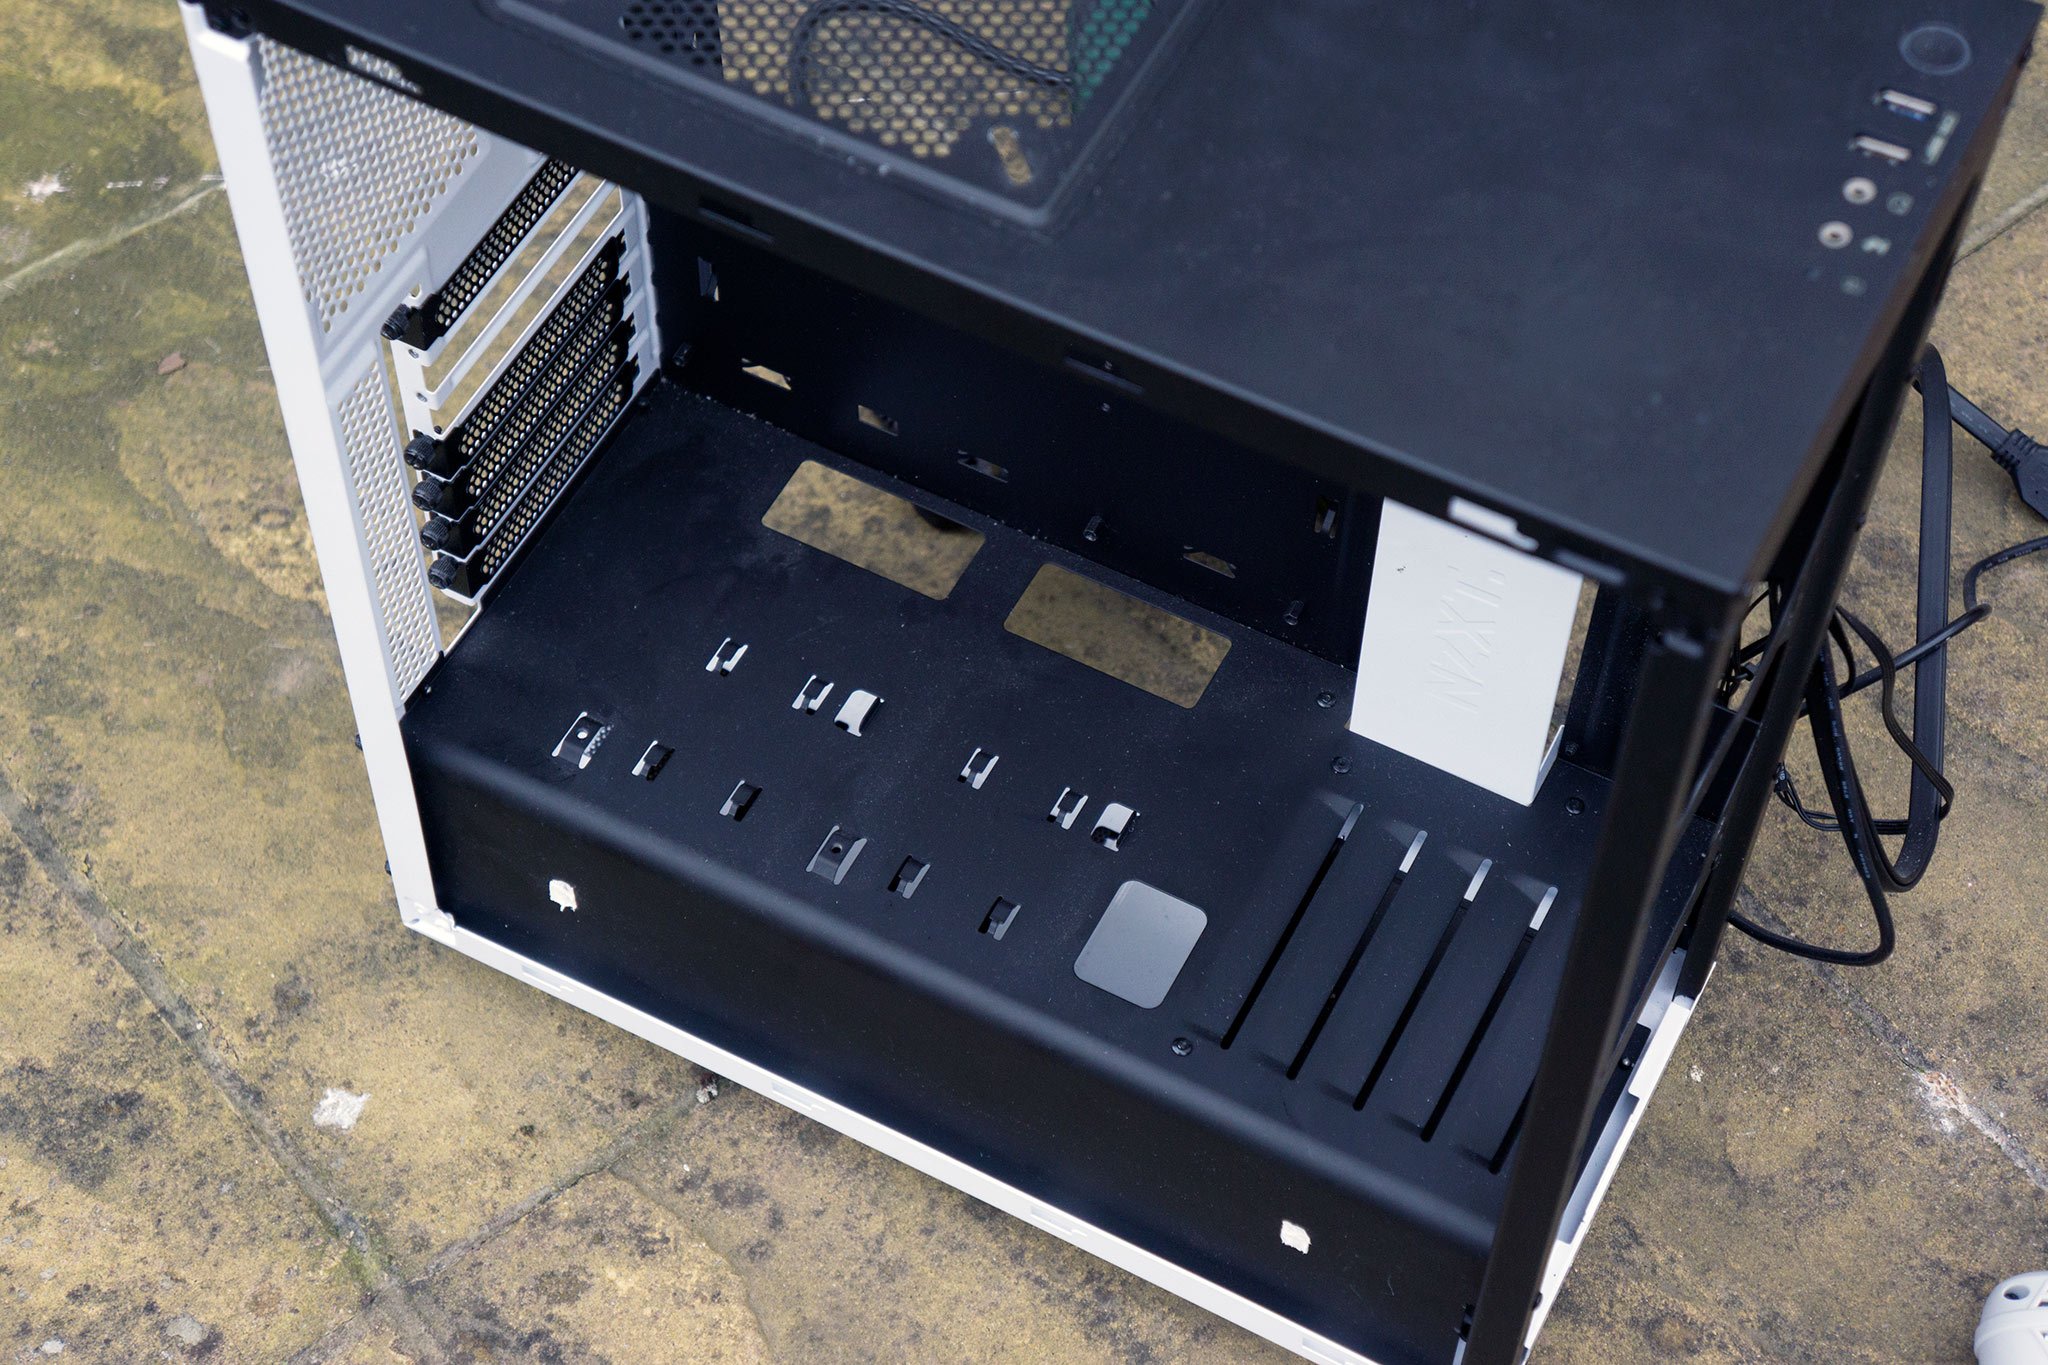
Getting started
The first task was to get all the tools prepped and ready to use. I had to then take apart the S340 case, removing the front panel, side covers, dust filters and remaining case fans that were left installed. After I took out as much as possible with my hands, it was time to bring in the drill. Unfortunately, most cases today are held together by rivets, which can be a pain to remove so you can pry apart the different sections.
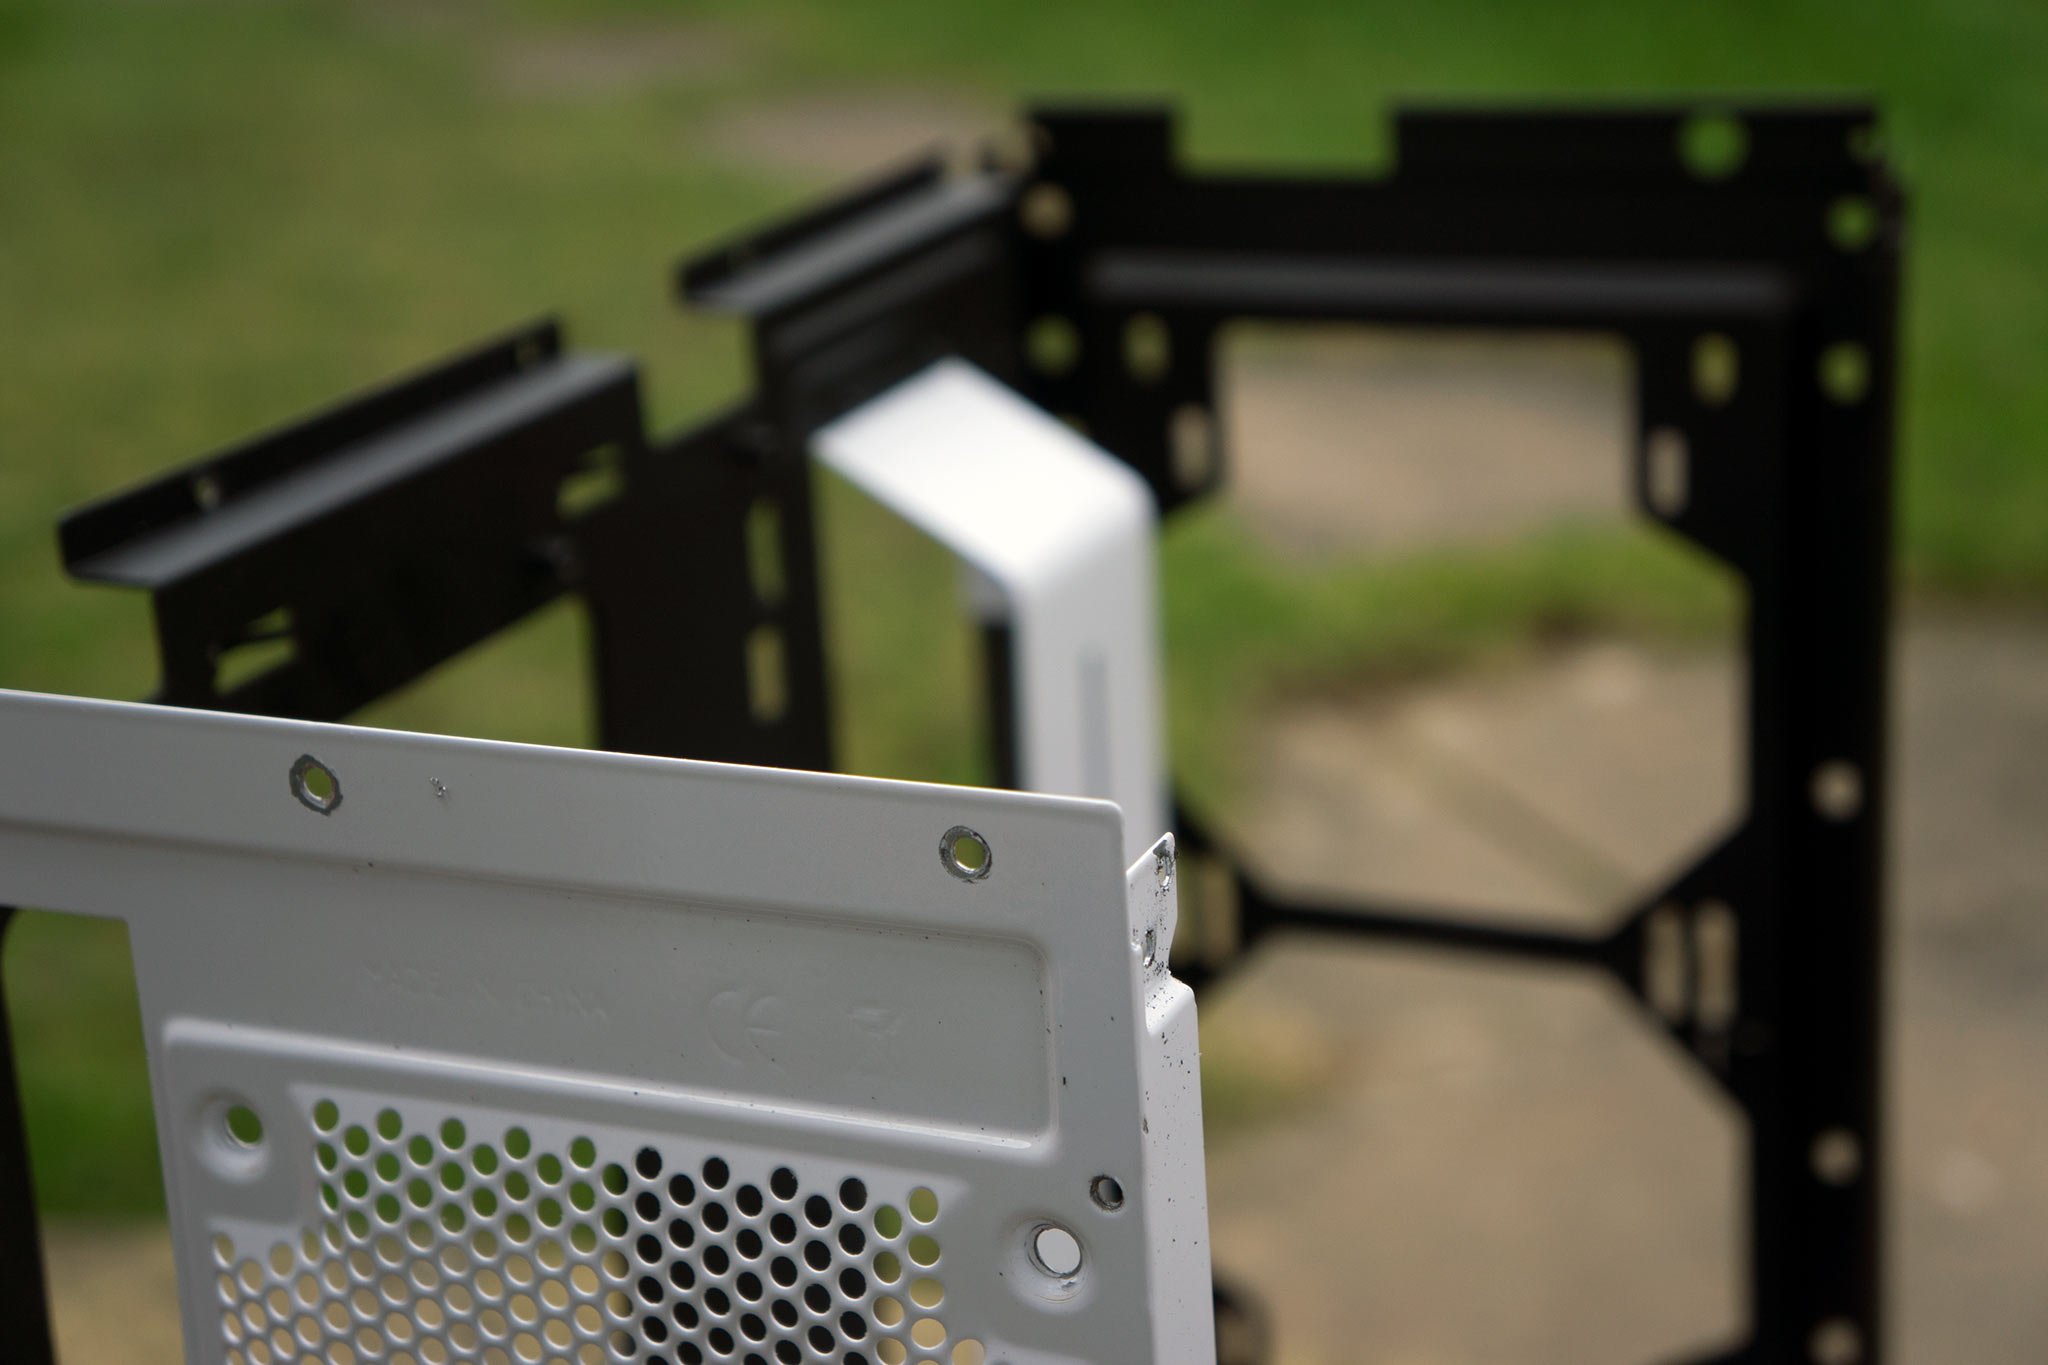
Using an adequate drill piece, I was able to hunt down these rivets and take them out one by one, carefully preserving as much of the surrounding case paint as possible. The top panel could then be removed, and I was almost halfway there with regards to the outer shell. Next up was the inner front panel, which secured the two 140mm fans and accompanying filter. This was no job for the drill, and so the angle grinder sprung into action.
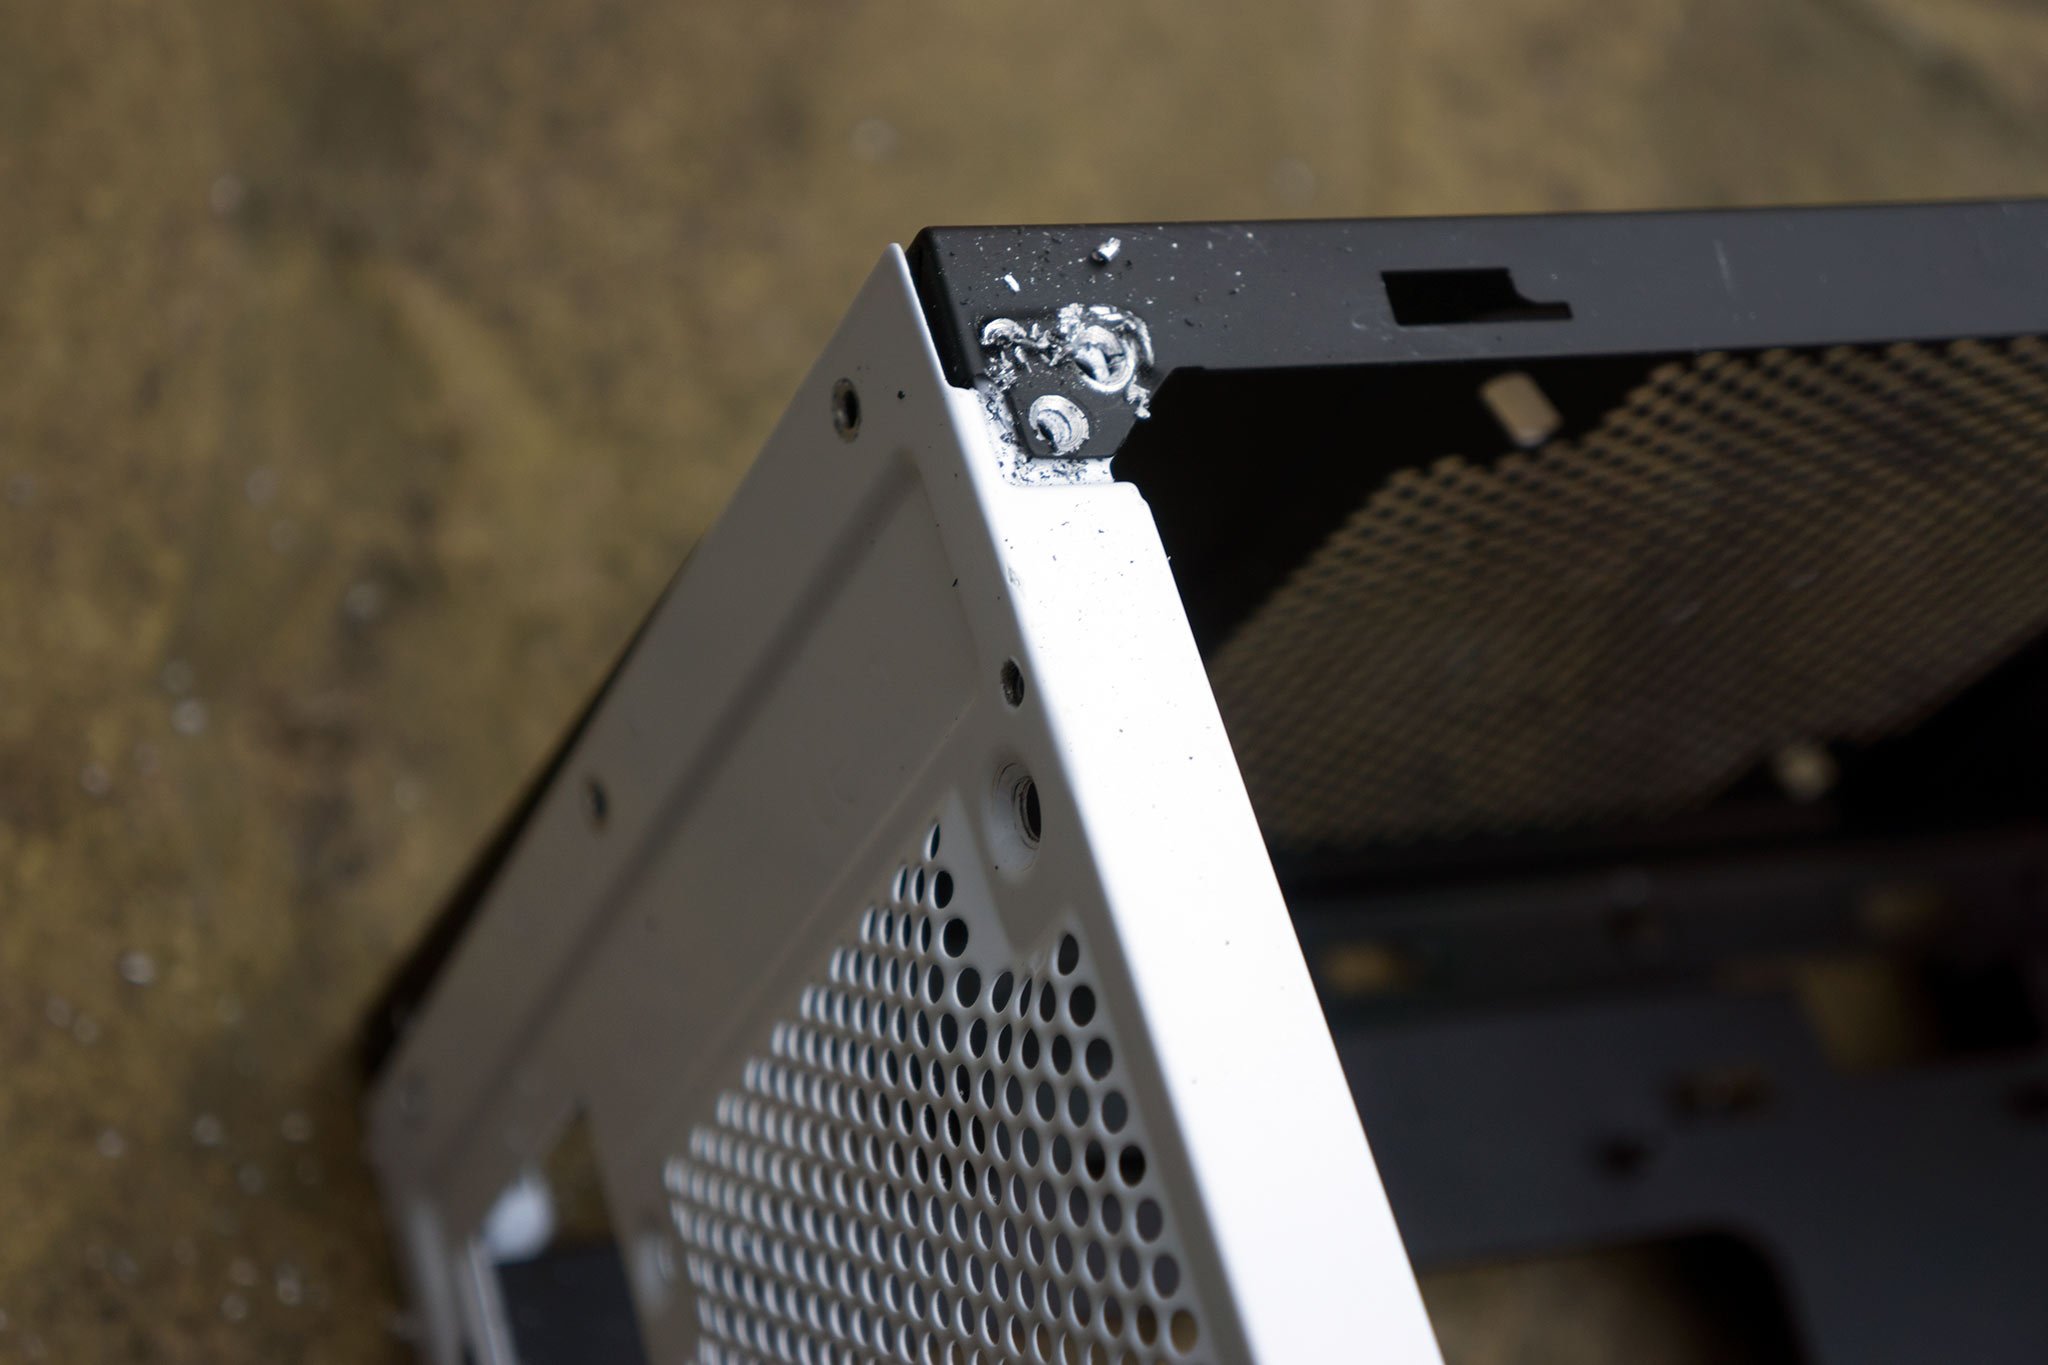
Getting down and dirty
Warning: Make sure you wear ample protection when using such tools. Eye protection, gloves and a good pair of ear muffs (or over-the-ear headphones) can work wonders toward preserving your fine health.
Carefully cutting away the front panel, it was advantageous there wasn't much metal to get through since I was using the fan mounts as a ruler, and there was a fair amount of free space between the two sides. On the downside, it meant I didn't get to have too much fun here. After the front panel was cut into to remove the left-hand side, I filed down the rough edges and removed any shrapnel left from the grinder. It wasn't a perfect cut and the lines aren't by any means straight, but for someone who doesn't craft sculptures in their spare time, it'll work.
Get the Windows Central Newsletter
All the latest news, reviews, and guides for Windows and Xbox diehards.
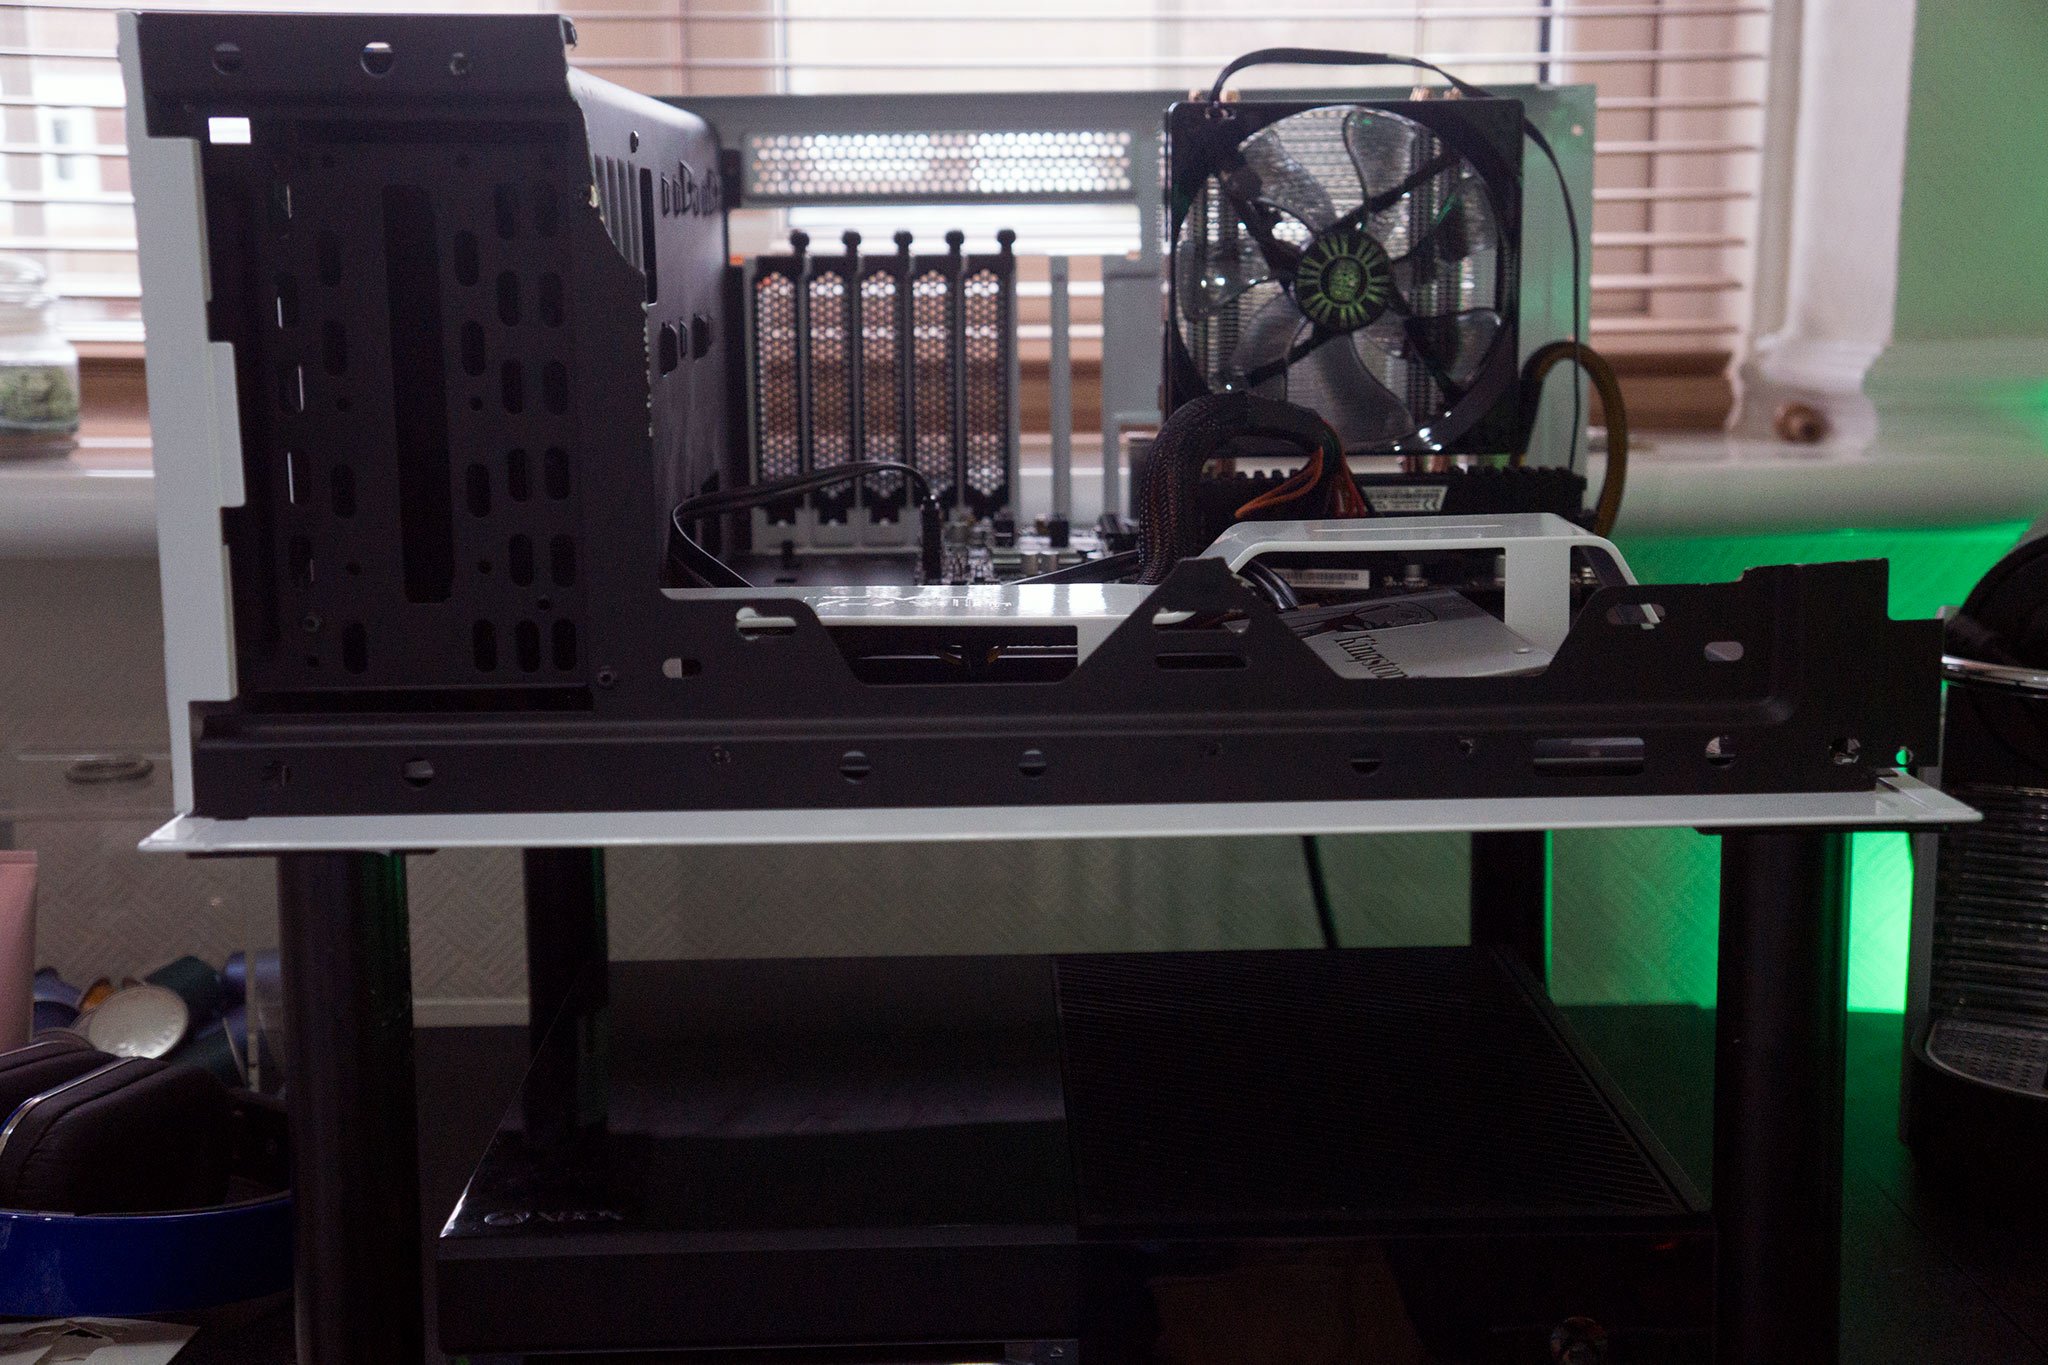
All that was left was to attach some metal legs I purchased from the nearby DIY store, but this is where I met a hurdle. Since I was using the side panel as the base plate for the test bench, I only had a single attempt at getting it right. I chose to try some drilling in the other side panel that was to be recycled. It proved difficult in cutting through the metal runners that ran across the panel to secure itself to the main body of the case. This was a problem, because I couldn't afford to sit the legs any further from the edge of the panel or else the Xbox One wouldn't be able to fit underneath.
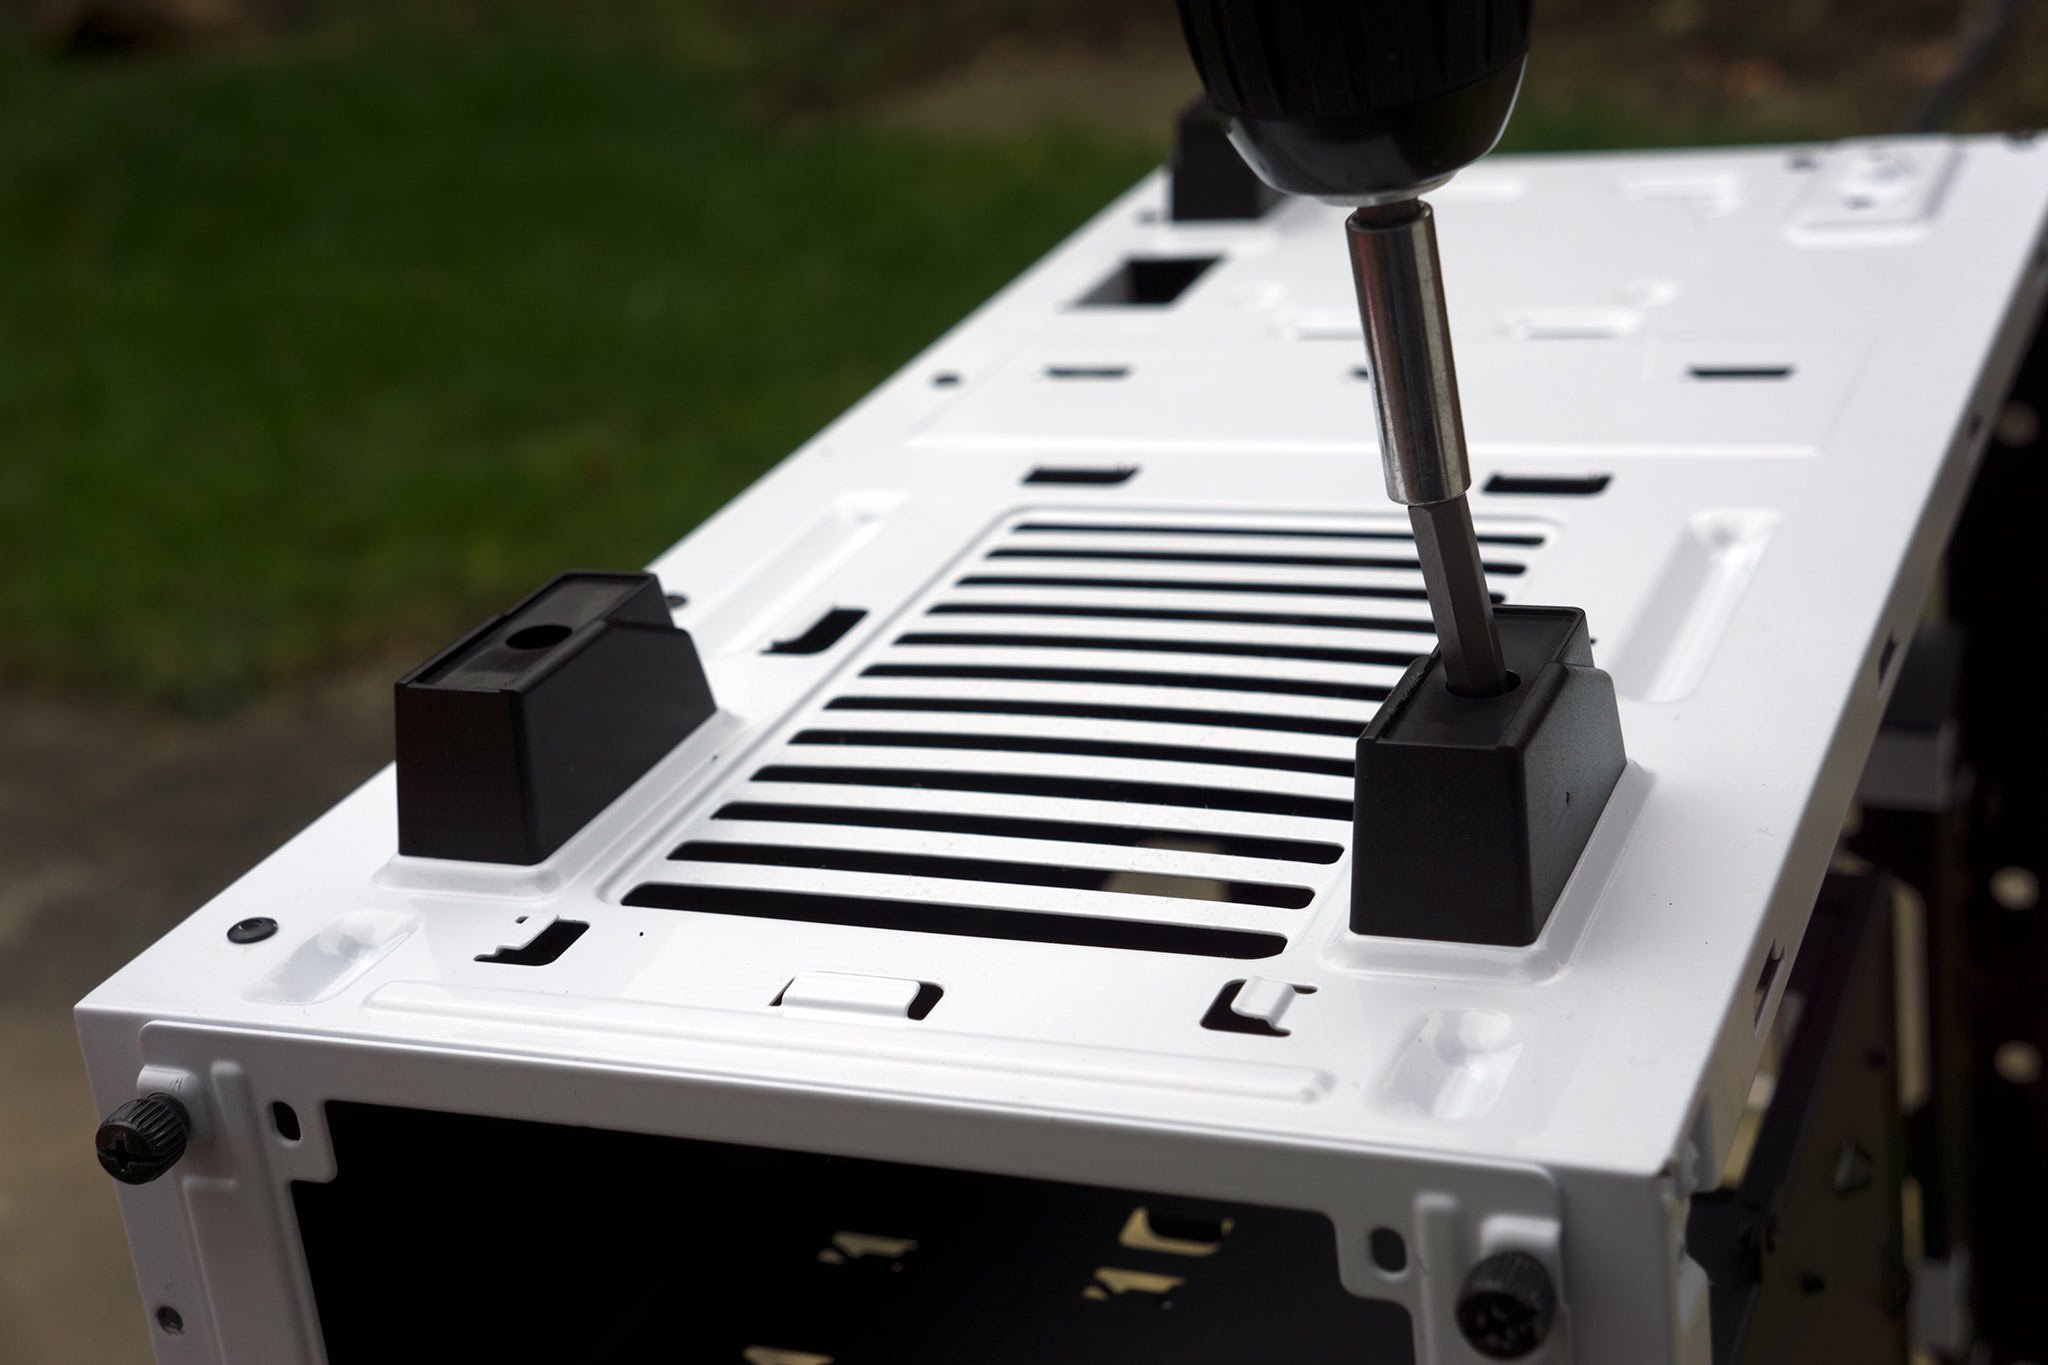
The solution was to use strong adhesive instead of bolting the legs to the panel. After I attached the legs to the panel and left them to dry, I removed the OEM footers from the underbelly of the case.
Finishing up
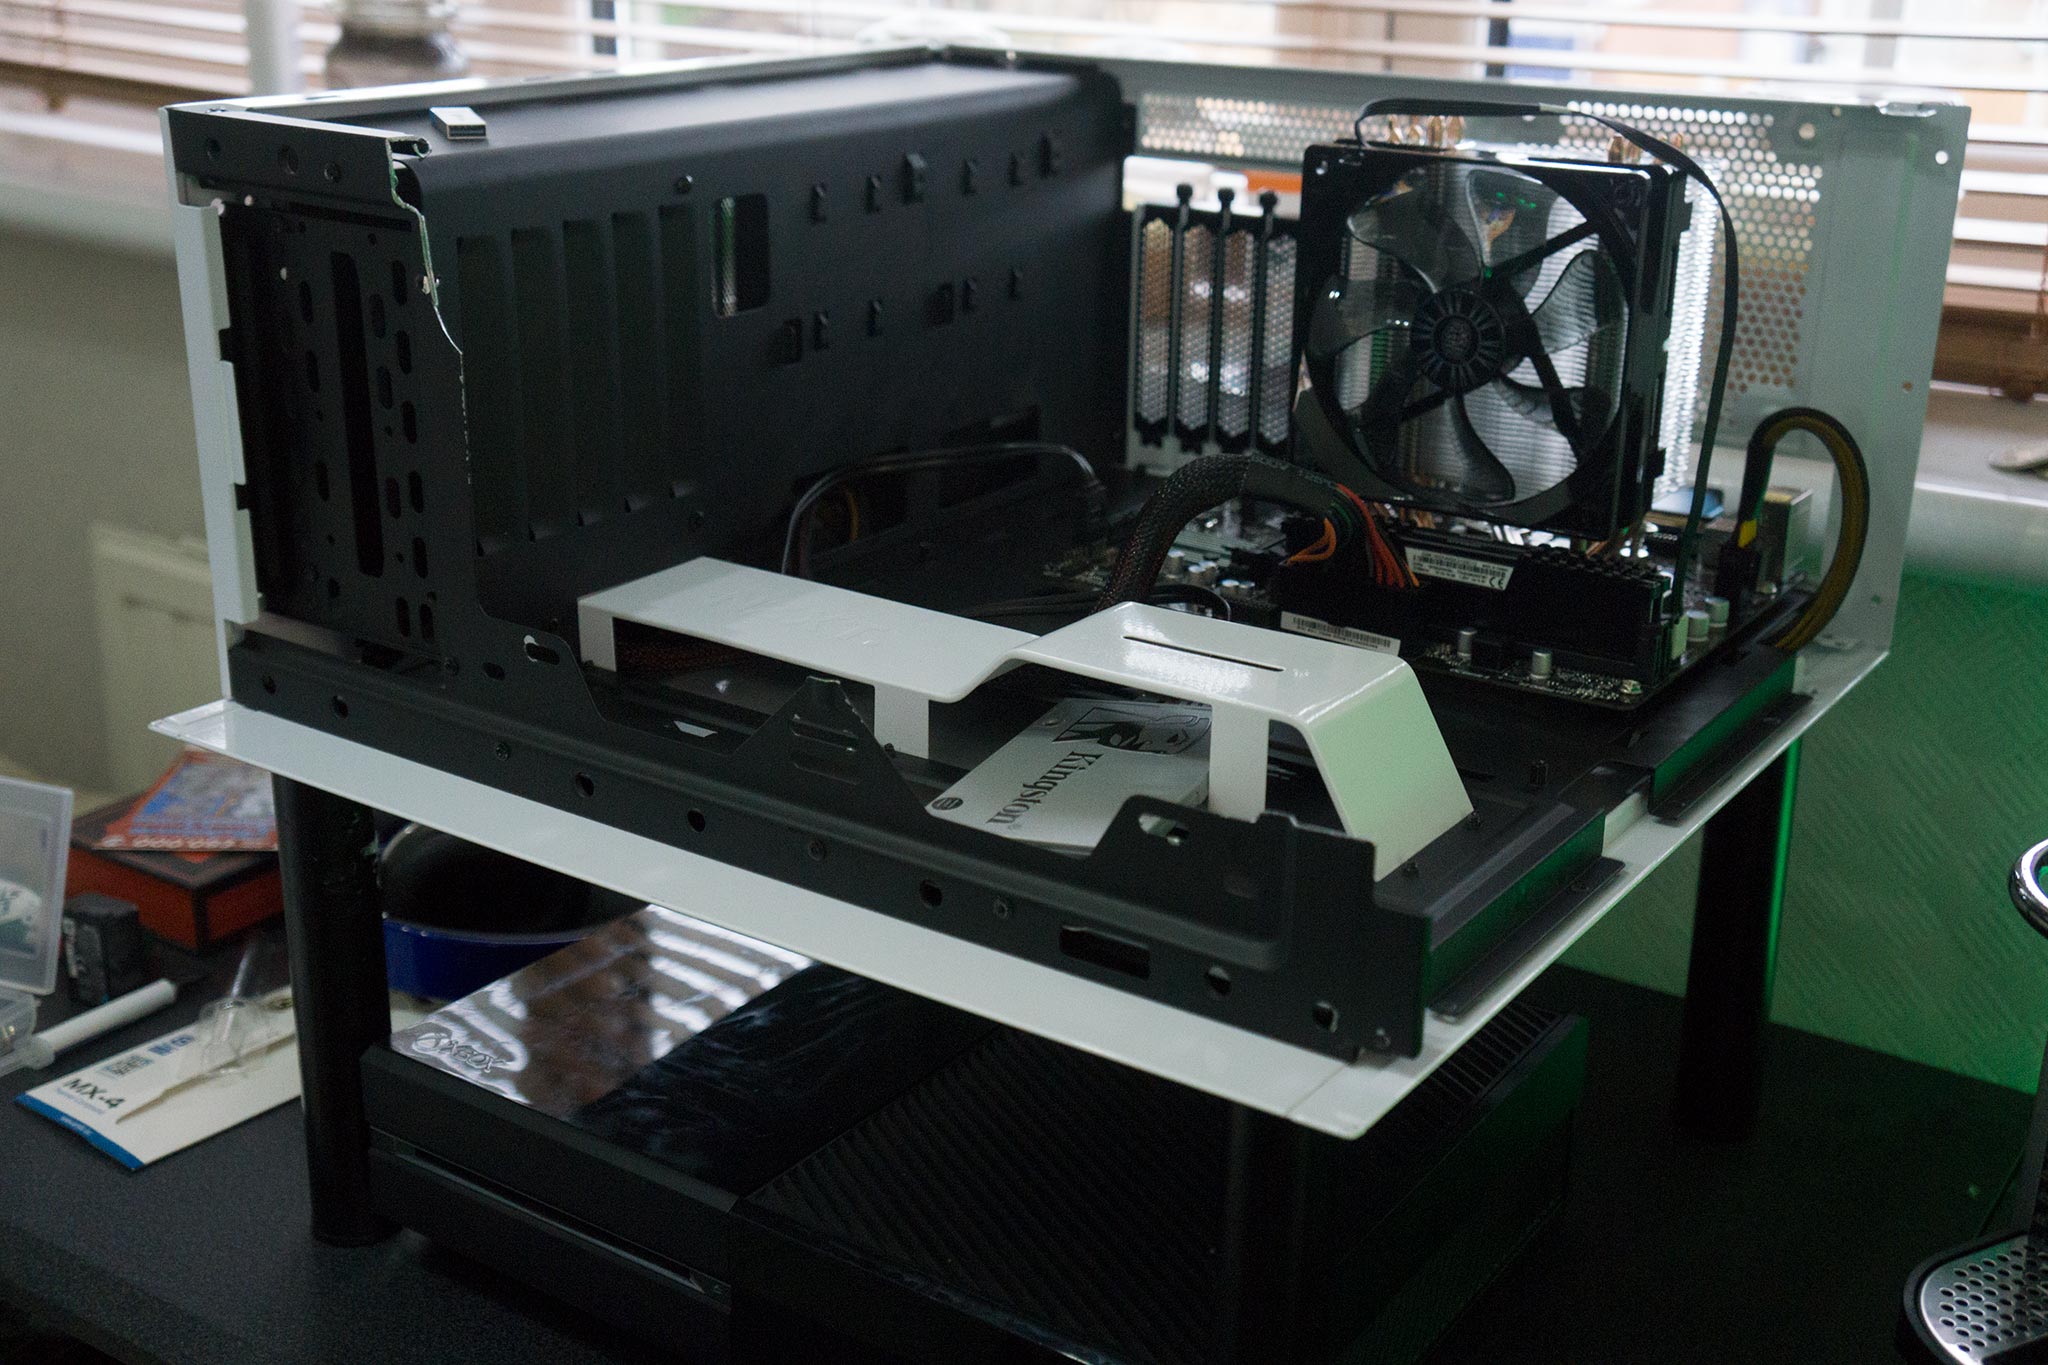
With the adhesive dry enough, I reattached the side panel to what remained of the S340. Sitting on what was its side, the test bench was finally coming together. All that was left was to install all the components. Here's the end result:
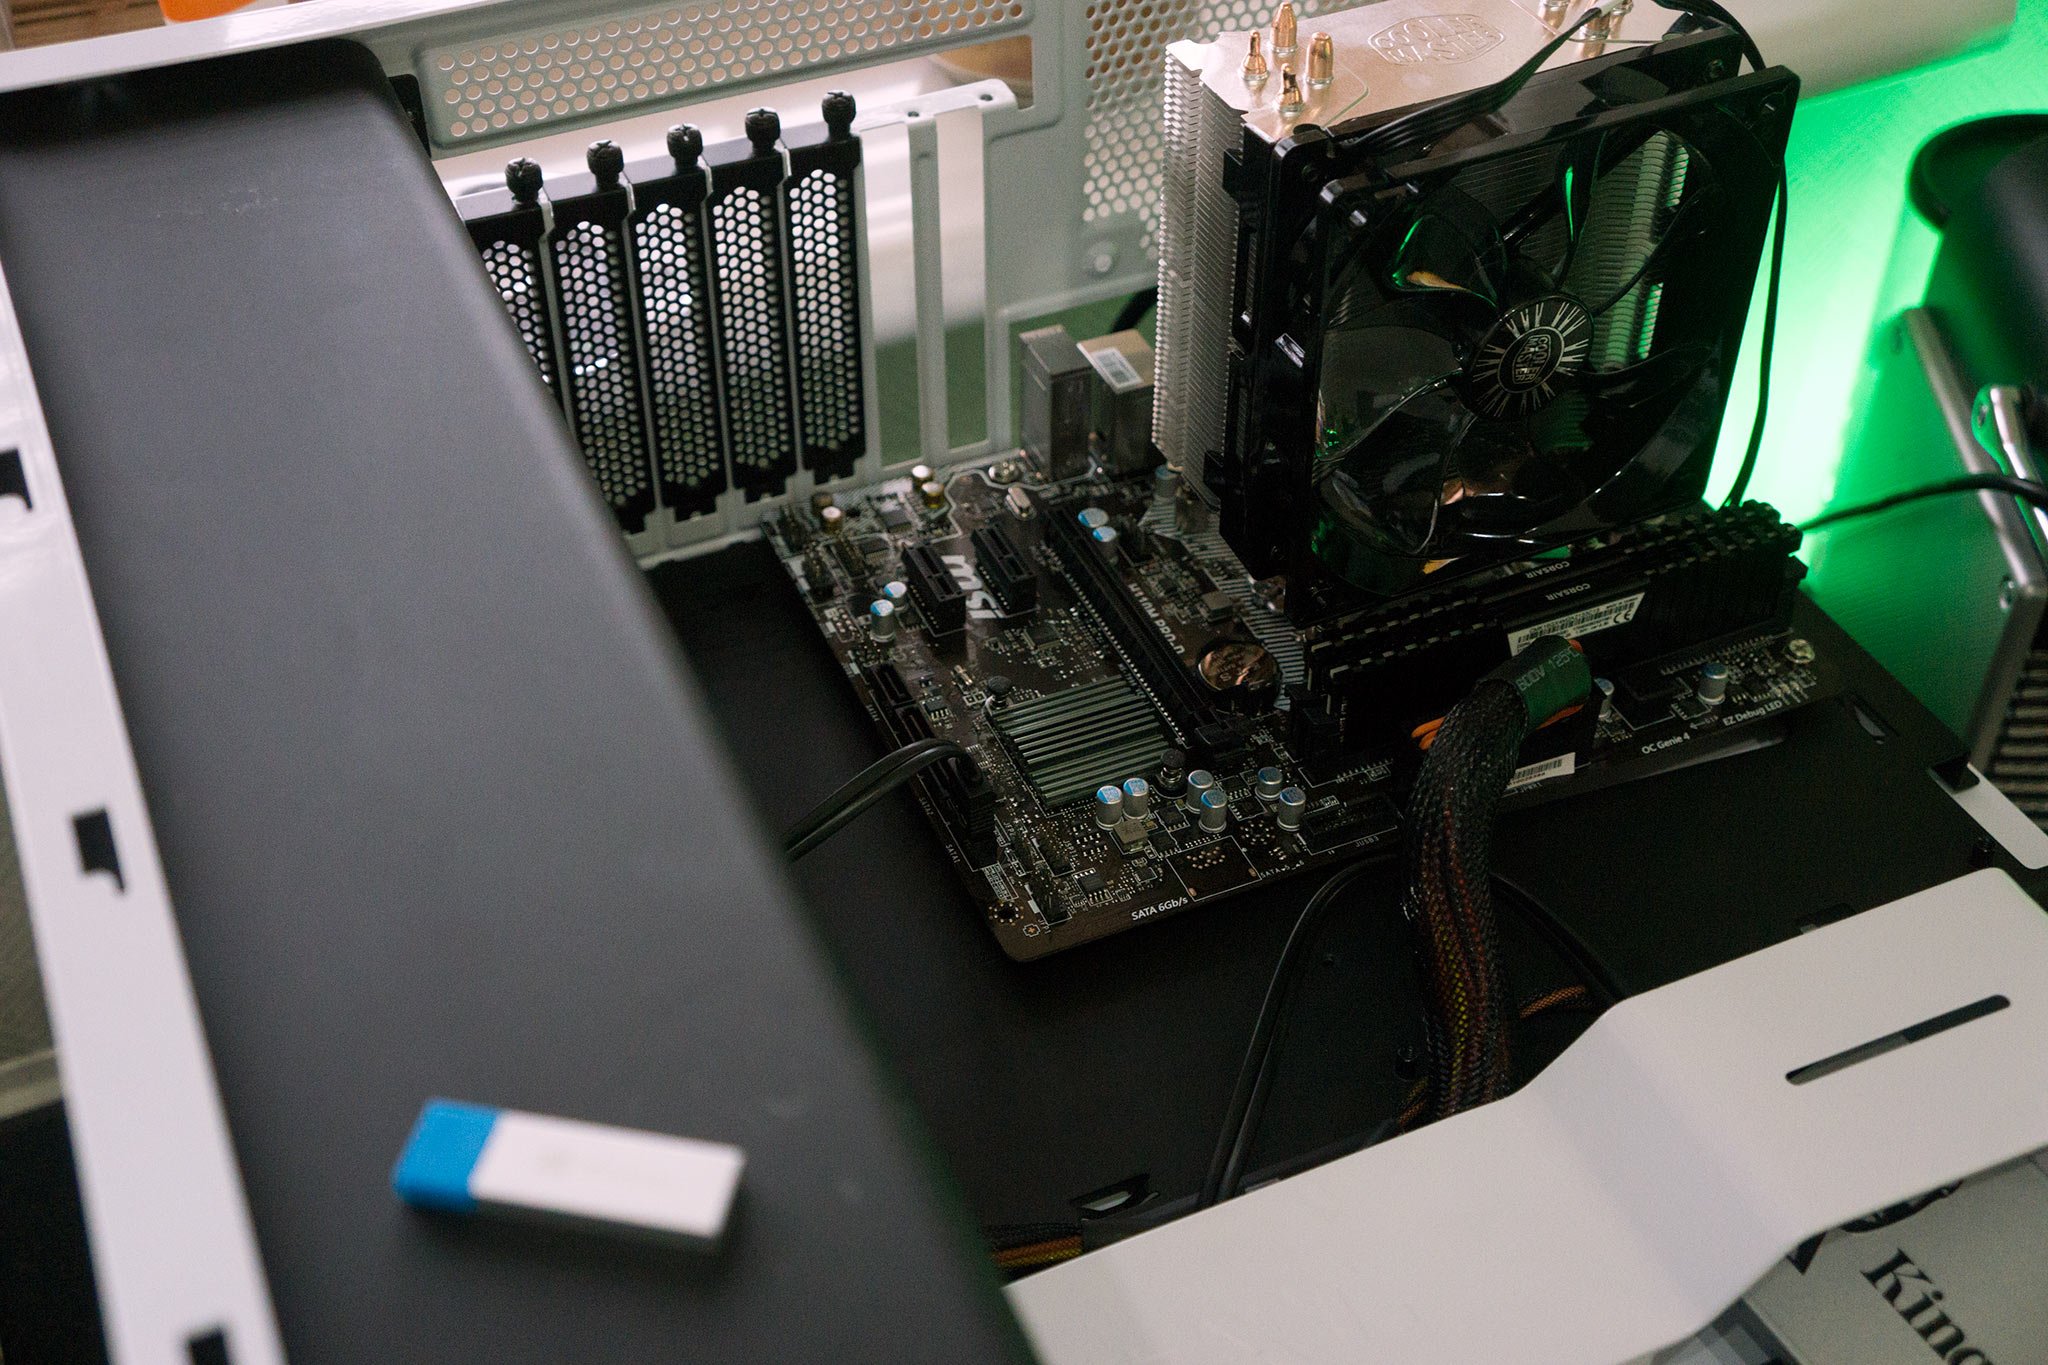
My next job with this particular project is to touch up the cutting I did on the front to ensure it's level all the way across. That and to perhaps do something with the rear vents and PCI covers without sacrificing stability. I'll have to do some planning and set some time aside to revisit the test bench. But for now, the setup does the job perfectly and will serve me well in the many endeavors that lie ahead.
Instead of splashing out a $100 to 200 on a new test bench, I managed to reuse an old case that wasn't deployed for anything else. I also spent less than $50 on the various tools required to transform the unit into an open platform that could easily be relied upon for convenient benchmarking and component reviews.

Rich Edmonds was formerly a Senior Editor of PC hardware at Windows Central, covering everything related to PC components and NAS. He's been involved in technology for more than a decade and knows a thing or two about the magic inside a PC chassis. You can follow him on Twitter at @RichEdmonds.
