Grounded guide: How to fix the mysterious device
Something strange is going on in the backyard, and it's up to you to figure it out.

Foggy headed and groggy, you awake in a small, dark tunnel with no memory of how you got there. Walking over large clumps of dirt and rocks, you head towards the end of the tunnel and emerge, only to find that something is wrong. Something is very wrong.
Everything around you is huge — no, wait, you are actually just tiny. And so begins Grounded, the latest co-op survival game from Obsidian Entertainment for Windows 10, Xbox, and Steam. Grounded has you take control of one of four teenagers that have been shrunk down to the size of an ant.
The sandbox of Grounded allows players to play in different ways, and every playthrough feels unique. It's quite the adventure full of mysteries, but one head-scratcher players encounter is the "mysterious device." It's not just a matter of what it does; you also have to fix it. It's the only objective in the game. So if you want to uncover the plot of Grounded, you'll have to start here.

It's a big(ger) world out there.
Obsidian Entertainment makes its exclusive debut on Xbox One and PC with Grounded, a cooperative survival experience that literally makes all of your problems much, much bigger, and you much smaller. Join your friends as you try and survive in a dangerous backyard.
How to fix the mysterious device in Grounded
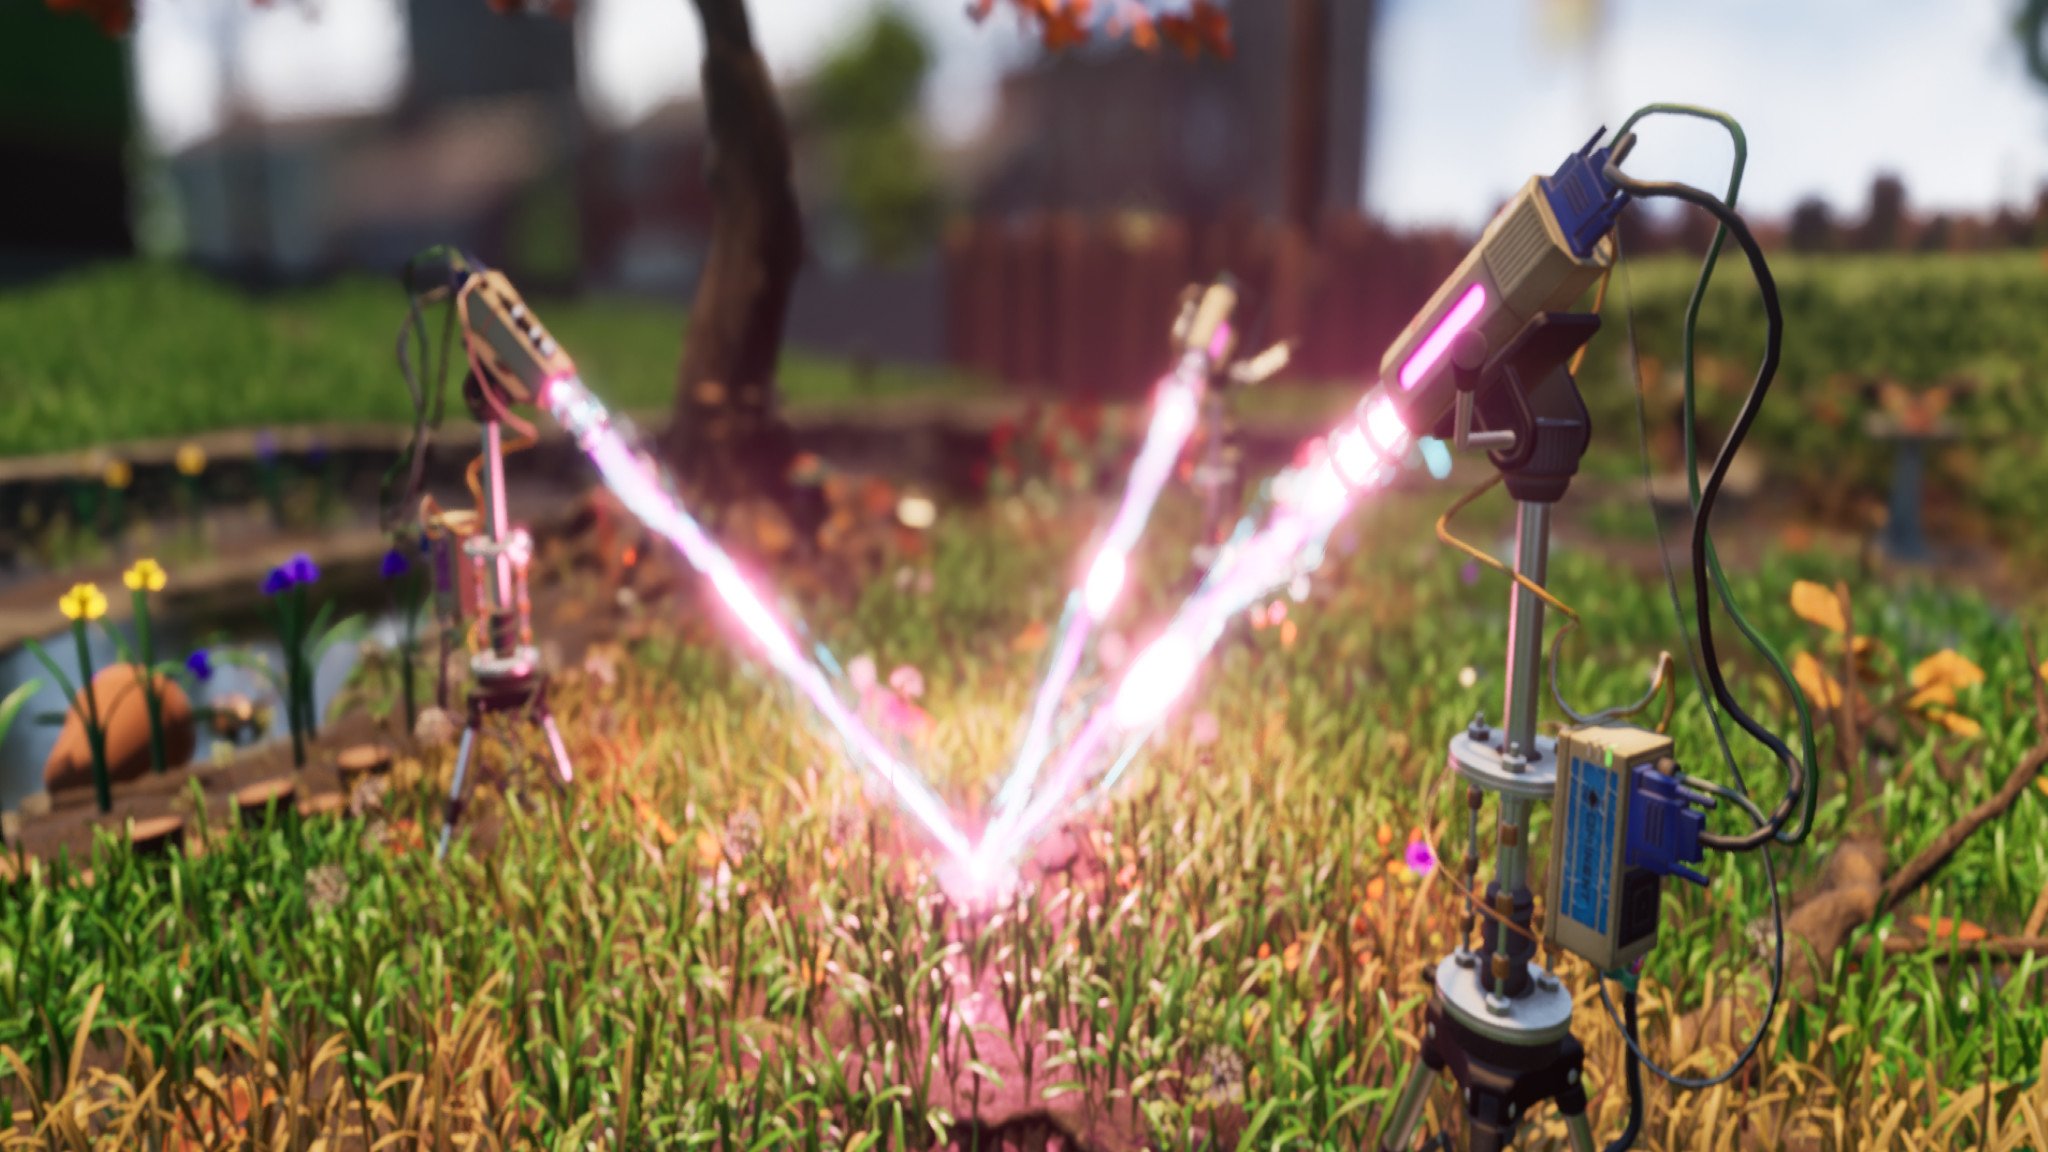
At the start of the game, players will come across a large mysterious device. Of course, to find out what it is exactly required further investigation. Upon closer inspection, you'll find a flashing button on the device with the word Target printed underneath. Pressing the button will trigger three lasers from nearby towers to converge onto the device.
Don't pat yourself on the back just yet. One of the lasers is malfunctioning, and a blade of grass is blocking the other. If you want to progress in Grounded and learn how you ended up the size of a termite, you'll have to figure out how to fix the mysterious device. Let's get started.
Unblocking the laser
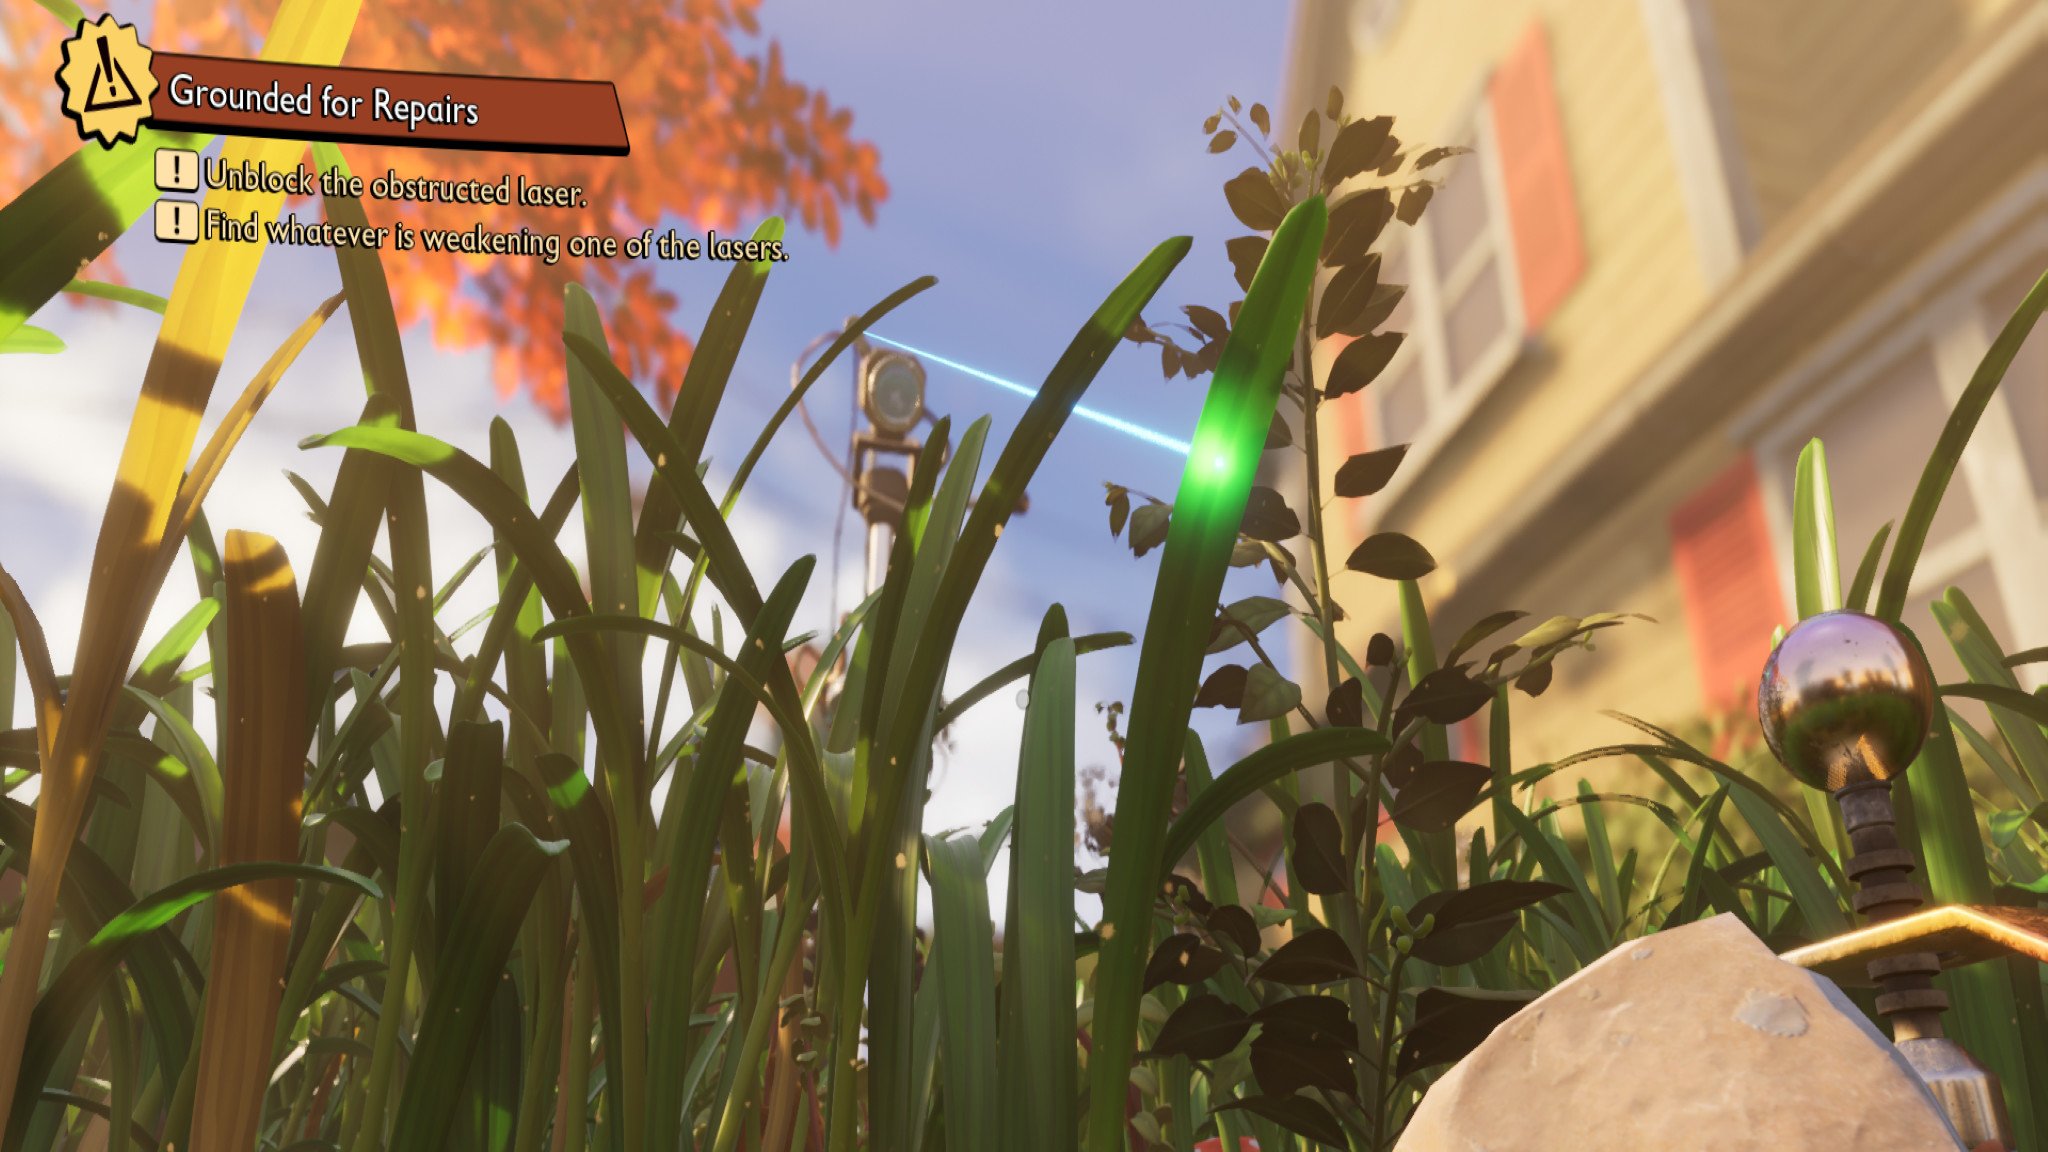
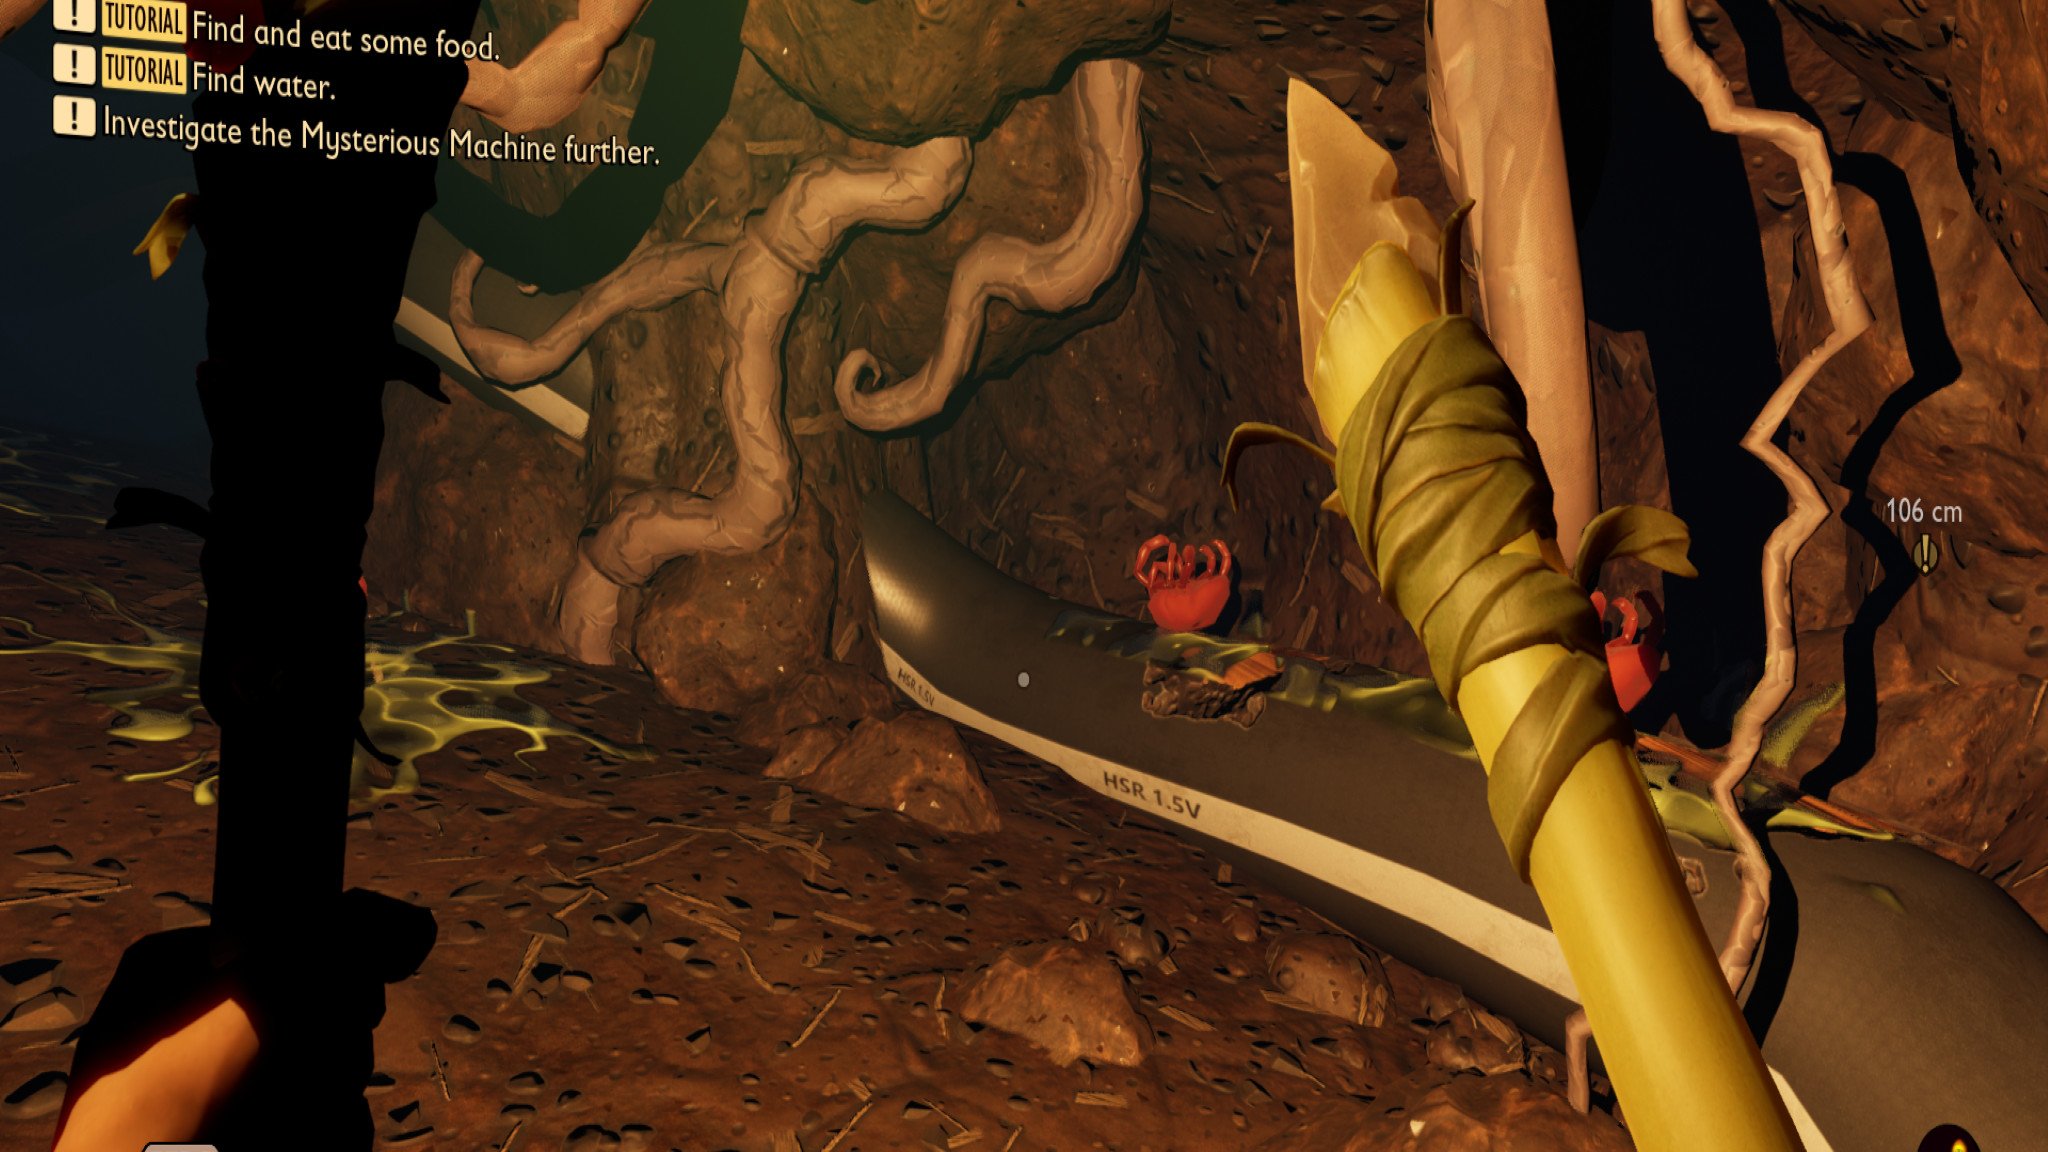
While you can tackle it in any order, I recommend handling the immediate threat of the very annoying blade of grass blocking the laser first. Unfortunately, you can't cut down the grass with your hands — you'll need an axe. Here's how to make one.
- Search the surrounding area for pebblets and plant fiber. Pebblets and plant fiber are very common and should be lying around very close by.
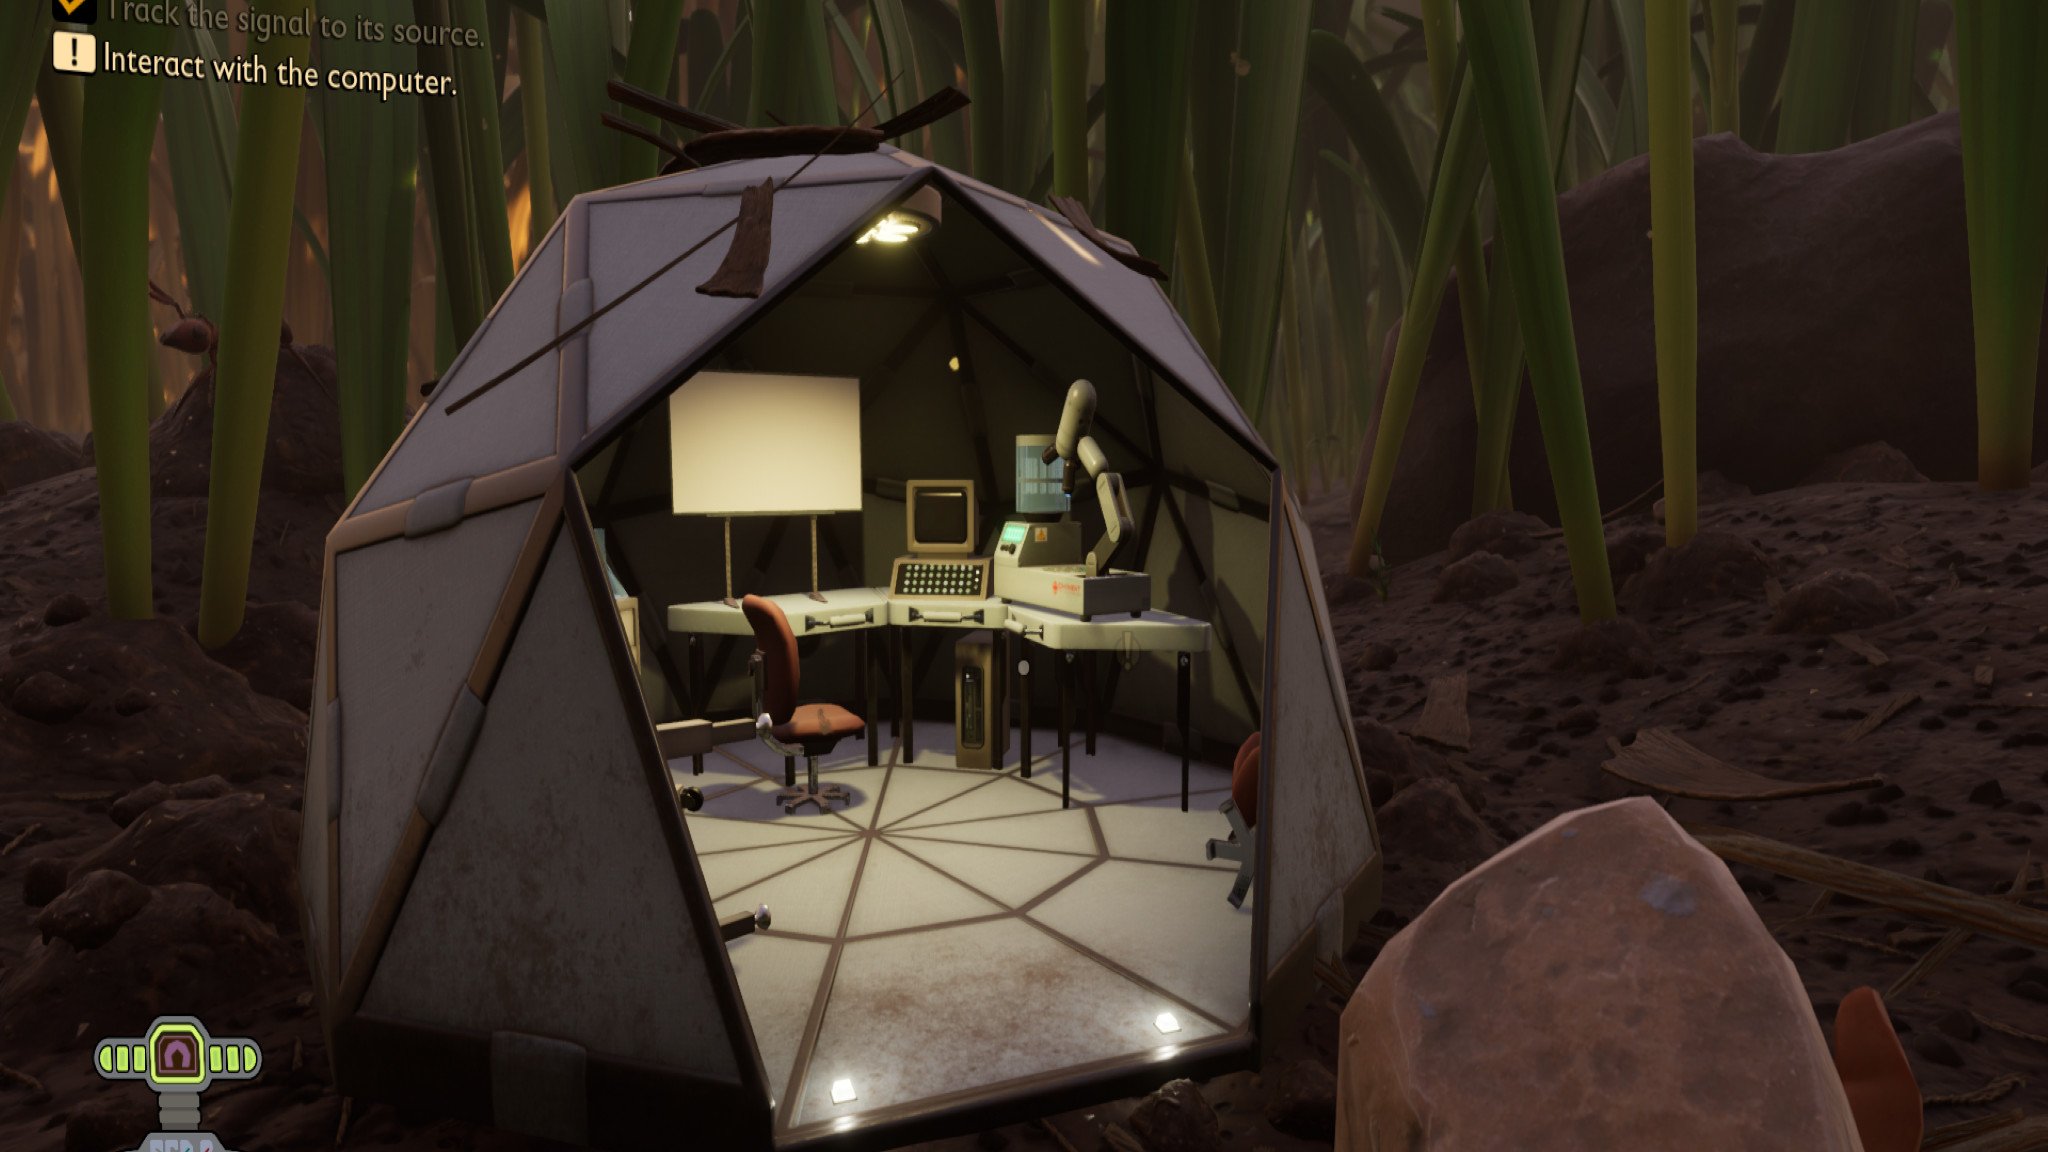
- Backtrack to the Field Station, the weird computer lab hidden in what looks like a hollowed-out golf ball, to analyze the items.
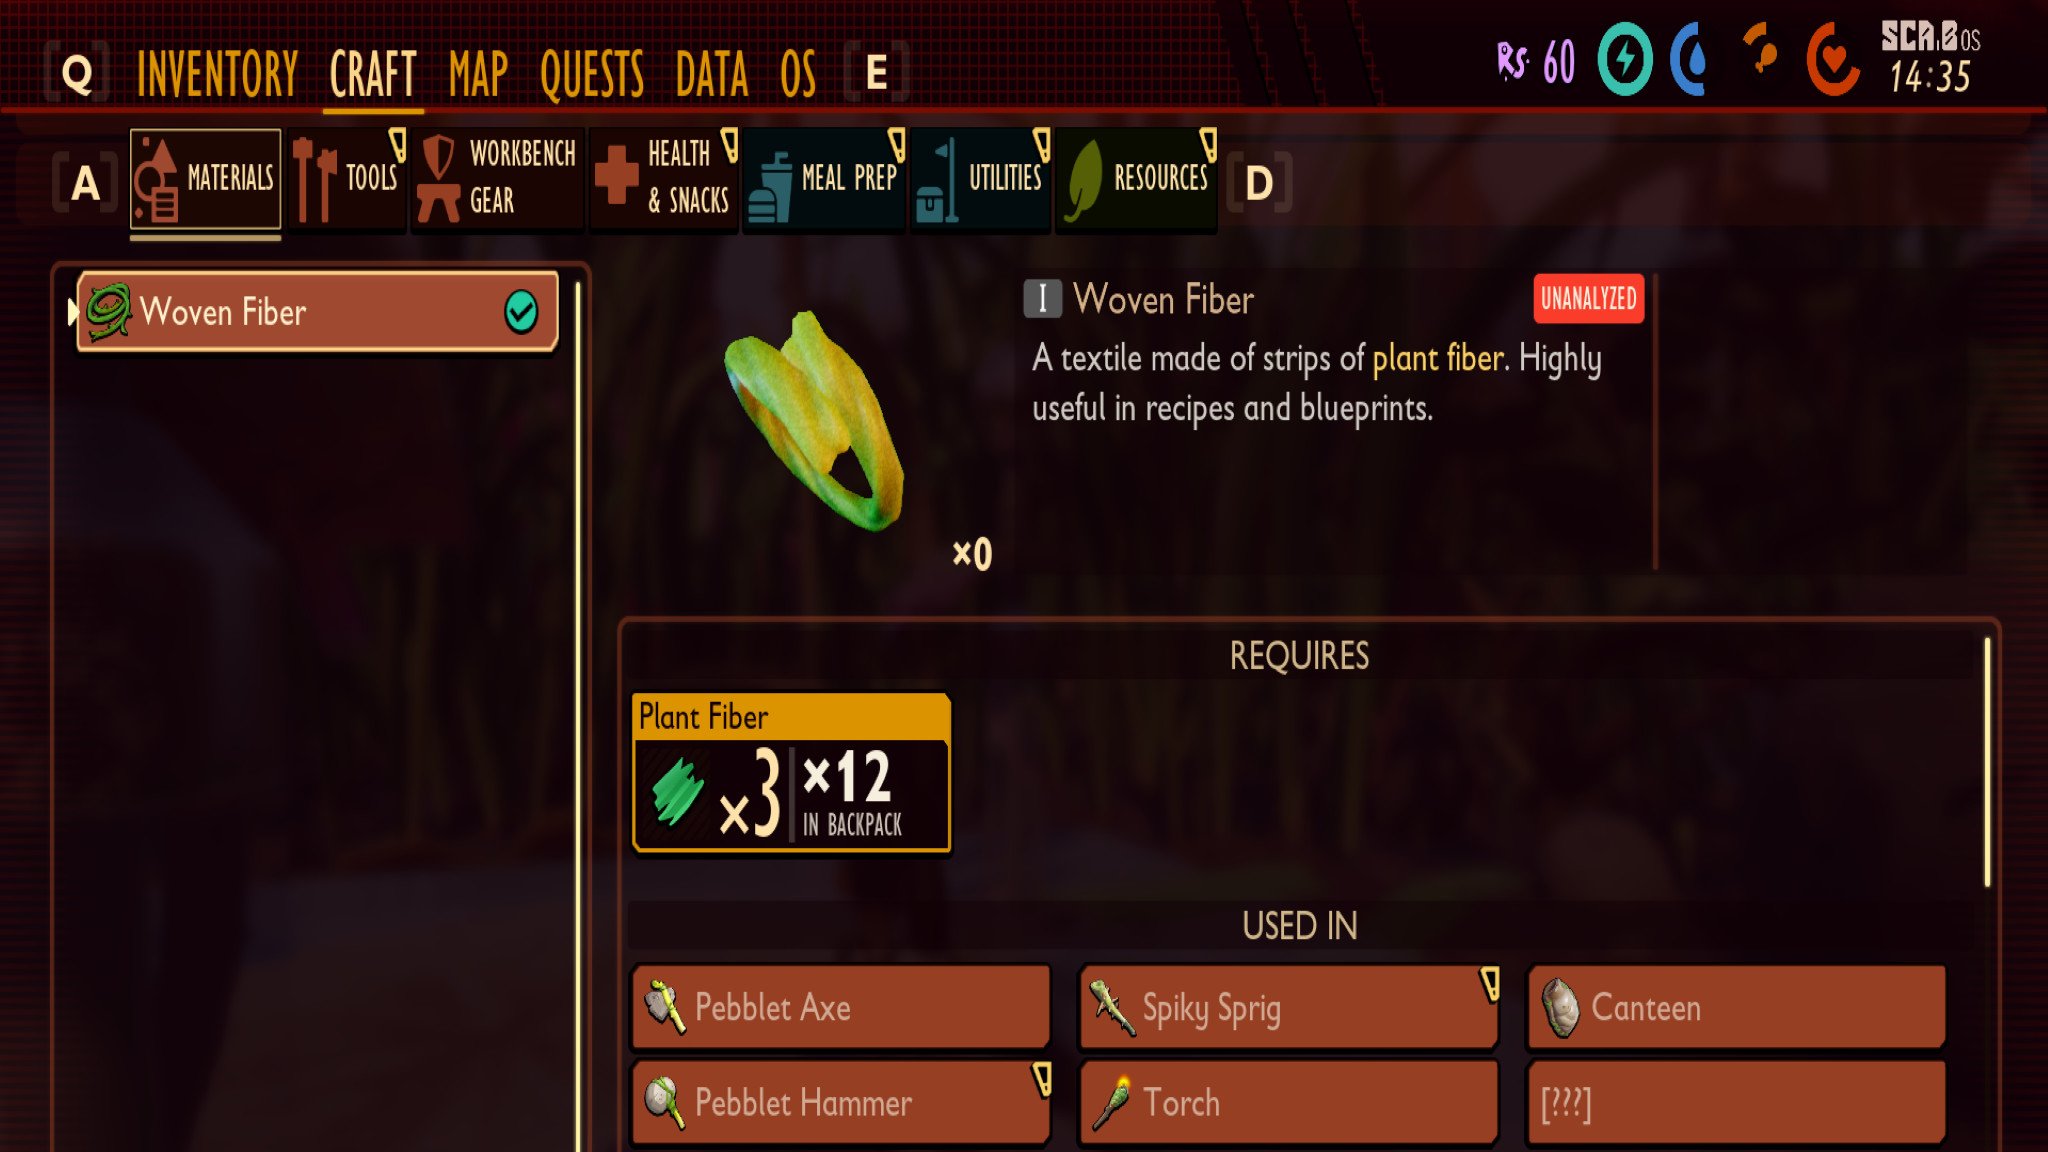
- Analyzing the plant fiber will unlock the woven fiber recipe while analyzing the pebblet will give you access to the pebblet ax recipe. Also, be sure to grab a few sprigs while you're at it.
Putting in the work
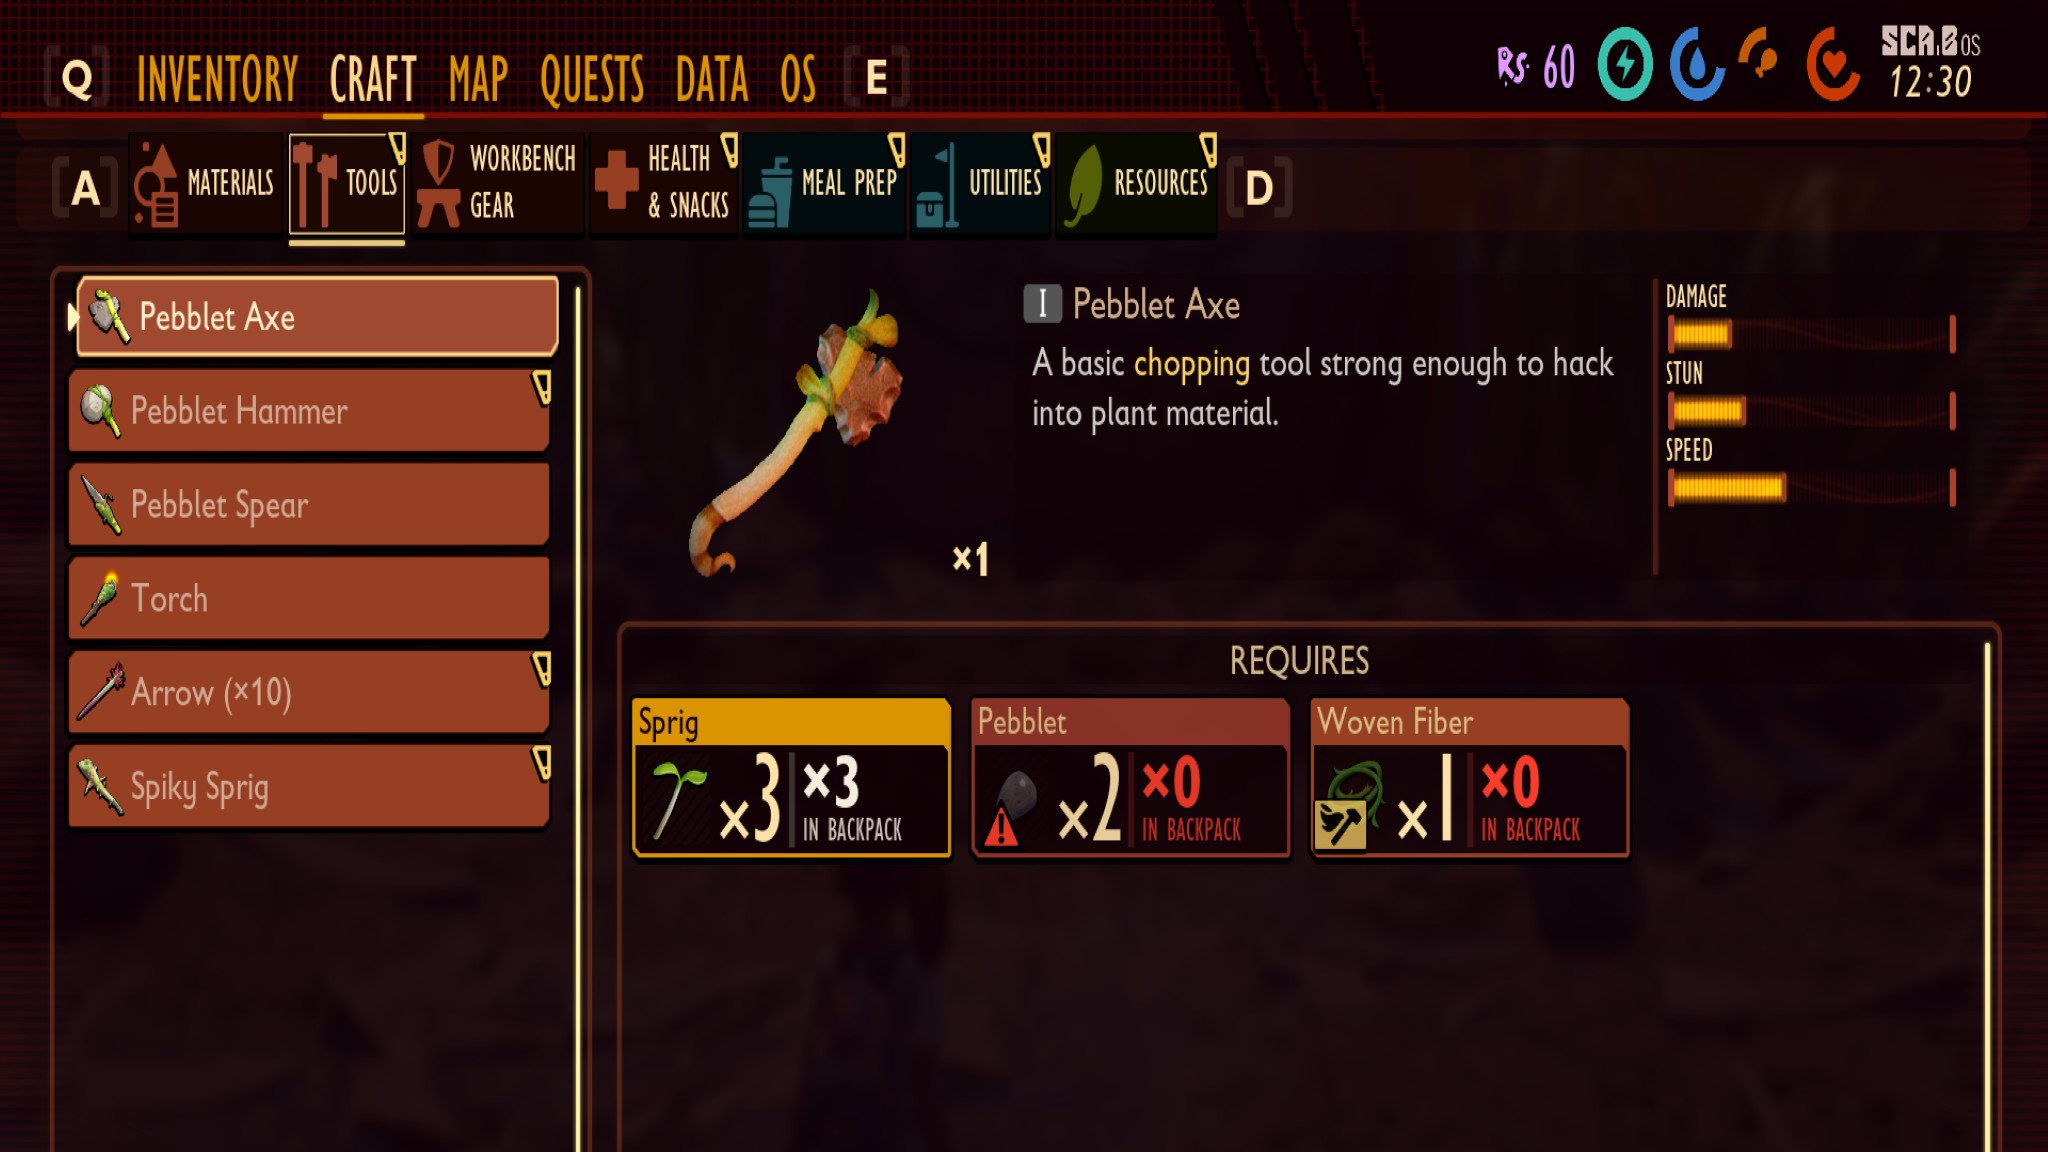
With all the materials in your bag, you can get to crafting. You will need to build the pebblet ax to chop down that pesky grass. The pebblet ax requires two pebblets, one woven fiber, and three sprigs to craft.
All the latest news, reviews, and guides for Windows and Xbox diehards.
- First, open the menu and go to the craft section. In the materials tab, you can craft woven fiber by using three pieces of plant fiber.
- Stay in the crafting section of the menu and combine the items in the tools tab to make your very own pebblet ax.
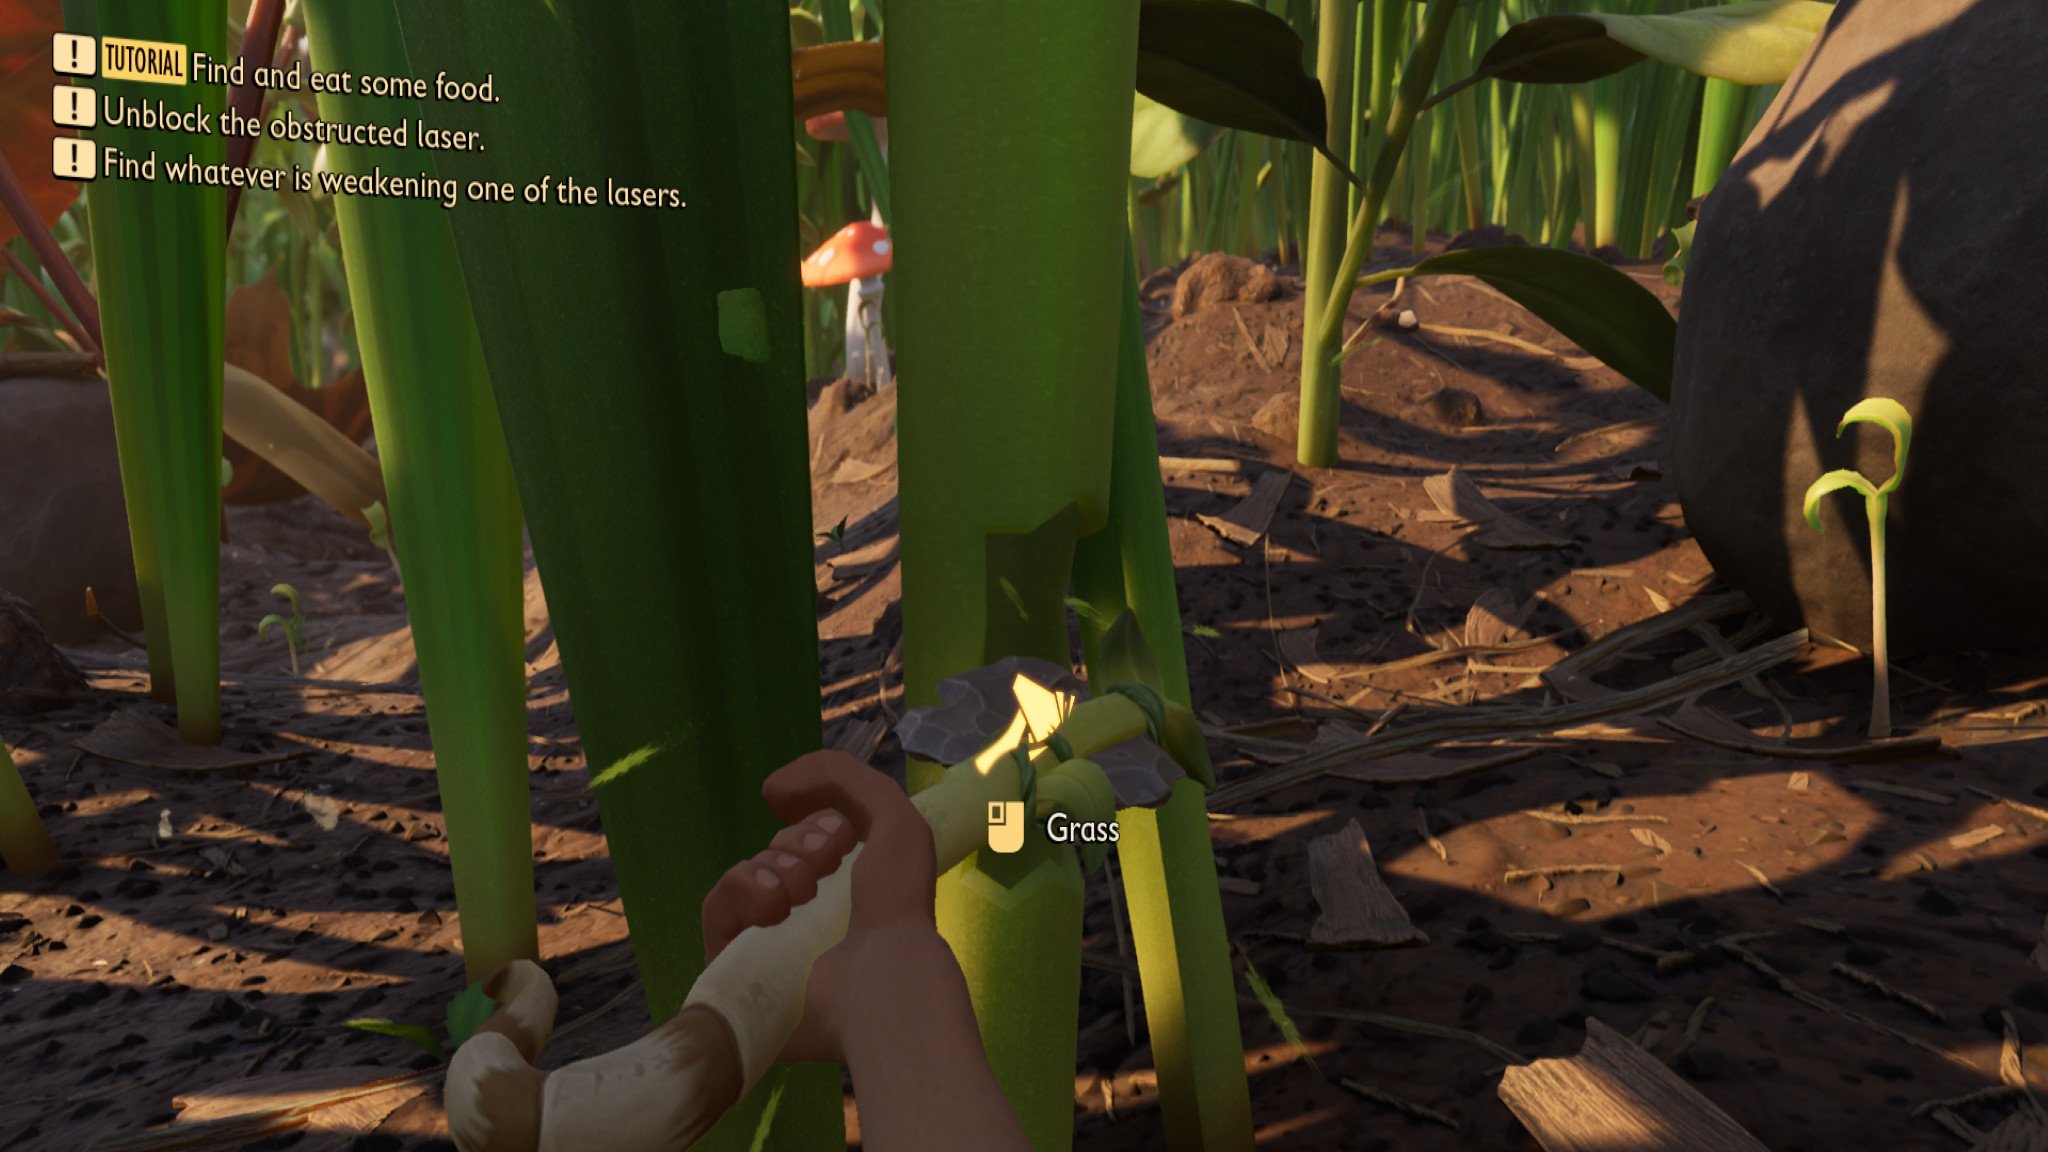
- Now that you're ready to chop, go back to the mysterious device and find the blade of grass that's causing all of this trouble. A few swings from your ax is all it takes for the blade to fall, clearing the way for the laser and reestablishing the connection. Timber!
With one connection reestablished, it's now time to turn your attention to the malfunctioning laser.
Travel preparations
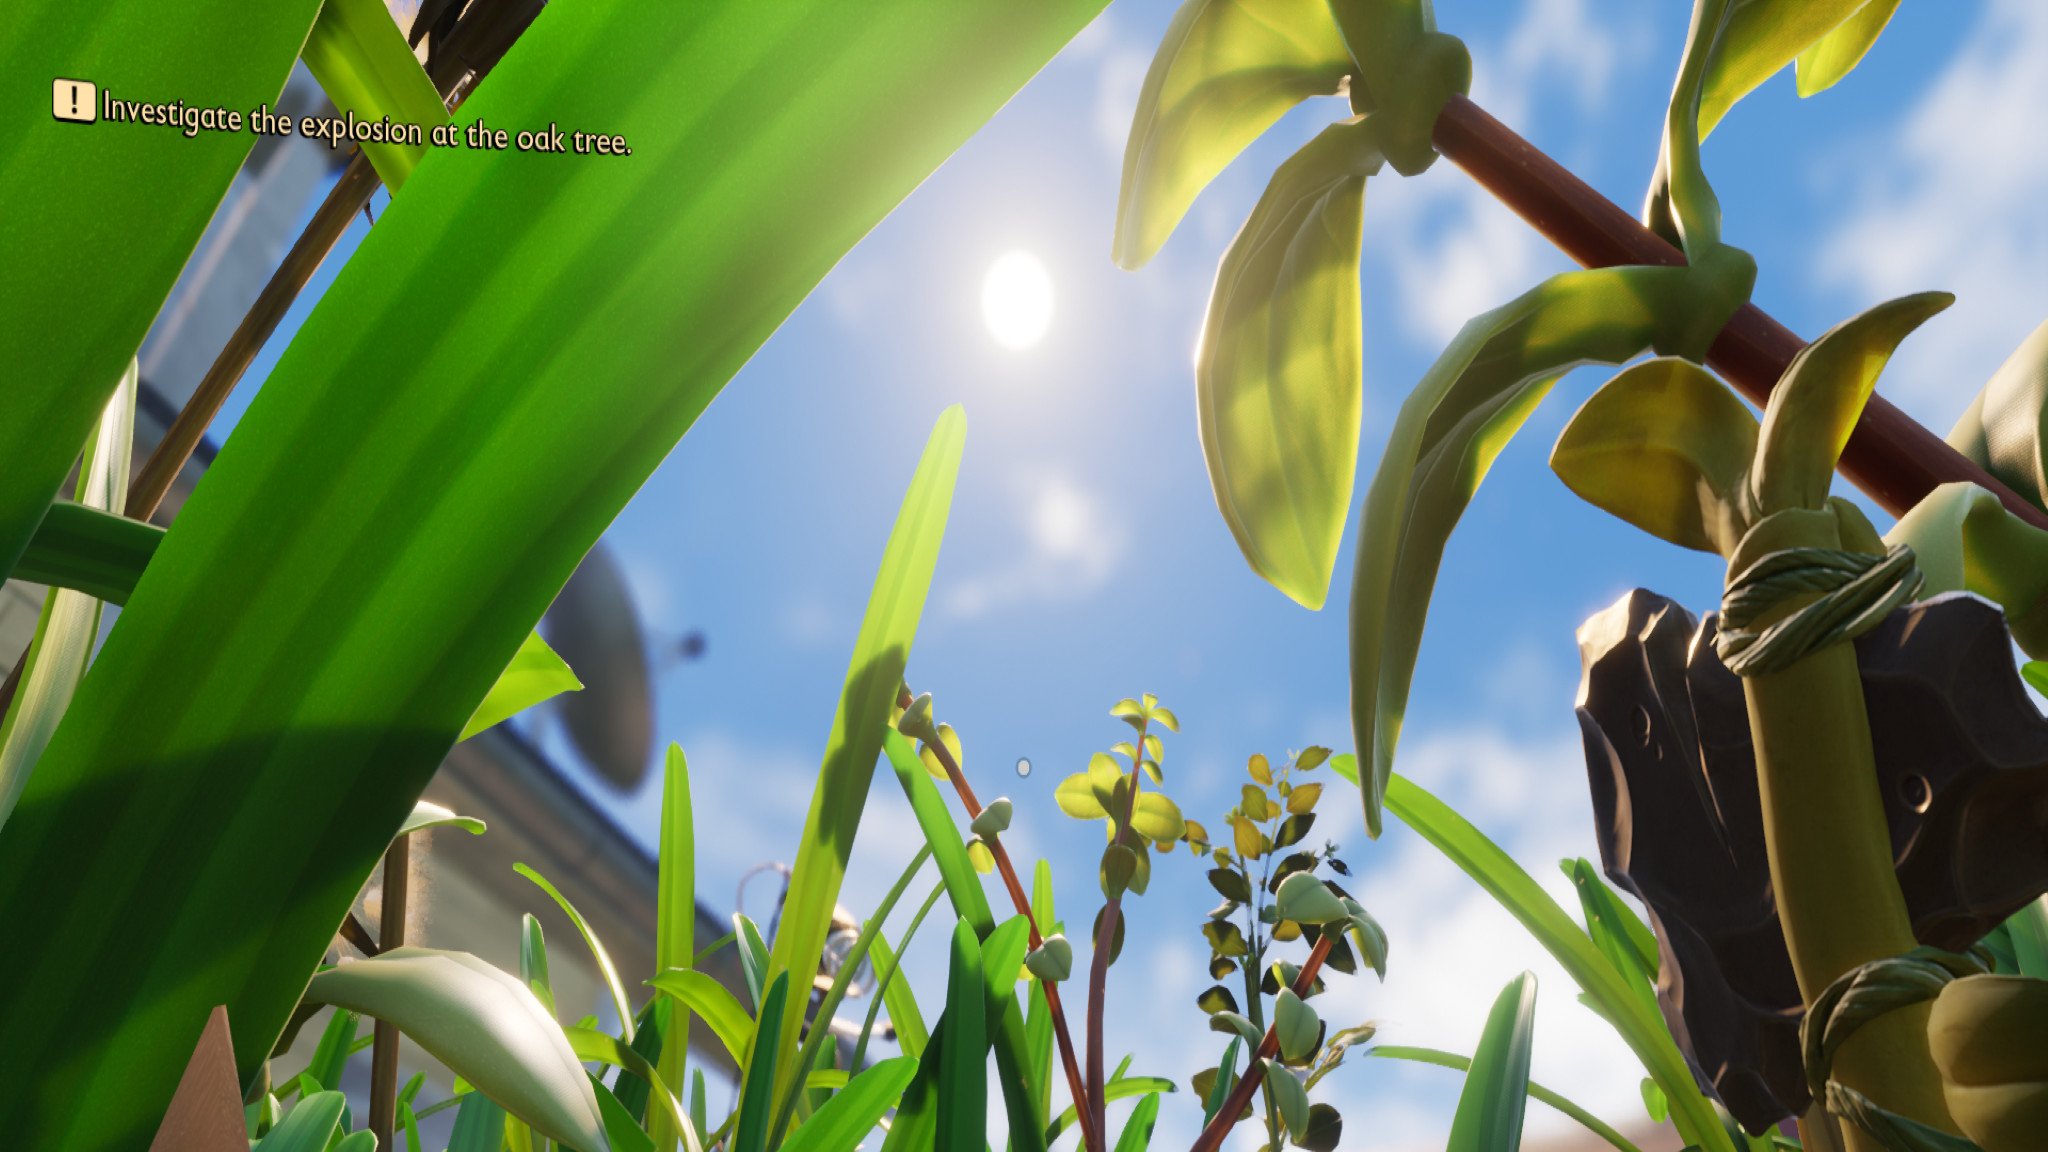
The source of the malfunctioning laser is deeper into the foliage than that blade of grass, so before you set out, prepare yourself. This is a survival game, after all, so managing your character's food and water intake is required for peak performance. I recommend making a pebblet spear and a torch for this next part, as well as taking a moment to find some sustenance.
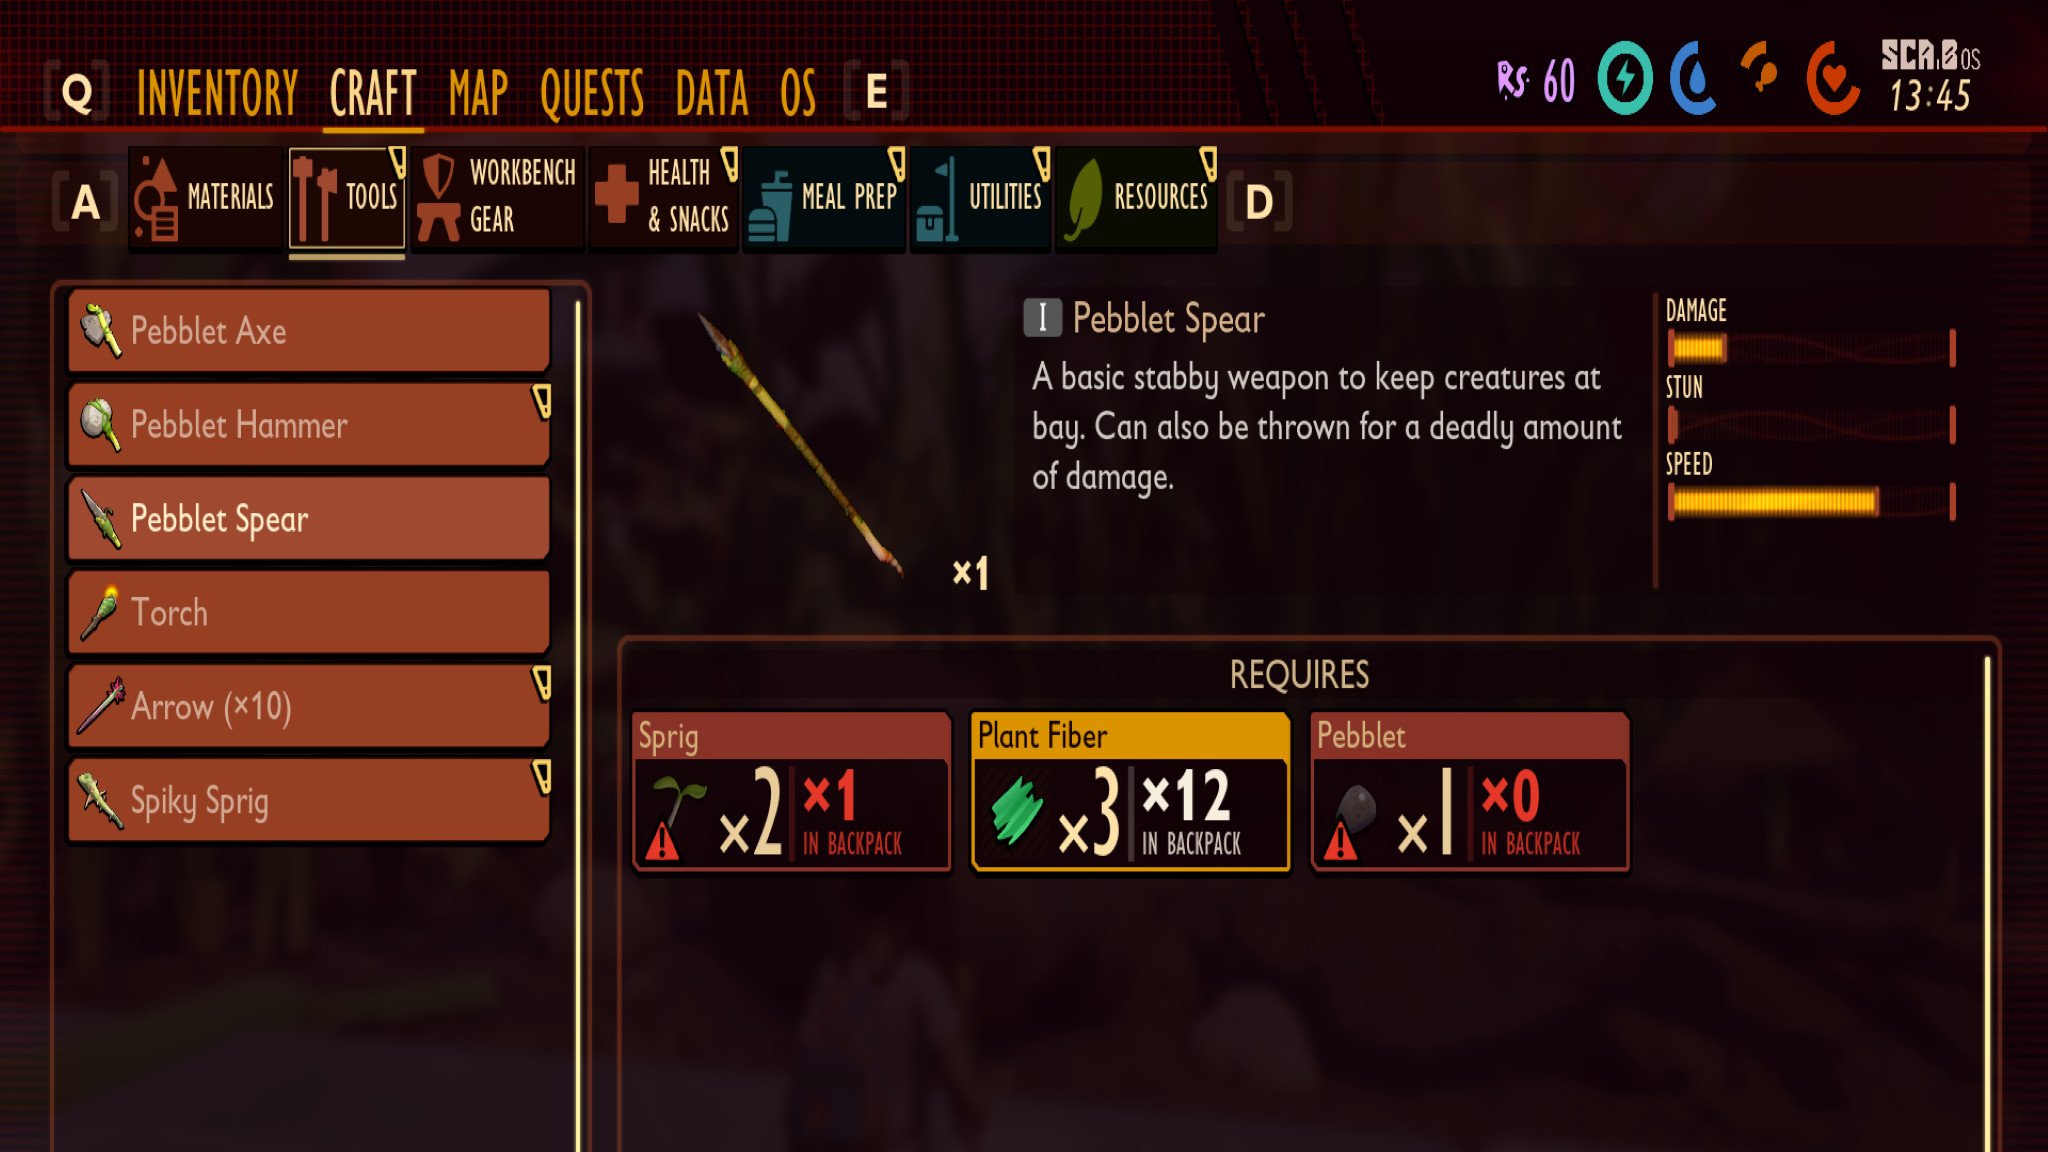
- A pebblet spear requires two sprigs, three pieces of plant fiber, and a pebblet. It's a solid companion, with decent damage and range.
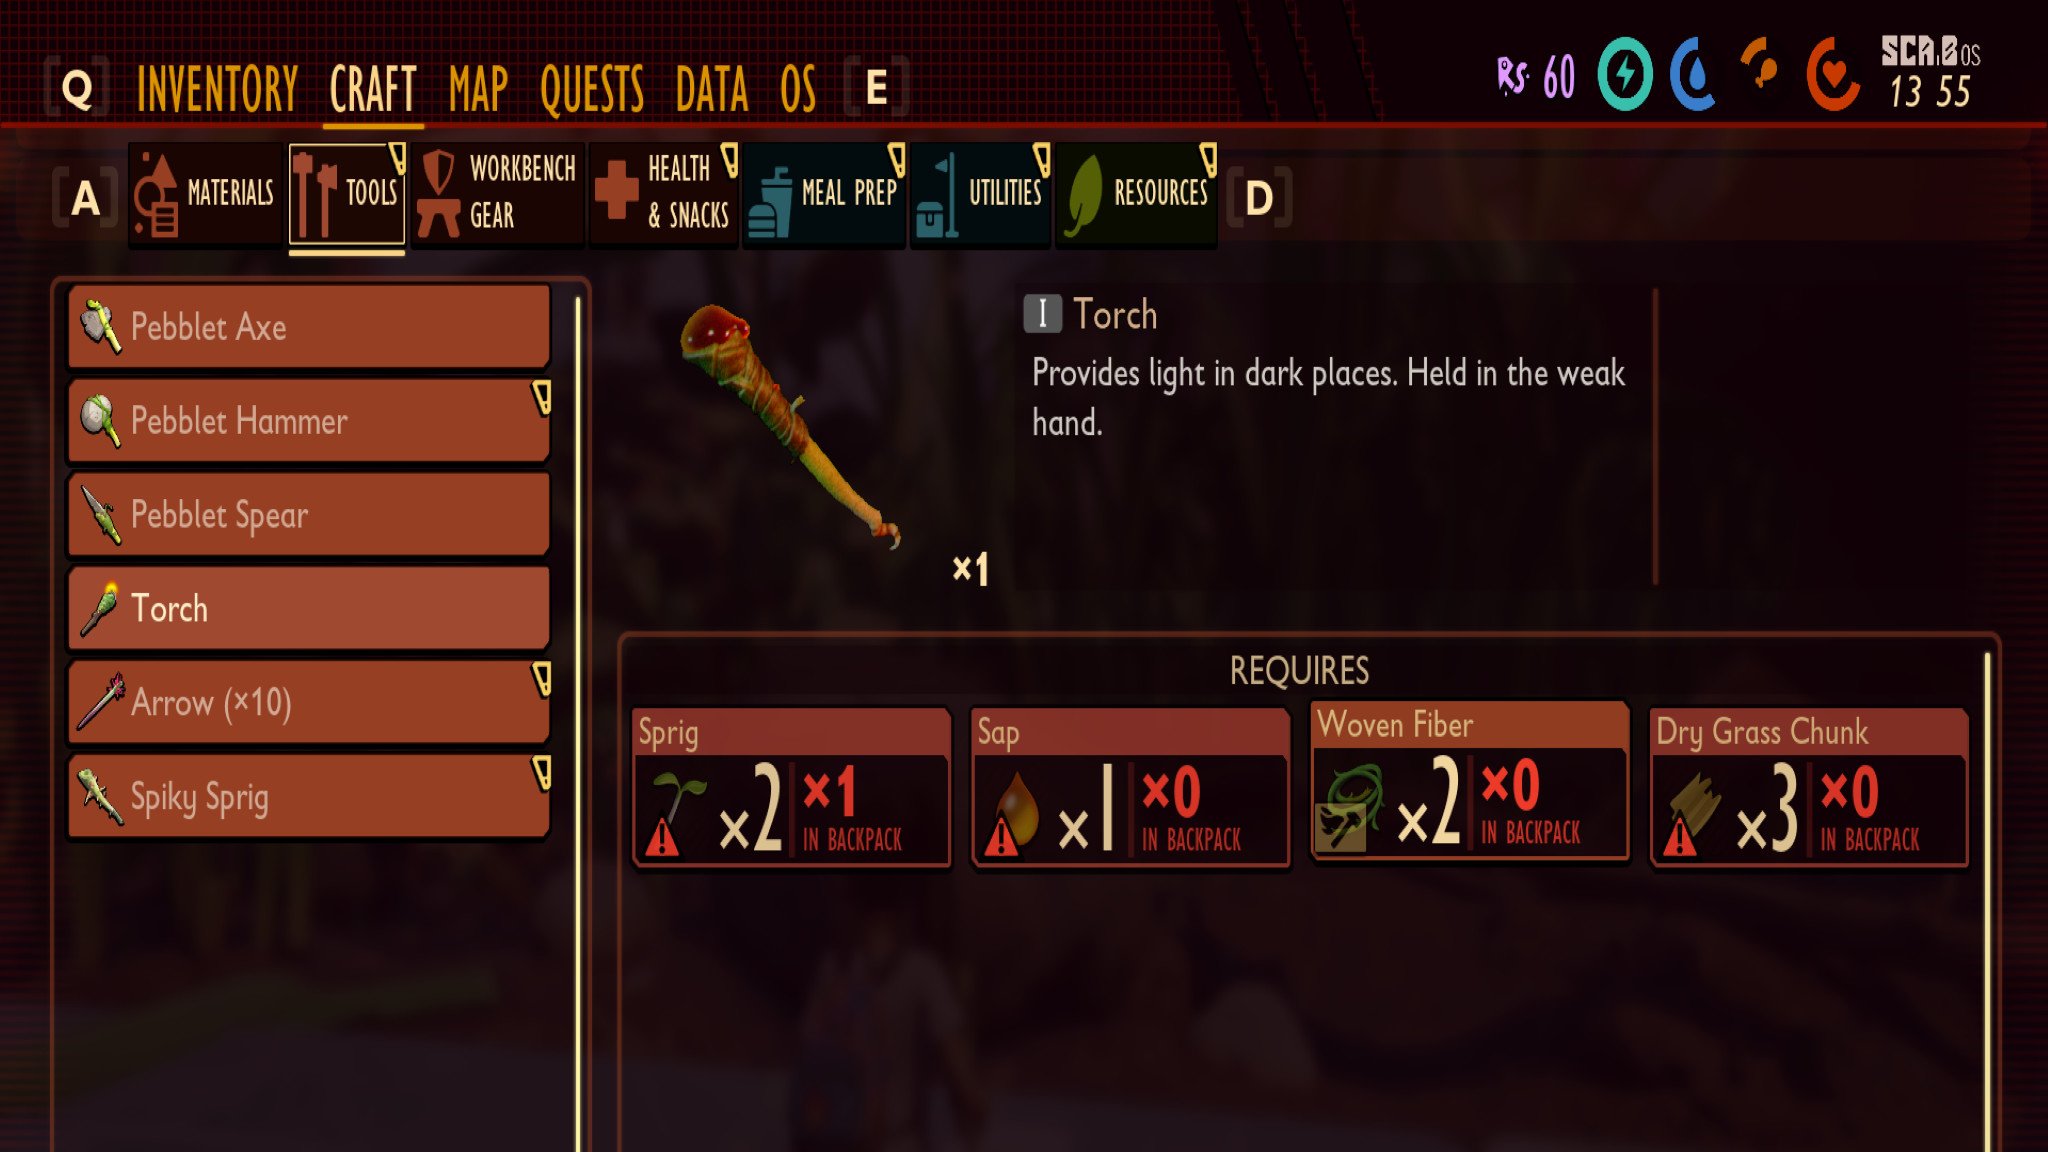
- A torch is a little harder to build, as it requires two sprigs, two pieces of woven fiber, three pieces of dry grass chunk, and one drop of sap.
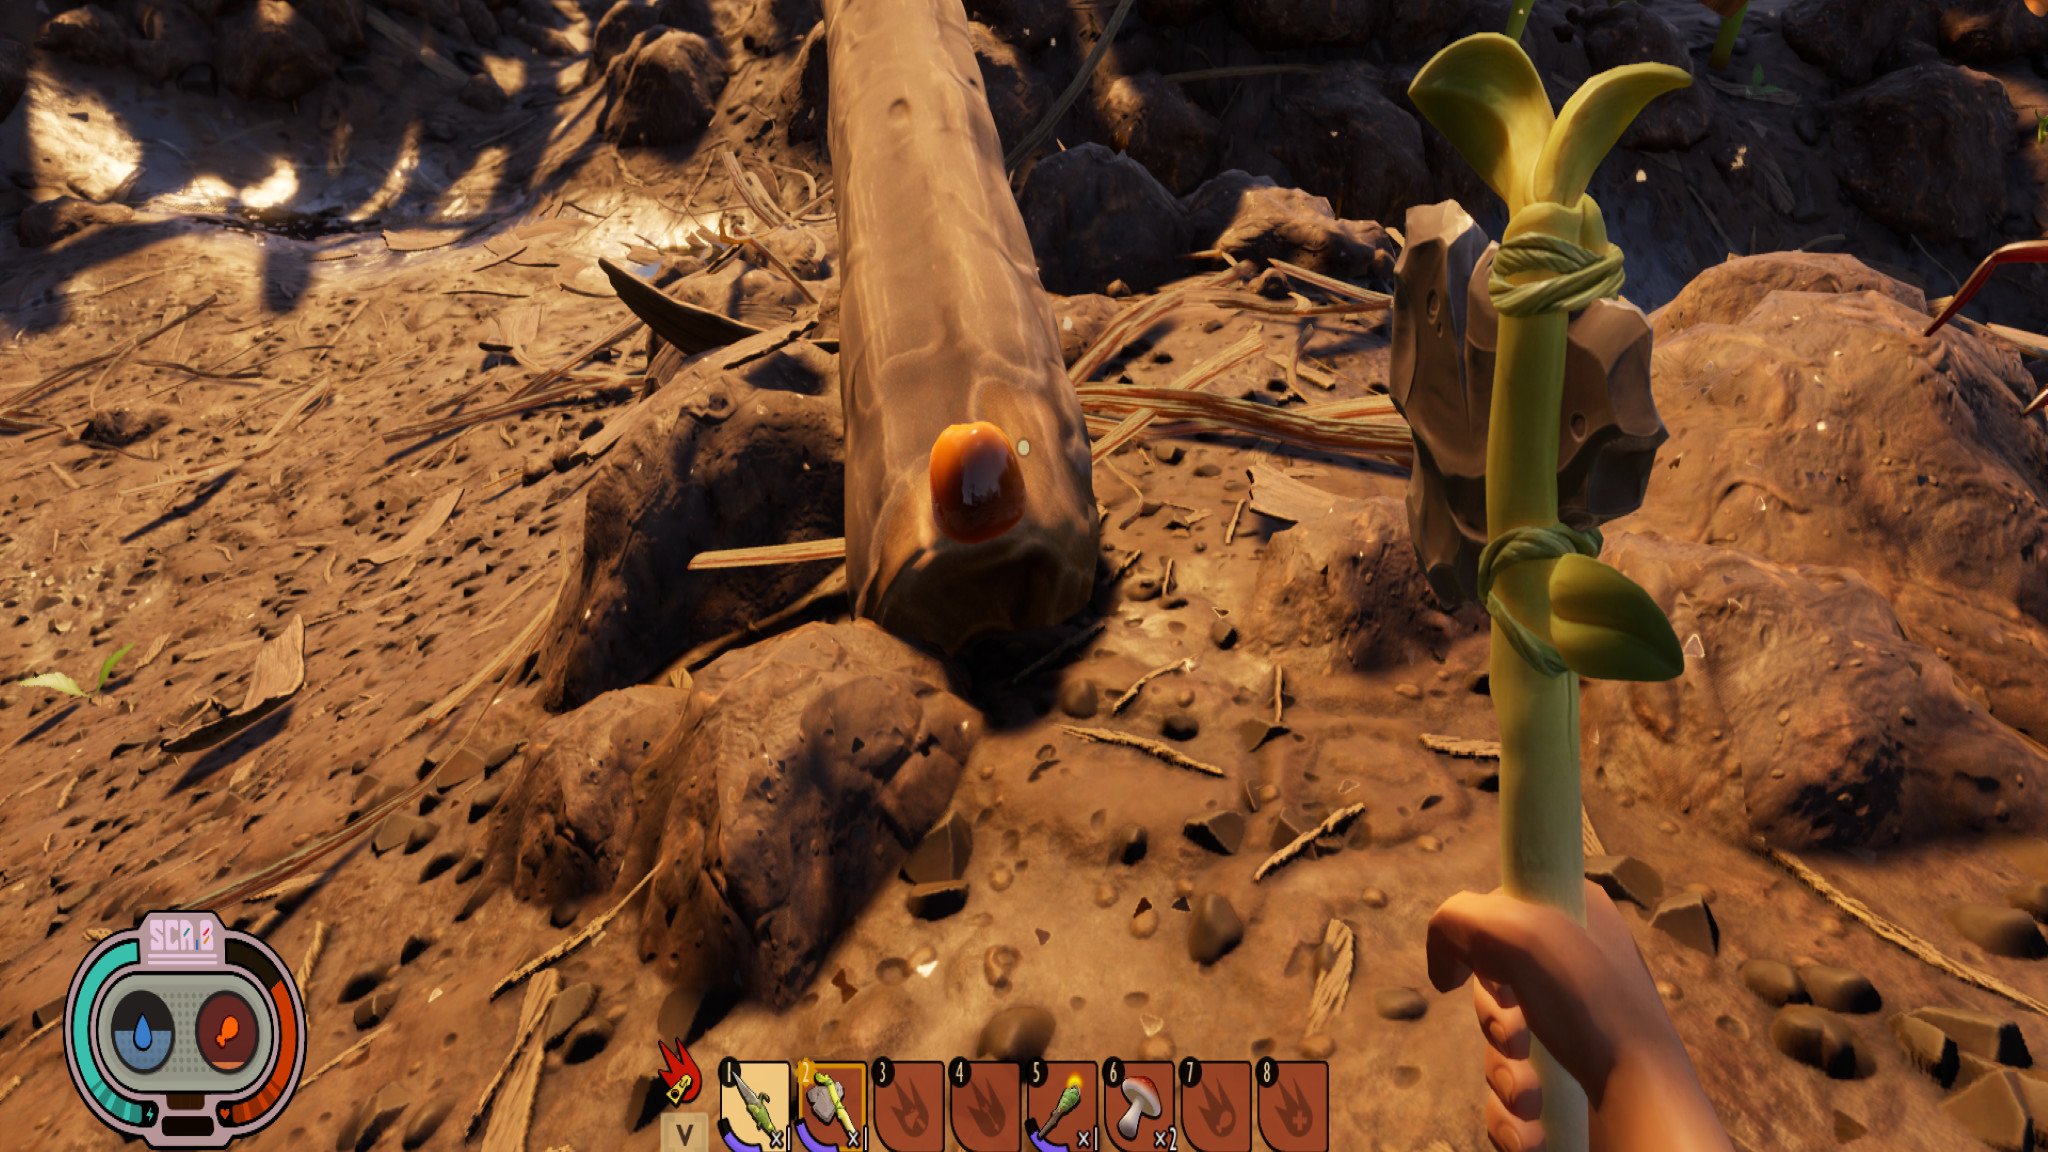
- Sap can be found hanging off of the tree twigs scatted around the mysterious device. I found some on the twig leaning against the baseball, near where you started the game.
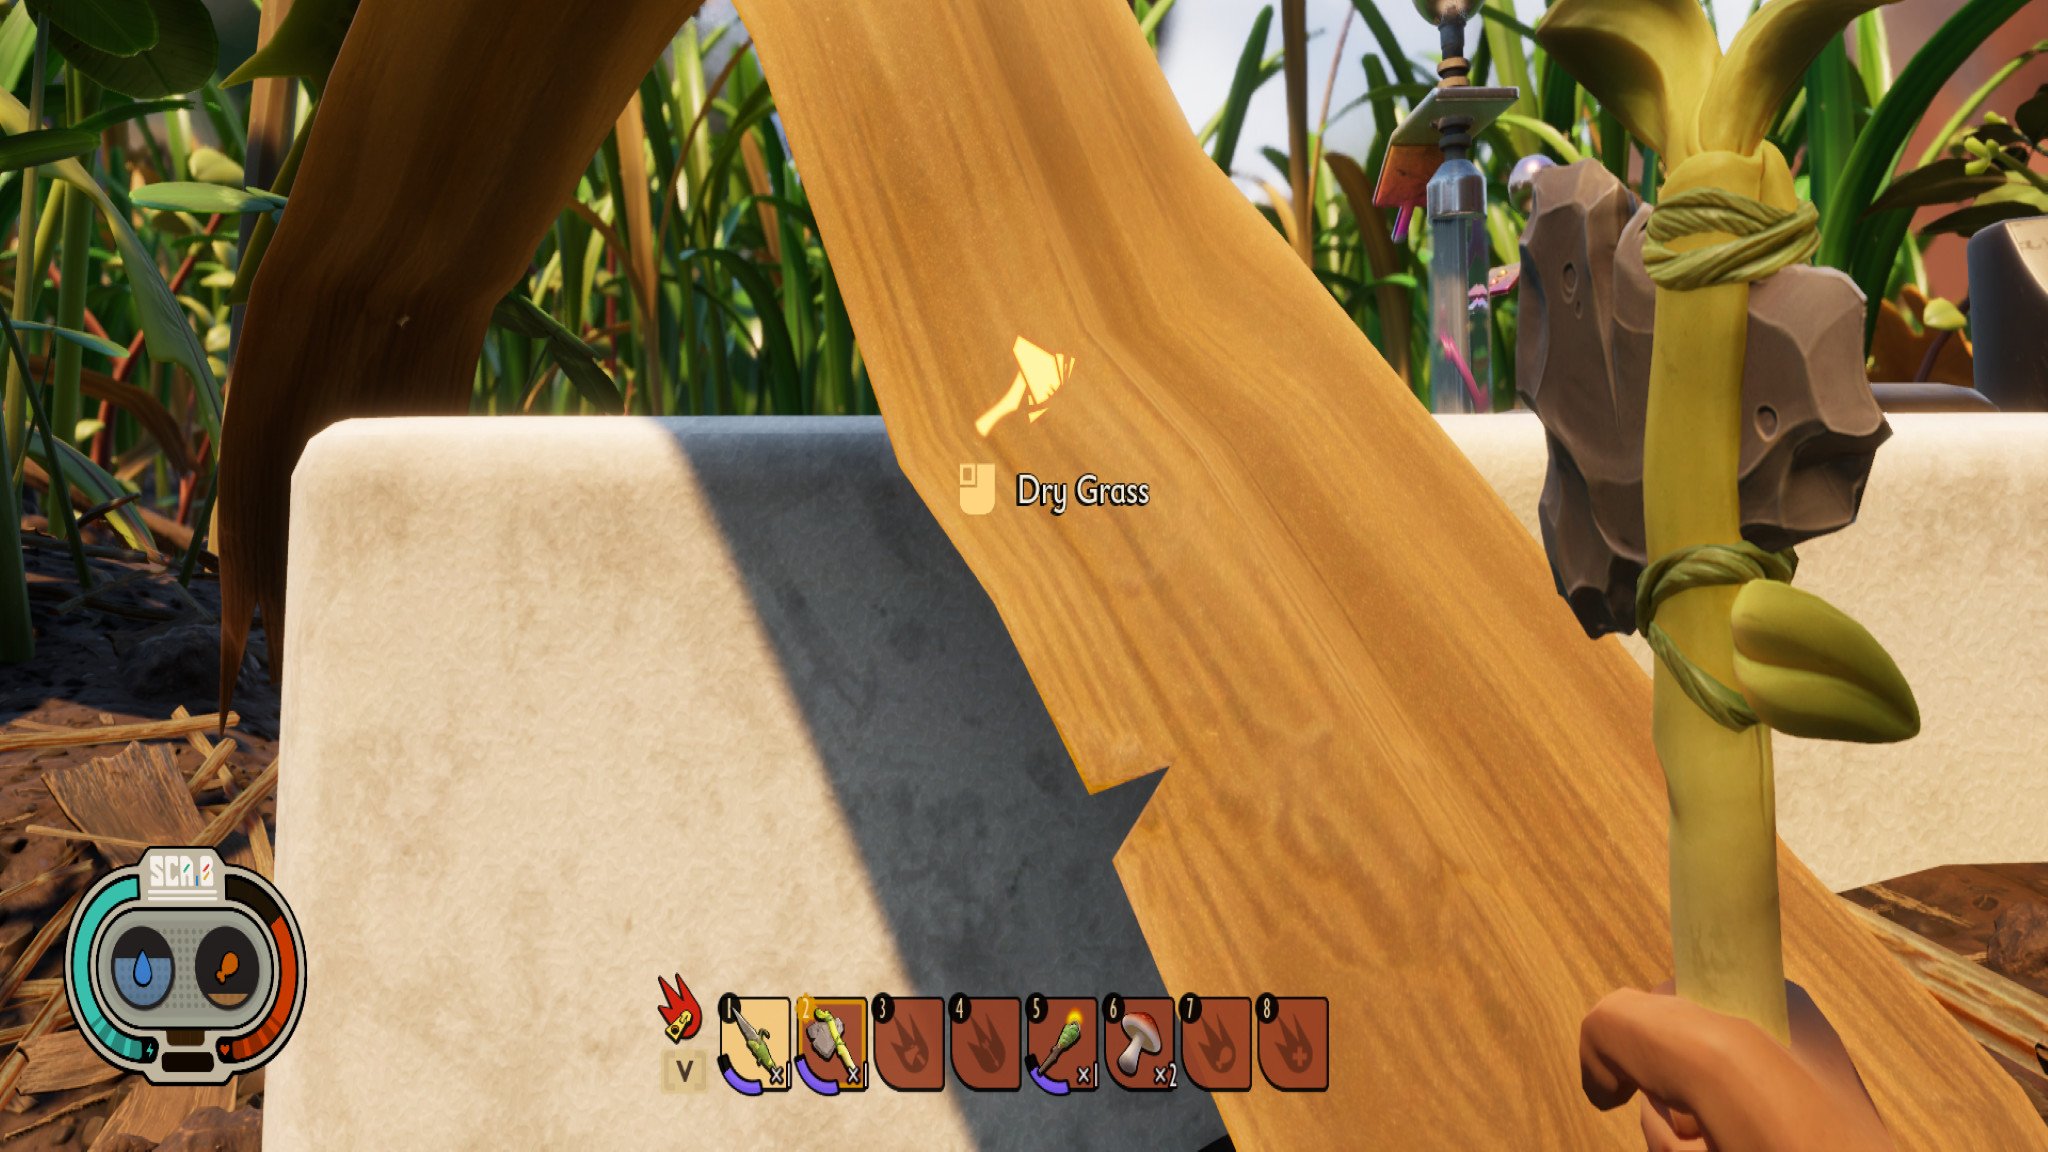
- Dry grass is easier to spot; it's the limp, brown pieces of grass hanging around. Use your pebblet ax to chop it down to size.
Before moving forward, take a moment to check on your vitals. It's not required, but it's recommended to do so to maintain your character's stamina. So, eat some mushrooms and drink clean water to restore your strength. If it's starting to get late before you're prepared, you might want to seek shelter and tackle the task the next day. Nothing's worse than losing your way in the dark and wandering into a spider's den by accident. If that's that case, build a lean-to to sleep under.
You can also set your respawn point to the newly constructed lean-to, so be sure to do so in case things go awry. You don't have to take these precautions before heading out, but it's always better to be safe than sorry, especially when you're new to the dangers of the back yard.
Major malfunction

Now that your preparations are complete, head to the malfunctioning tower to investigate. Look up and follow the flickering beam to the base of the tower. As you approach, you'll quickly find the cause of the problem. Lawn mites are all over this area, chewing on the power cord and causing the laser to short out. Lawn mites are a minor nuisance, so even if you didn't build a spear ahead of time, you can still exterminate them by using your ax, a pebblet, or even your fist.
- Follow the power cord, dealing with any mites you find along the way.
- Halfway down, you'll notice that the power cord runs into a tunnel that's too dark to venture into — the perfect time for that torch. The torch takes up your empty hand, so you'll still be able to swing your ax or spear with the torch equipped.
- Push through the tunnel and continue to take out any mites you encounter. Once you've dealt with all of the cord-munching bugs, the laser will connect to the mysterious device as its creator intended.
Looking for answers
- With the connection reestablished, it's time to re-examine the mysterious device. Retrace your steps and find your way back to the giant remote.
- Climb on top of it, and look to the blinking light next to the button you pressed before. This time, there is a light blinking right above text that reads Activate. Press the button and watch what happens next.
- BAM! Powerful beams shoot overhead and trigger a trail of smoke that sets off an explosion at the base of a nearby oak tree.
Now you can pat yourself on the back. You successfully repaired the mysterious device, but the story doesn't end here. Something seriously strange is happening in the backyard, and you can expect to encounter much greater threats than just mites as you explore head north towards the oak tree.
What's next?

Be sure to prepare accordingly by using this guide on crafting basic tools and weapons, and as spiders, larvae, and other creepy crawlers become more common, you'll want to consult our handy spider combat guide before you find yourself in a pinch. Be sure to check back soon as we head north and investigate the explosion at the oak tree.

It's a big(ger) world out there.
Obsidian Entertainment makes its exclusive debut on Xbox One and PC with Grounded, a cooperative survival experience that literally makes all of your problems much, much bigger, and you much smaller. Join your friends as you try and survive in a dangerous backyard.
Excellent and affordable Xbox accessories
Up your Xbox experience with one (or all) of these budget accessories, all of which are approved by the gamers of Windows Central.
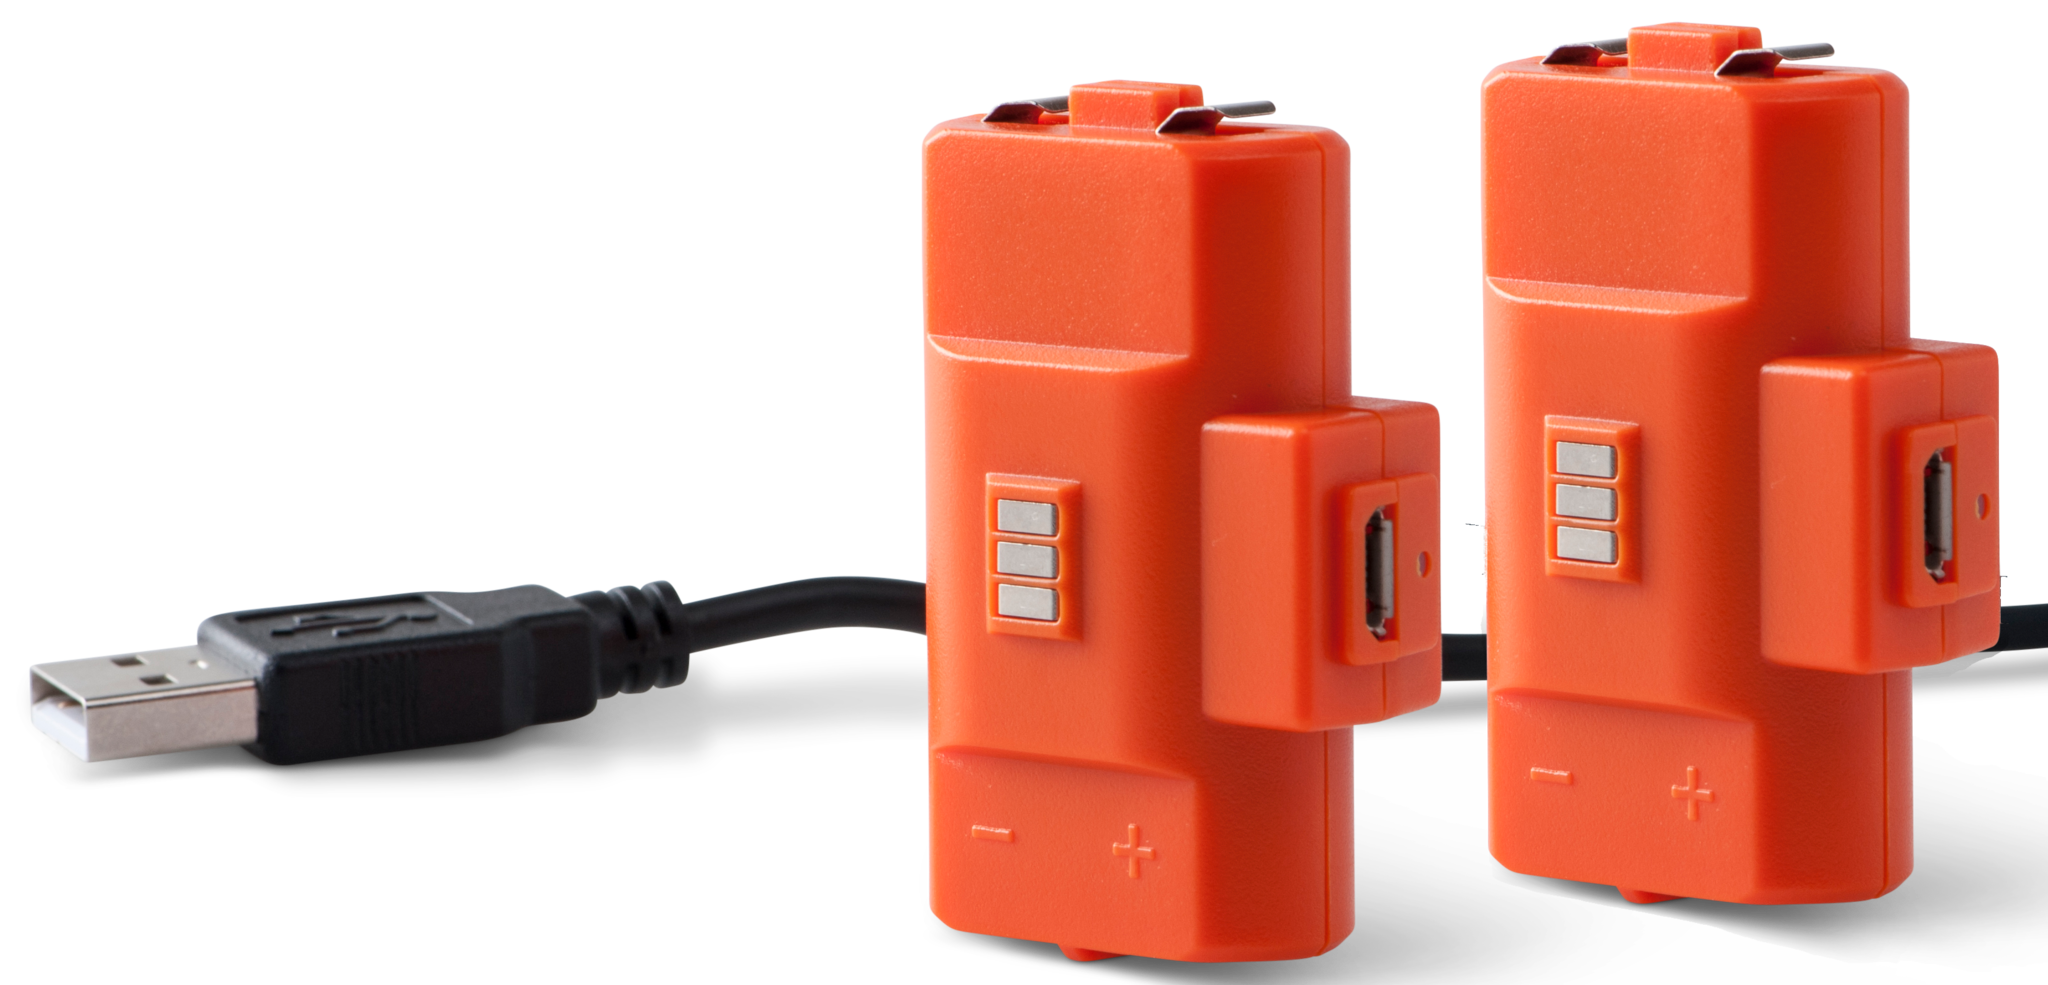
PowerA Play & Charge Kit for Xbox One ($15 at Amazon)
This charging kit keeps your Xbox One wireless controllers juiced up, and it offers batteries for two controllers. At just $15, this is hands-down our favorite budget charging companion.
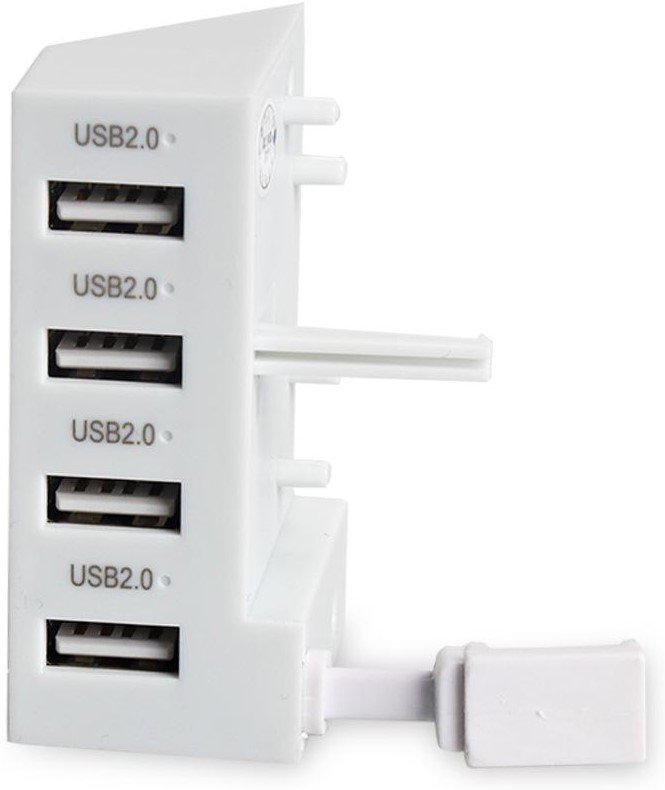
ElecGear 4 Port USB Xbox One S Hub ($19 at Amazon)
This brilliant little USB splitter hub attaches perfectly to the side of your Xbox One S console. It's ideal for use with chargers, controllers, headsets, and more.
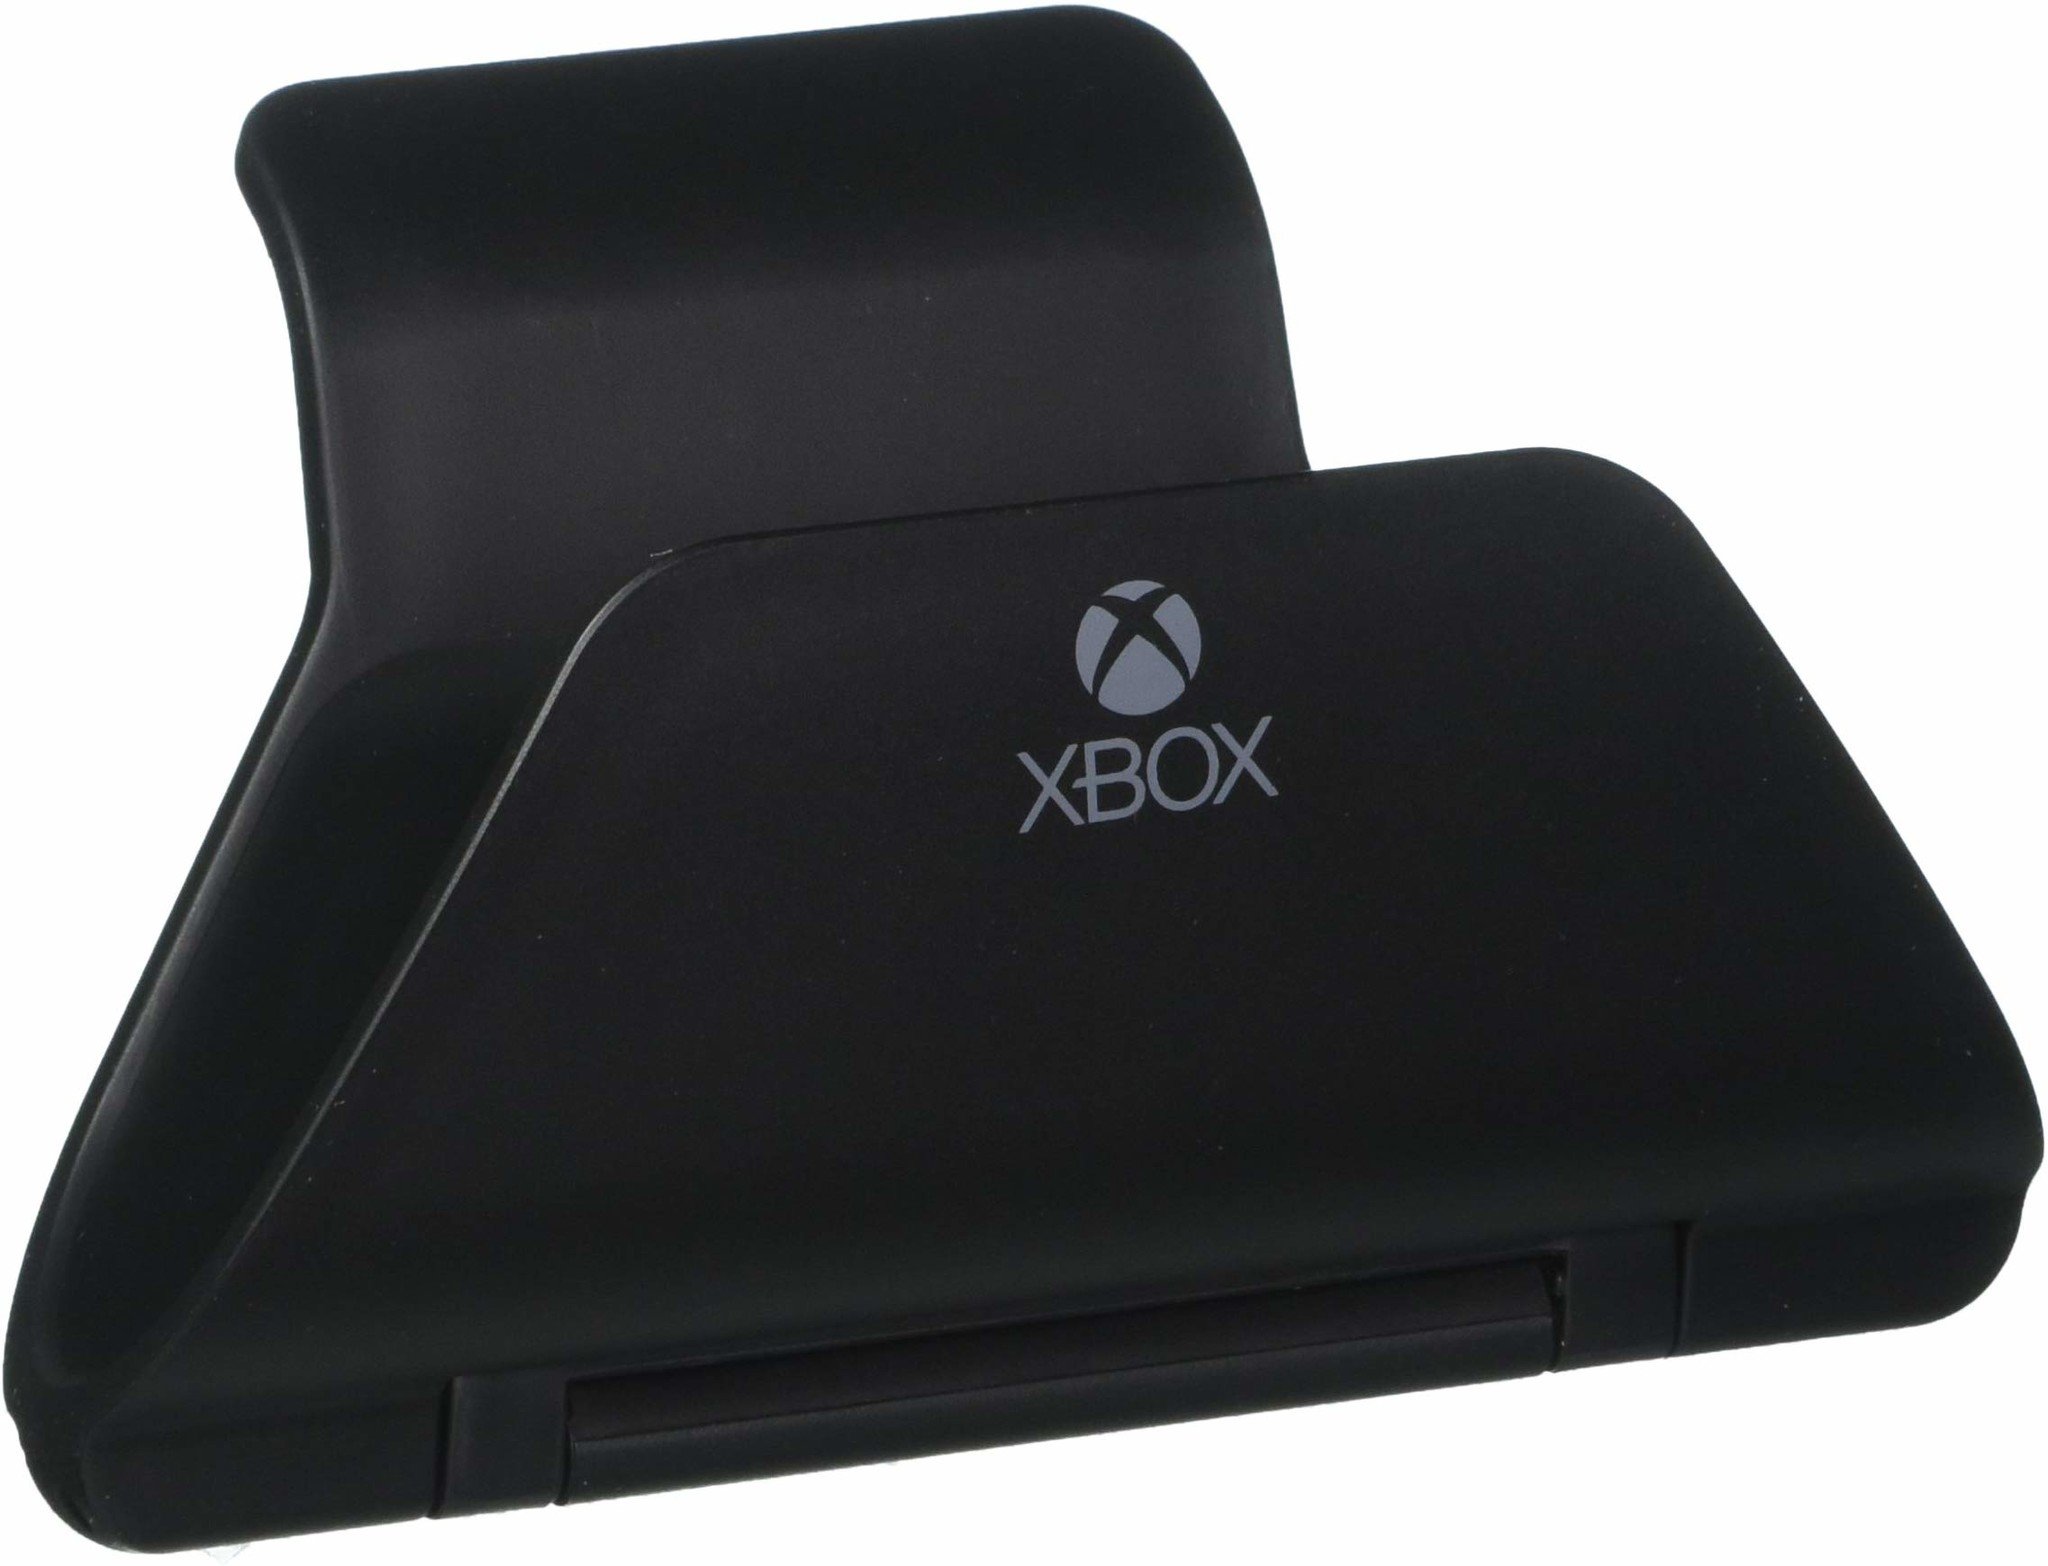
Controller Gear stand ($13 at Amazon)
Proudly display your Xbox gamepads with this stylish and functional stand. The licensed design is minimalist and black, and it has a hidden storage compartment, making the price of $13 a real steal.

Zackery Cuevas is a former writer for Windows Central, Android Central, and iMore. I like playing video games, talking about video games, writing about video games, and most importantly, complaining about video games. If you're cool, you can follow me on Twitter @Zackzackzackery.
