Grounded building and crafting beginner's tips for your first base
You need to protect yourself from the elements. And giant bugs.
The hottest new survival game on the block is Grounded, which sees players shrunk down to a miniscule size and set loose in a hostile environment filled with giant bugs, including spiders you'll have to fight (don't worry, there's an Arachnophobia Safe Mode). In order to sucessfully survive, you'll need to build a base, and even that can come under attack from hordes of angry insects.
Here's everything you need to know about building your very first base in this Grounded guide, including some tips on protecting your homely protection.

It's a big(ger) world out there.
Obsidian Entertainment makes its exclusive debut on Xbox One and PC with Grounded, a unique survival experience that literally makes all of your problems much, much bigger. Join your friends as you're shrunk down to the size of an ant and are forced to survive in a dangerous backyard.
What do I need to build my first base in Grounded?
To build in Grounded, you don't need a ton to get started, but you'll want to make sure you're outfitted with basic tools and equipment, especially a decent axe and hammer, to help you out, and that you're being proactive in analyzing any new resources that you find while scavening your surroundings. There are a few things I absolutely recommend you procure before building your base, however.
Plank pallet
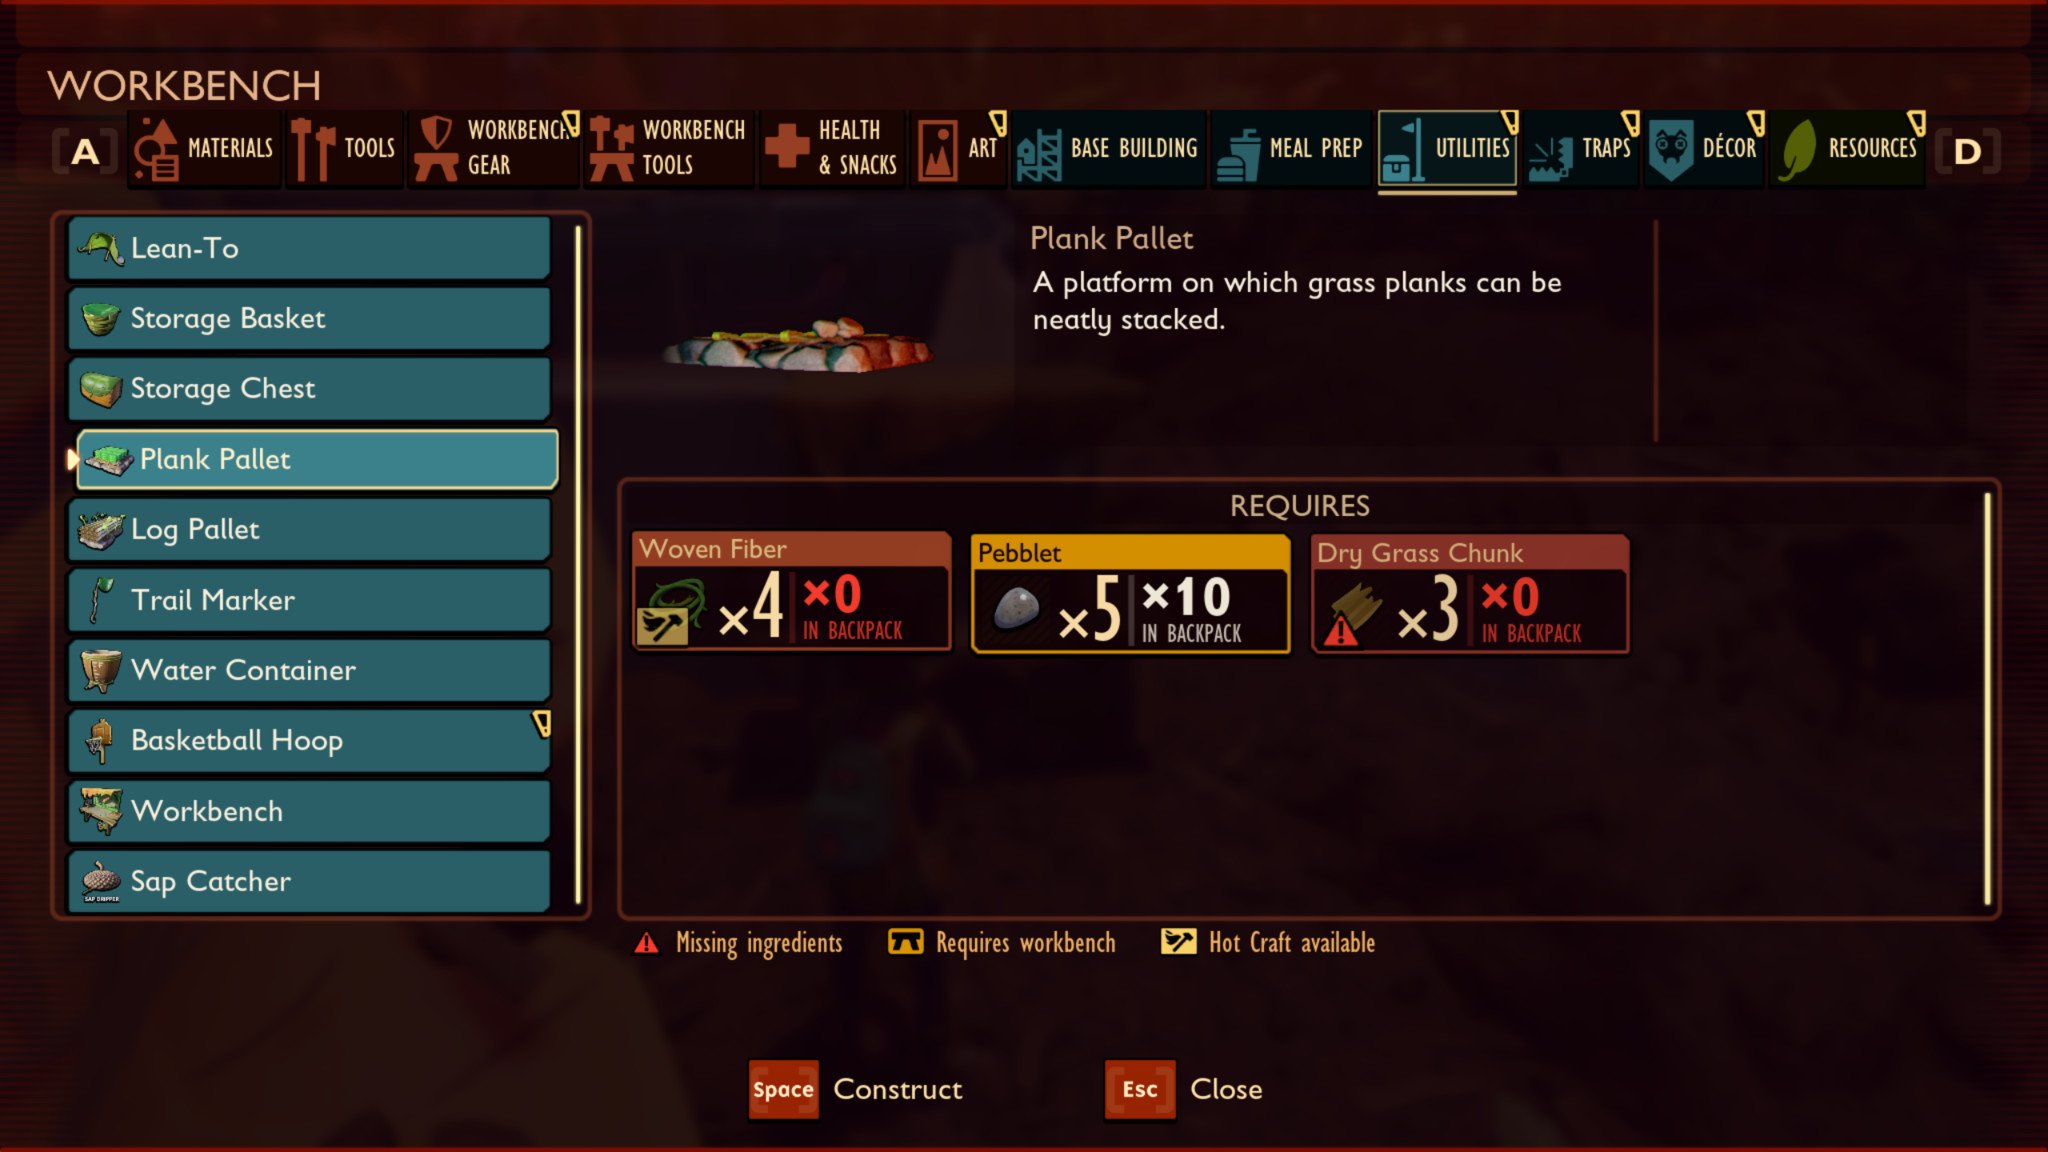
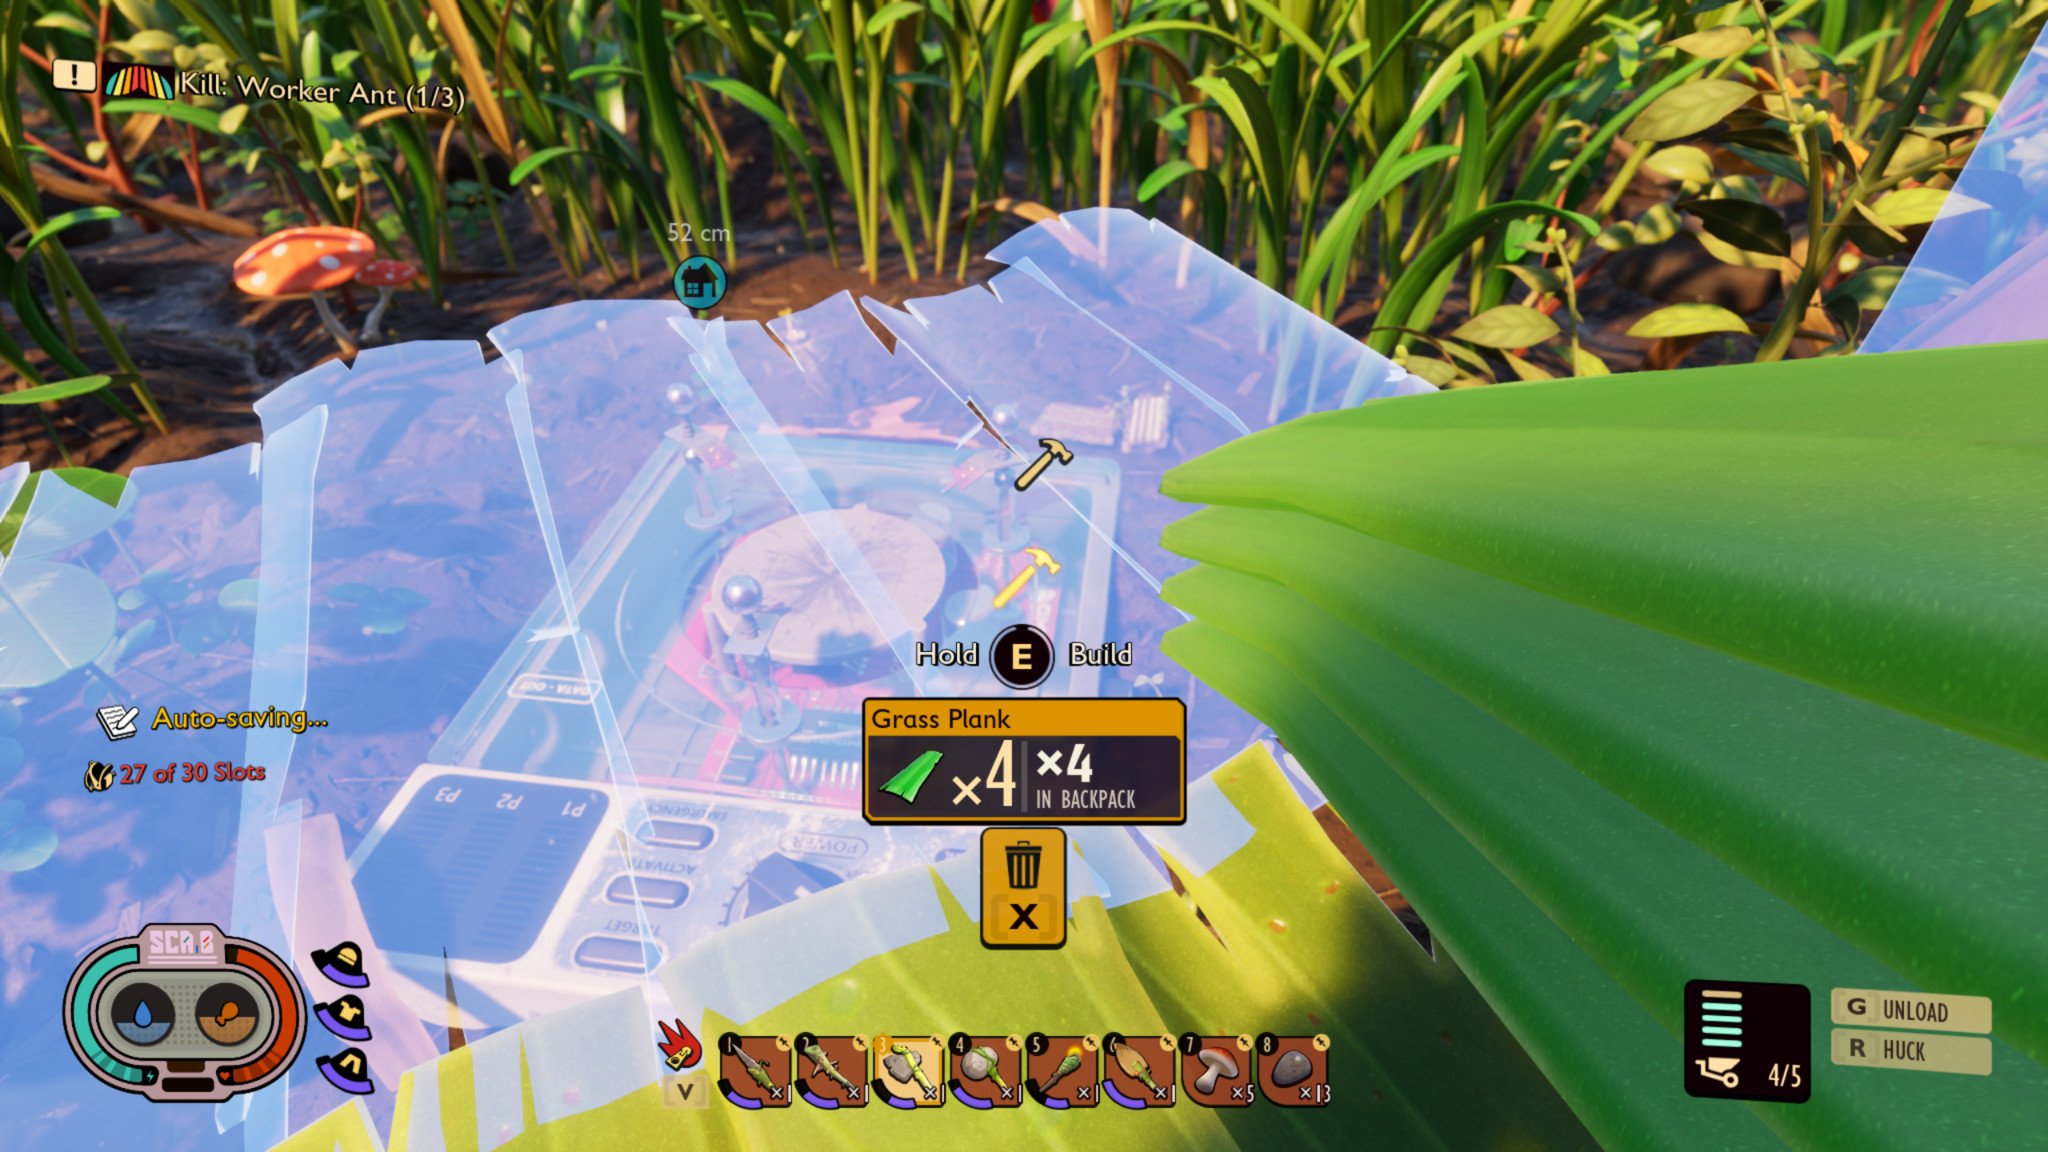
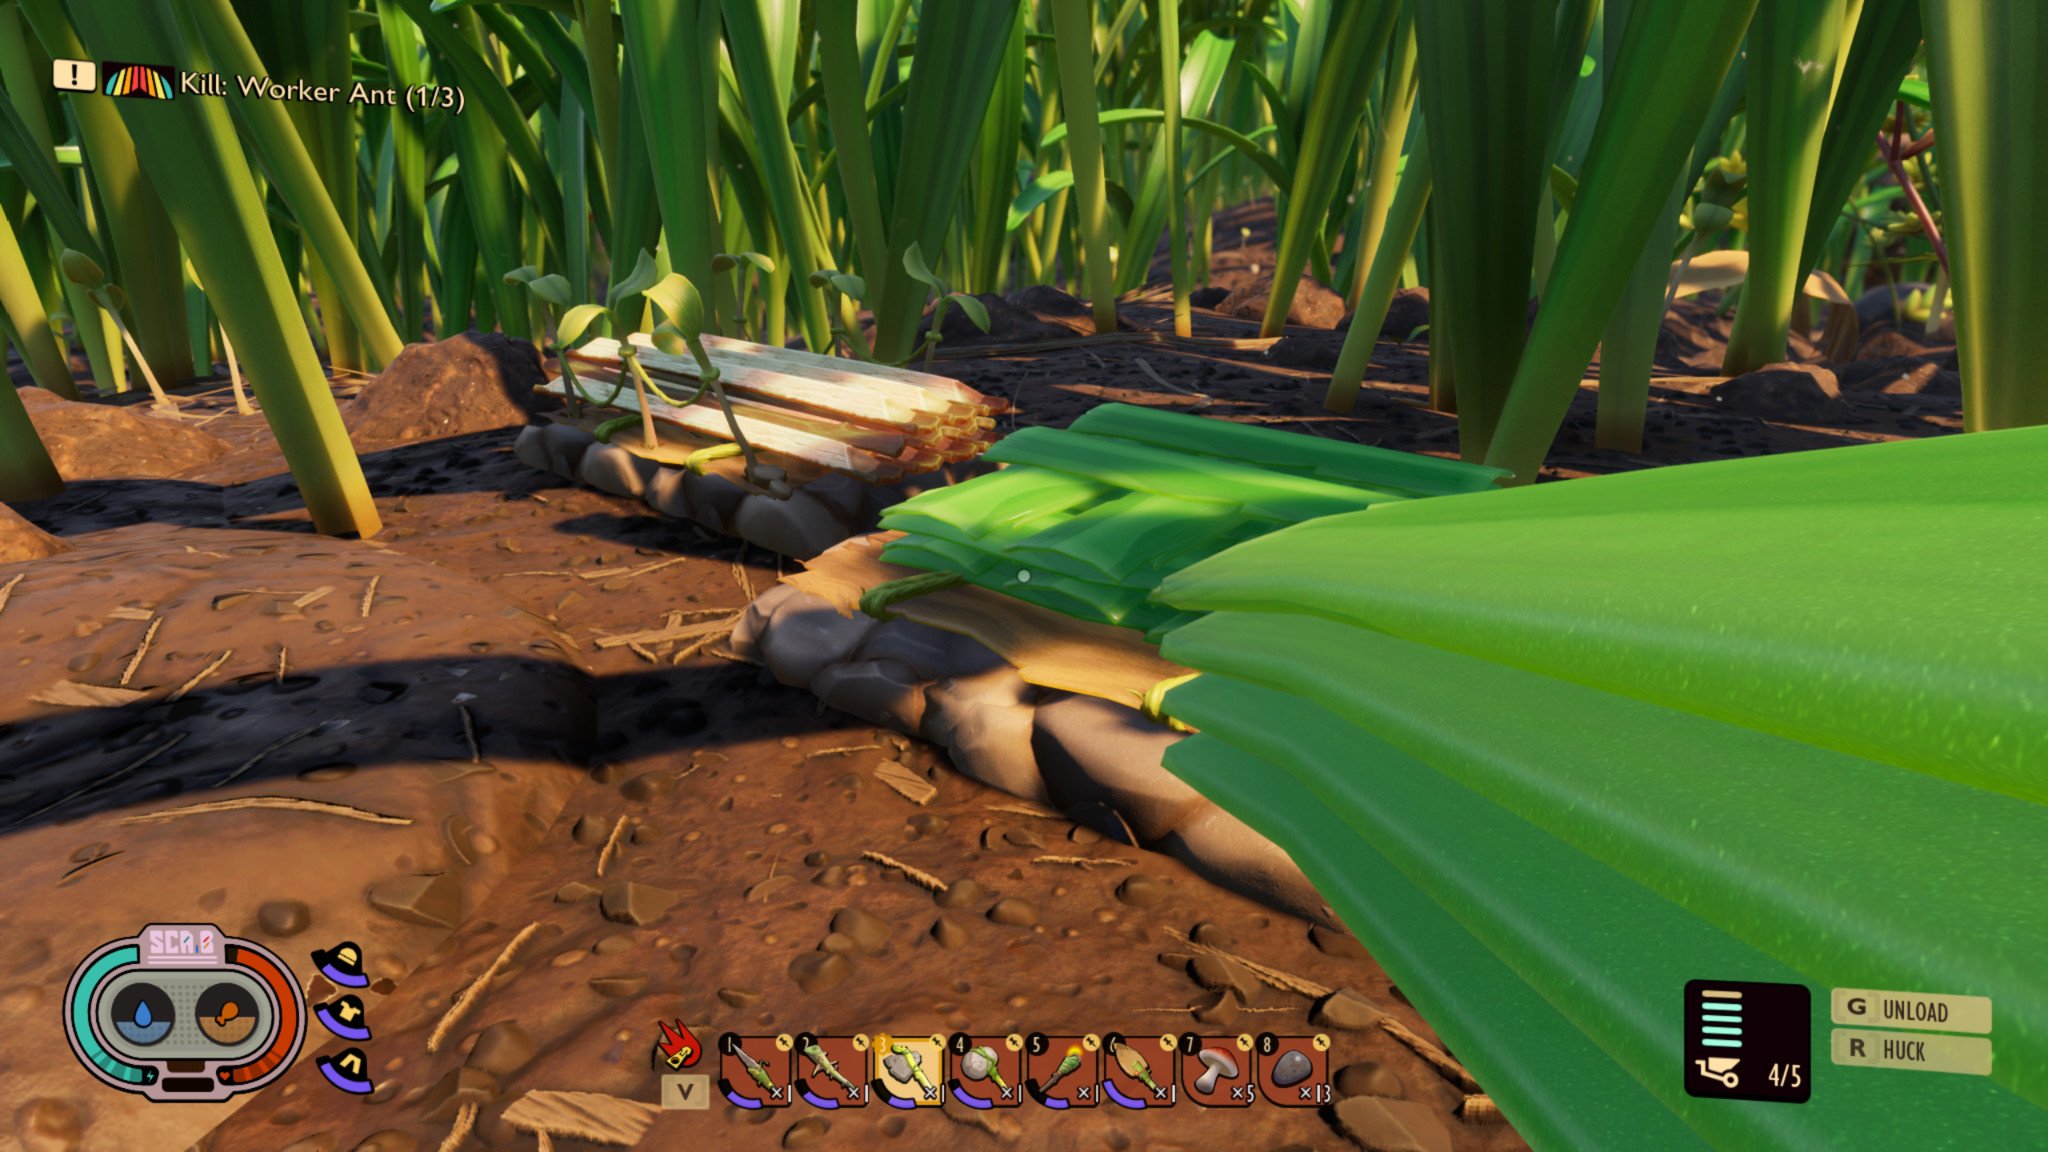
Building requires a ton of grass planks, which you can find by chopping down the many blades of grass in Grounded's backyard, but grass planks cannot be easily stored. They're far too large to store in your inventory or traditional storage containers, and you're limited in how many you can hold at once (spoiler: it's five). In order to safely and securely hold all of your excess grass planks before you start building, make sure you have a plank pallet near your selected build site.
To build a plank pallet, you'll need four woven fiber, five pebblets, and three dry grass chunks. Once you have these materials and have analyzed them, you'll have the plank pallet recipe in your crafting menu. Select it from this menu and plop it down wherever you want it, then hover over it and hold down the corresponding button when you have all the ingredients in your inventory.
After building a plank pallet, you can neatly stack loose grass planks on it, and then easily grab them whenever you need them. If you're planning a decent building project and want to have all your resources beforehand, you can build multiple plank pallets, as each one does have a limit. Don't worry, you can recycle them and get some of your resources back afterwards!
Log pallet
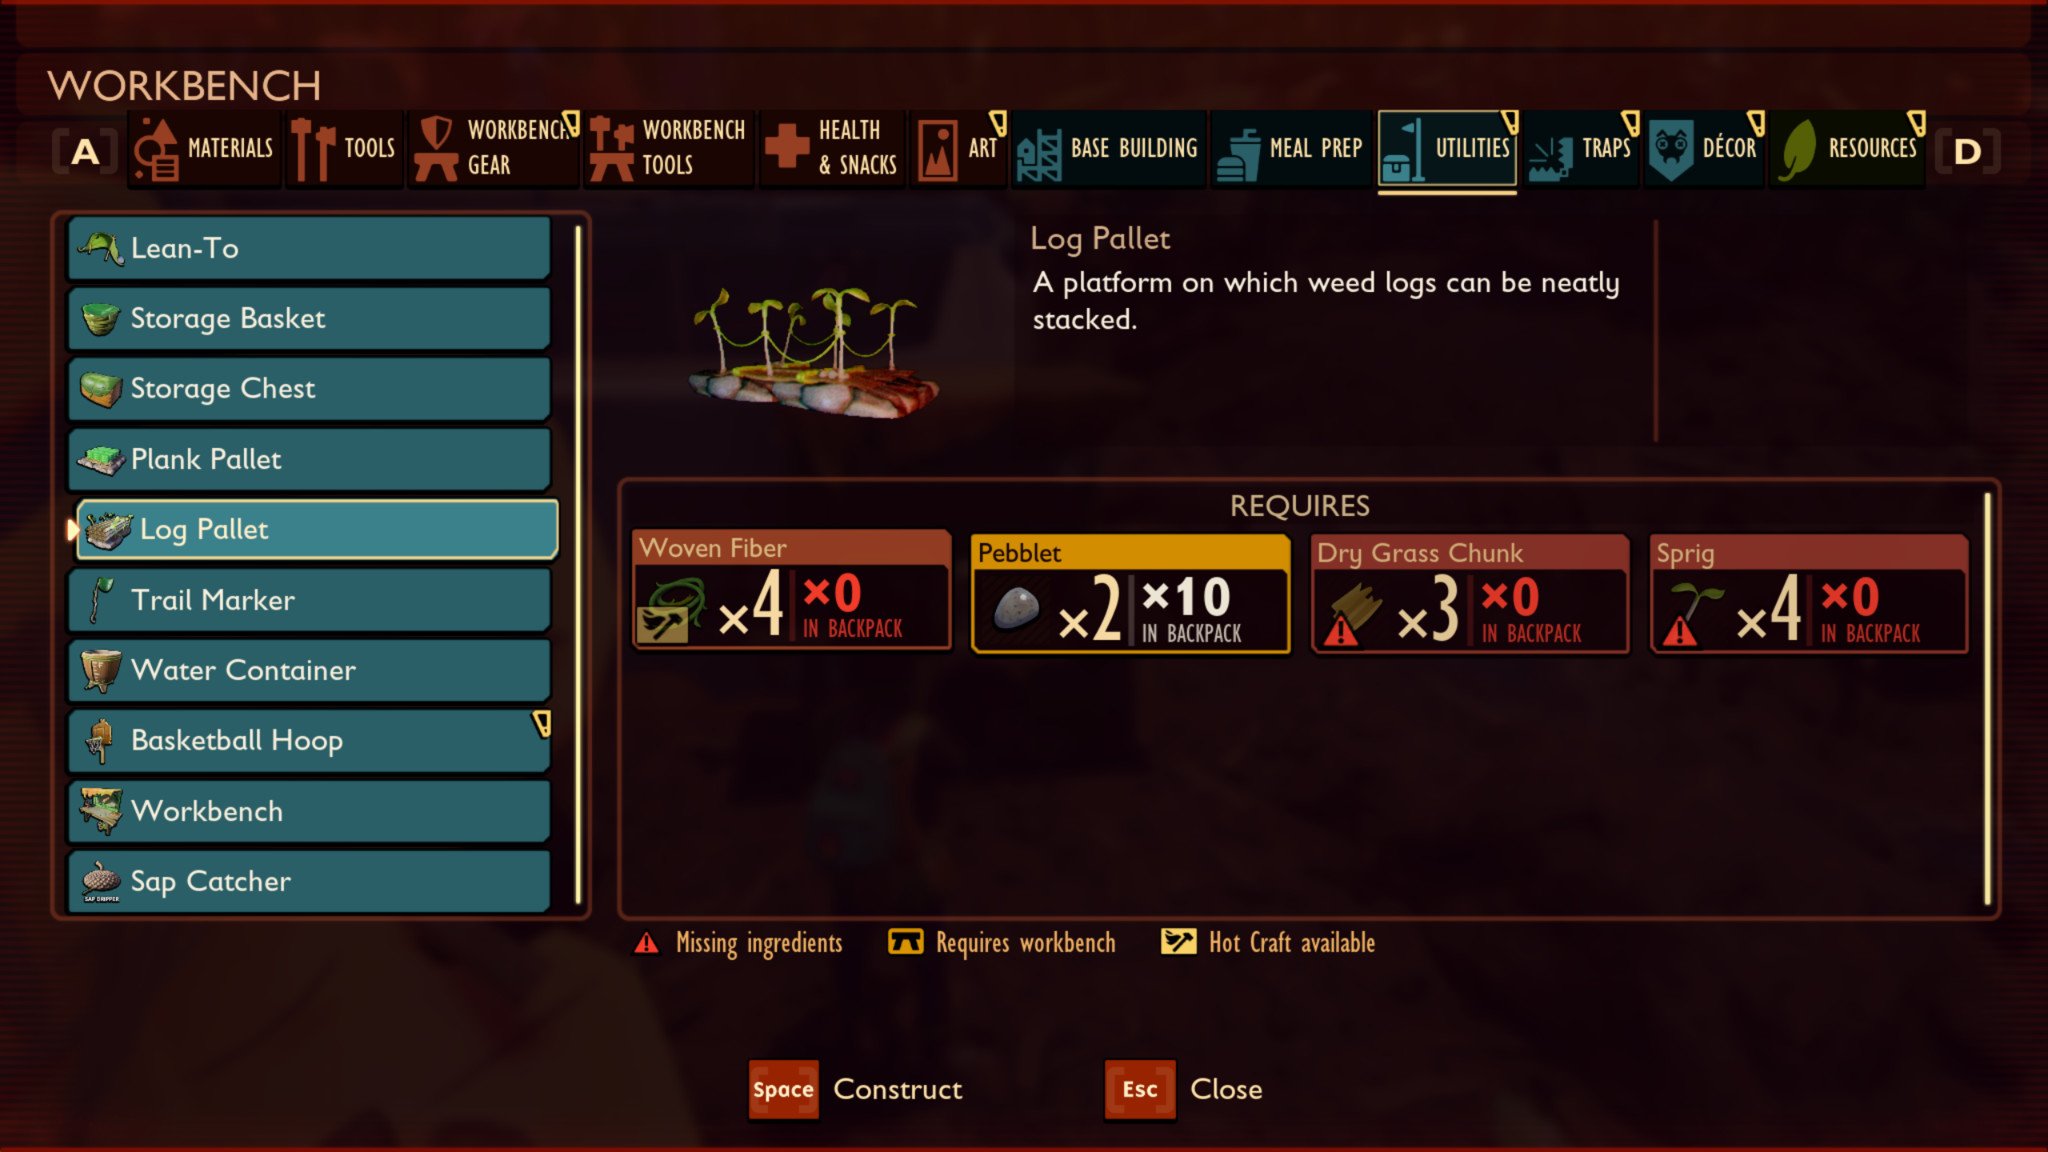
A slight variation of the plank pallet, this utility item safely stores all your weed stems instead of your grass planks. Weed stems are hardier building materials, and while they're not used as much in earlier recipes, are still very important to have for things like stairs, doorways, windows, and anything that requires extra structural integrity. Weeds are also not as common as grass, so you'll want to have a place to store any extra weed stems you're not actively using.
All the latest news, reviews, and guides for Windows and Xbox diehards.
When building a log pallet, you'll need four woven fiber, two pebblets, three dry grass chunks, and four sprigs. Once you have these materials and have analyzed them, you'll have the log pallet recipe in your crafting menu. Select it from this menu and once again place it wherever you want it, then hover over it and hold down the corresponding button when you have all the ingredients in your inventory.
Now, use the log pallet to stack all of your weed stems. I recommend placing your log pallet right next to your plank pallet, as many building parts may need both, and you can actually carry a combination of any five weed stems and grass planks, so it's useful to have them nearby. You probably won't need as many log pallets, but you can always build more if you need it.
Floor & stairs
Source: Windows Central
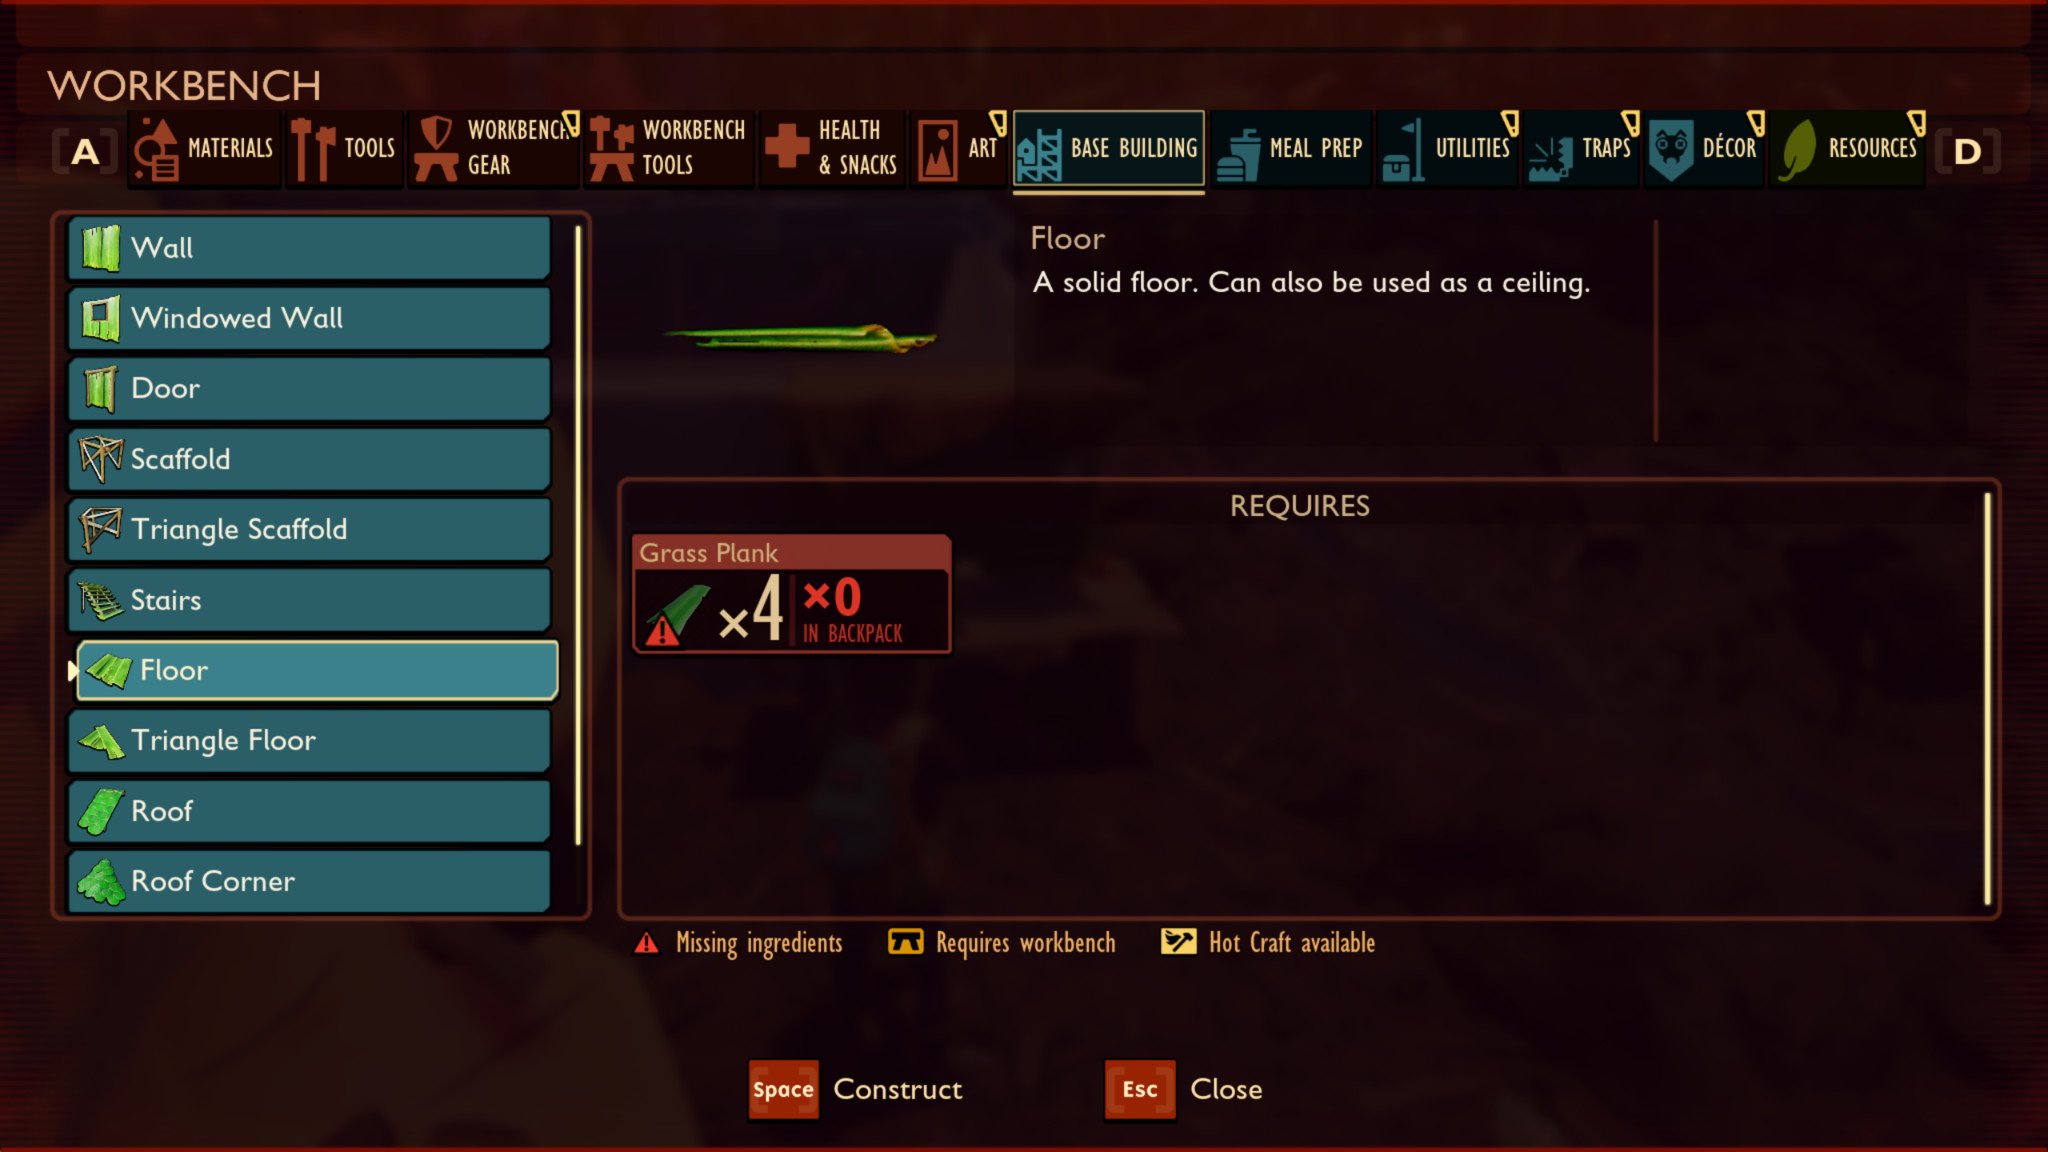
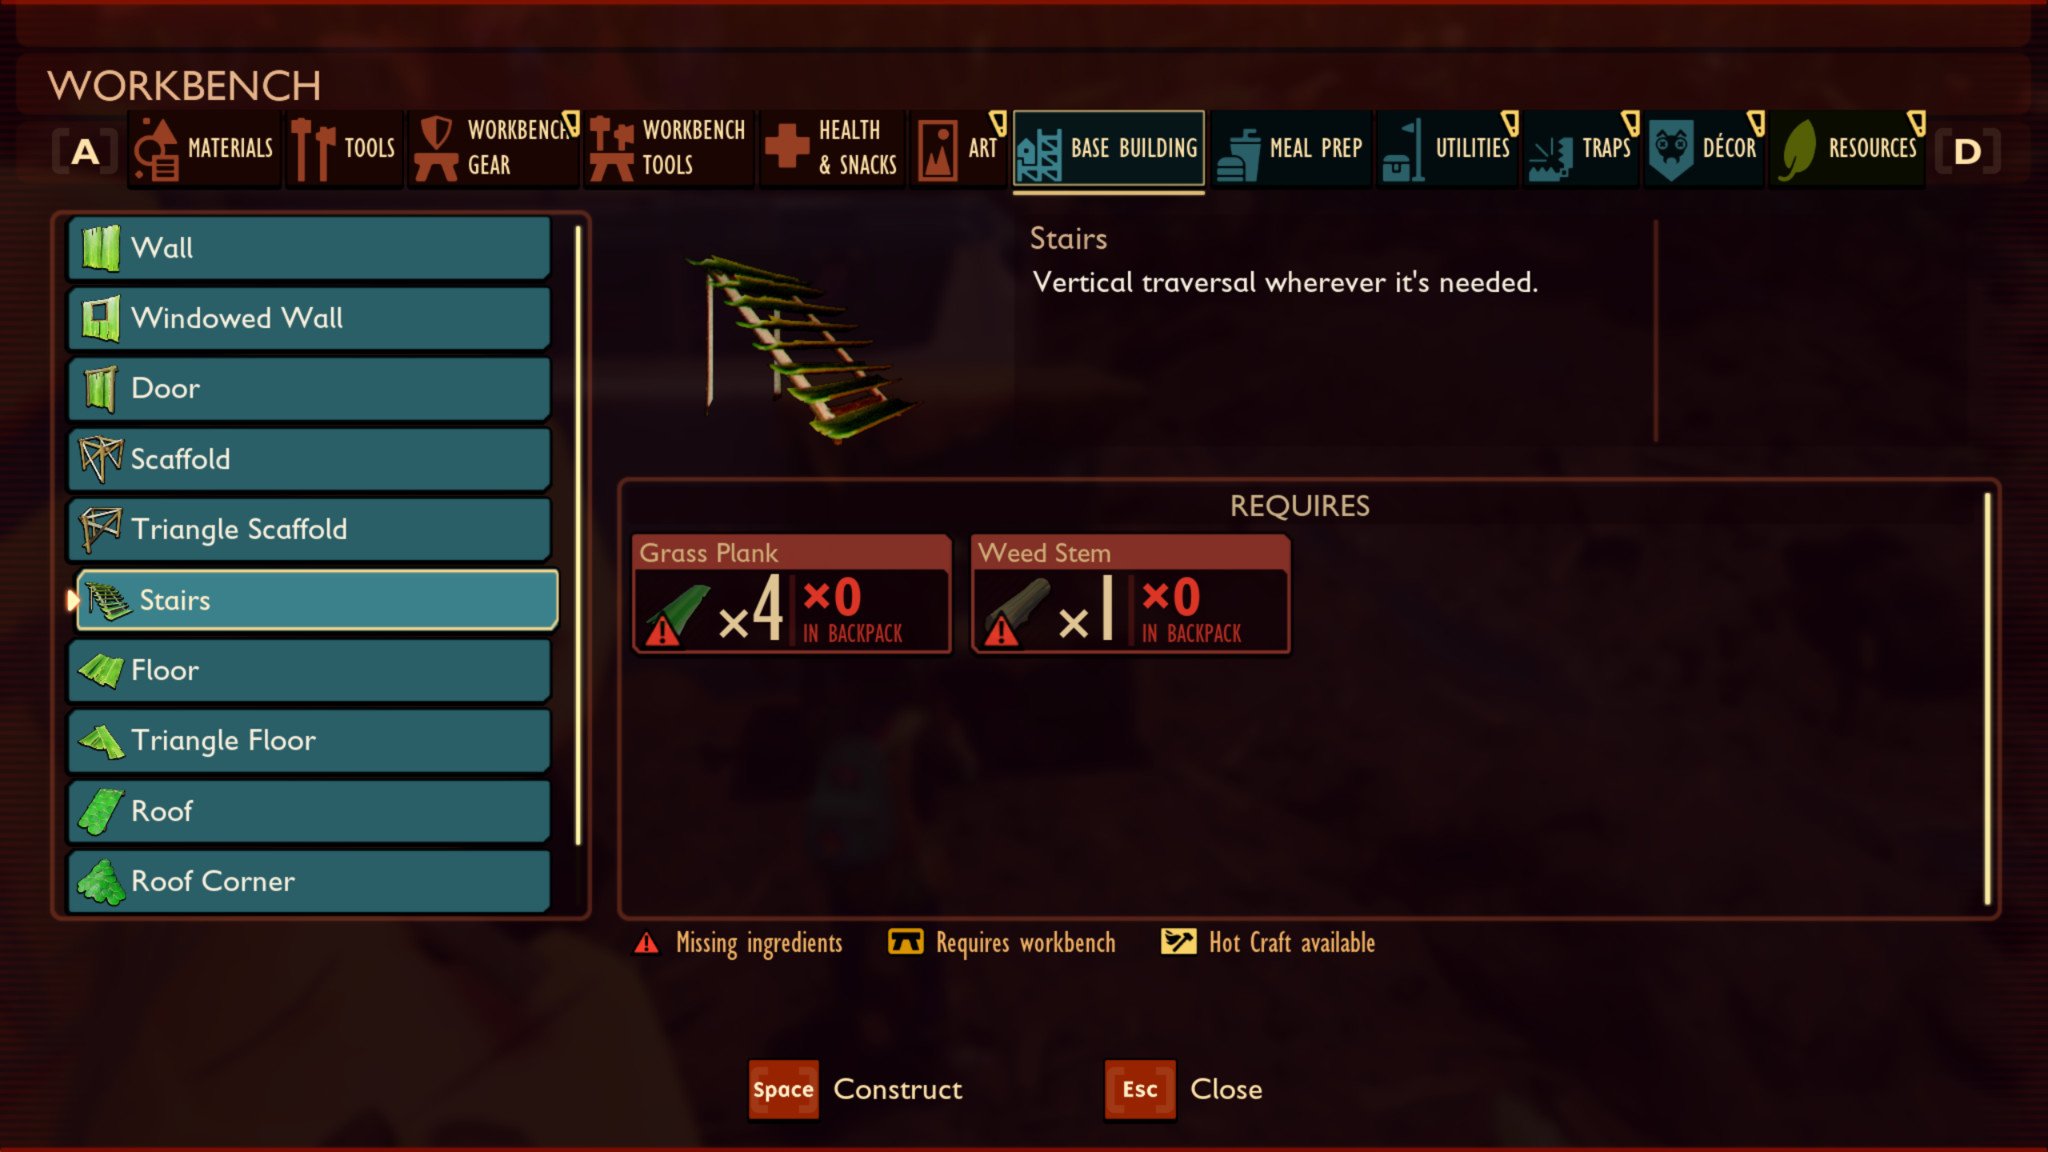
So the floor isn't very hard to craft, and may seem like a no-brainer for anyone seeking to build a base, cause, ah, you need a floor, right? However, unlike other building parts, you can't just build floors or stairs. You have to unlock them by following the story and collecting science. Yes, that's right, you have to buy the floor and stairs crafting recipes. You can purchase the Multi-Story Bases upgrade pack from BURG.L, who lives in the Oak Tree Lab, for Raw Science.
How do you get Raw Science? You can find it in glowing purple orbs around the map, from analyzing different resources, or completing various missions for BURG.L. If you're proactive in analyzing every resource you find, and grab purple orbs as you seem them, you should gain enough science very quickly. Technically you don't need stairs or even a floor for your base, as you can just build it directly on the ground, but if you want to build any additional levels to your base, or build your base in a place with uneven ground (or, erm, no ground), then floors and stairs are a necessity.
With the floor and stairs crafting recipes, it's just like building any other building parts like the wall or door. Floors require four grass planks, while stairs require four grass planks and one weed stem. If you've unlocked Multi-Story Bases from BURG.L, you can also spend even more science on more building upgrades like sturdier walls.
How do I build my first base in Grounded?
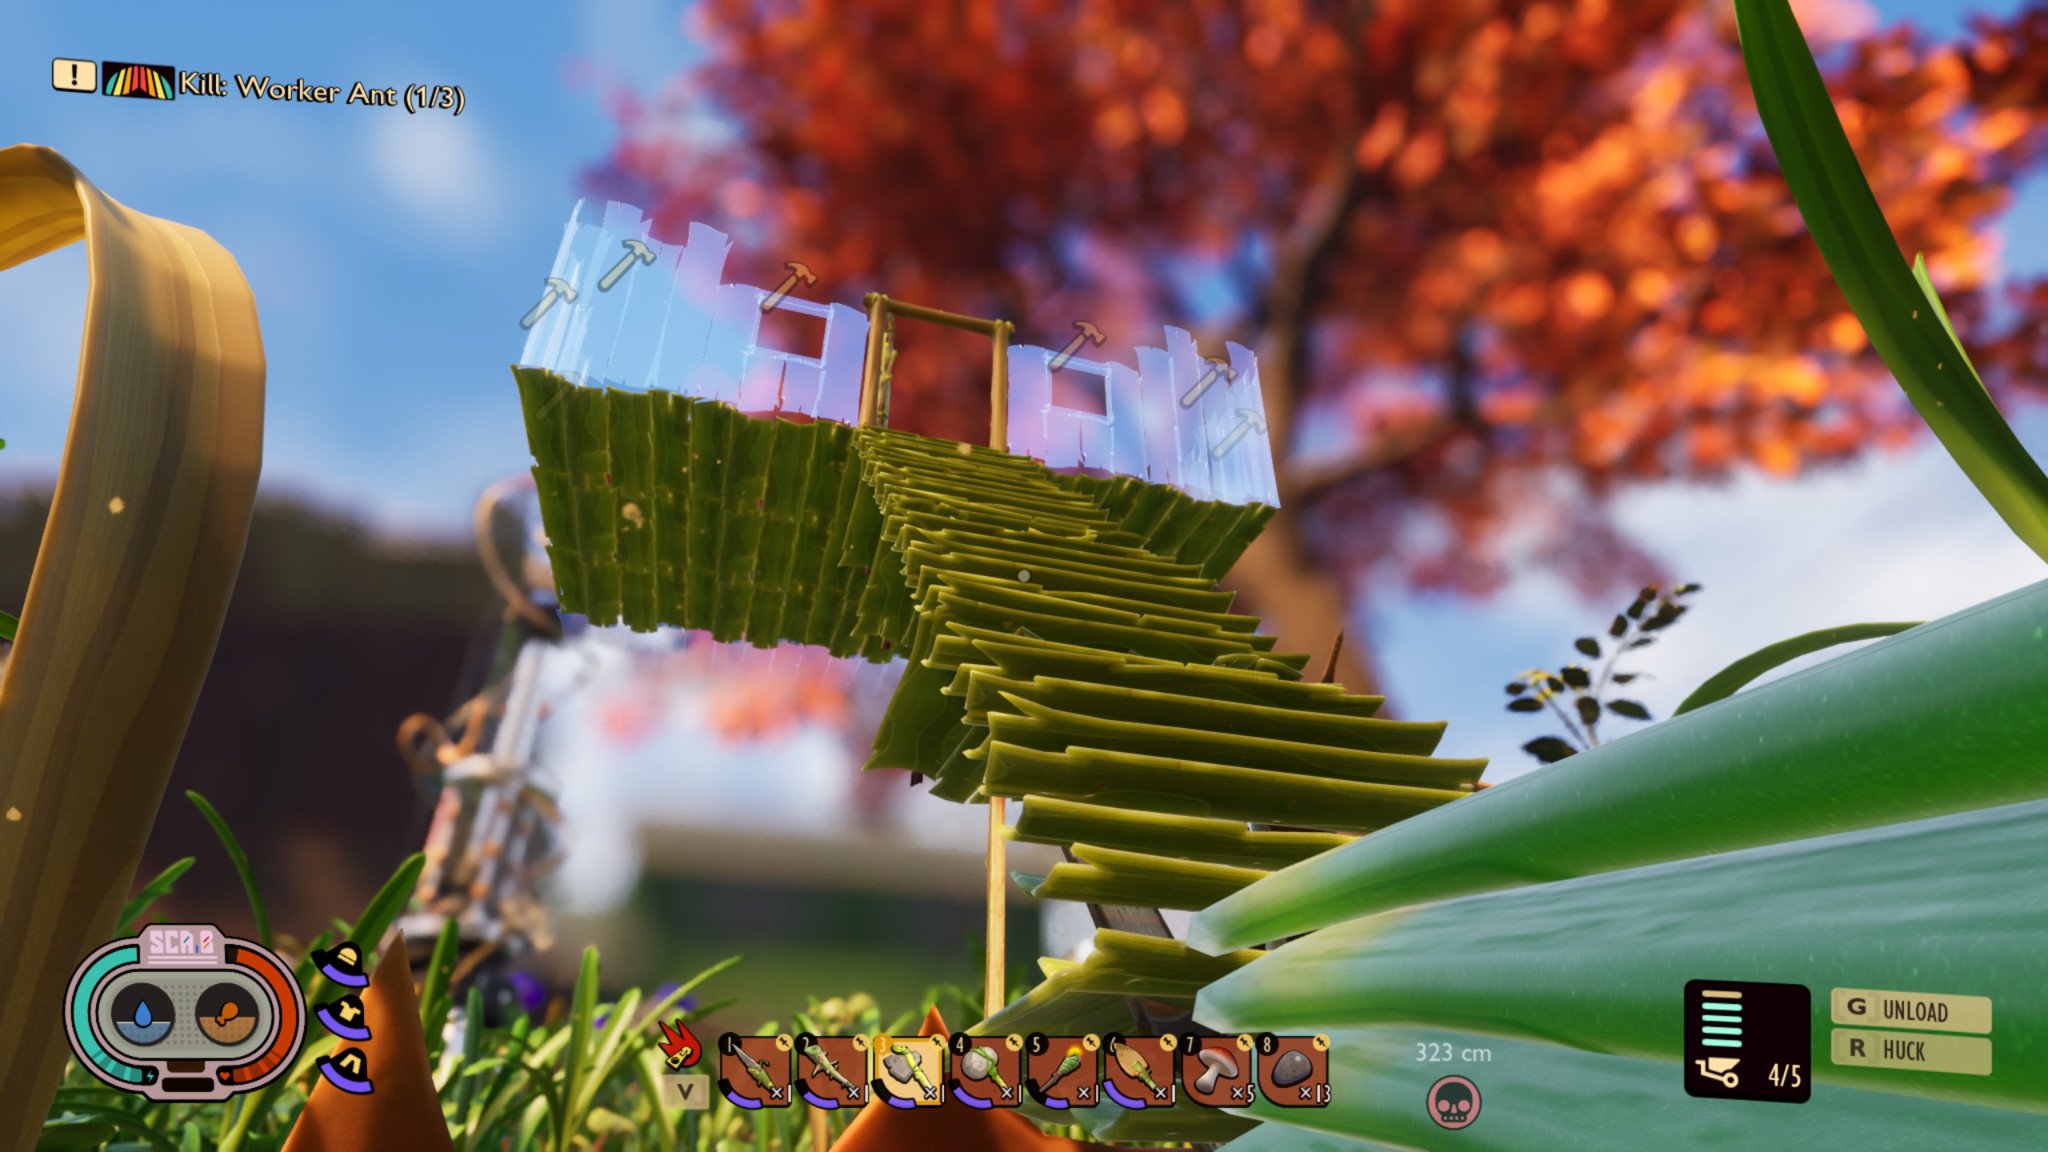
You have everything you need, making building a base in Grounded is pretty easy. The game gives you free rein over how you want your base to look and function, although to a point, since there are no "styles" (at least, not yet). That being said, there are some important things to keep in mind here when building your base, and a few tips before I tell you how to get the job done. Let's get started.
Tips & tricks
- Insects can and will attack your base. Just because you've built a base doesn't necessarily mean you're totally safe. Insects can still attack your base, and they can even destroy walls and such if you're strong enough! Insects like ants want to rob your supply stores, while enemies like spiders just want to eat you. Keep this in mind when you're considering where and how to build your base, which brings us to our next tip.
- Scout the area before you choose where to build a base. Before you lay down the first grass plank, take a sneaky peek at the surrounding area and check for, above all else, any wolf spider dens. Wolf spiders are the biggest, strongest enemy in Grounded, and they're very aggressive and territorial. During the day they sleep, but if they wake up at night and find you've built a base in their area, you're in trouble. Use trail markers to mark where you've found wolf spiders, and build your base a decent distance away from them.
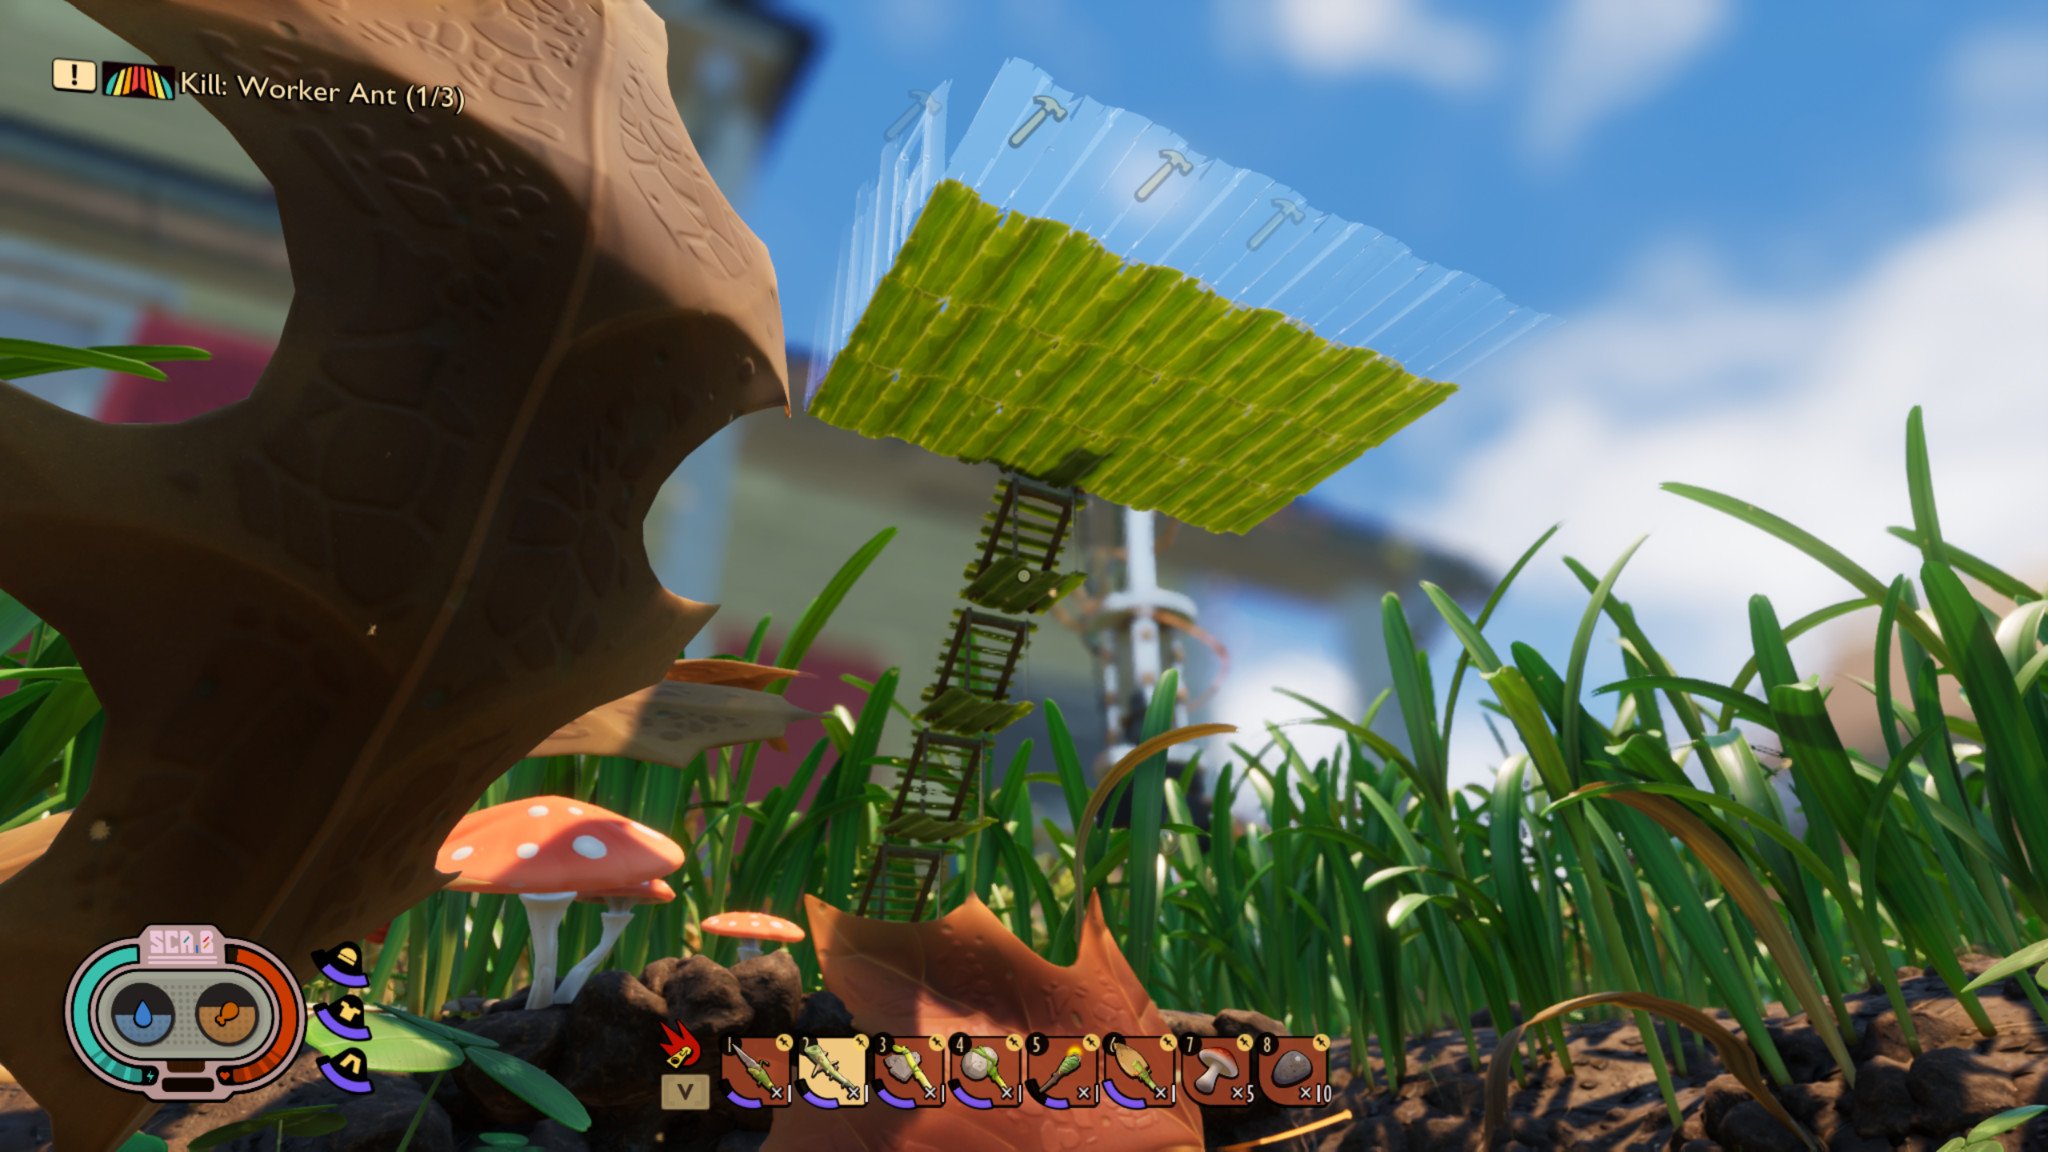
- Build high or in weird locations. Another deterrent for insect and spider raids is building either really high or simply in strange places. Anything that makes it more difficult for hostile buggies to get to you is a plus. You can either build your base suspended in the air, with a single staircase ascending, or build your base on one of the many landmarks in the game, like on top of a giant baseball, on a stepping stone in a pond and more. Be creative with your vision, and don't rule anywhere out. You'd be surprised where your character can build their home.
- Start small. There's nothing saying you can't eventually have a towering grass and weed mansion poking above the blades of grass in the backyard, but in the beginning, it's better to start modestly, then upgrade from there. Your first base is just to protect you and give you a place to store all of your stuff away from the grasps of insects. If you build too big, you may struggle to defend your base or collect all the materials you'll need to build it.
How to build
Once you've found where you want to build, it's time to get started with the gathering, planning, and construction of your new home. Here's what you need to do:
- Make sure you have a good idea of where and how you're going to build your base before starting anything.
- Once you're confident, it's a good idea to build some plank and log pallets nearby to keep all of your building supplies, as discussed earlier in the guide.
- Use the tools at your disposal to clear the surrounding area of grass and dandelions. This will give you plenty of room to build and give you all the resources you need.
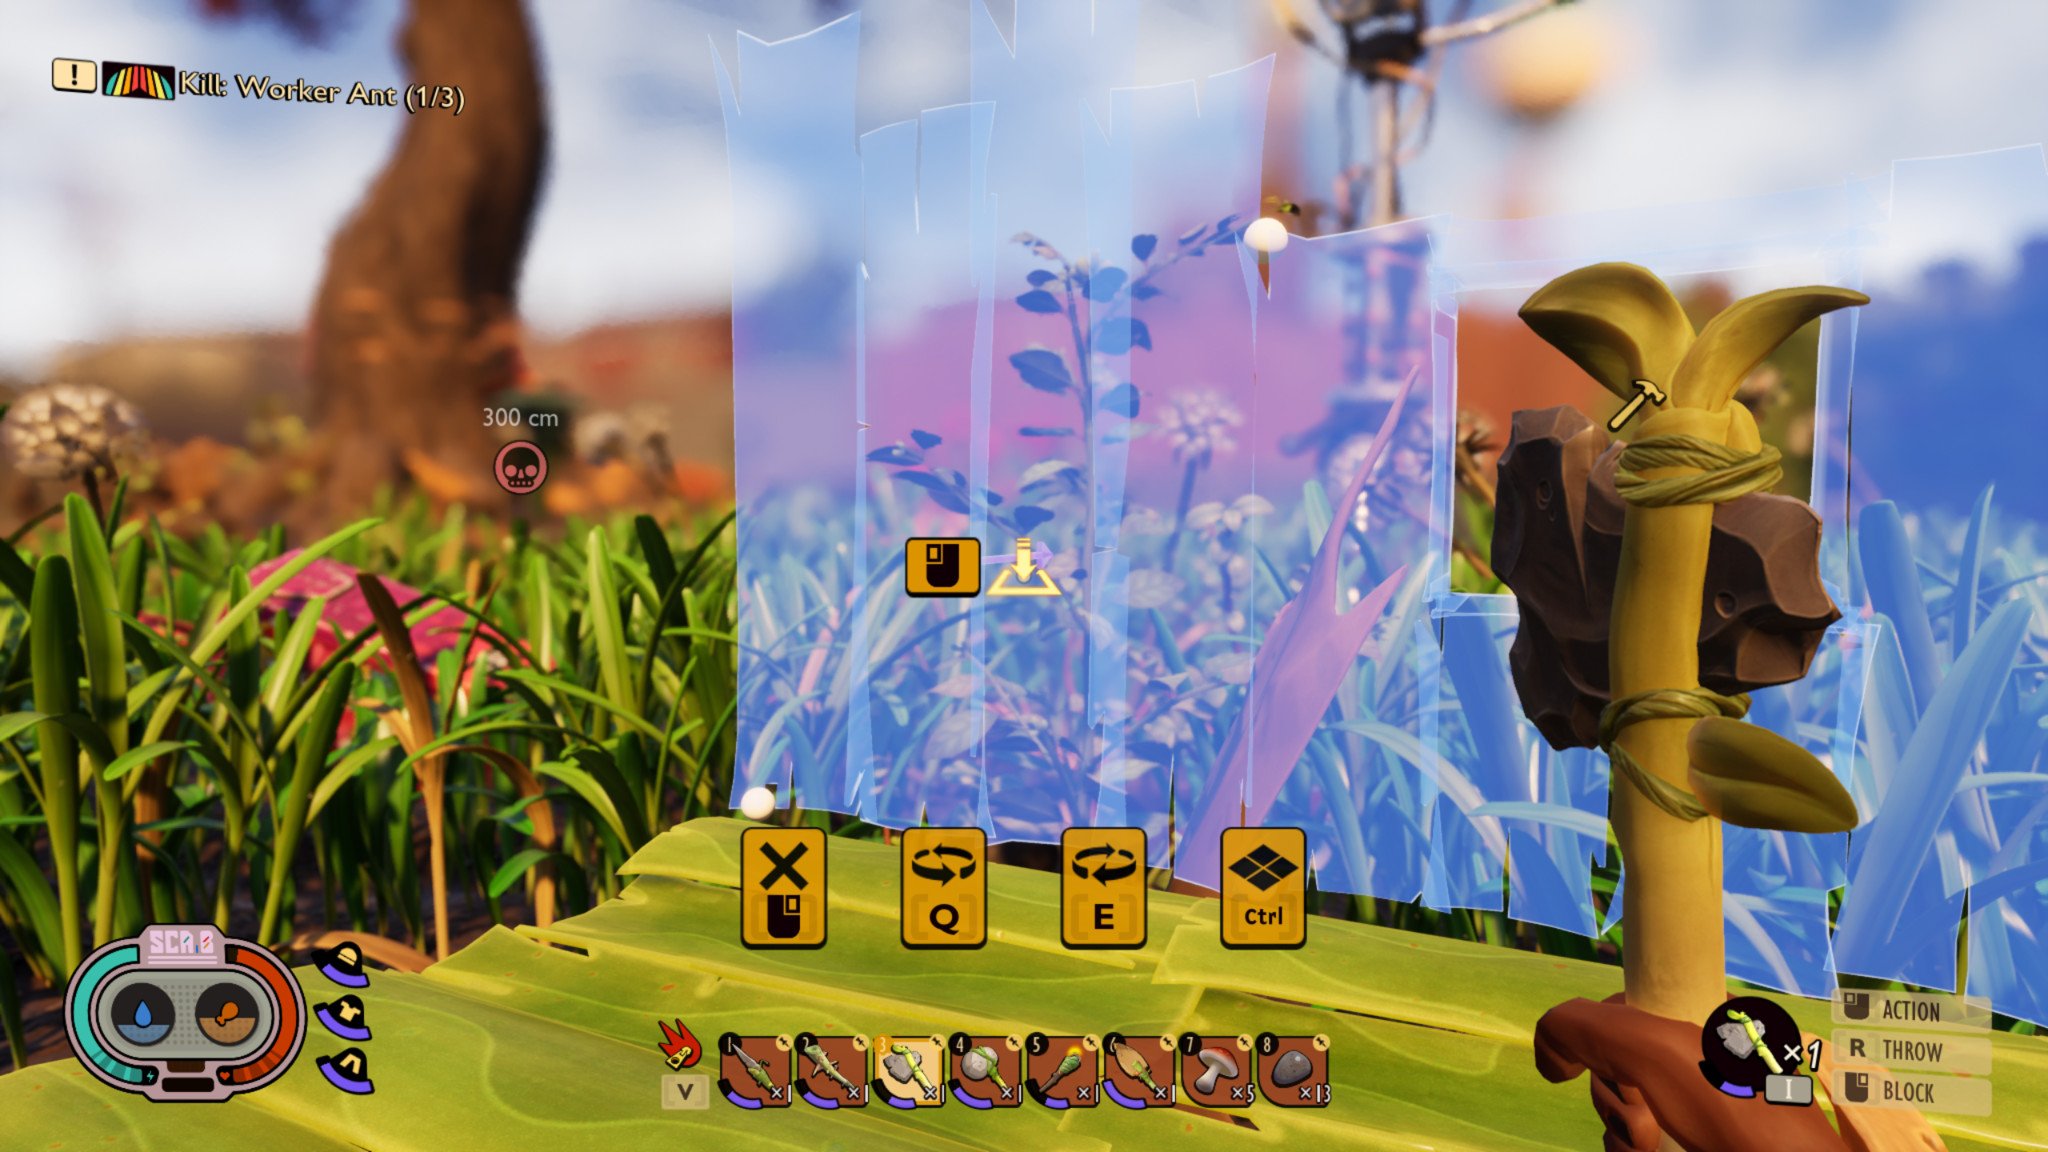
- Now that you've stockpiled some materials, you can begin planning your base. It's recommended to go in sections, placing down all the floors, walls, and stairs you'll need in the planning phase.
- Make sure you know what each part you've placed down needs, and grab those grass planks and weed stems from your pallets.
- Bring these materials back, and hover over the part you want to build. Press or hold down the corresponding button to build that part. If you can tap the button to build one piece at a time or hold it down to do it all at once.
- Continue this process until you've finished the base that you want. It's recommended that beyond the standard floors and walls, you also have a proper door for an entrance and exit, windows for outside visibility, and a roof.
Furnishing your base
Once you've built your beginning base, you'll want to have some furnishing to make it more functional. There are several kinds of furniture you can use, ranging from utilities, which are functional stations that accomplish specific goals, meal prep, which are stations focused on food or consumables, and decor, which can usually add little flairs of usefulness to your base, like a light. We've picked out five basic furnishings we recommend for any base, which you can find below.
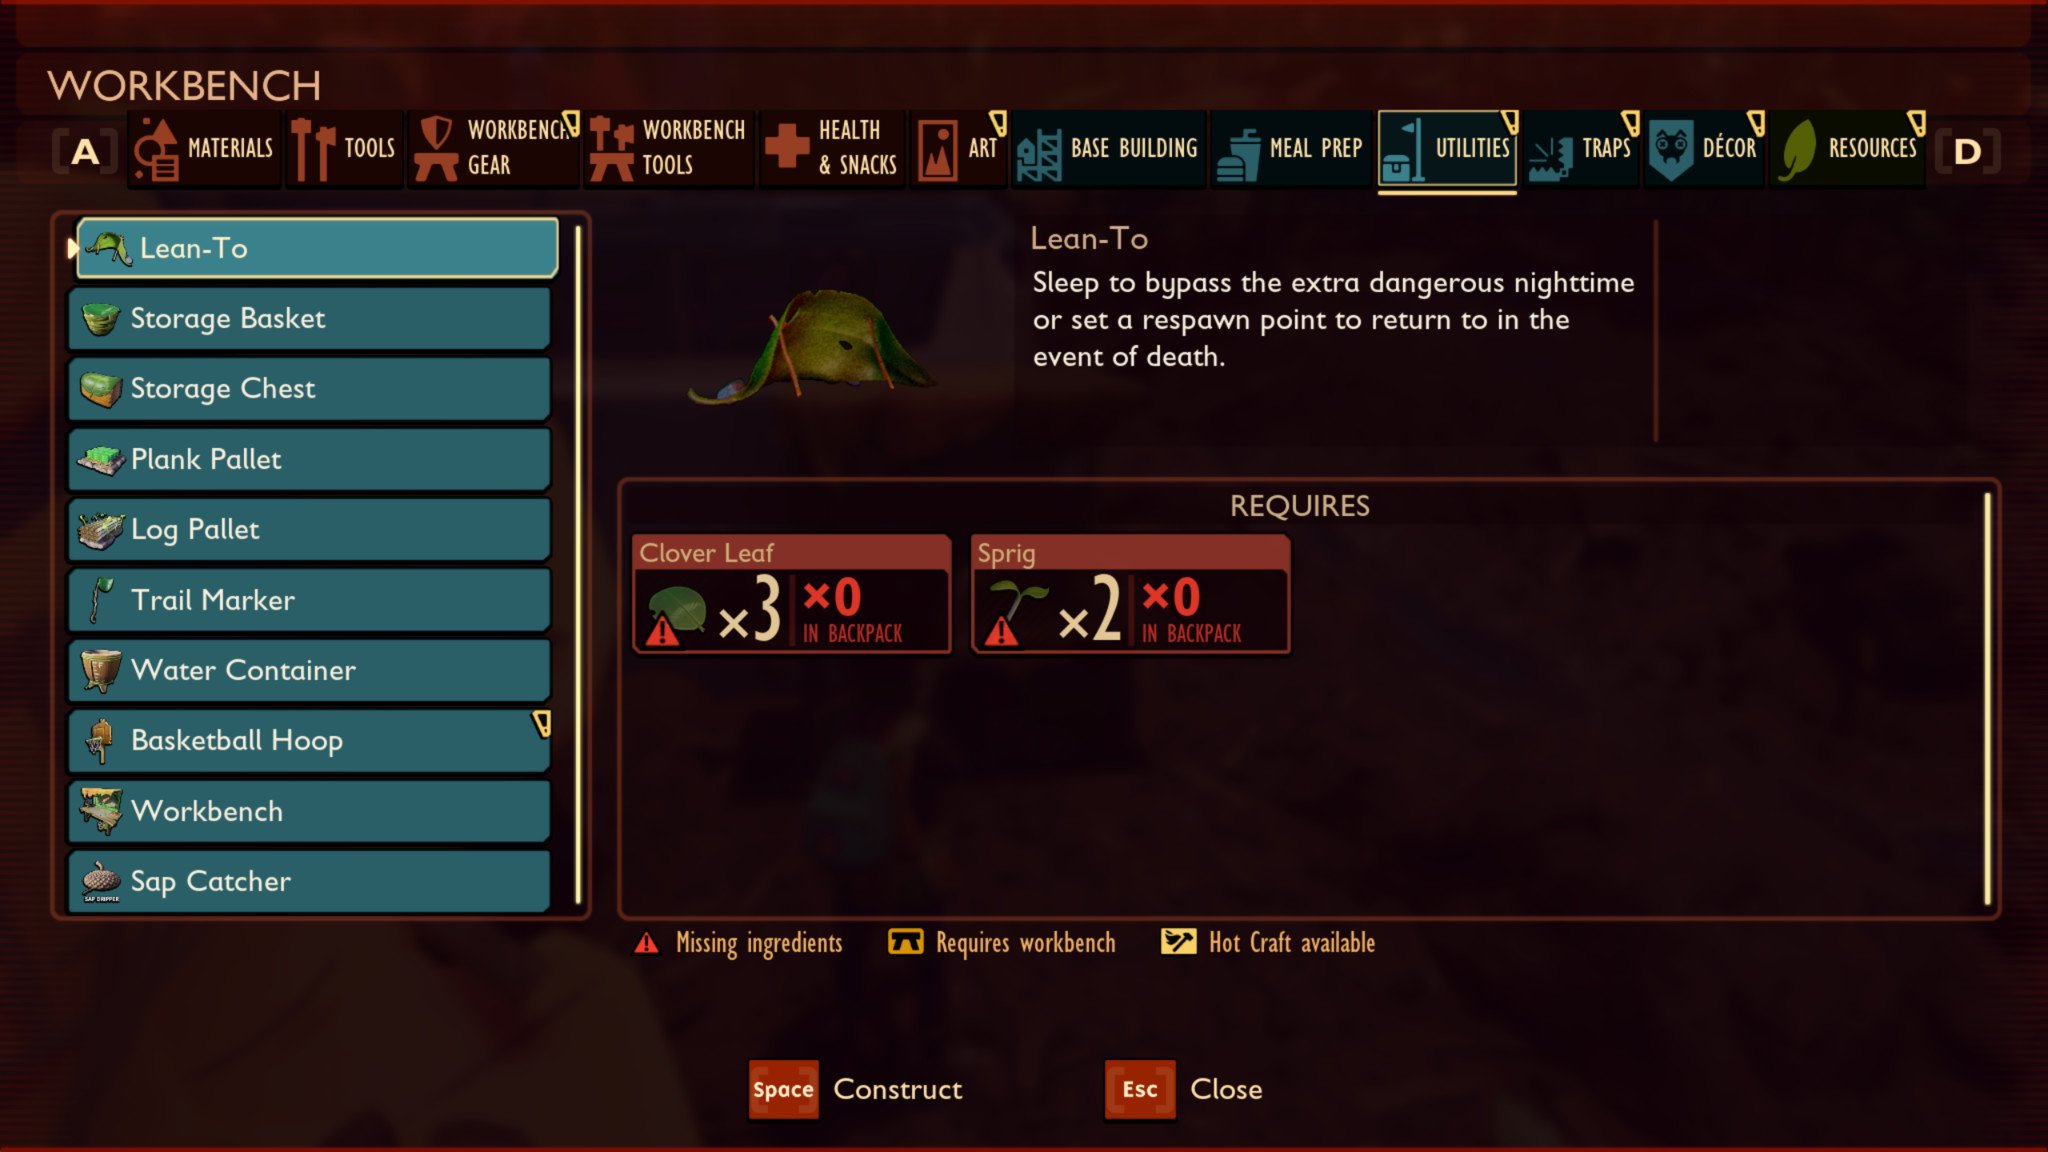
Lean-to. It would be surprising if you hadn't already built a lean-to before finishing your base, but if you haven't it's definitely a must-have. Lean-to's allow you to sleep through the extra dangerous night and give you a respawn point in case the worst might happen.
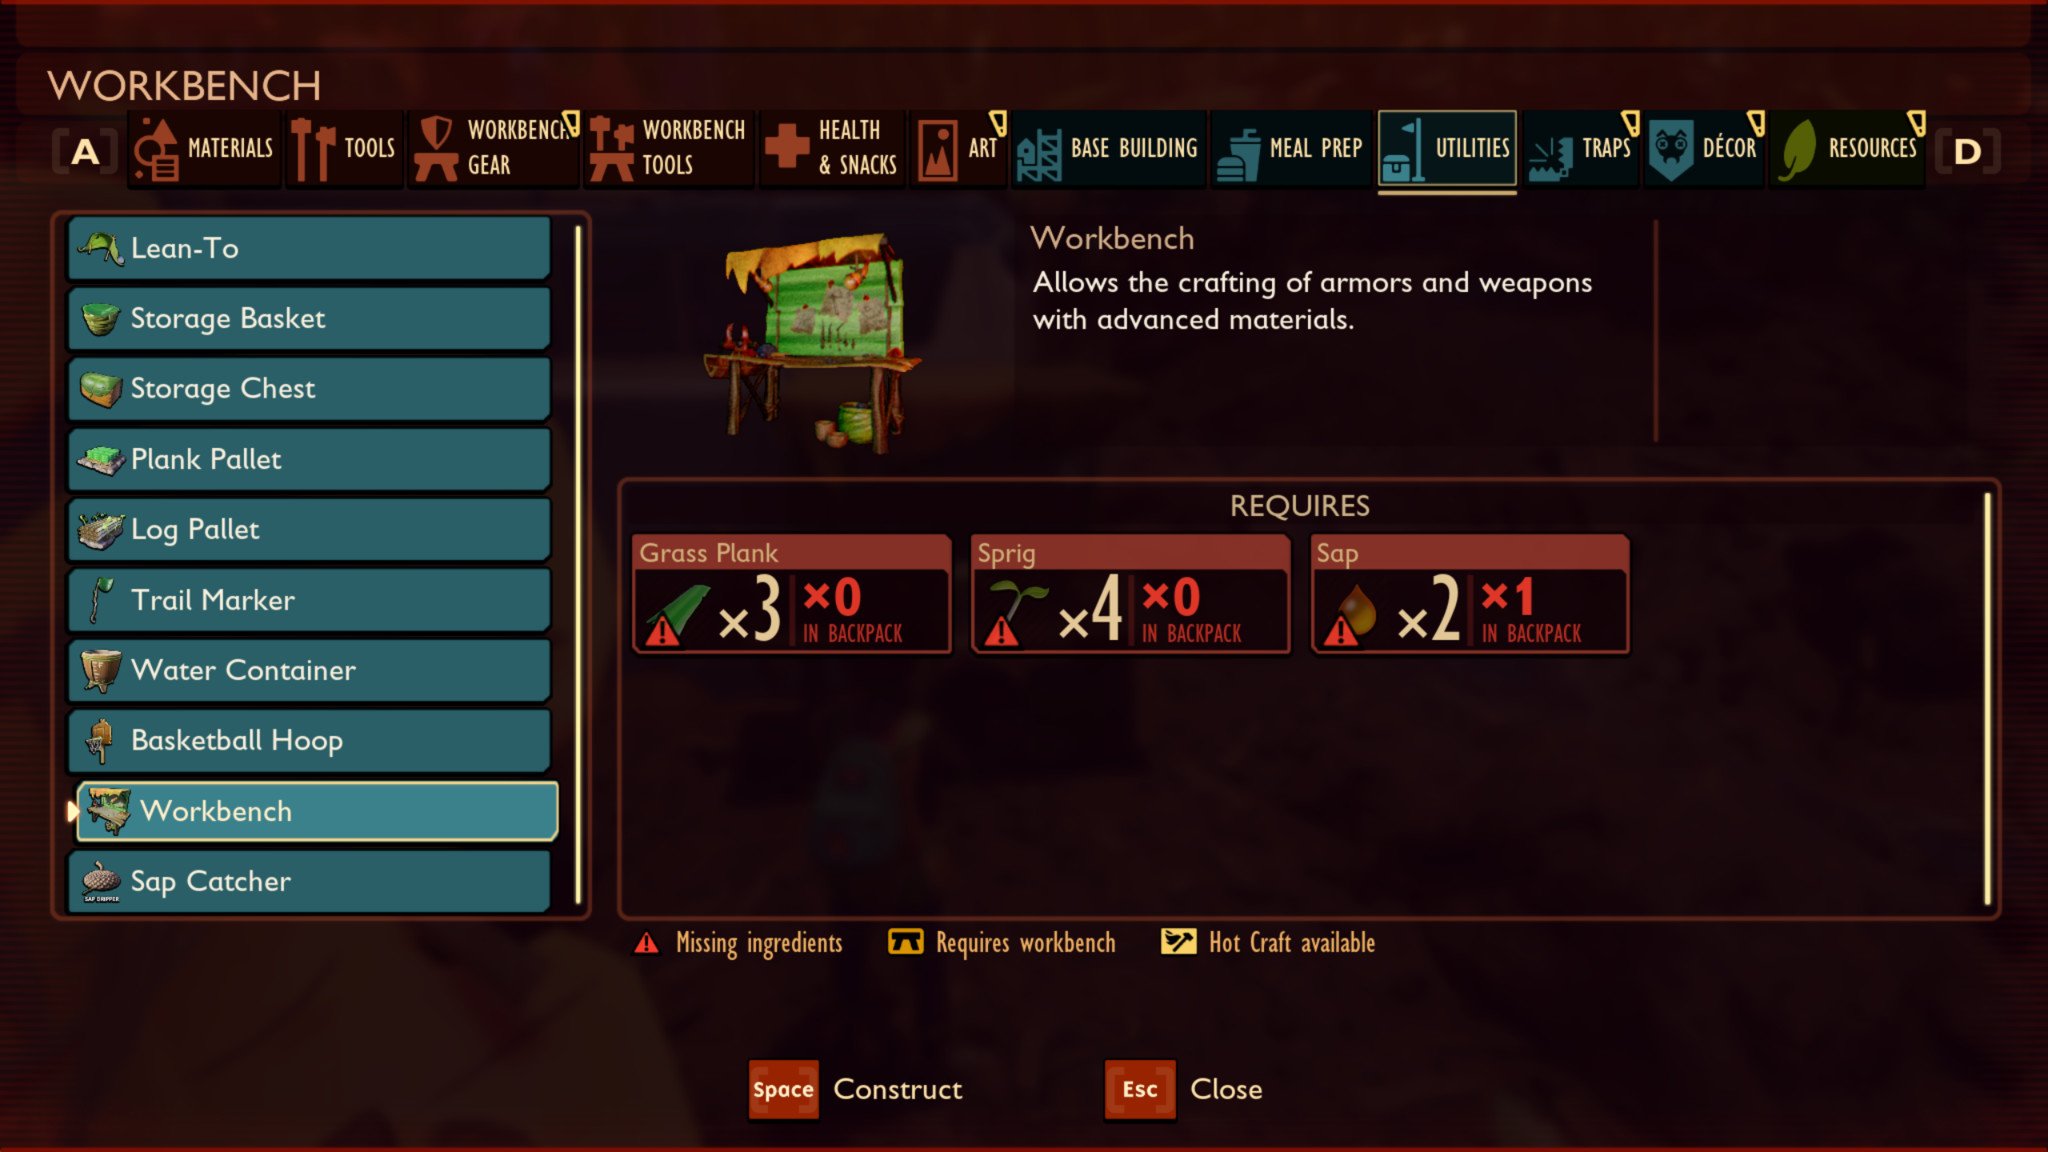
Workbench. Building a workbench unlocks higher tiers of armor, weapons, and tools, allowing you to craft more advanced crafting recipes than you'd otherwise be able to. You may not use it all the time, but when you need it you'll be glad you have on installed in your base.
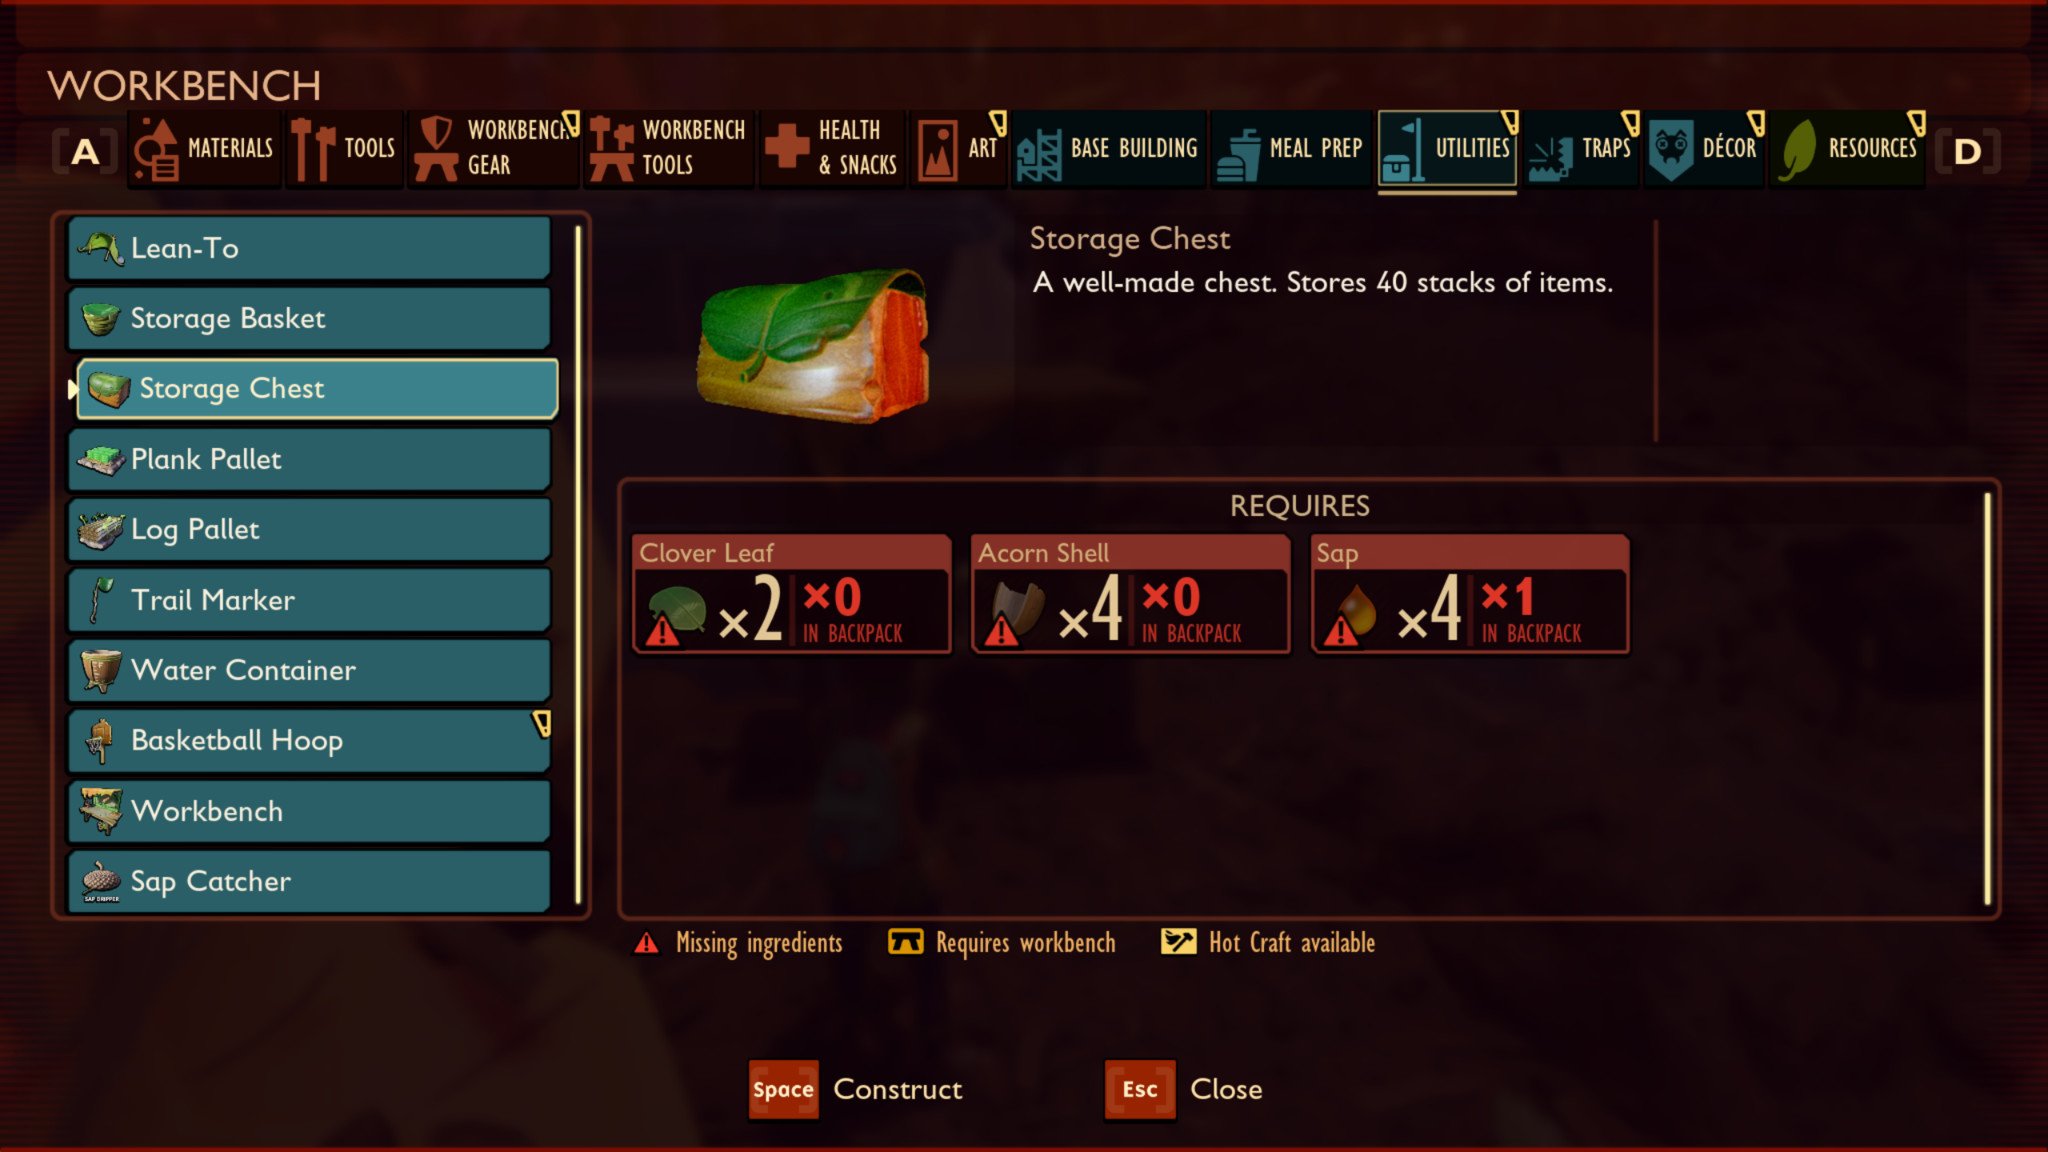
Storage chest. You're bound to slowly accumulate a lot of stuff during your time in Grounded, so having a place to safely keep it is a necessity. The storage chest is sturdier than the basic basket and can store twice as many things, so it's a solid choice for any base.
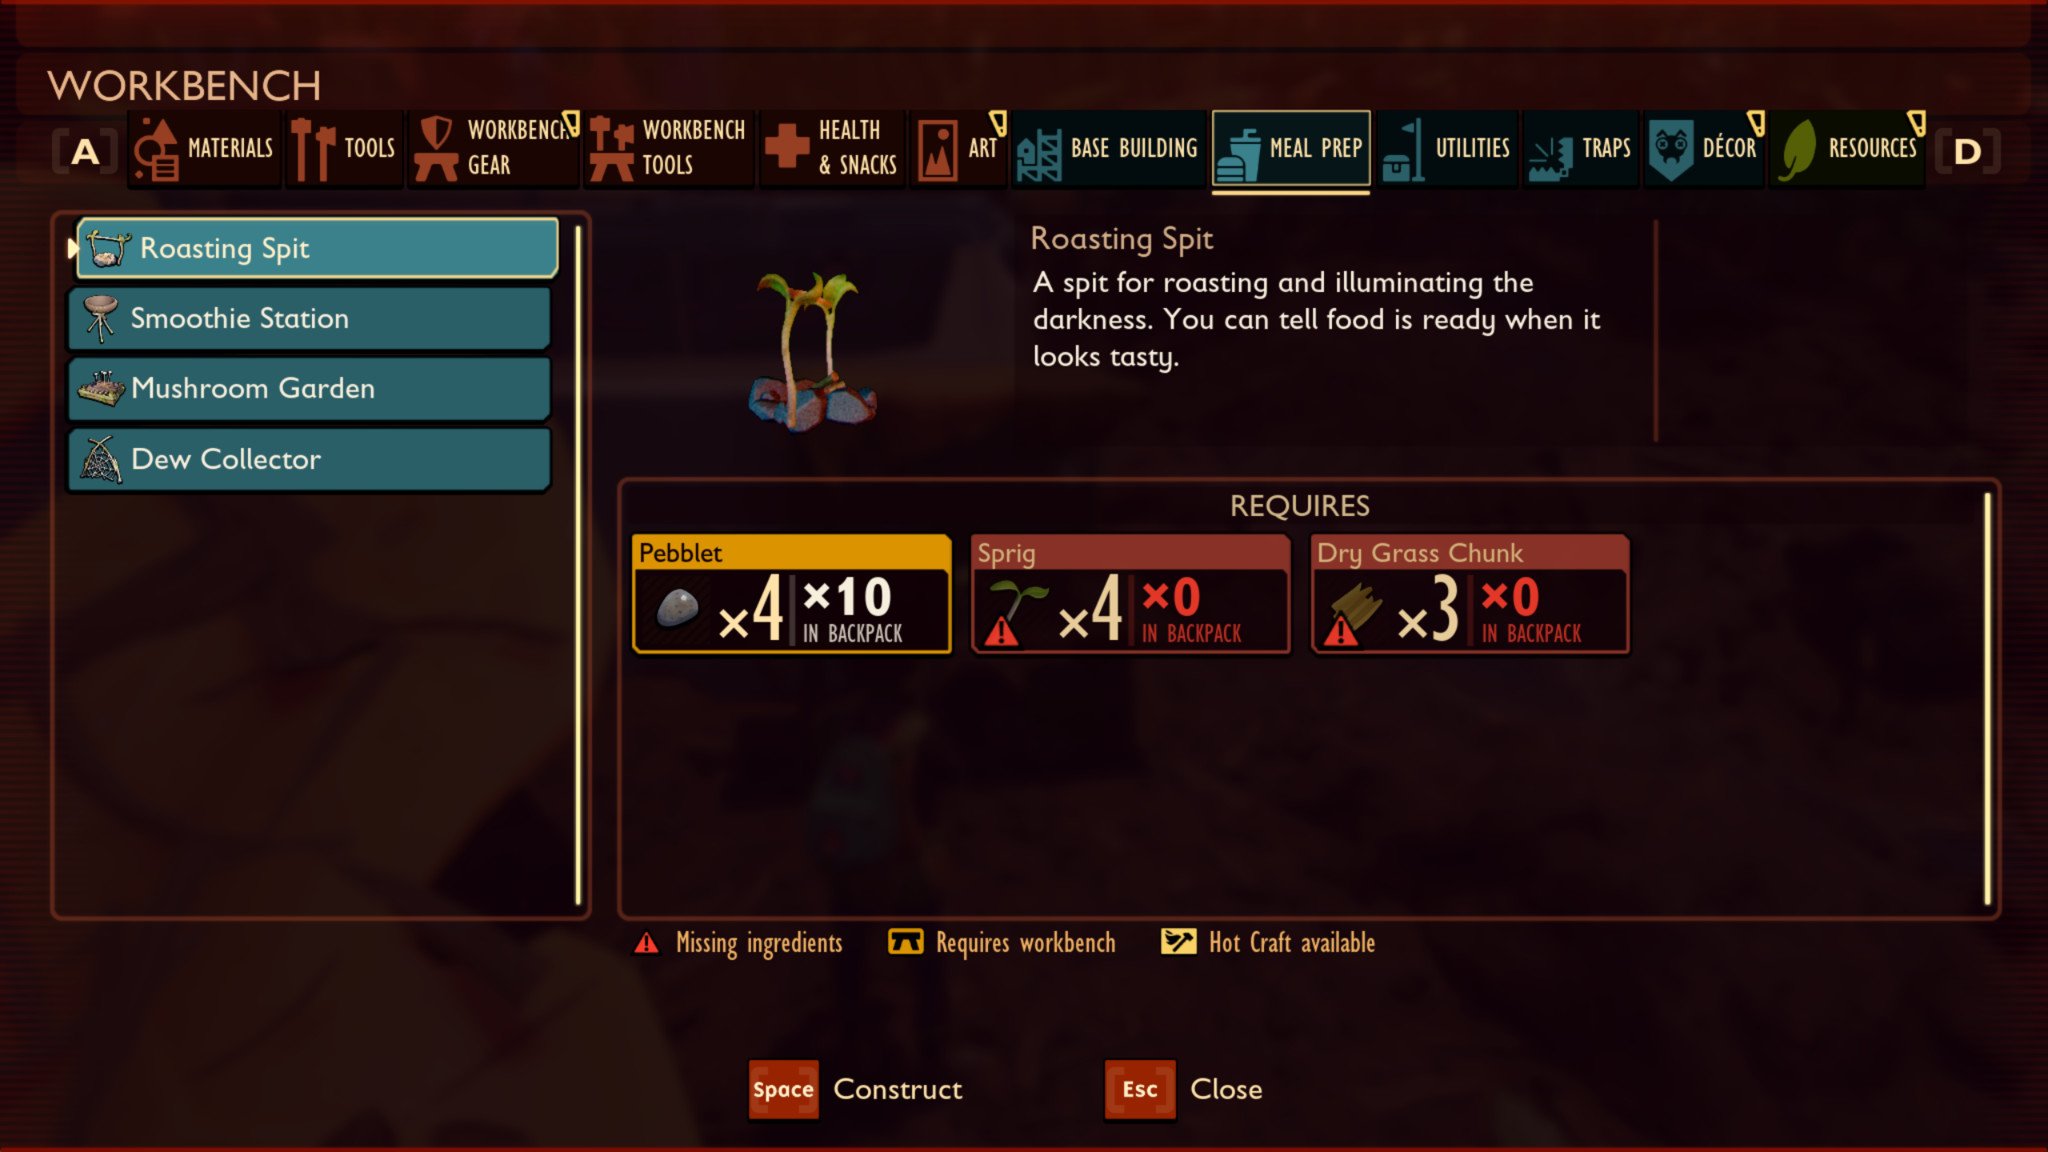
Roasting spit. If you're tired of living off of juice drops and mushrooms, and you don't understand what you're supposed to do with all this raw bug meat that keeps spoiling on you, craft a roasting spit. This meal prep station lets you cook raw insect meat into an edible (if not necessarily delicious) meal that restores a ton of your hunger meter back to you.
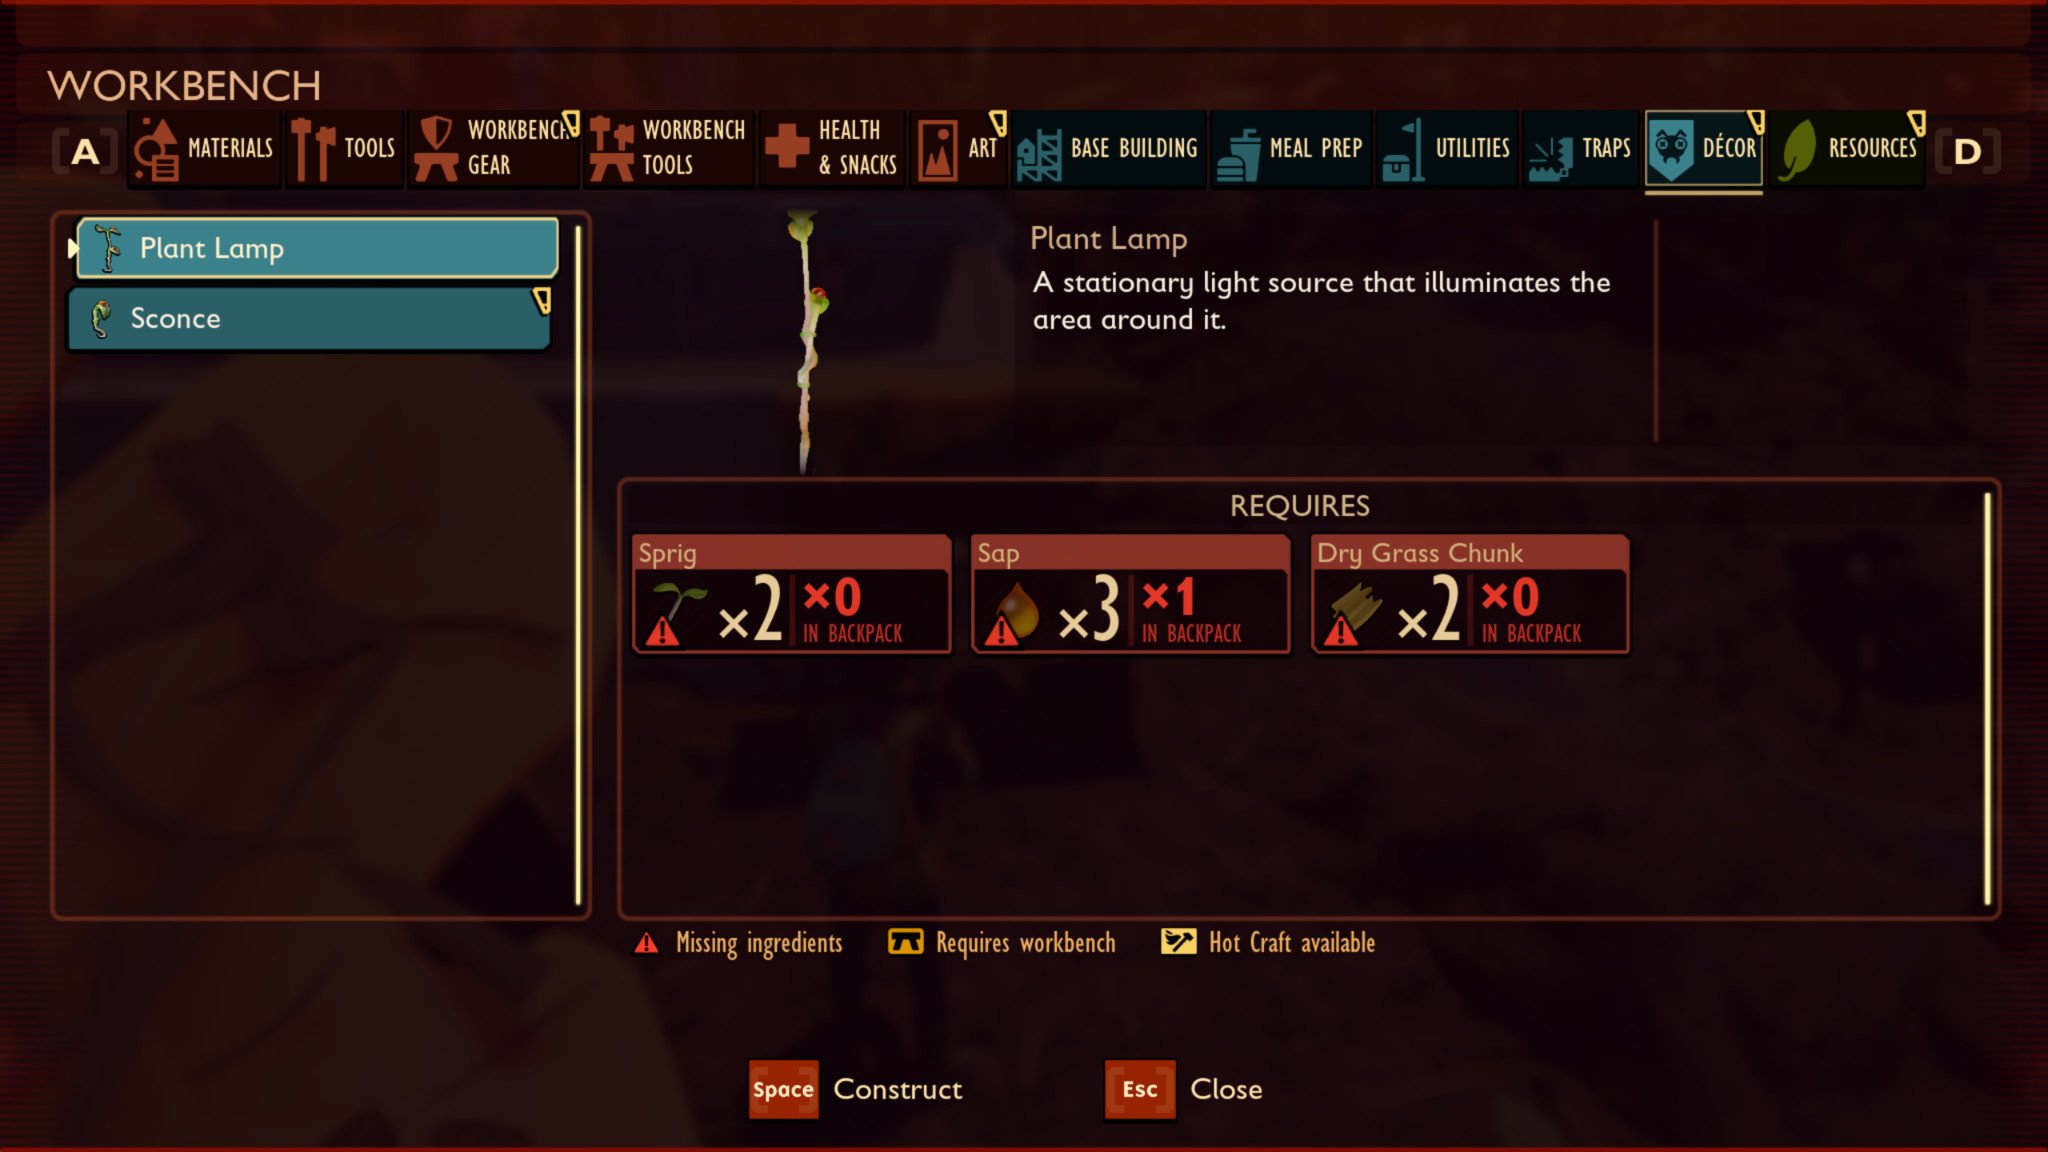
Plant lamp. In the event you are staying up after dark, you'll need something to light your way in your base. Plant lamps are basic but dependable sources of light, so it's a great starting point for any Grounded player.
That about covers it! Have you built a base in Grounded? Where did you build it, and what kind of style did you go for? Let us know in the comments below!

It's a big(ger) world out there.
Obsidian Entertainment makes its exclusive debut on Xbox One and PC with Grounded, a unique survival experience that literally makes all of your problems much, much bigger. Join your friends as you're shrunk down to the size of an ant and are forced to survive in a dangerous backyard.
Grounded
Main

Zachary Boddy (They / Them) is a Staff Writer for Windows Central, primarily focused on covering the latest news in tech and gaming, the best Xbox and PC games, and the most interesting Windows and Xbox hardware. They have been gaming and writing for most of their life starting with the original Xbox, and started out as a freelancer for Windows Central and its sister sites in 2019. Now a full-fledged Staff Writer, Zachary has expanded from only writing about all things Minecraft to covering practically everything on which Windows Central is an expert, especially when it comes to Microsoft.
