How to take a screenshot on Steam Deck in Desktop mode
Taking a screenshot on the Steam Deck in Desktop mode isn't as obvious as it should be, here's a guide.

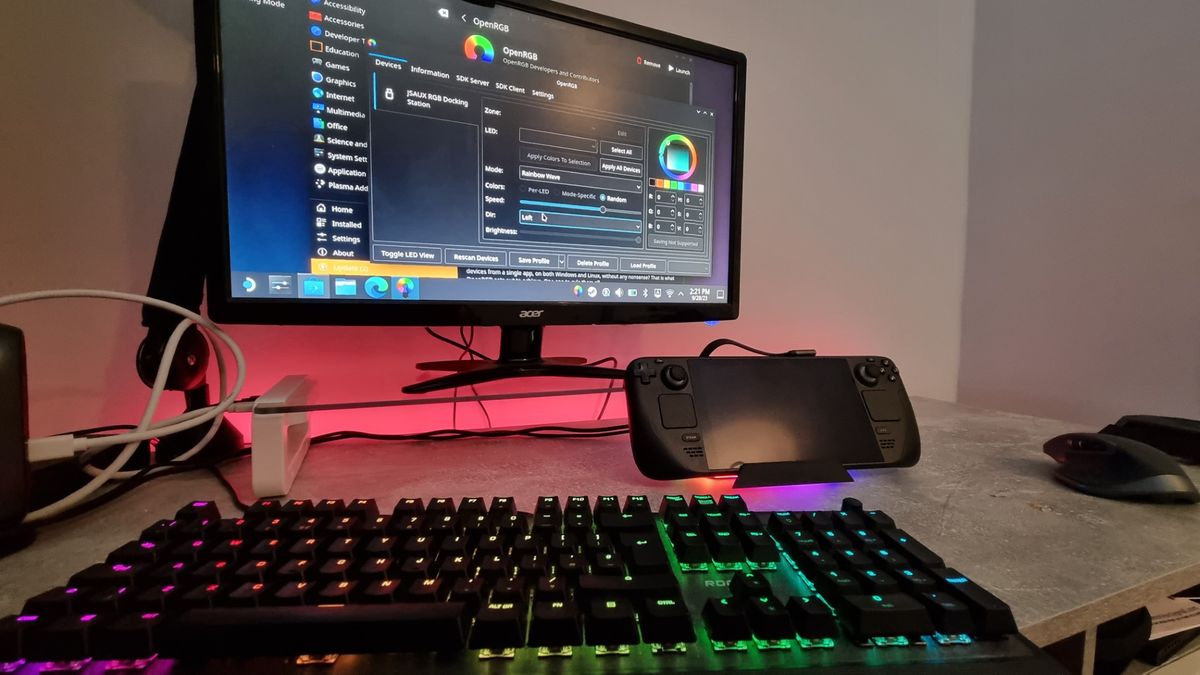
Taking a screenshot on any device should be a relatively painless processHowever, on the Steam Deck, particularly in Desktop Mode, the process isn't as intuitive as it ought to be. I've frequently found myself resorting to the cumbersome method of snapping a photo of the screen to demonstrate Steam Deck settings, but I've finally learned how to take a basic screenshot while the Steam Deck is in Desktop mode and/or docked, and now I'll share it with you too.
How can I take screenshots on the Steam Deck in Desktop mode?
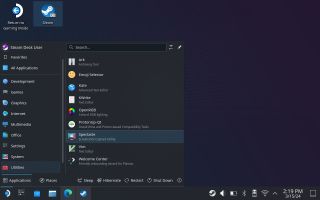
There is an application you can use for this, thats built into the Steam Deck already. It's called Spectacle and you can find it under Utilities in the Discover section.

- Navigate to Discover (the icon that looks like a shopping bag).
- Select the Utilities tab.
- Click on Spectacle to launch the program.

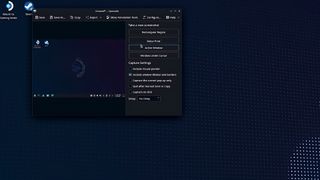
You'll now see the Spectacle interface. Spectacle facilitates capturing everything on your screen except for the application itself. You have the option to click and select either the entire screen, the active window, or a specific region for capture.
It's advisable to explore the application to tailor the settings according to your preferences. You can customize settings like automatic saving of screenshots, their storage location, and even set up shortcuts for quick and efficient screenshotting. For instance:
- Open Spectacle.
- Go to Configure.
- Go to General and tick the box for 'After taking a screenshot save file to default folder'.
- Click Apply.
By default, this will save all your screenshots in the Pictures folder. If you want to change the folder they save to, simply go to the Save tab under Configure and change to your preferred location.
I also set a shortcut for taking screenshots:
- Go to Configure.
- Open the Shortcuts tab.
- Next to 'Capture entire desktop' click under the 'Global' column.
- Select 'Custom'.
- Press the button on your Steam Deck you want to be your shortcut (I picked left on my D-pad).
- Click Apply.
How do I move my screenshots to my PC?


To move the screenshots you've taken to your PC, simply sign into any cloud-saving program through the browser on your Steam Deck and upload the images. I use One Drive, so I signed into my account and created a Steam Deck screenshot folder.
Alternatively, if you're using a dock like the JSAUX Steam Deck dock, you can plug in a thumb drive and drag and drop the files.
For more help with getting the most from the Valve handheld, check out our 11 tips and tricks for your Steam Deck.
Get the Windows Central Newsletter
All the latest news, reviews, and guides for Windows and Xbox diehards.
Jen is a News Writer for Windows Central, focused on all things gaming and Microsoft. Anything slaying monsters with magical weapons will get a thumbs up such as Dark Souls, Dragon Age, Diablo, and Monster Hunter. When not playing games, she'll be watching a horror or trash reality TV show, she hasn't decided which of those categories the Kardashians fit into. You can follow Jen on Twitter @Jenbox360 for more Diablo fangirling and general moaning about British weather.