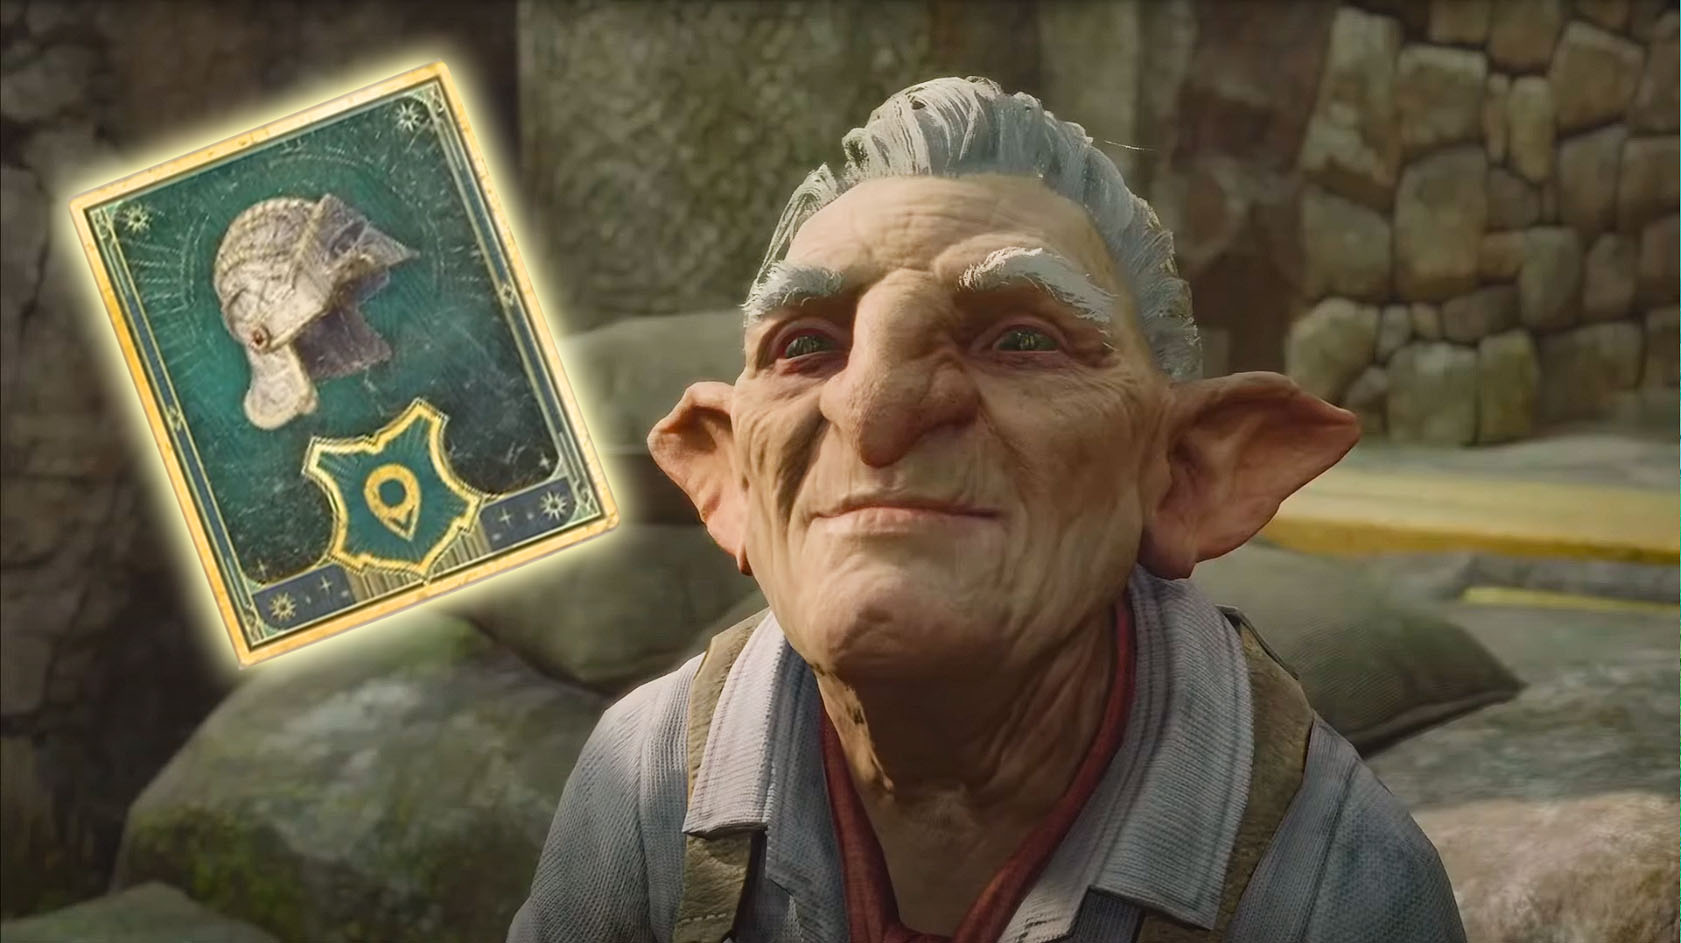
Hogwarts Legacy: The Helm of Urtkot walkthrough — How to search the witch’s tomb for the helmet and solve moth puzzles
Here's how to solve all of the moth puzzles and get through the witch's tomb in The Helm of Urtkot side quest.
All the latest news, reviews, and guides for Windows and Xbox diehards.
You are now subscribed
Your newsletter sign-up was successful
Join the club
Get full access to premium articles, exclusive features and a growing list of member rewards.
As you make your way through the main quests in Hogwarts Legacy, you'll eventually come upon one titled, "The Helm of Urtkot."
This quest requires you to dive deep into a witch’s tomb filled with moth puzzles while looking for the legendary helmet.
It will take some time to get through this dungeon, so you'll want to come prepared with potions and combat plants.
Article continues belowNo worries. Here's a step-by-step walkthrough explaining how to defeat the enemies, solve the moth puzzles, and search the witch's tomb dungeon.
The story is just ramping up at this point for one of the best PC games and best Xbox games out there.
Unlock The Helm of Urtkot quest
There are plenty of small goodies and gear to grab while you are on this Hogwarts Legacy quest so keep using Revelio to identify them and snatch them along the way. Some loot will be in rooms on the side of the main path or will be behind small obstacles or puzzles.
The following instructions are a straightforward walkthrough for The Helm of Urtkot witch’s tomb and won't discuss grabbing anything extra unless it's bigger treasure chests. So make sure to take the time to grab any extra rewards you want as you make your way through this dungeon.
All the latest news, reviews, and guides for Windows and Xbox diehards.
Without further ado, let's dive into how to search the witch's tomb for The Helm of Urtkot.
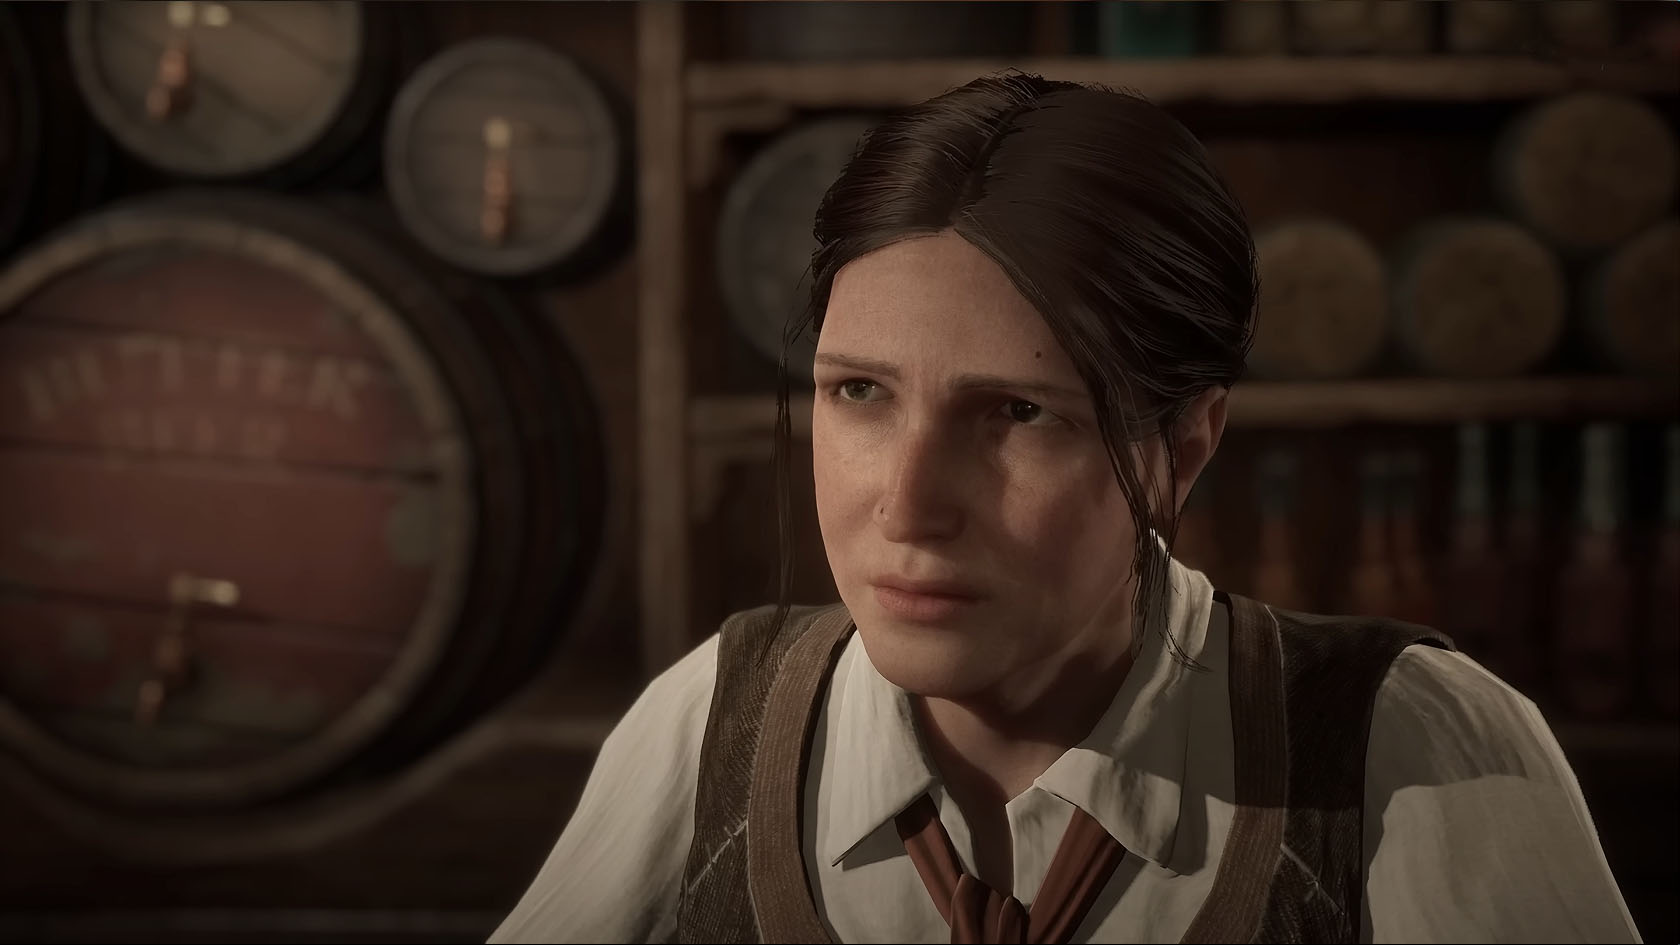
To start this quest off, you must go to The Three Broomsticks in Hogsmeade and speak with Sirona Ryan. She will tell you about the trouble Lodgok is facing.
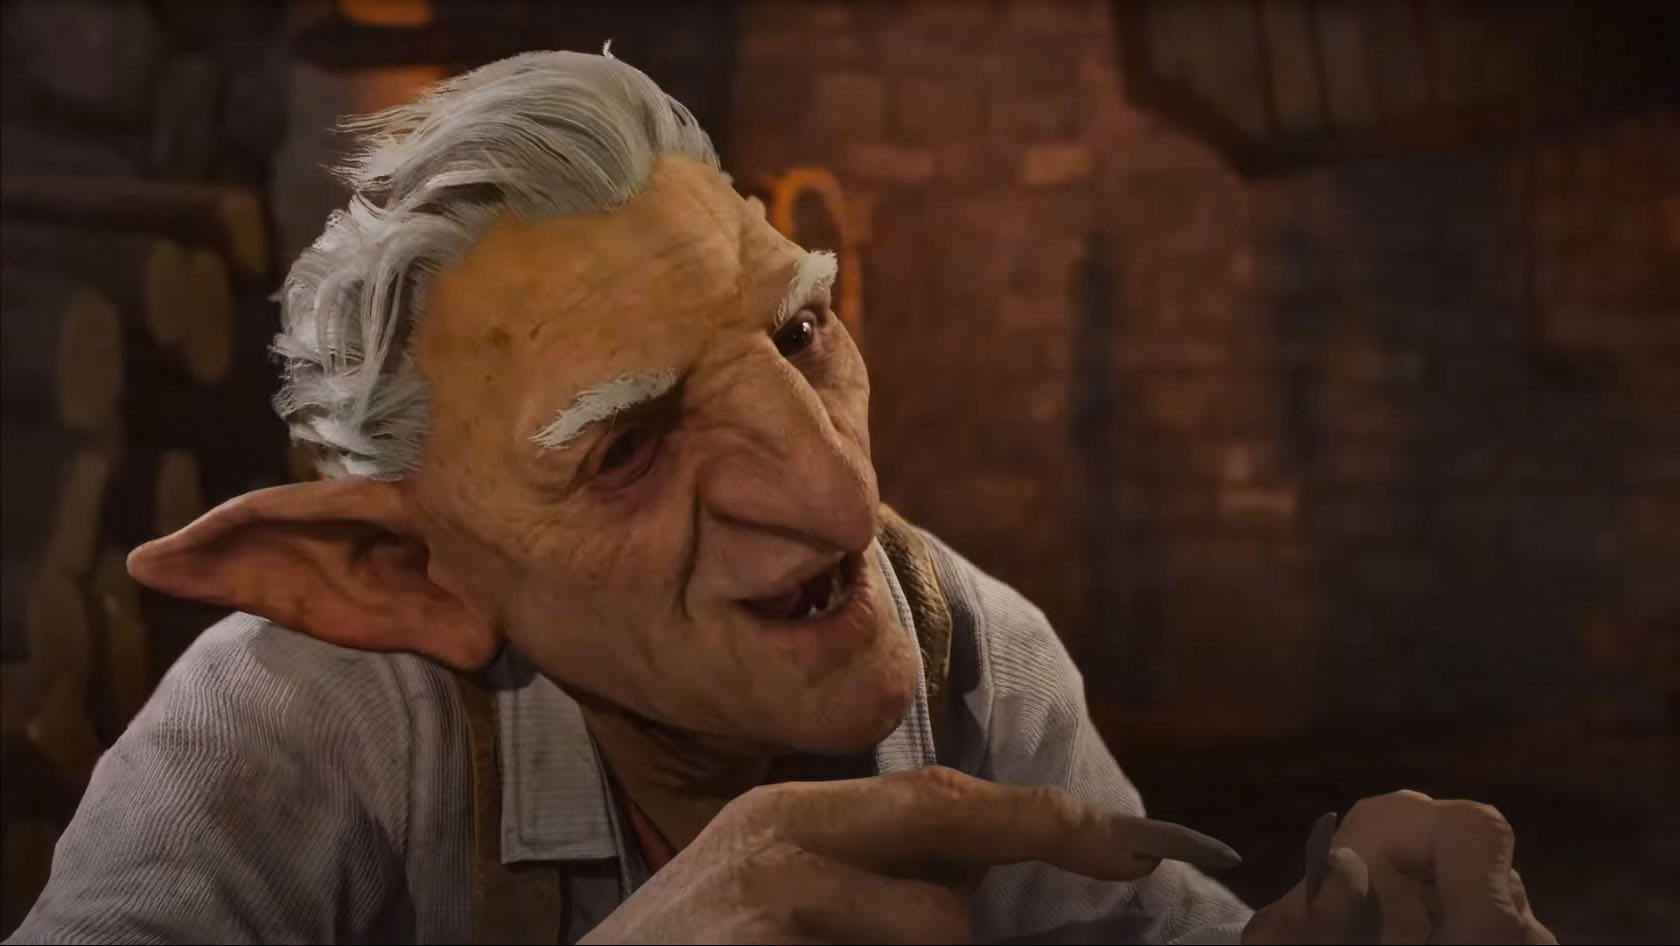
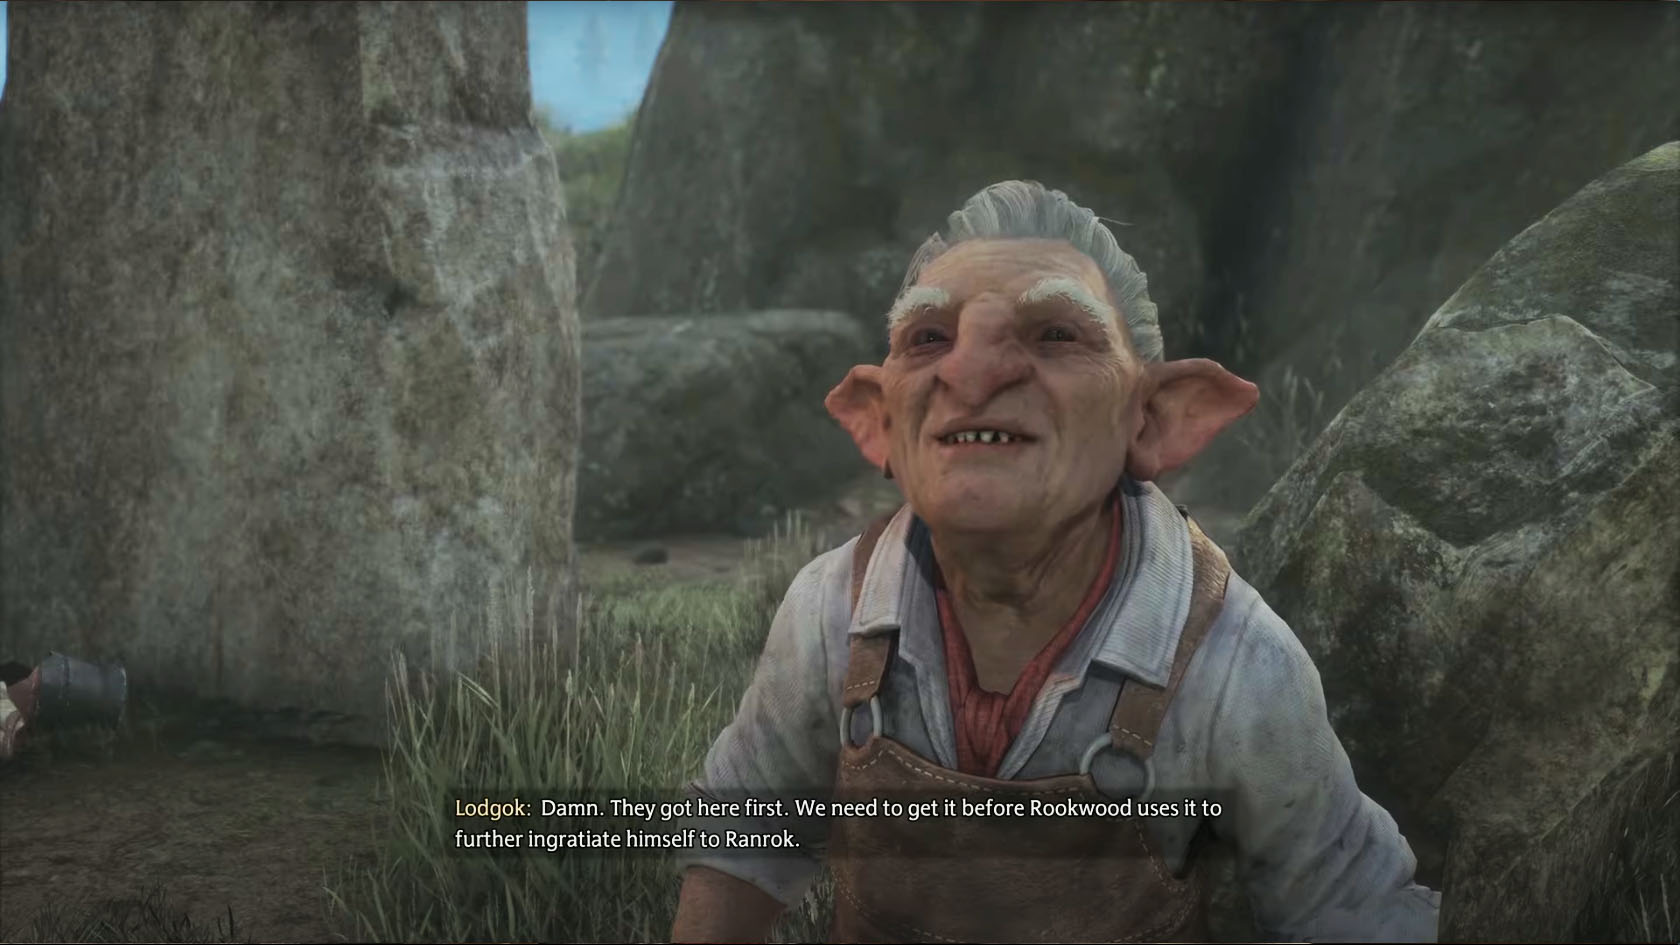
Now head to the Hog's Head and talk with Lodgok who is seated at a table. He wants to get Urtkot's Helm in order to get more info from Ranrok.
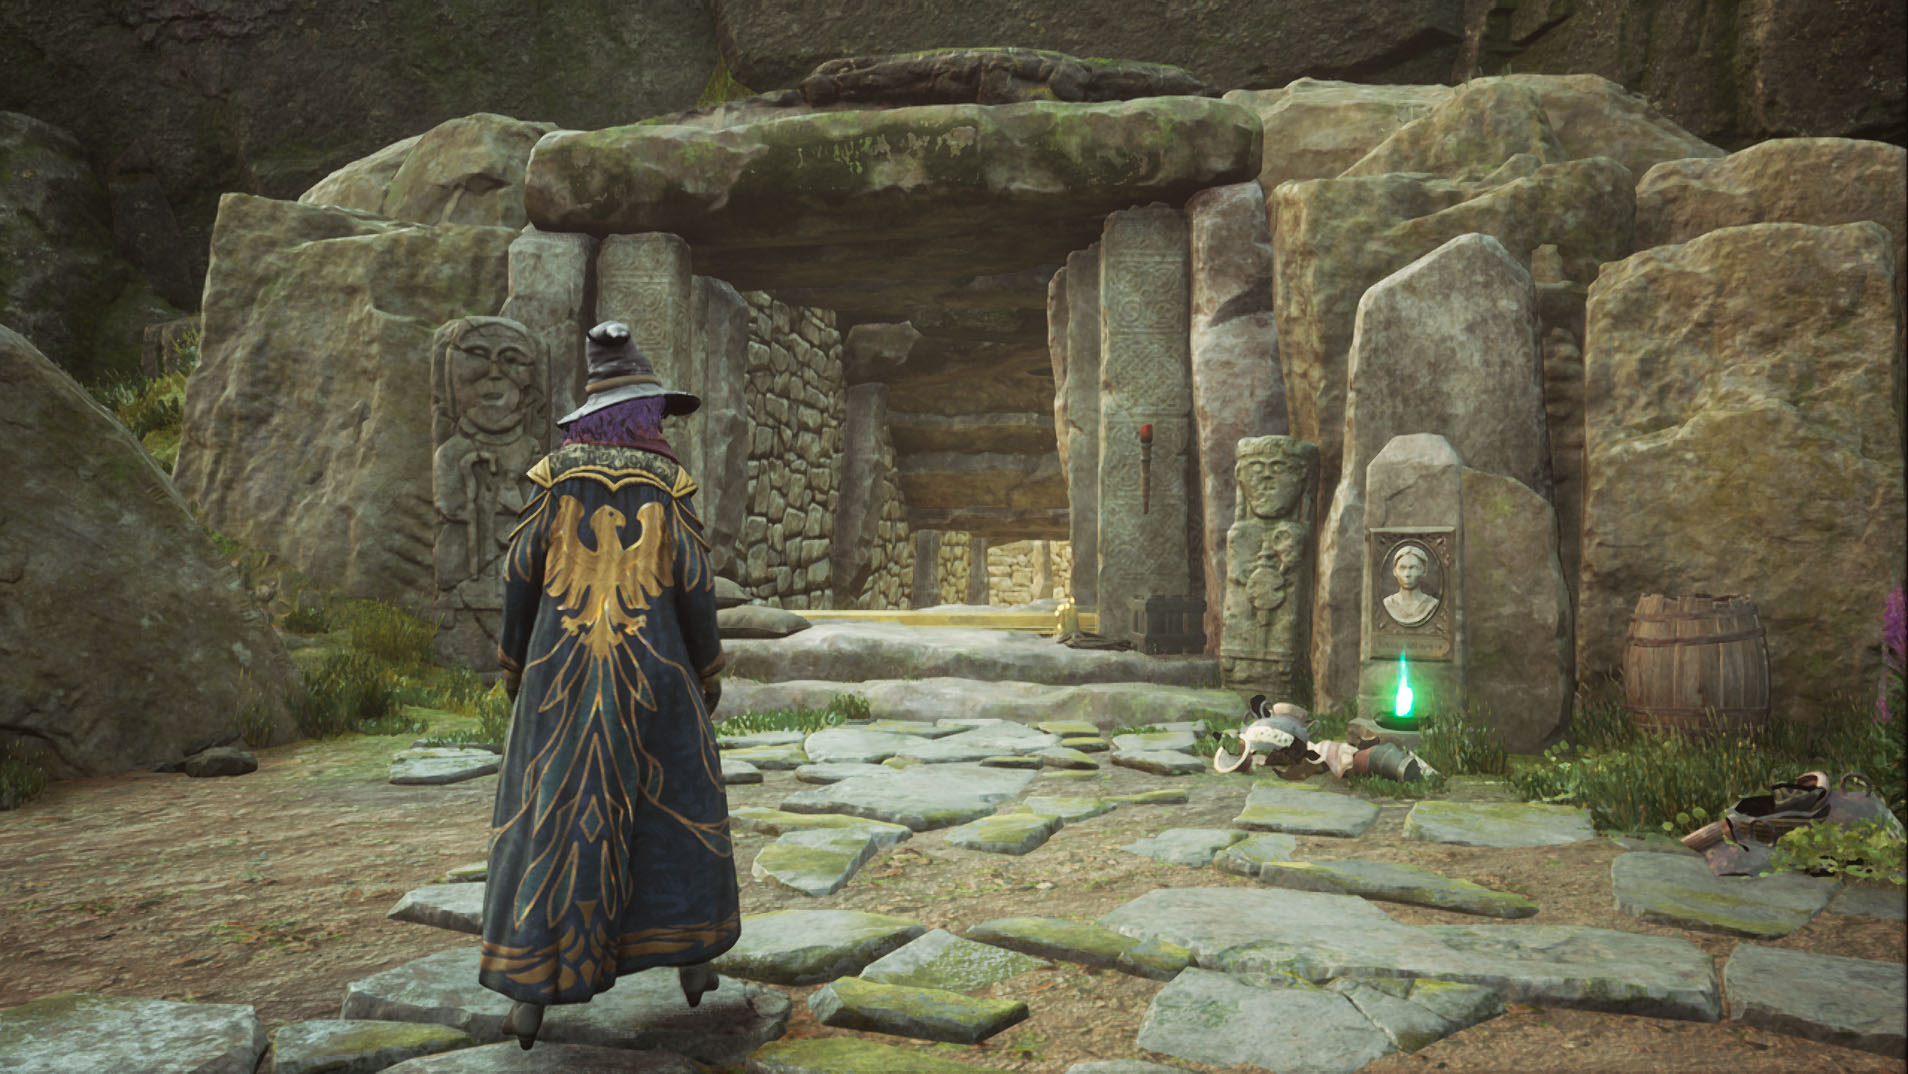
Enter the witch’s tomb (The Collector's Tomb)
Head to The Collector's Cave Floo Flame, which is west of Hogsmeade. You'll talk with Lodgok for a bit and then you'll be free to enter The Collector's Cave.
Helm of Urtkot: Moth puzzle door 1
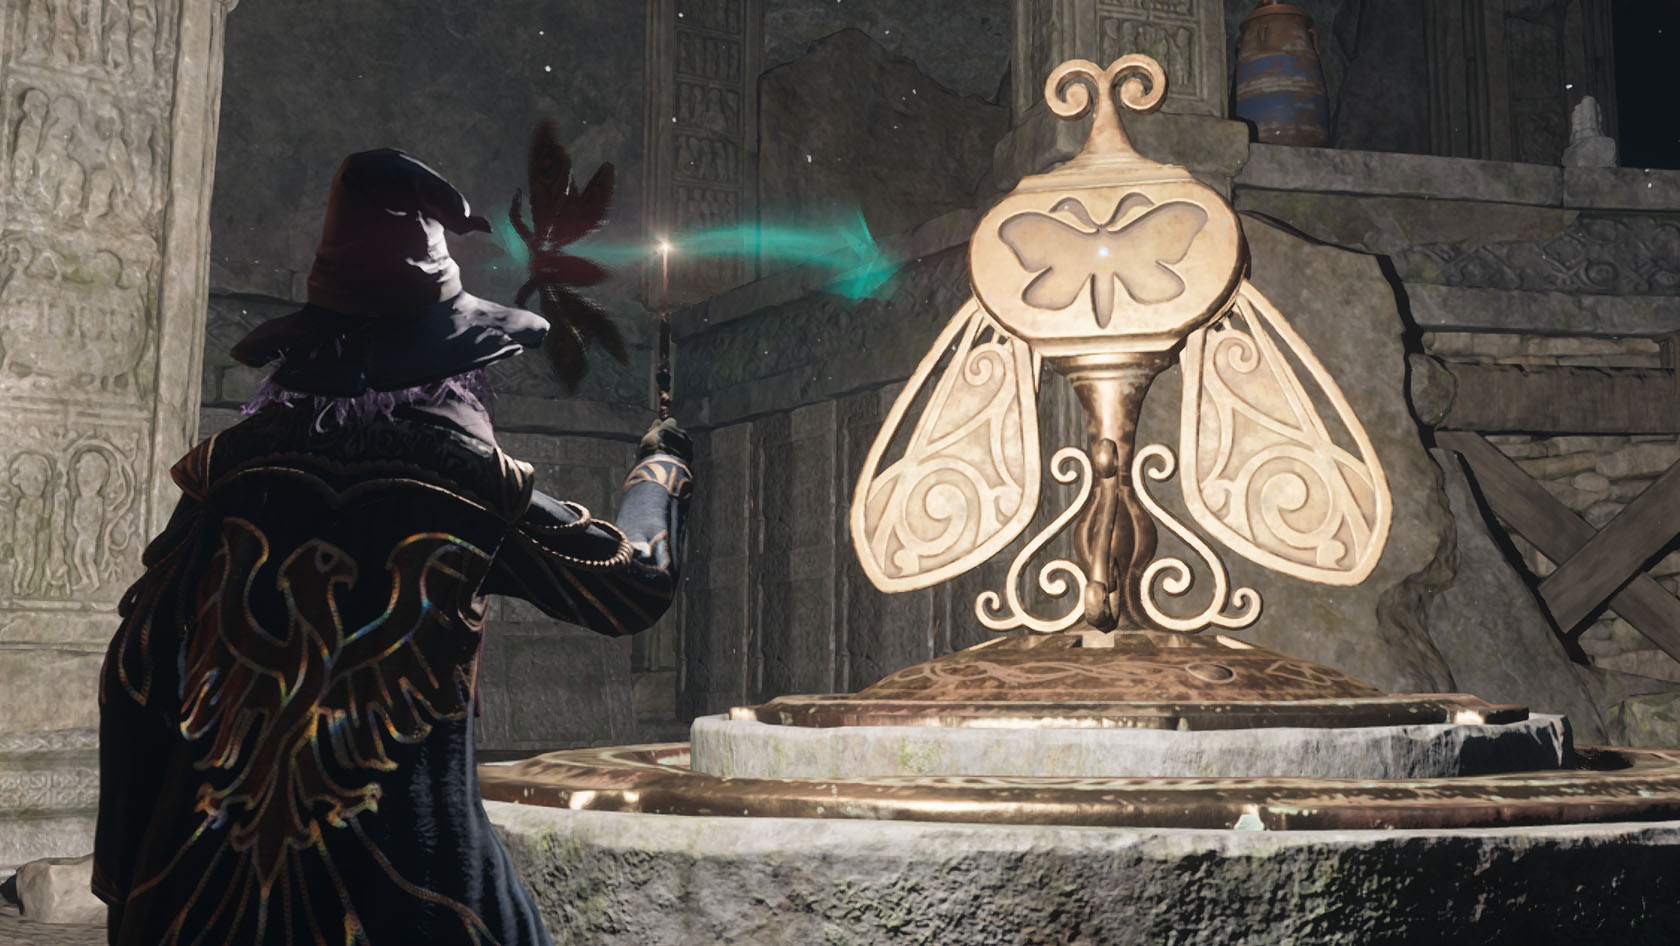
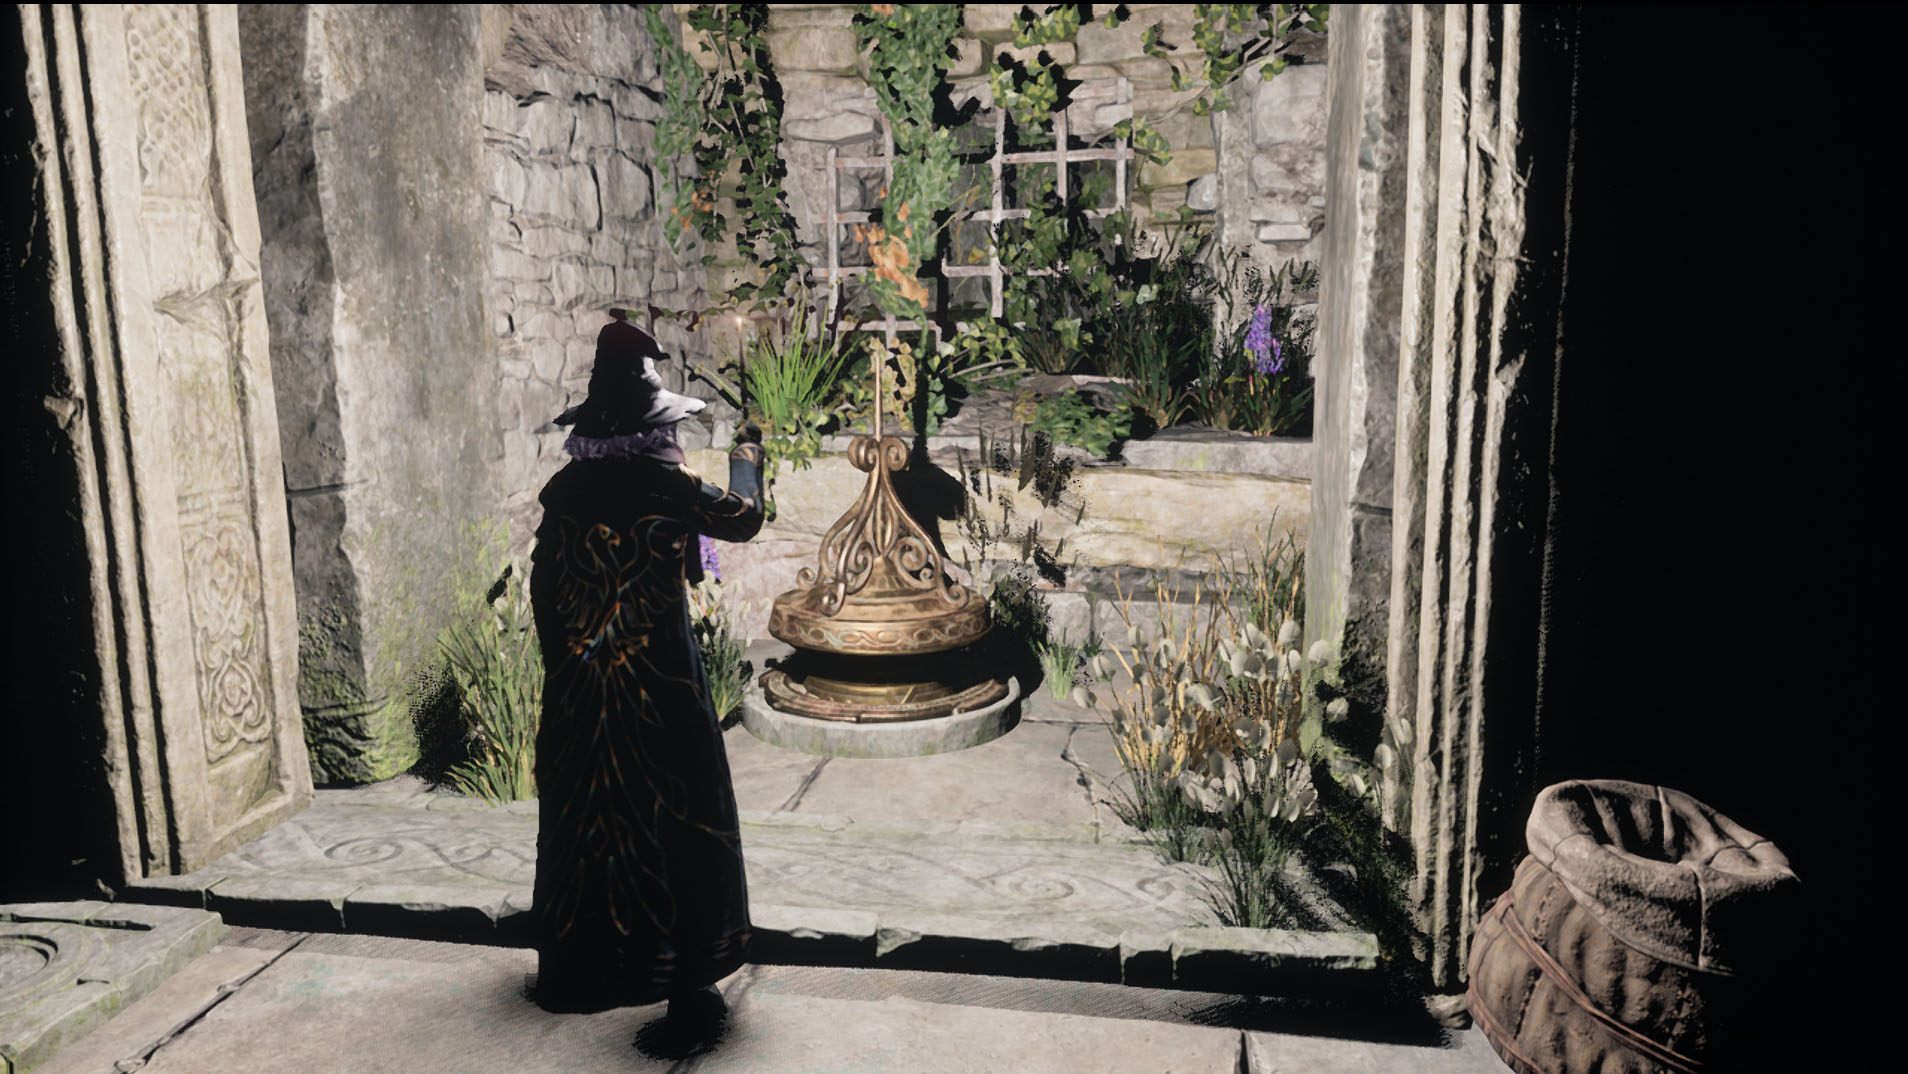
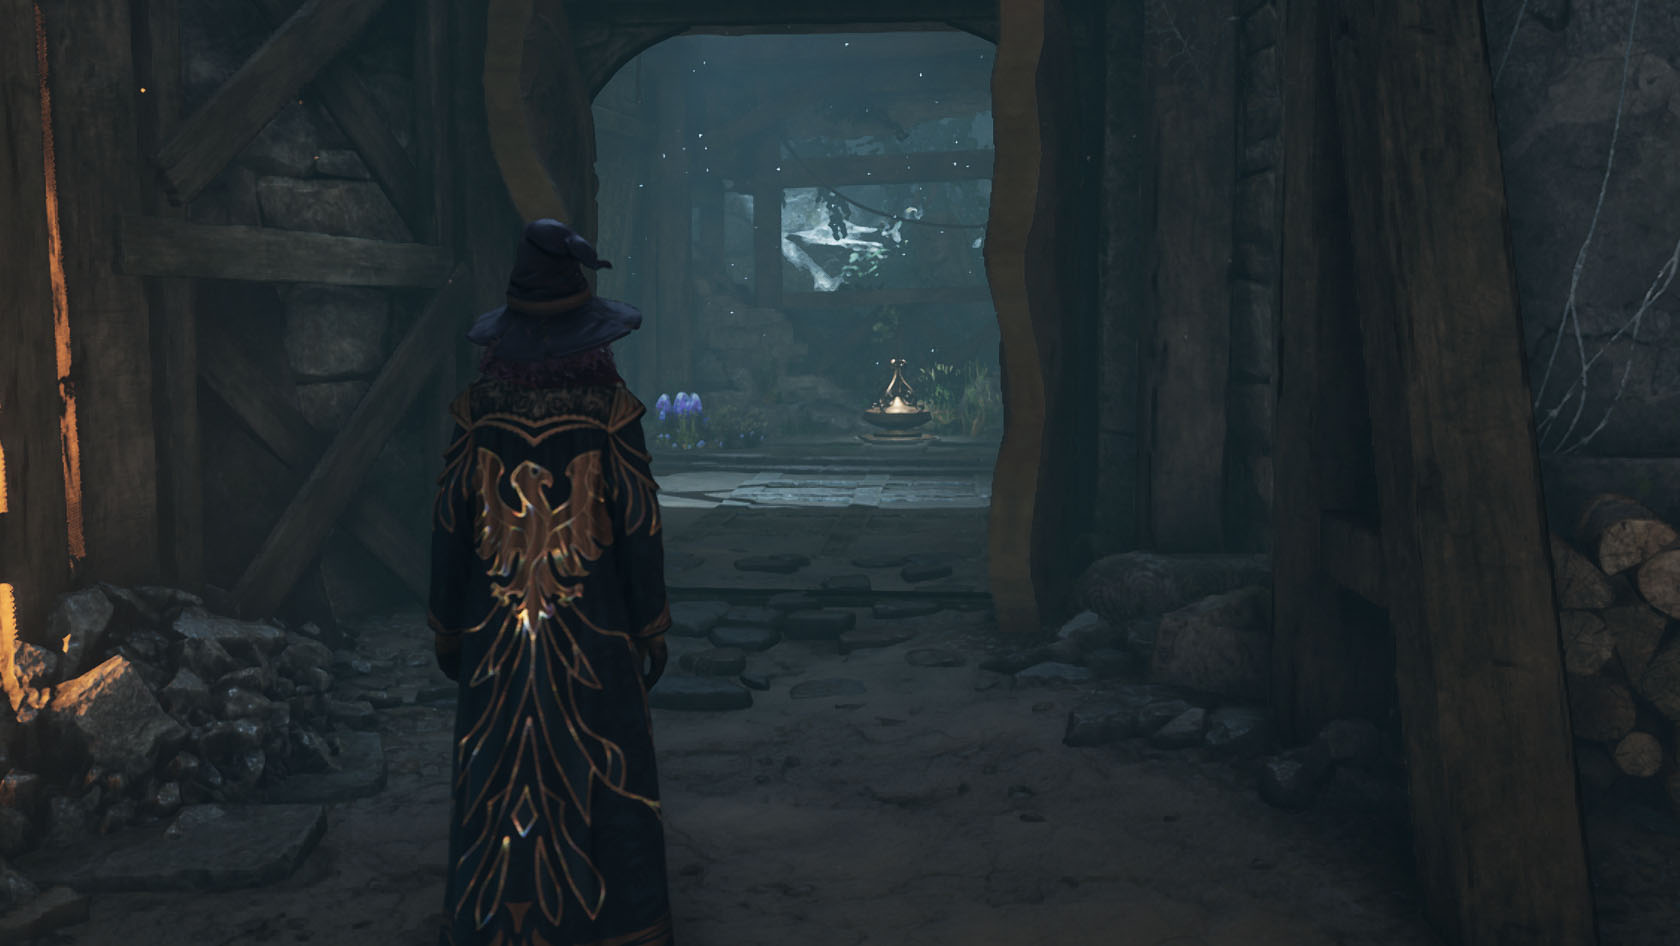
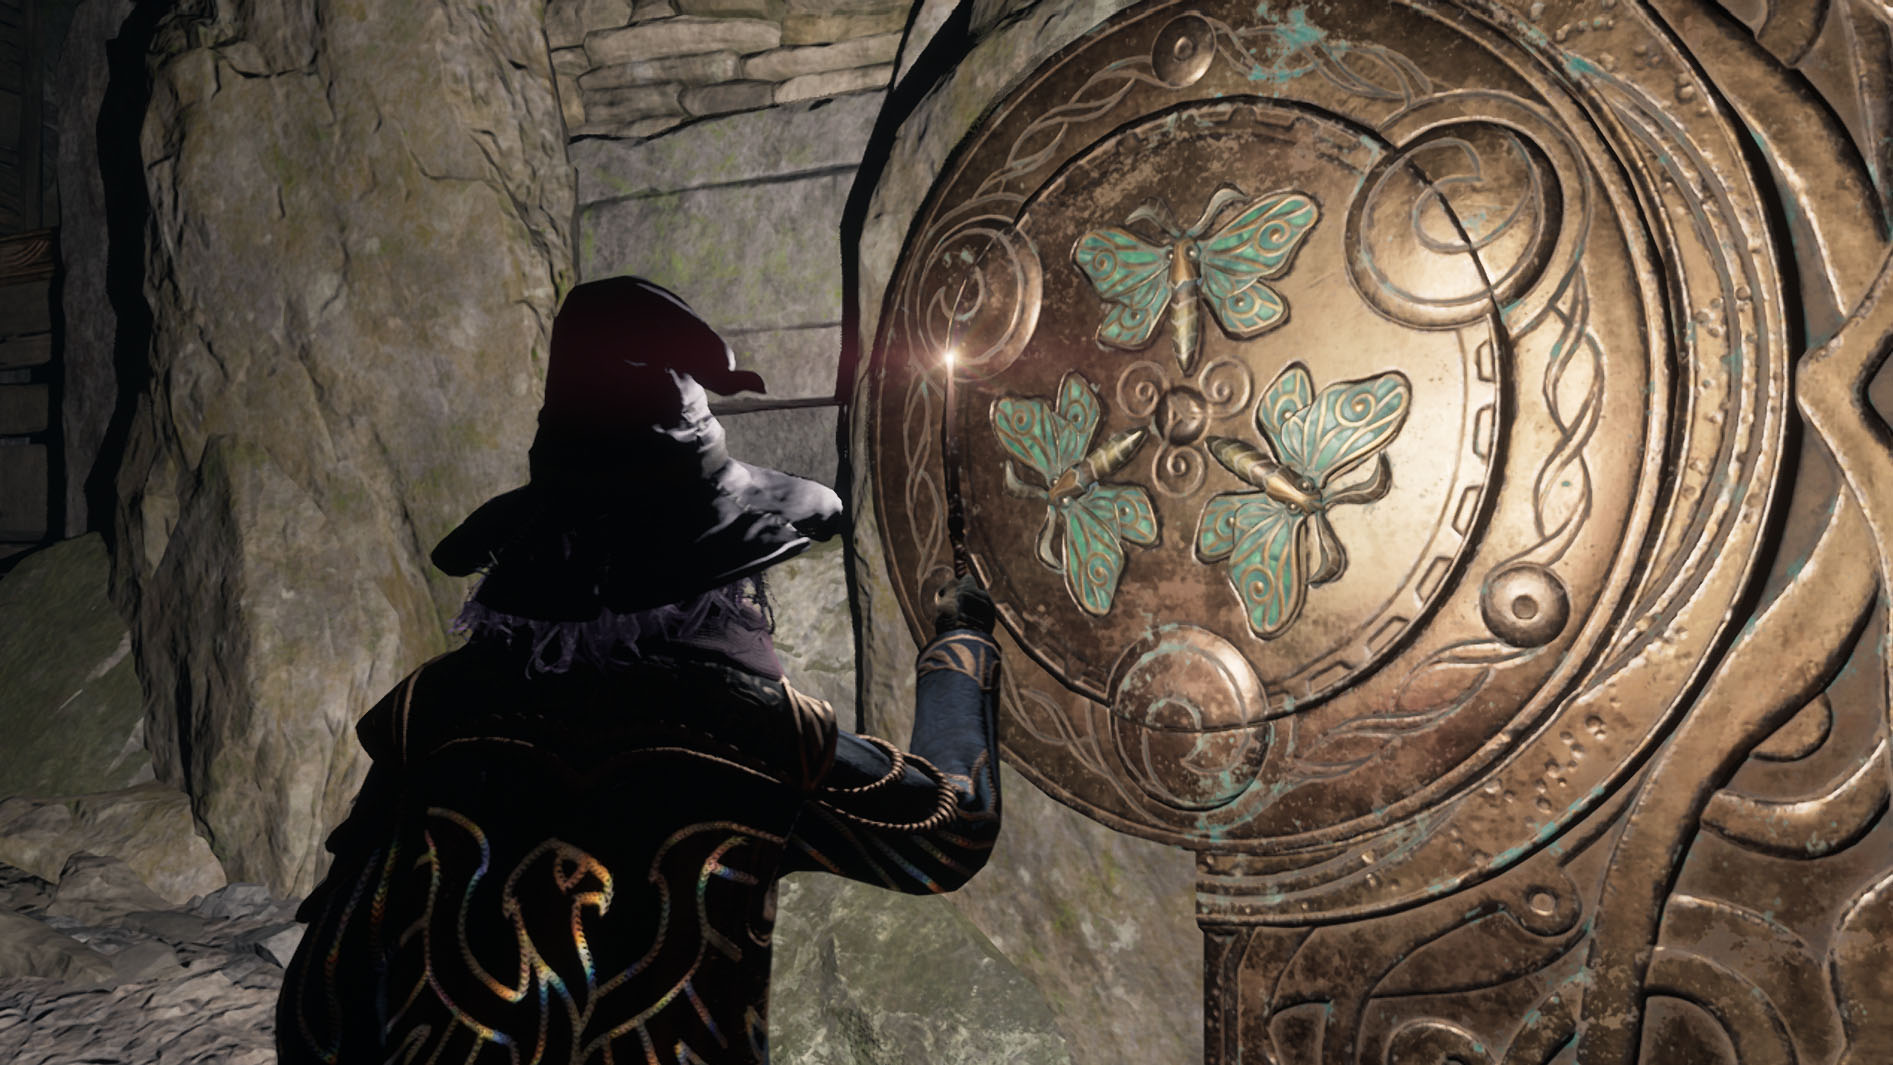
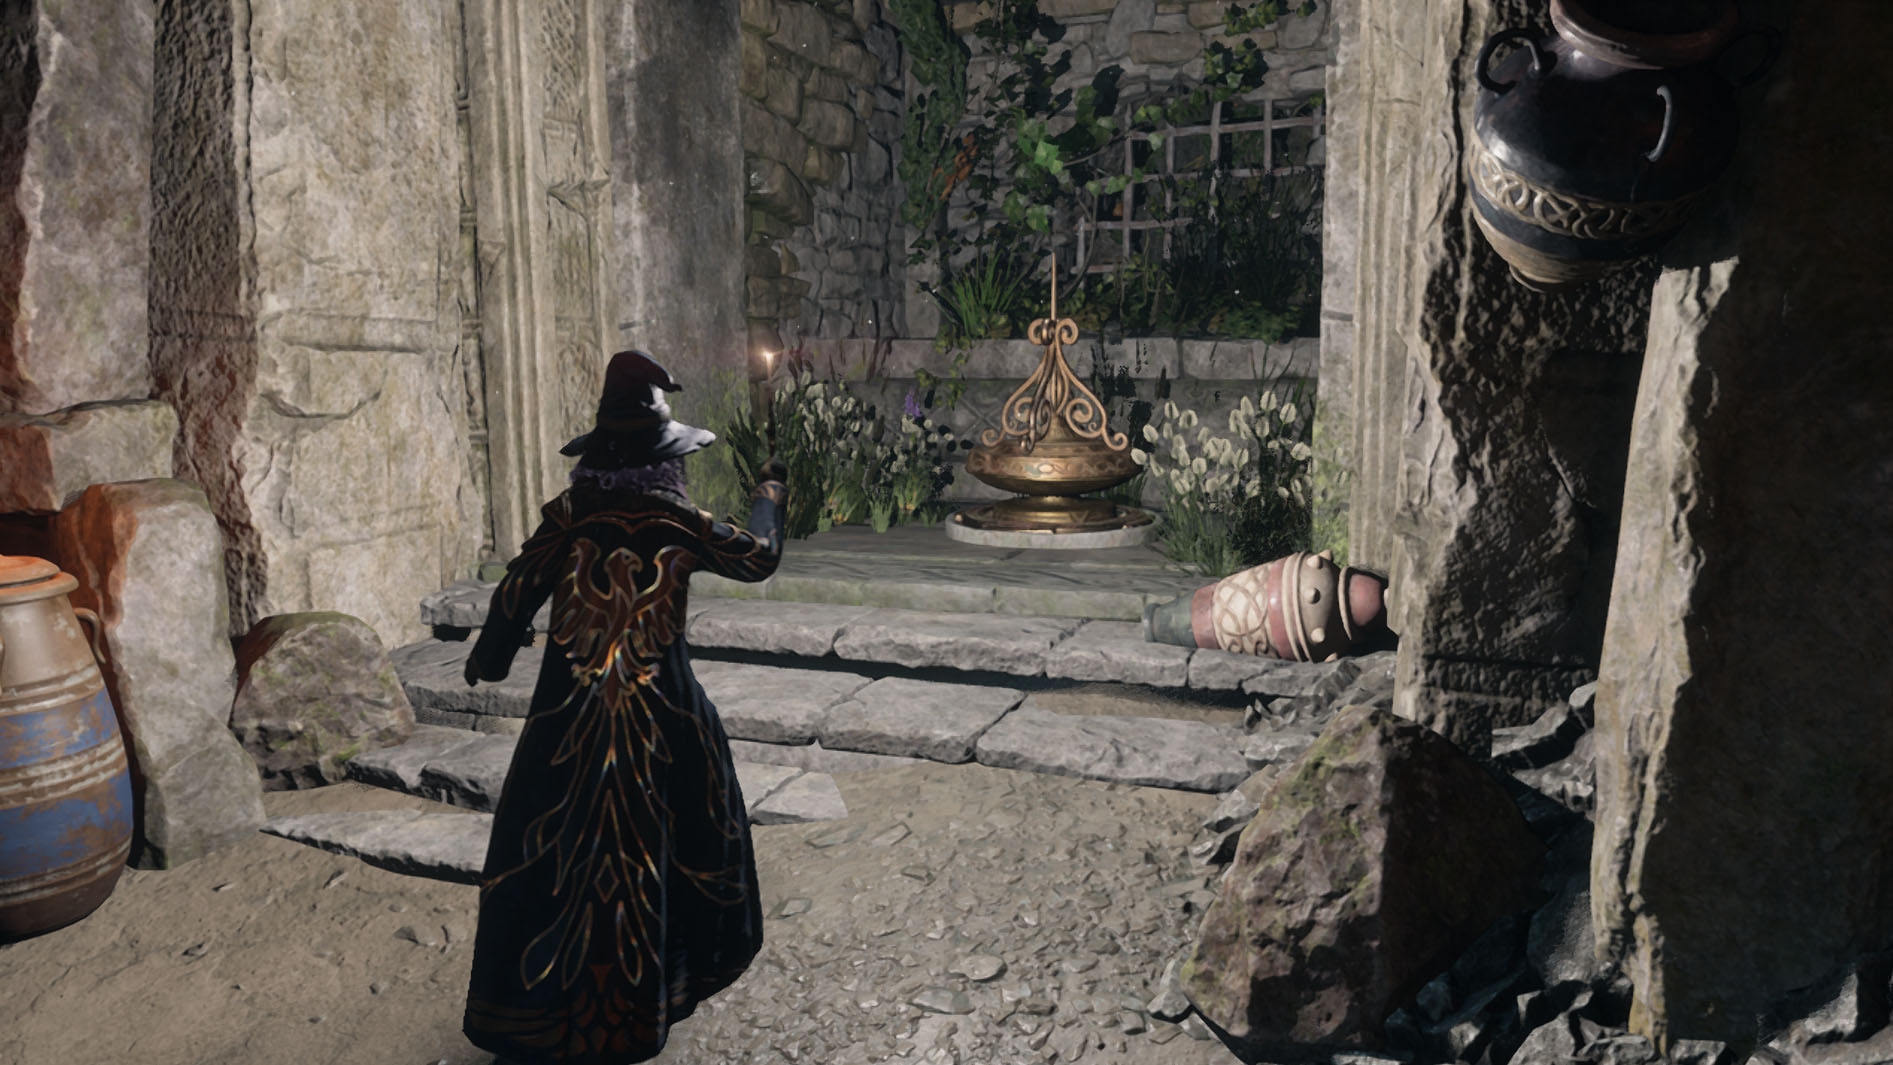
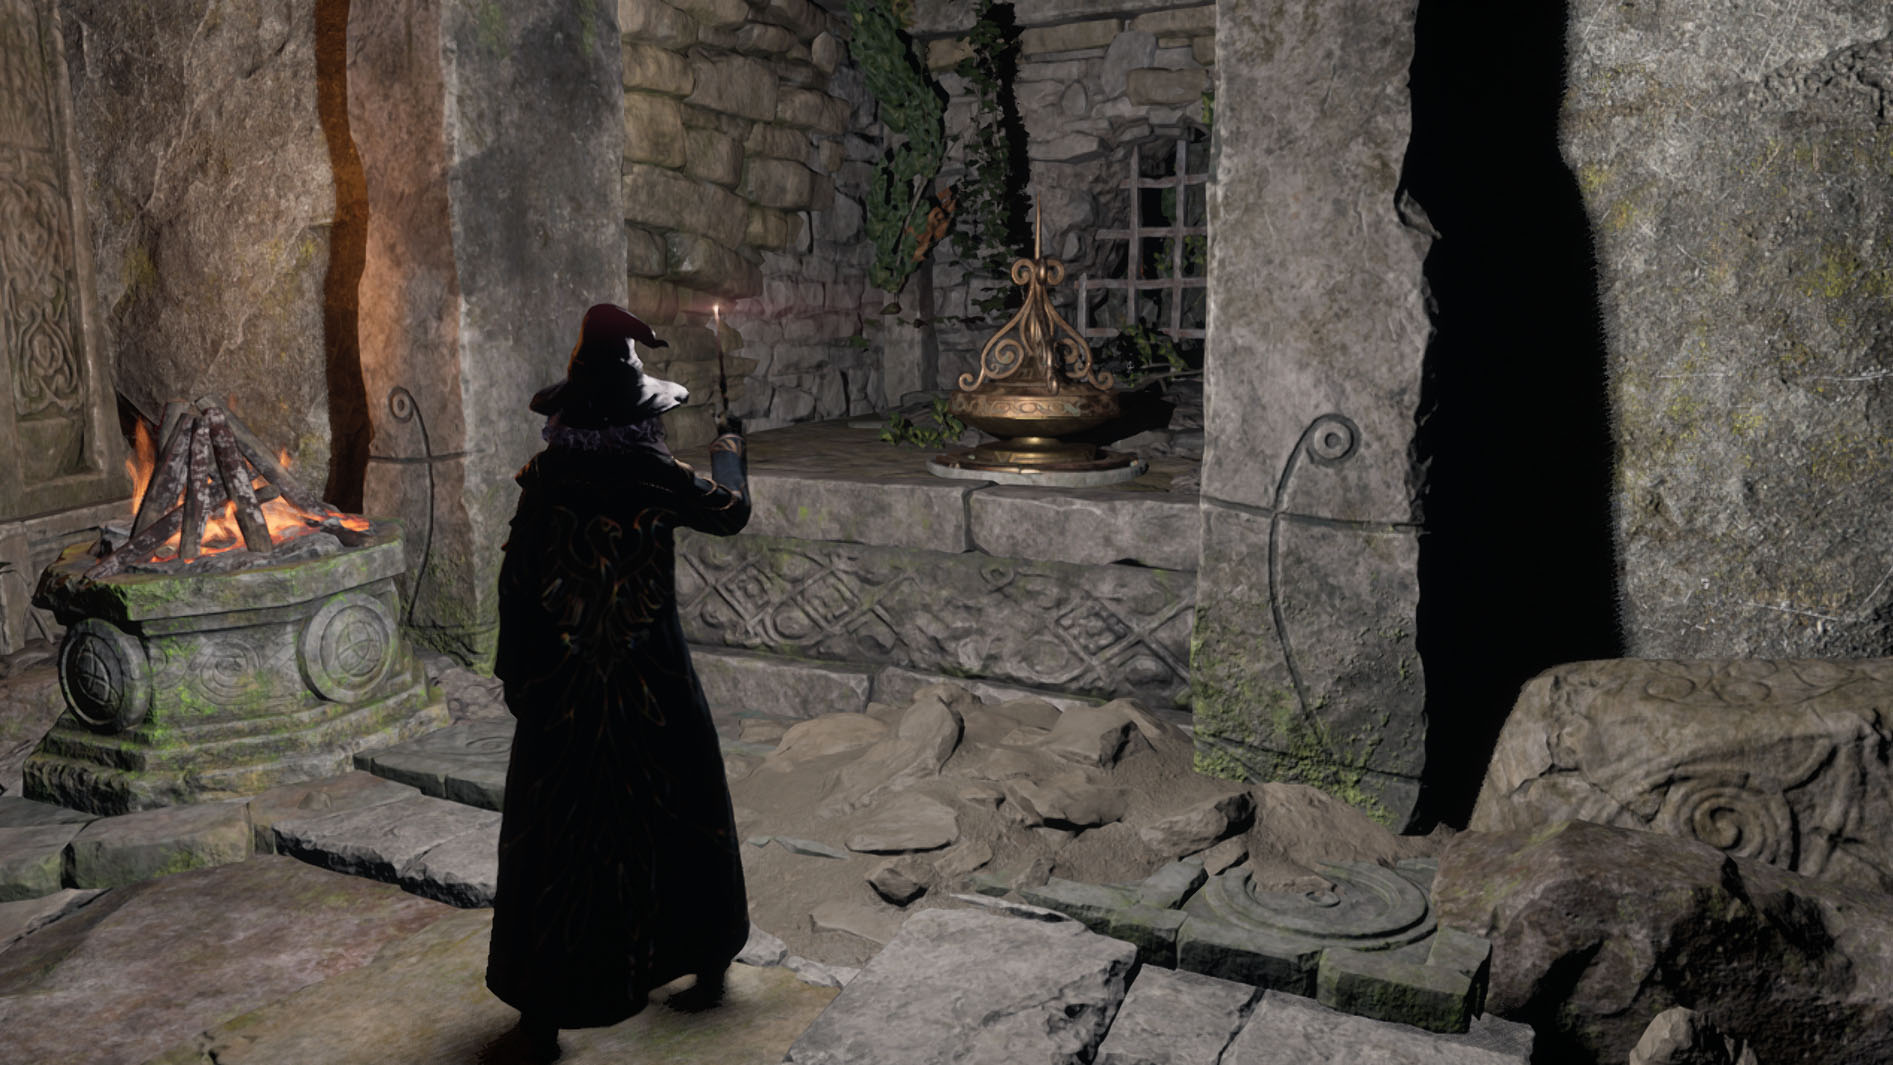
Run into the cave until you hit a bronze door with moth inserts — a moth puzzle door. Make an immediate left and go down the winding tunnel. Use Lumos near the flying moth on the perch to attract it to your wand and then bring it back to the door. This will cause the moth puzzle door to open. Head through the door and keep running further into the tomb.
Helm of Urtkot: Moth puzzle door 2
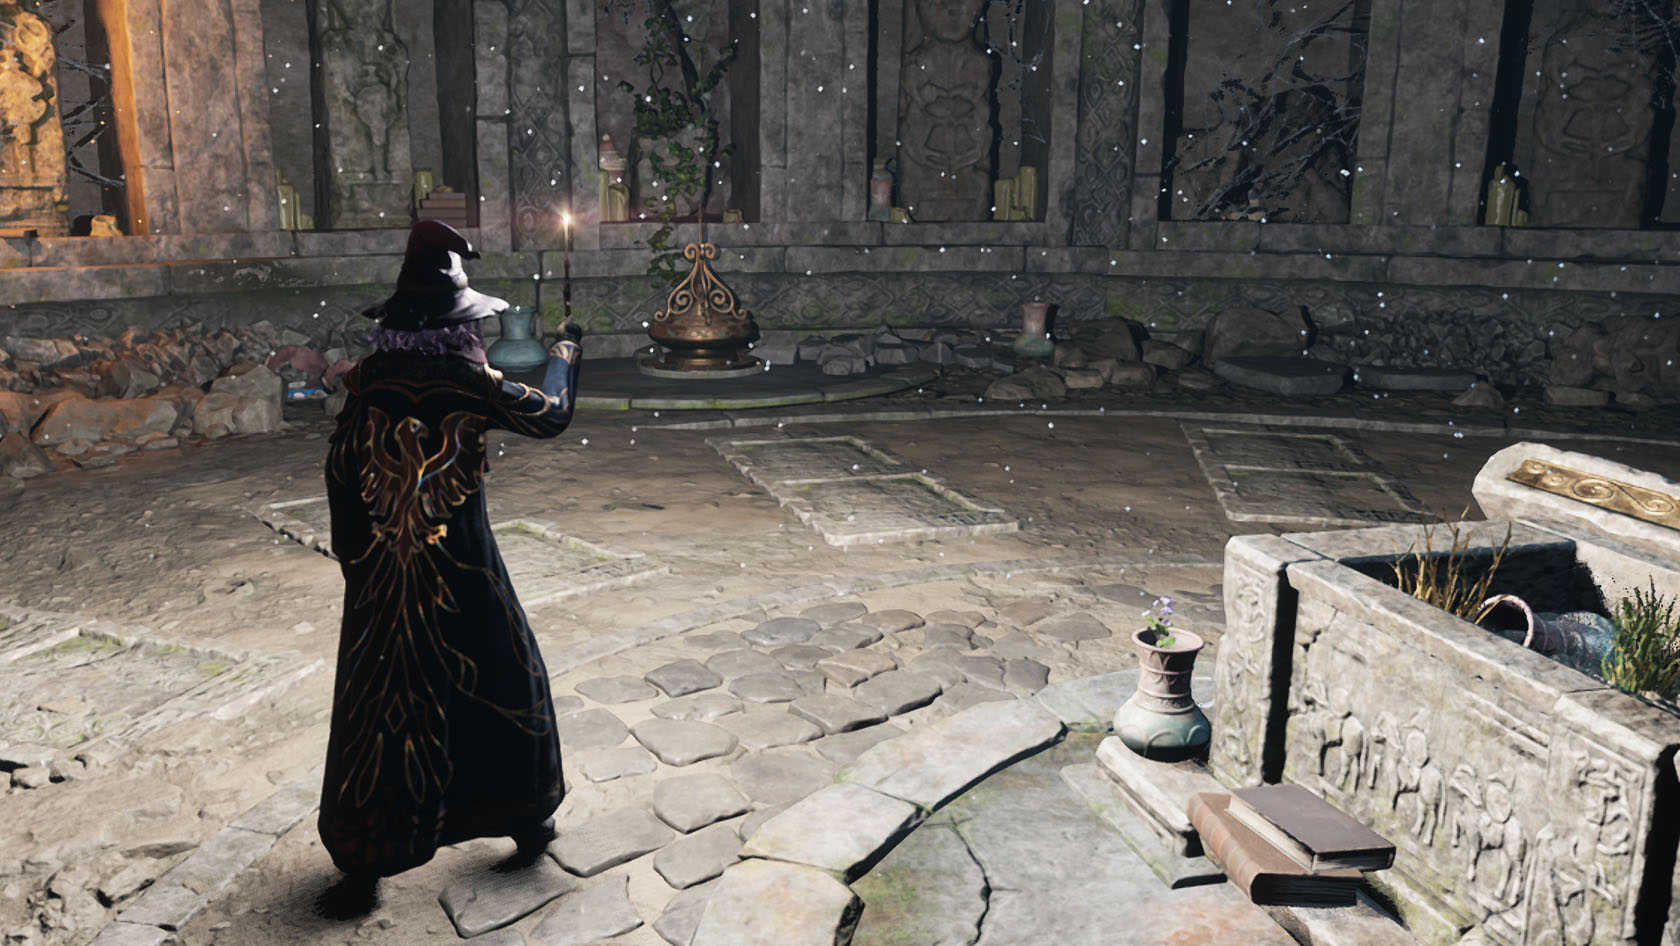
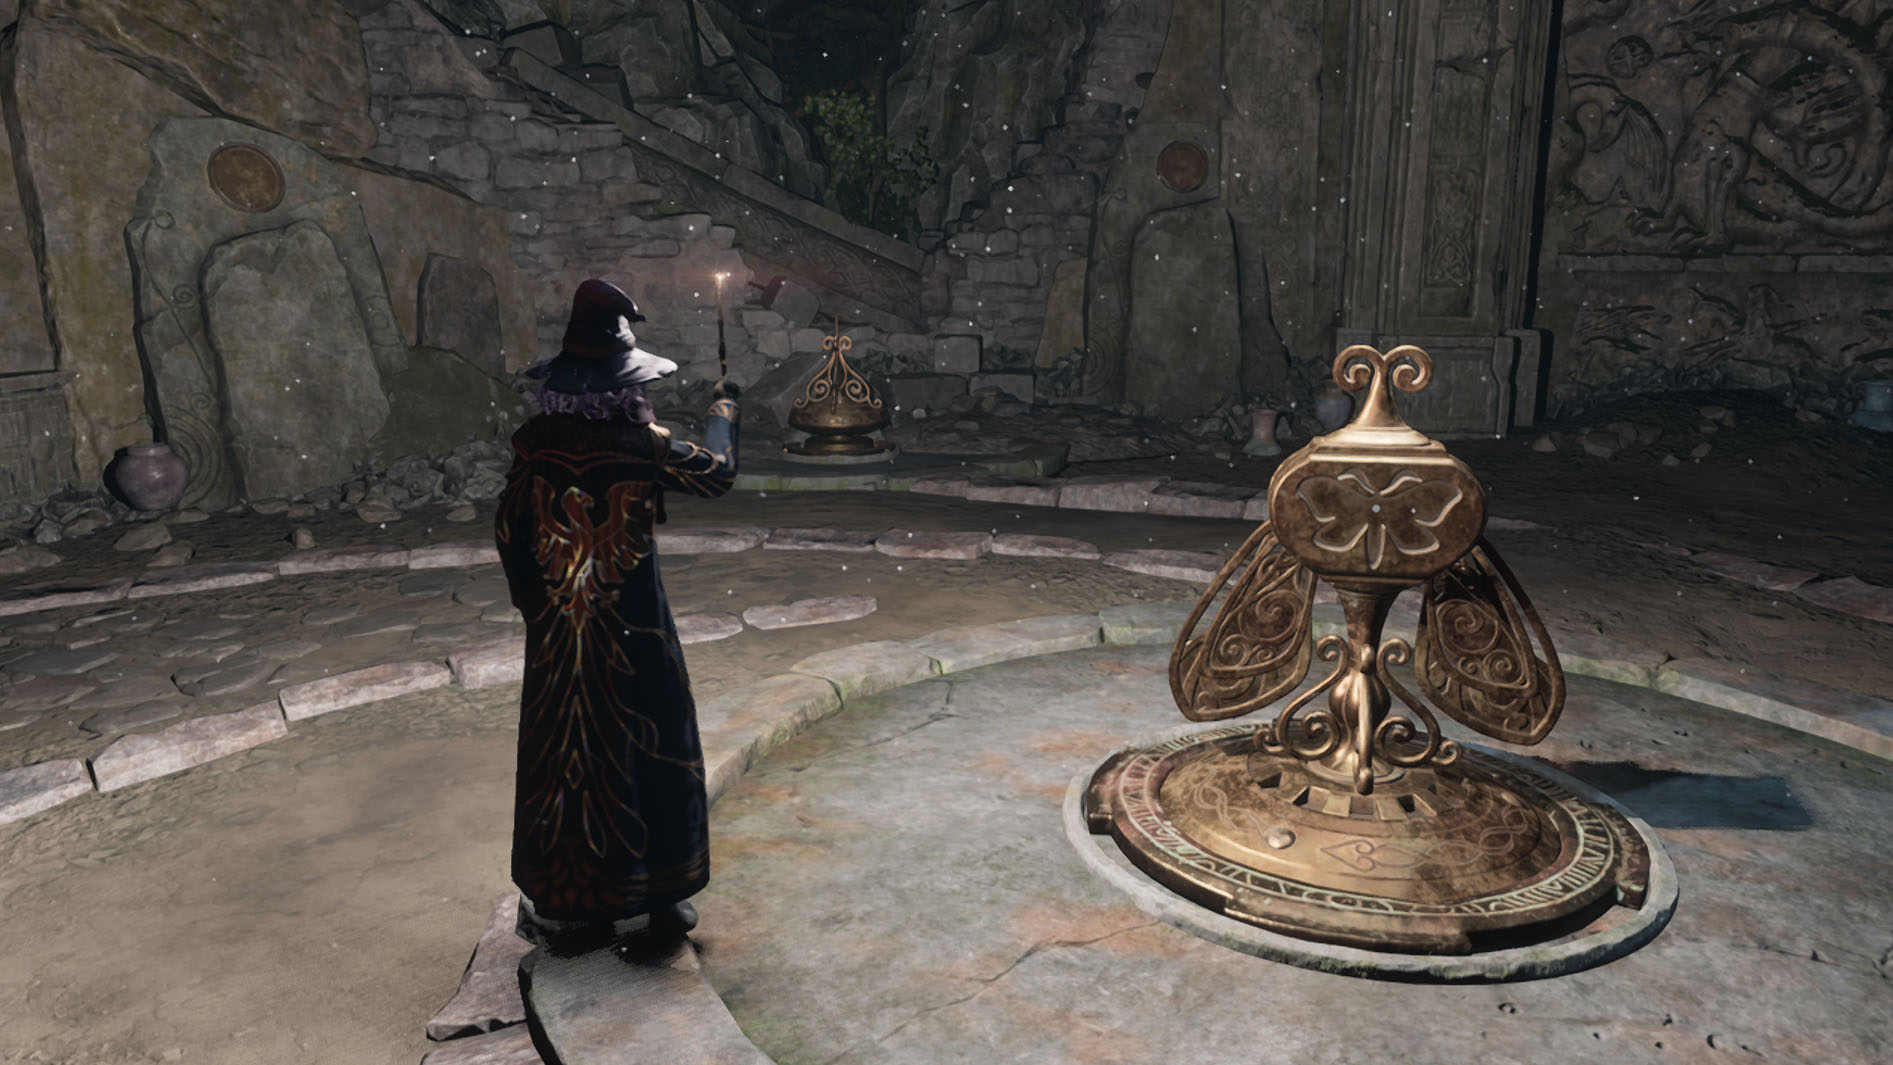
When you get to the room with a sarcophagus at its center, you'll see two perches with moths floating around them on either side of the room. Attract the moths with Lumos and take them to the moth puzzle door one at a time.
To get the third moth, turn to the closed double doors and open them with either Depulso or Accio. Go into the next room, retrieve the moth with Lumos, and bring it to the moth puzzle door, which will now open.
Helm of Urtkot: Inferi battle 1
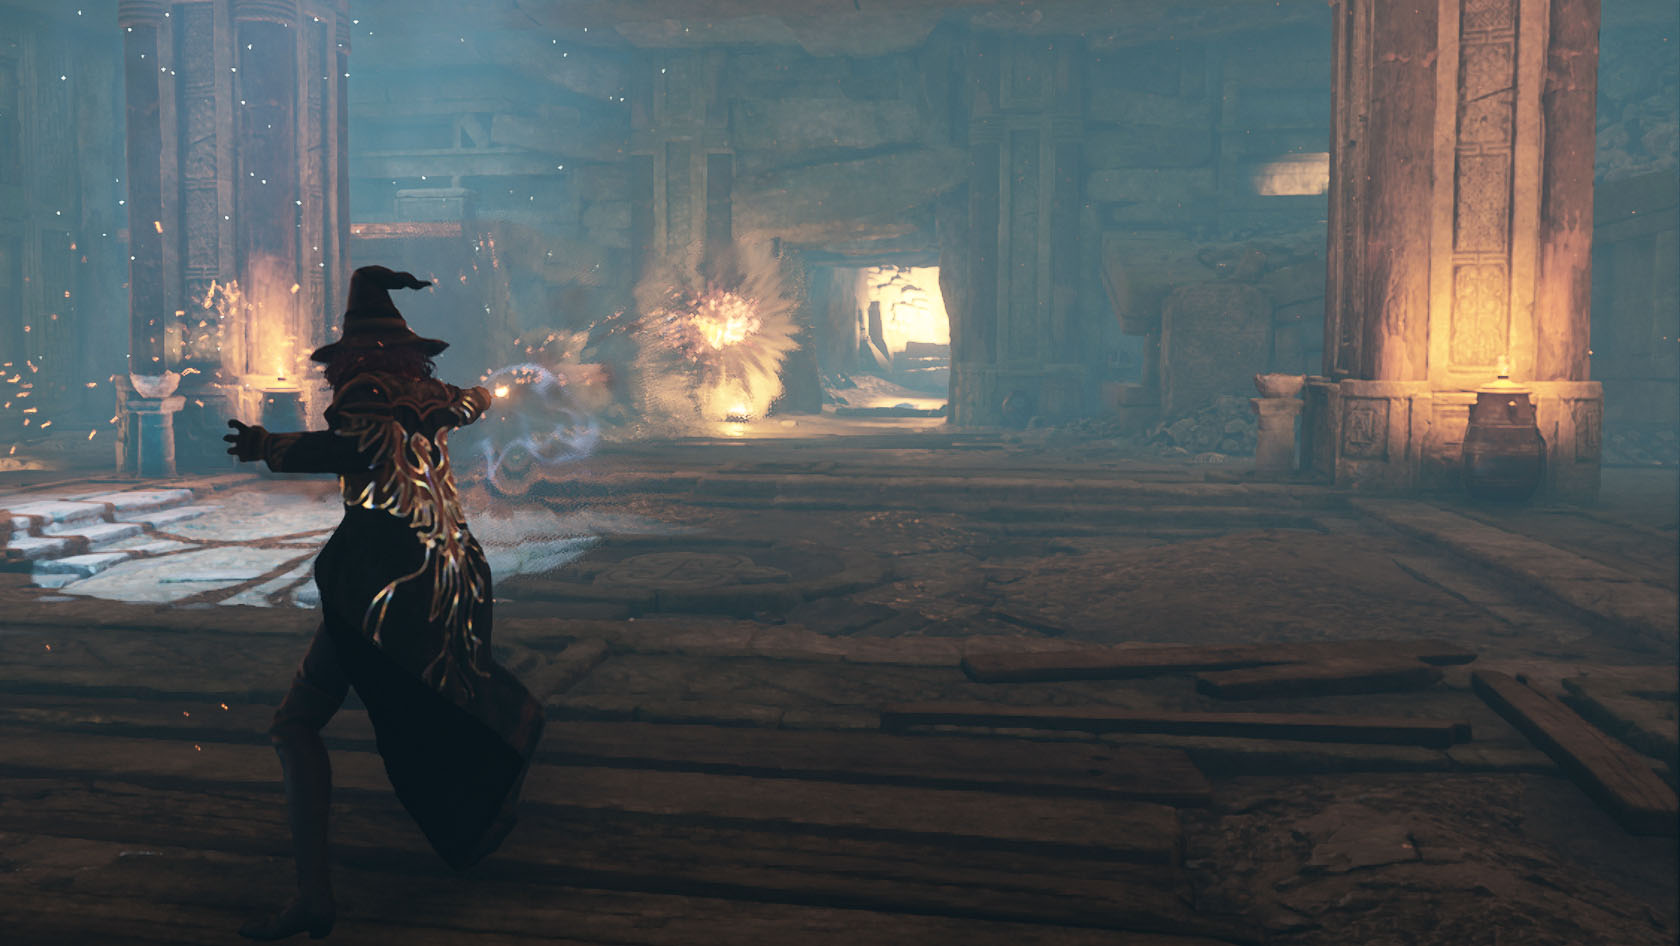
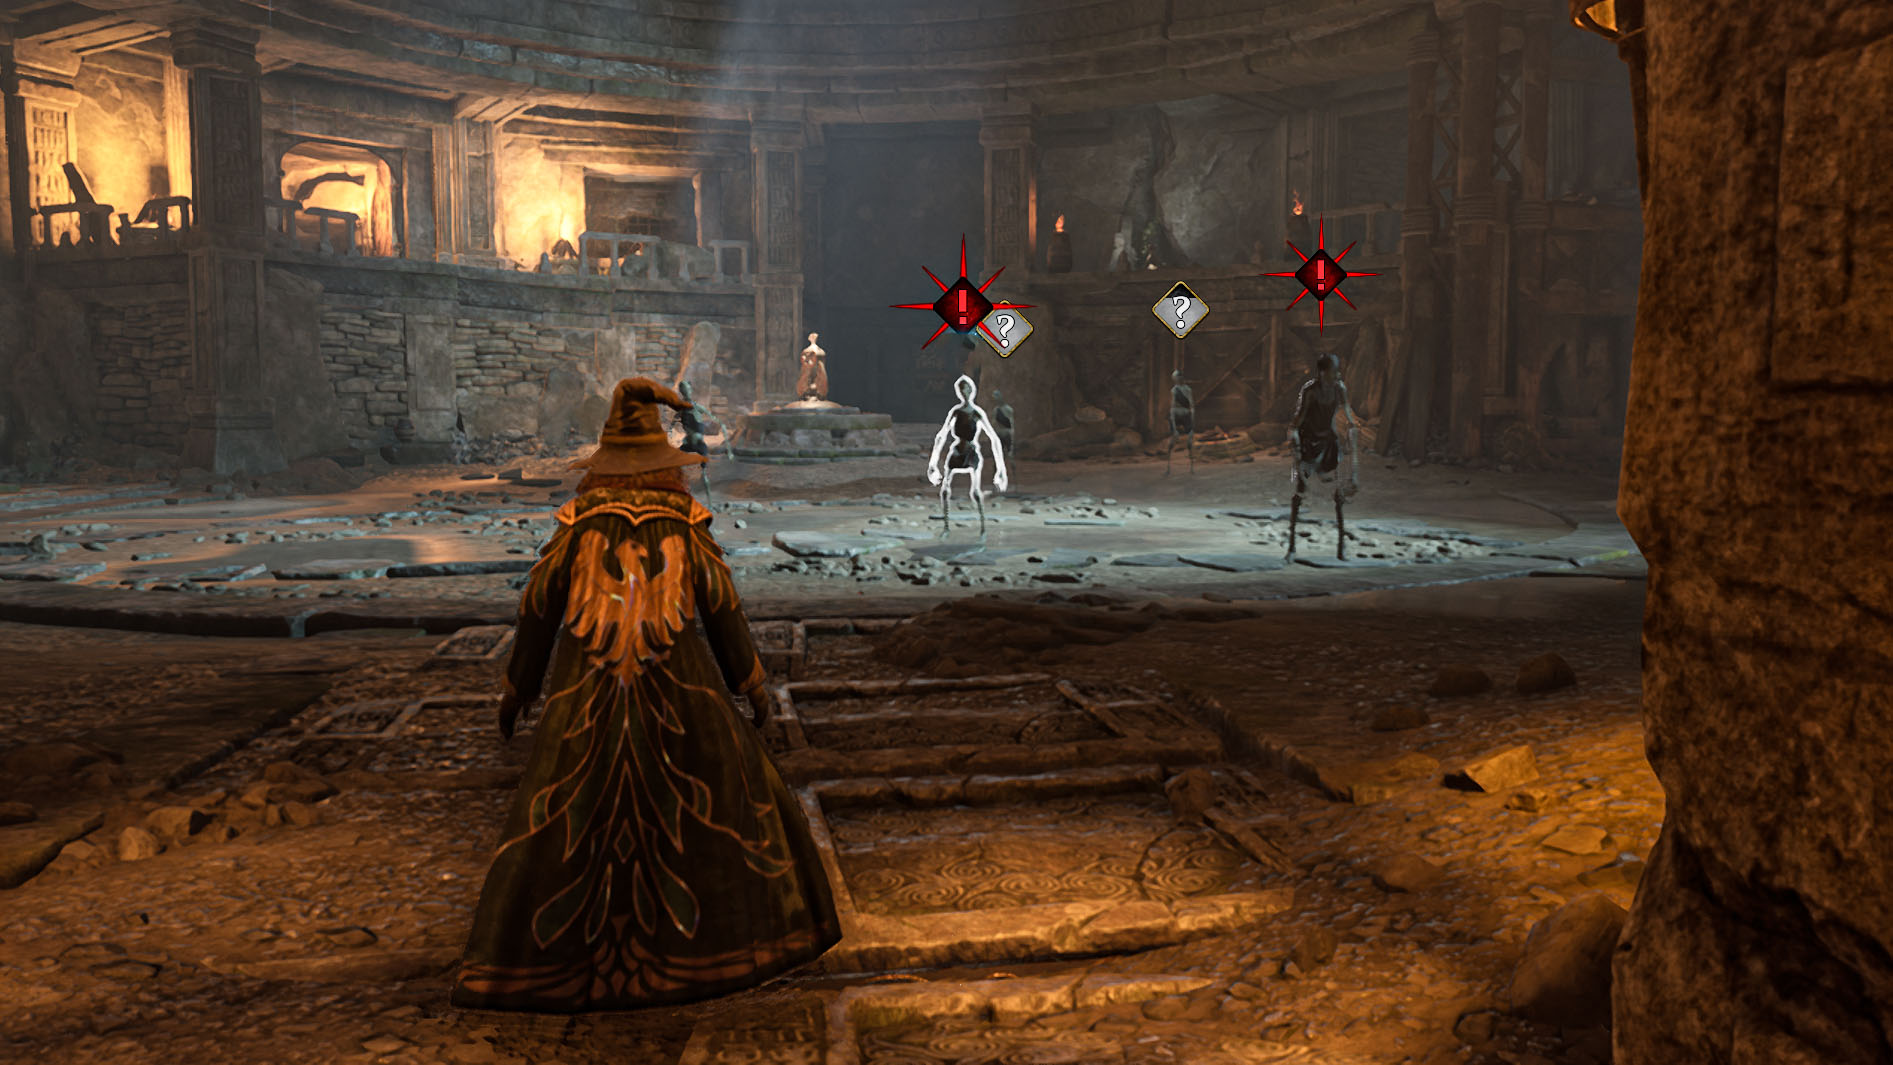
Head through this last moth door and into the next big room. You'll need to defeat the Inferi that appear here. Remember that they only take damage after getting hit by fire so do a fire attack like Incendio or Confringo and then take them out with basic attacks or by flinging things at them.
Helm of Urtkot: Moth puzzle door 3
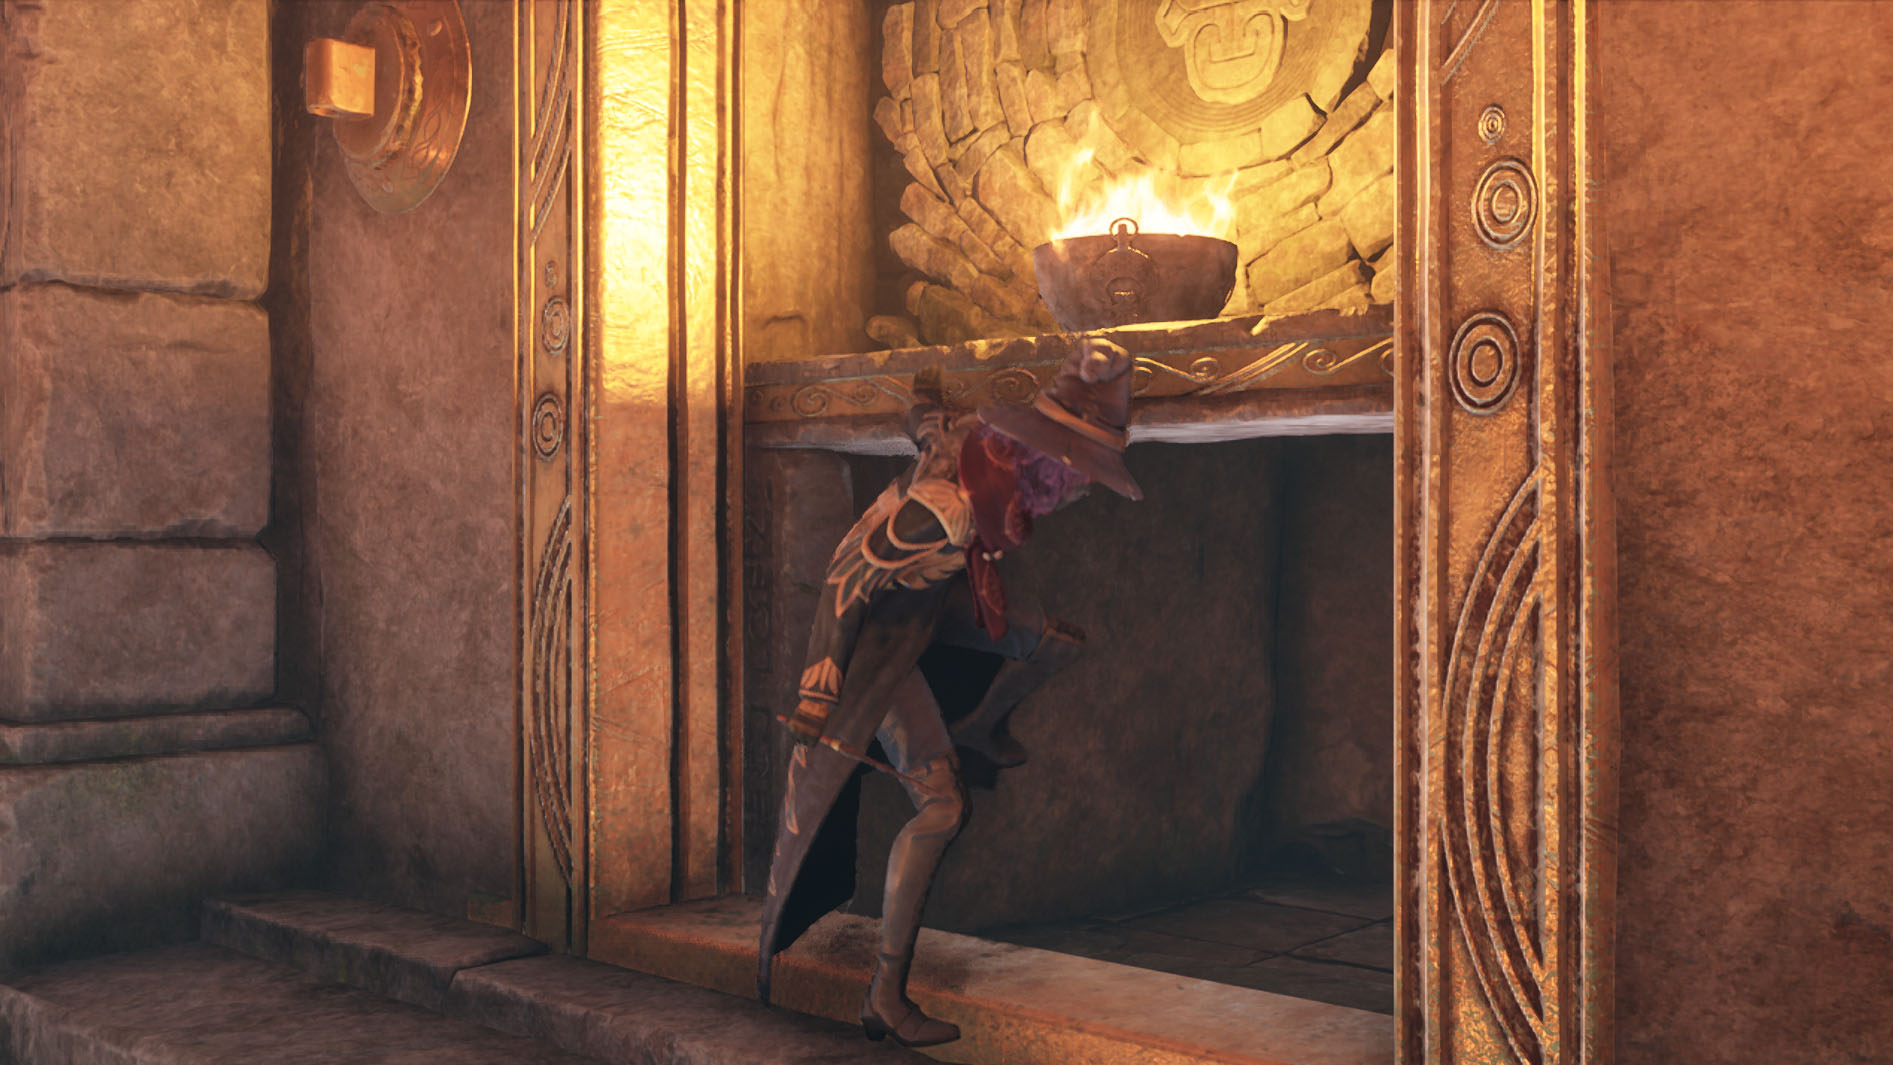
Once the room is clear, head straight into the next section of the tomb. Hop over a fallen stone and you'll be in another moth door room. Attract the moth on the left perch using Lumos and bring it to the mechanism in the center of the room.
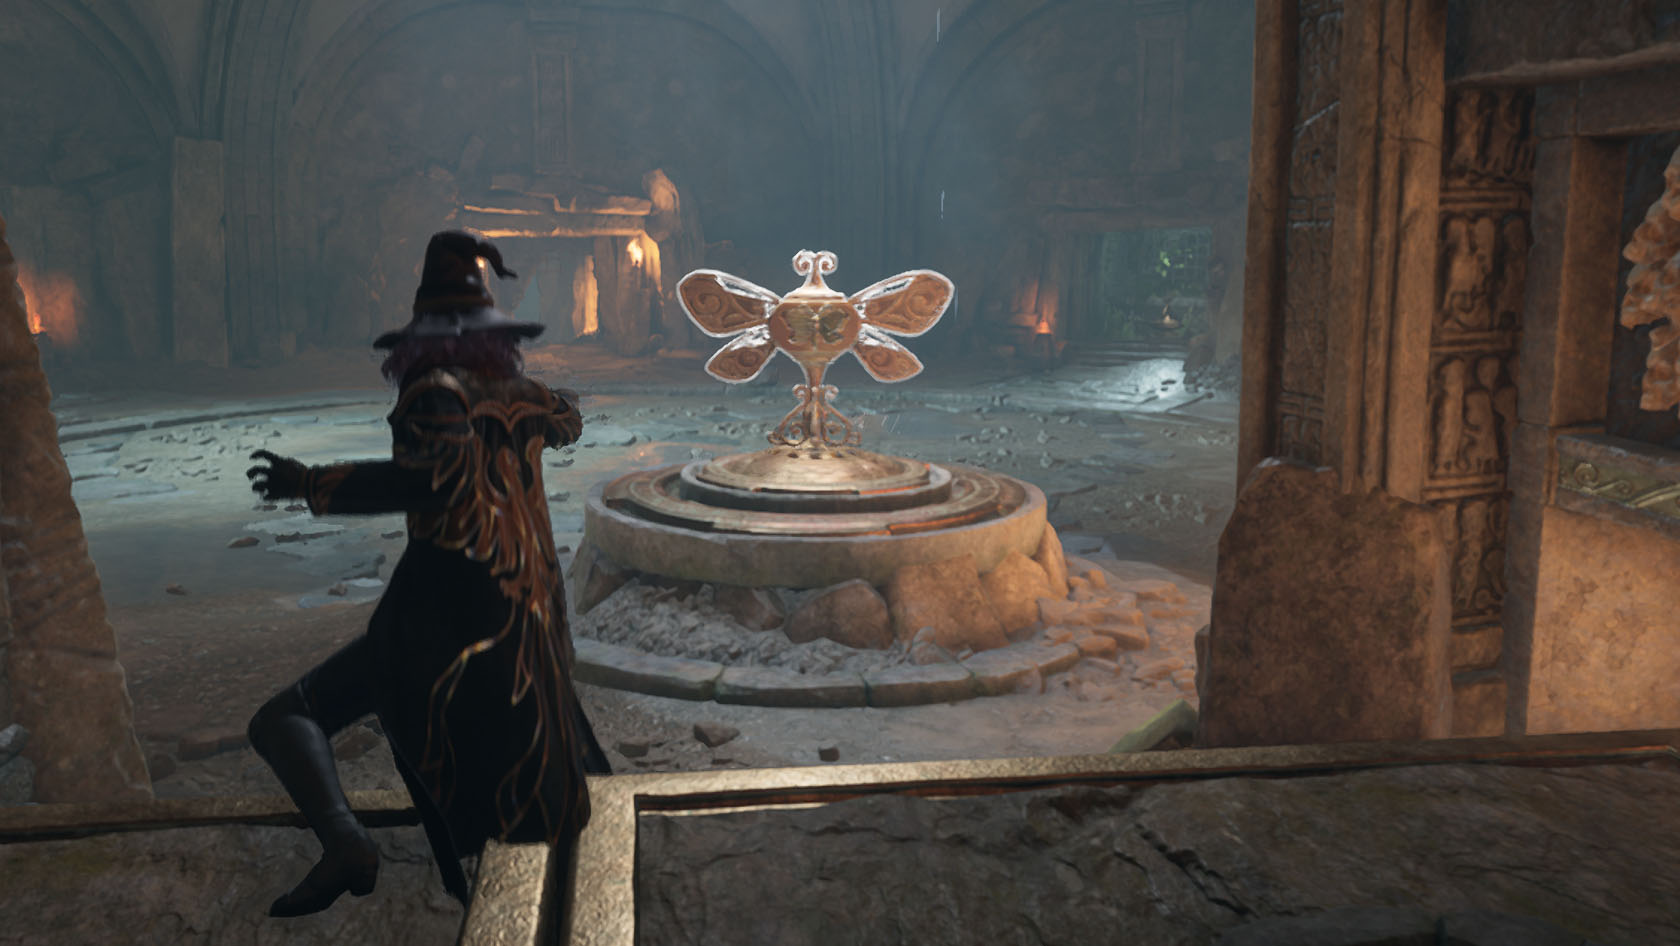
Stand on the square platform on the side of the room and cast Depulso at the mechanism multiple times to raise the platform you're standing on up to its highest level. While up here, turn around and you'll see another moth. Attract this second moth with Lumos and bring it down to the moth puzzle door.
One at a time, grab the original moth from the mechanism via Lumos as well as the other moth on the ground floor and take them to the moth puzzle door to open it.
Helm of Urtkot: Skeleton bridge treasure
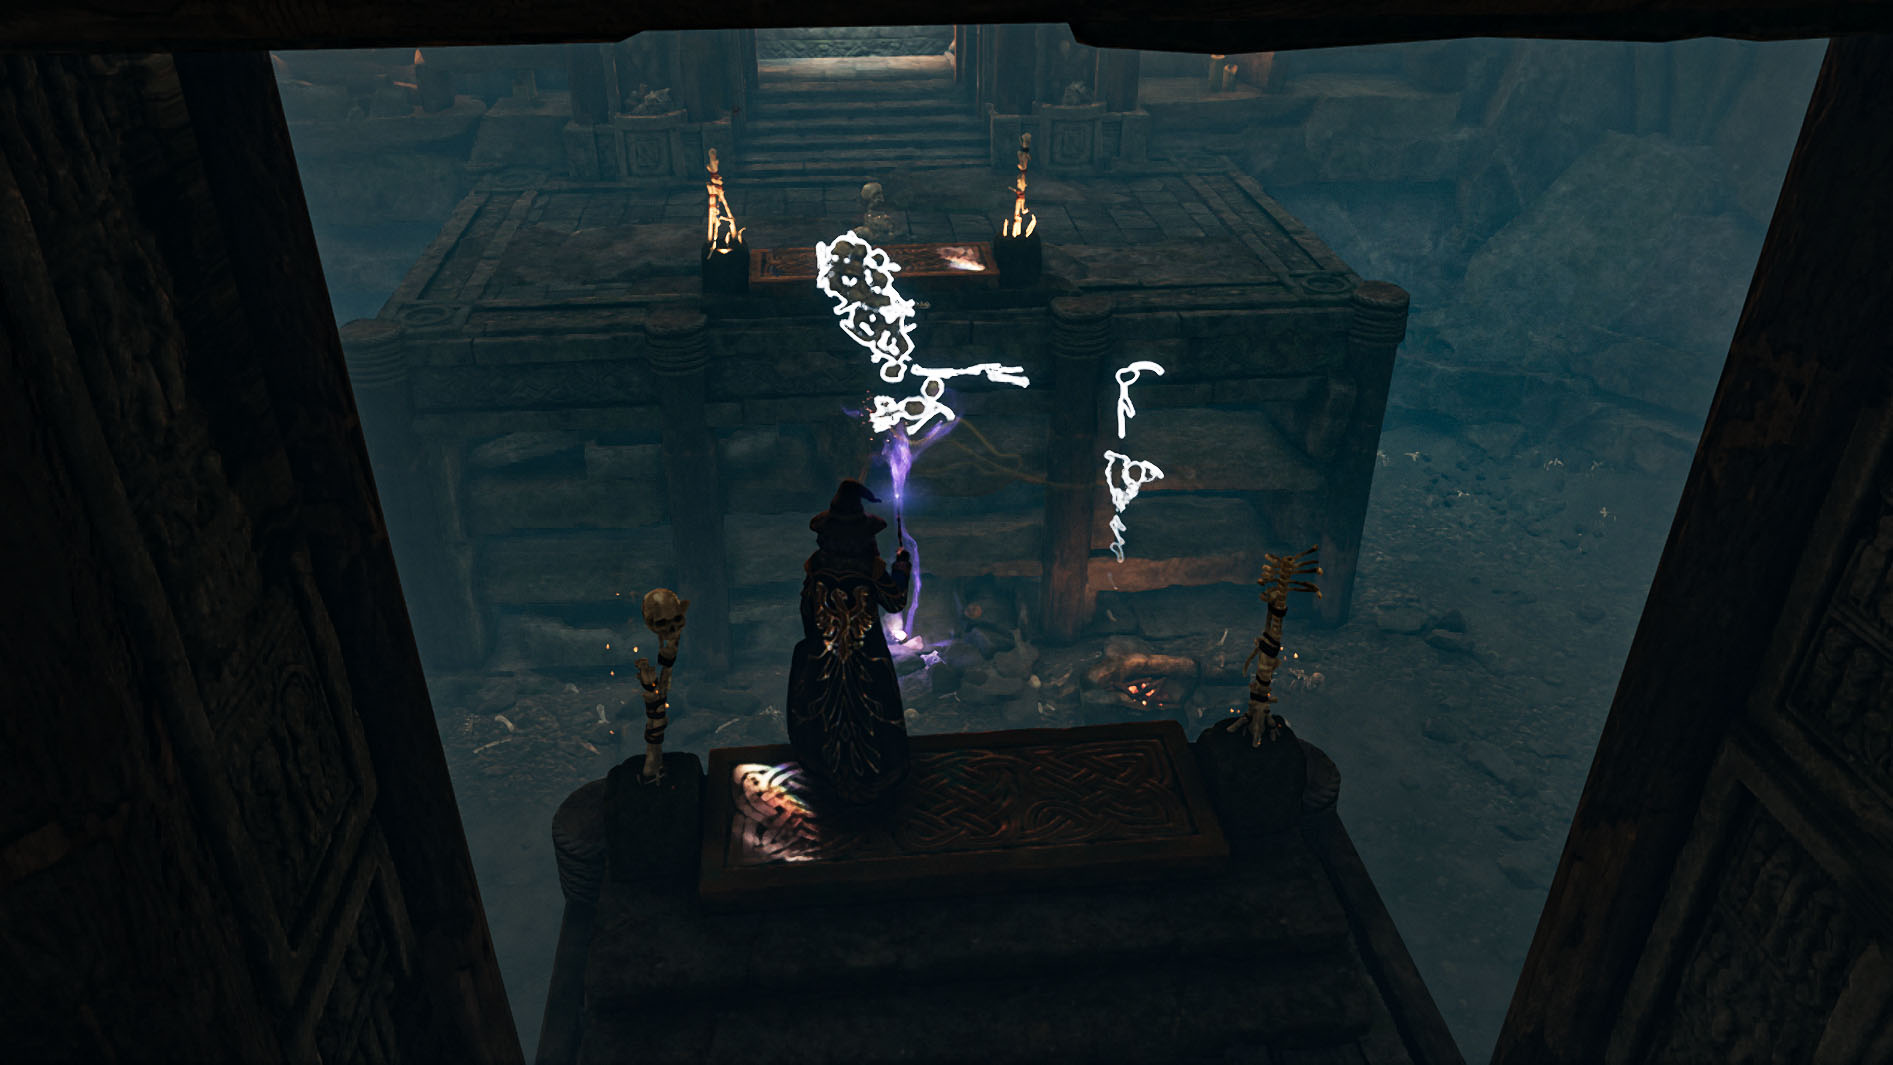
Head through this moth door and take an immediate right up the ledge. You'll come to a room with skeleton pieces in it. Use Accio to pull on the handle below you and to the right to release more skeletons.
Now use Wingardium Leviosa to direct the skeleton pieces onto the platforms that glow blue when you press Revelio (one skeleton heap on either platform). This will form a bridge. Cross the bridge and grab the treasure.
Helm of Urtkot: Down the hole
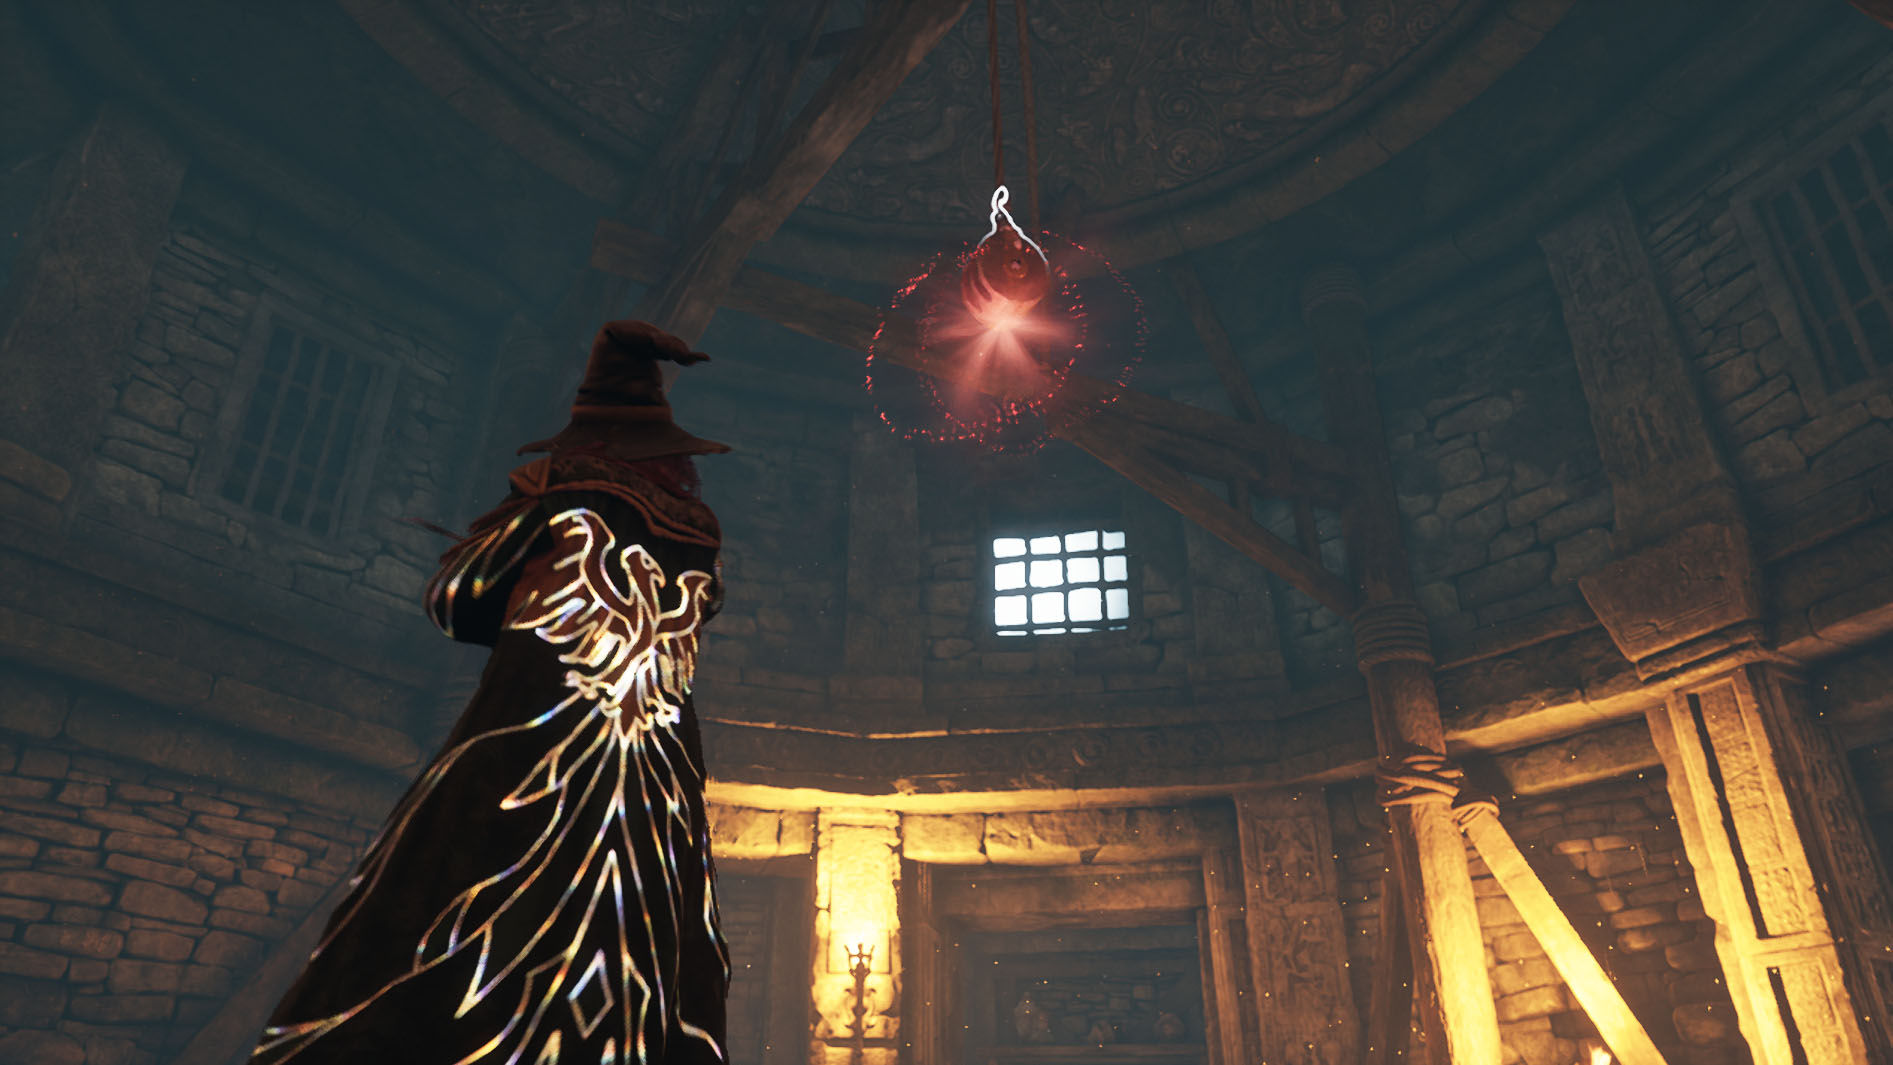
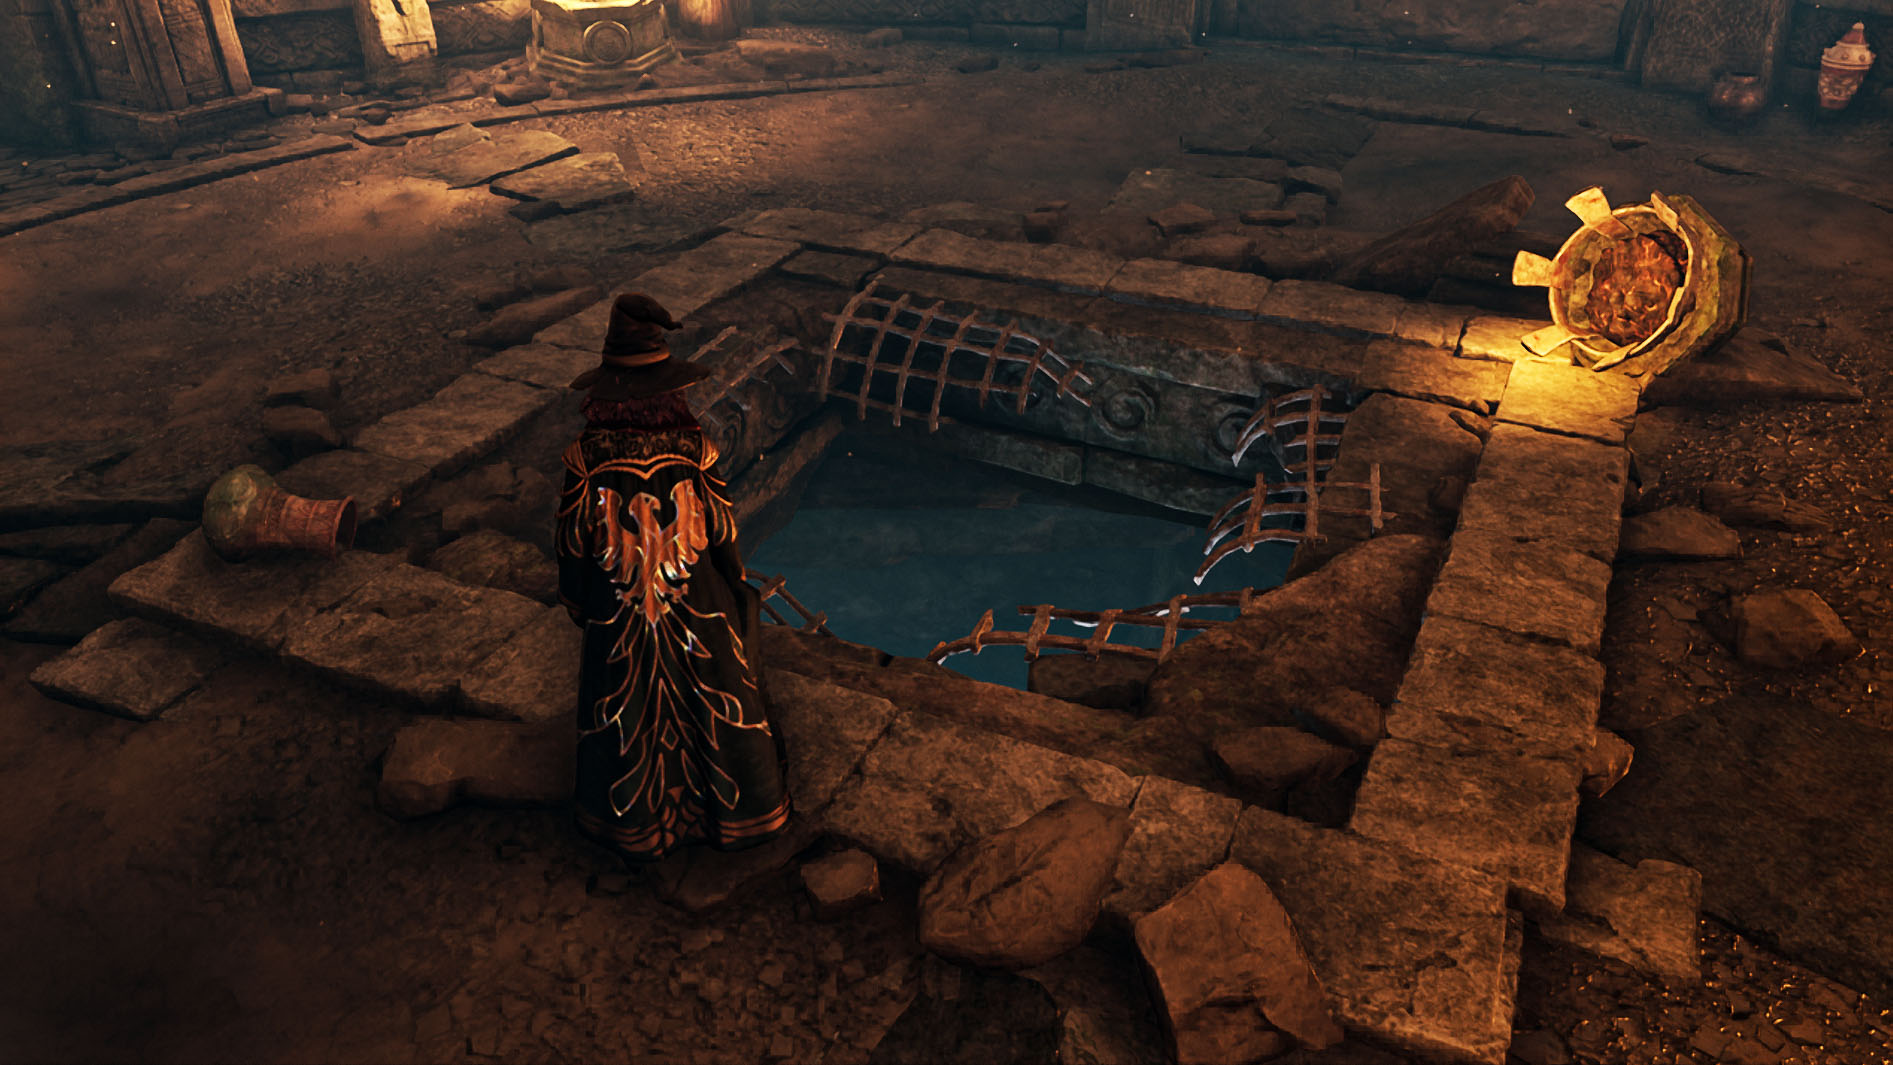
From the skeleton bridge room, turn around and go straight into the next big room where your character talks about something hanging precariously. Use a basic attack to damage the pulley hanging overhead and make it drop its load straight through a grate in the ground.
Before diving down into the hole, you might want to turn and use Accio or Depulso on the double doors to open them and then grab the treasures in the room.
Jump through the hole in the ground that you just created. You'll land in water. Swim towards the lit-up area.
Helm of Urtkot: Inferi battle 2
You can't rest yet. There's another set of Inferi to defeat in here. Remember to attack them with fire first (with either Incendio or Confrigo) and then hit them with basic attacks or throw things from around the room at them until they're all gone.
Helm of Urtkot: Moth puzzle door 4
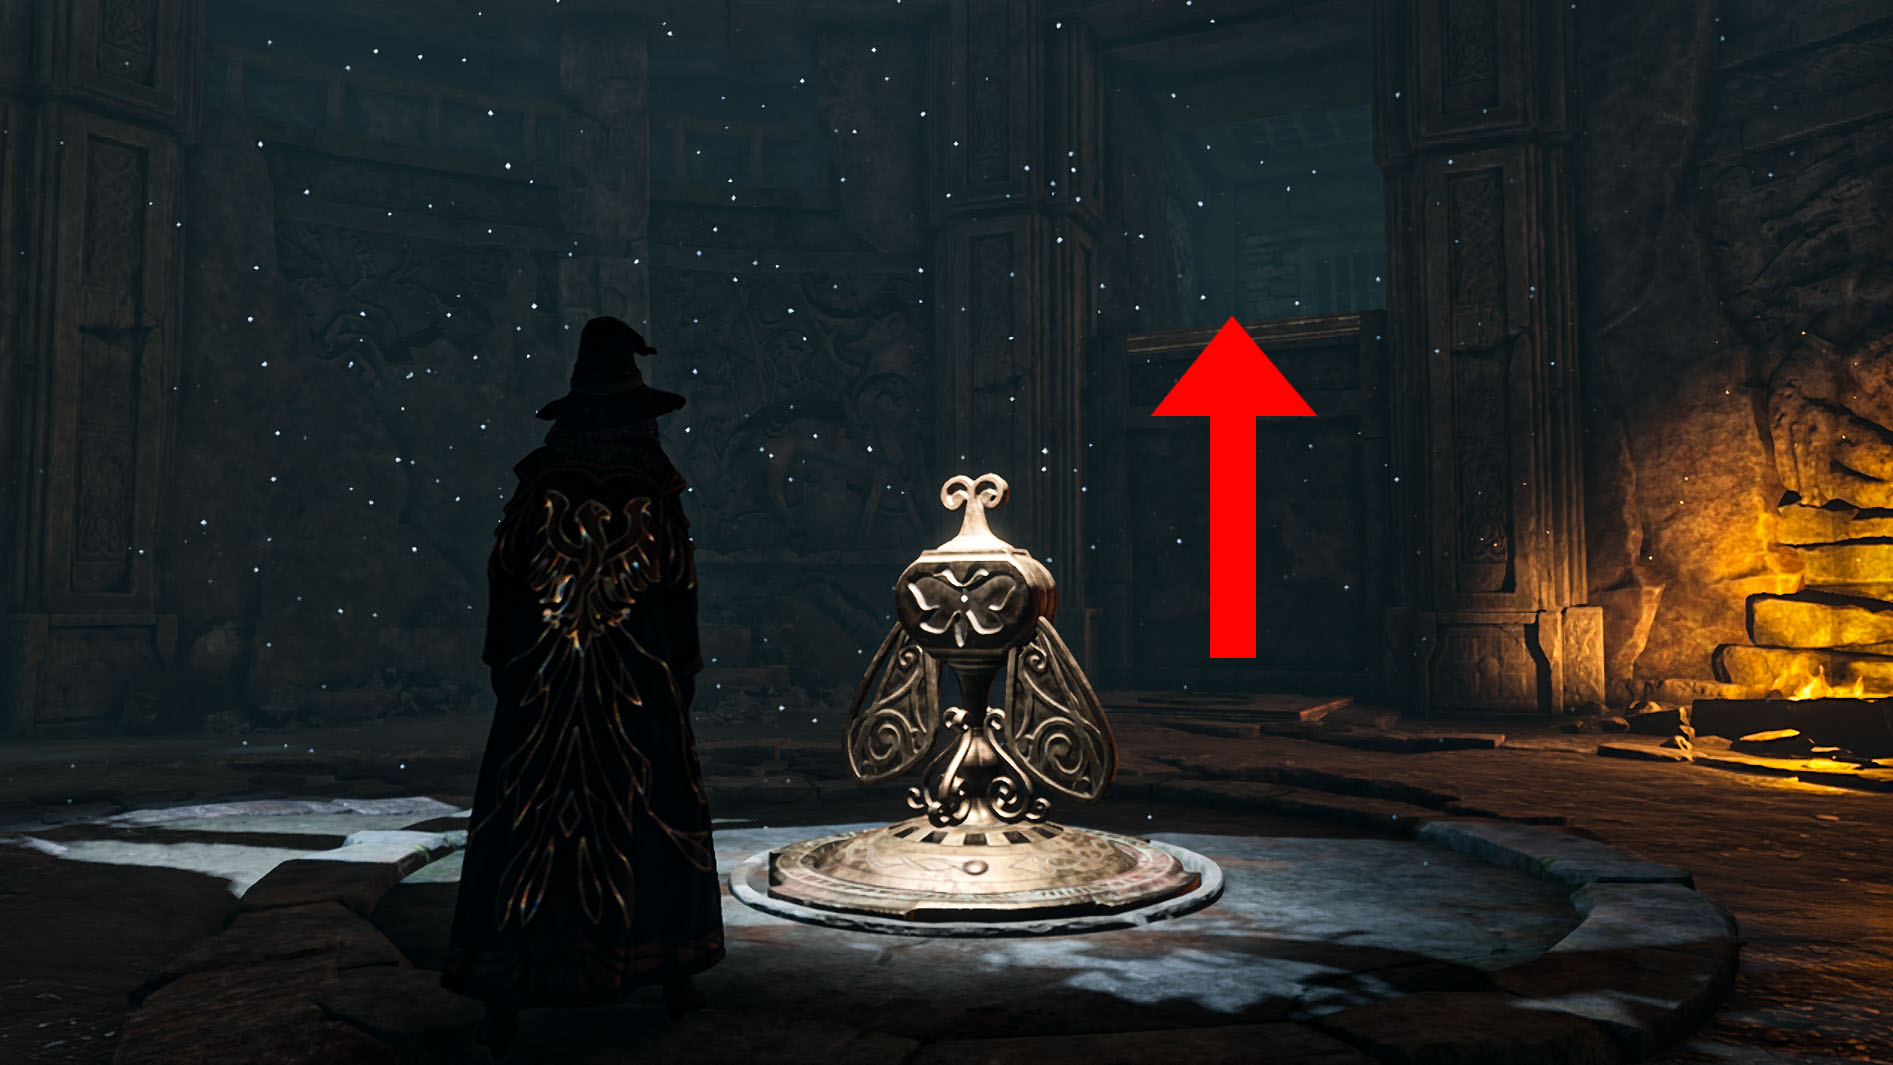
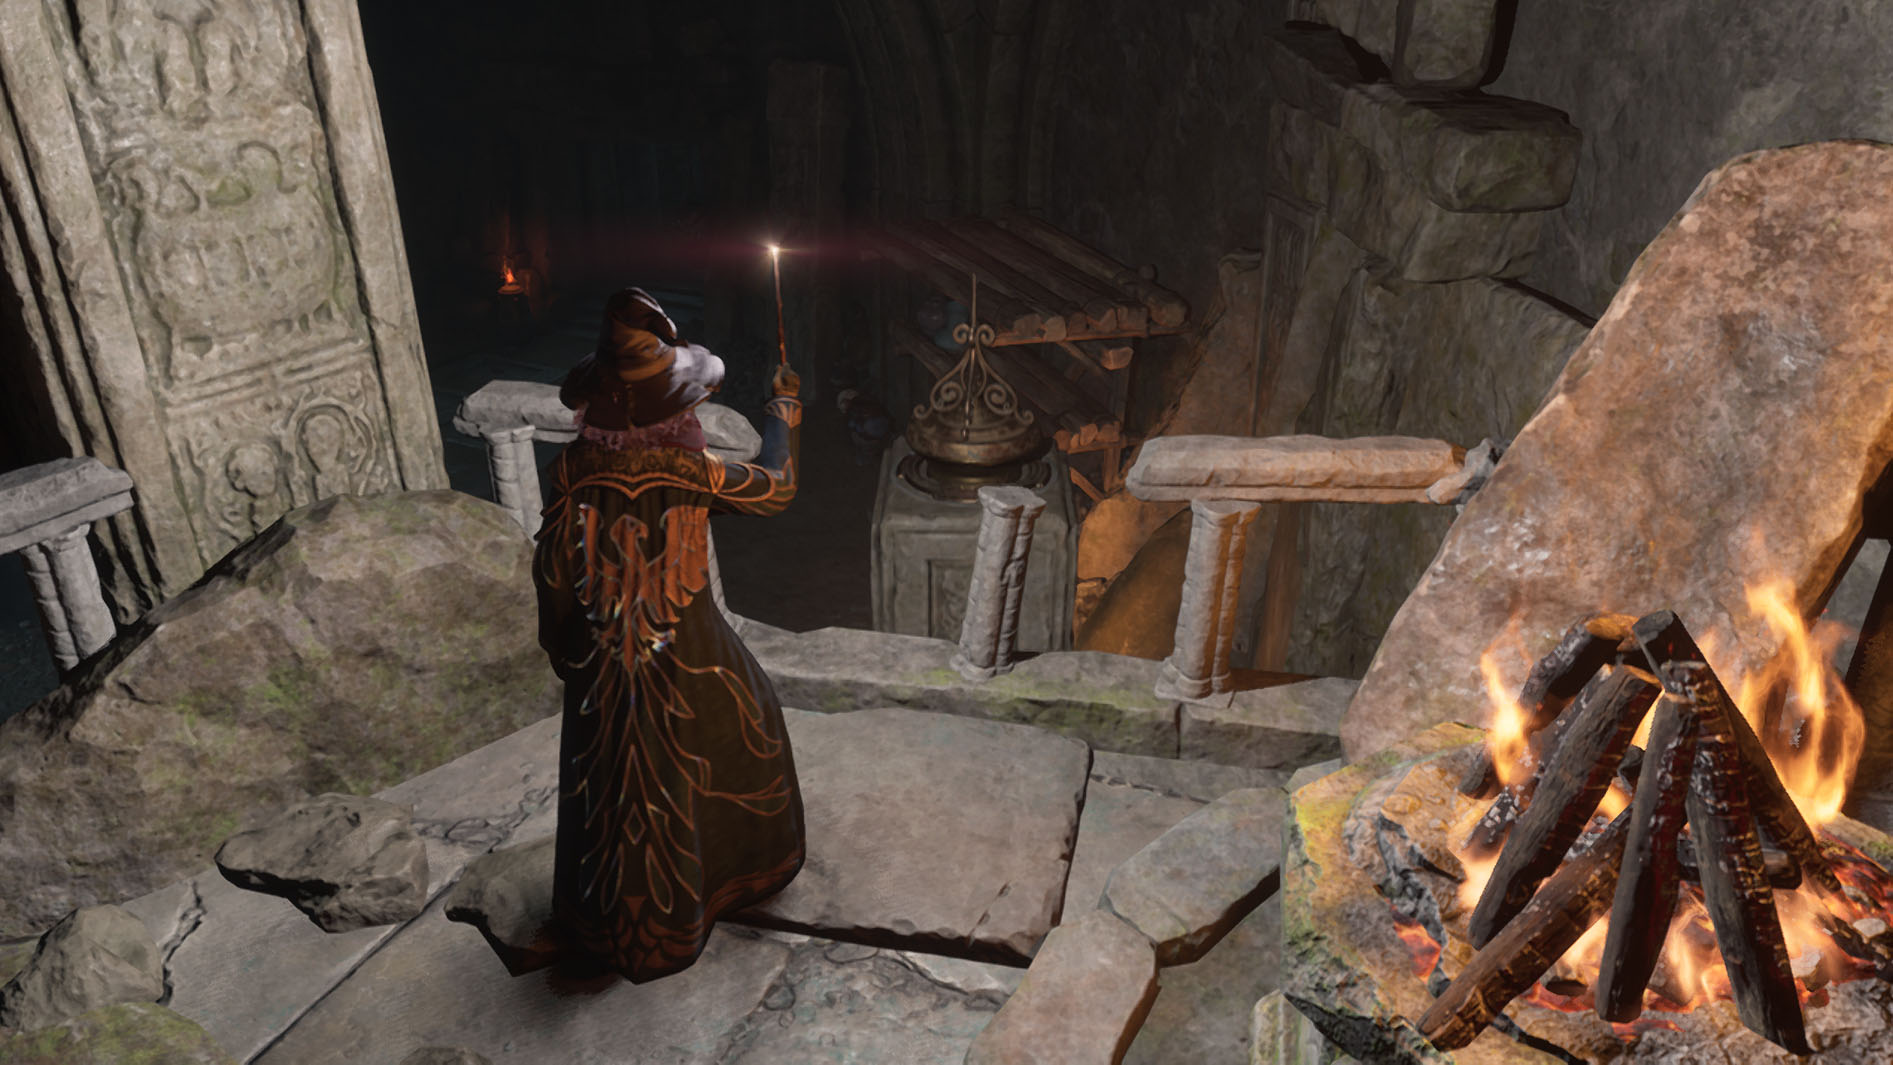
Now it's puzzle time. Head to either of the moth perches in the alcoves that are on either side of the entrance and attract the moth to you with Lumos.
Bring the moth to the spinning mechanism in the middle of the room.
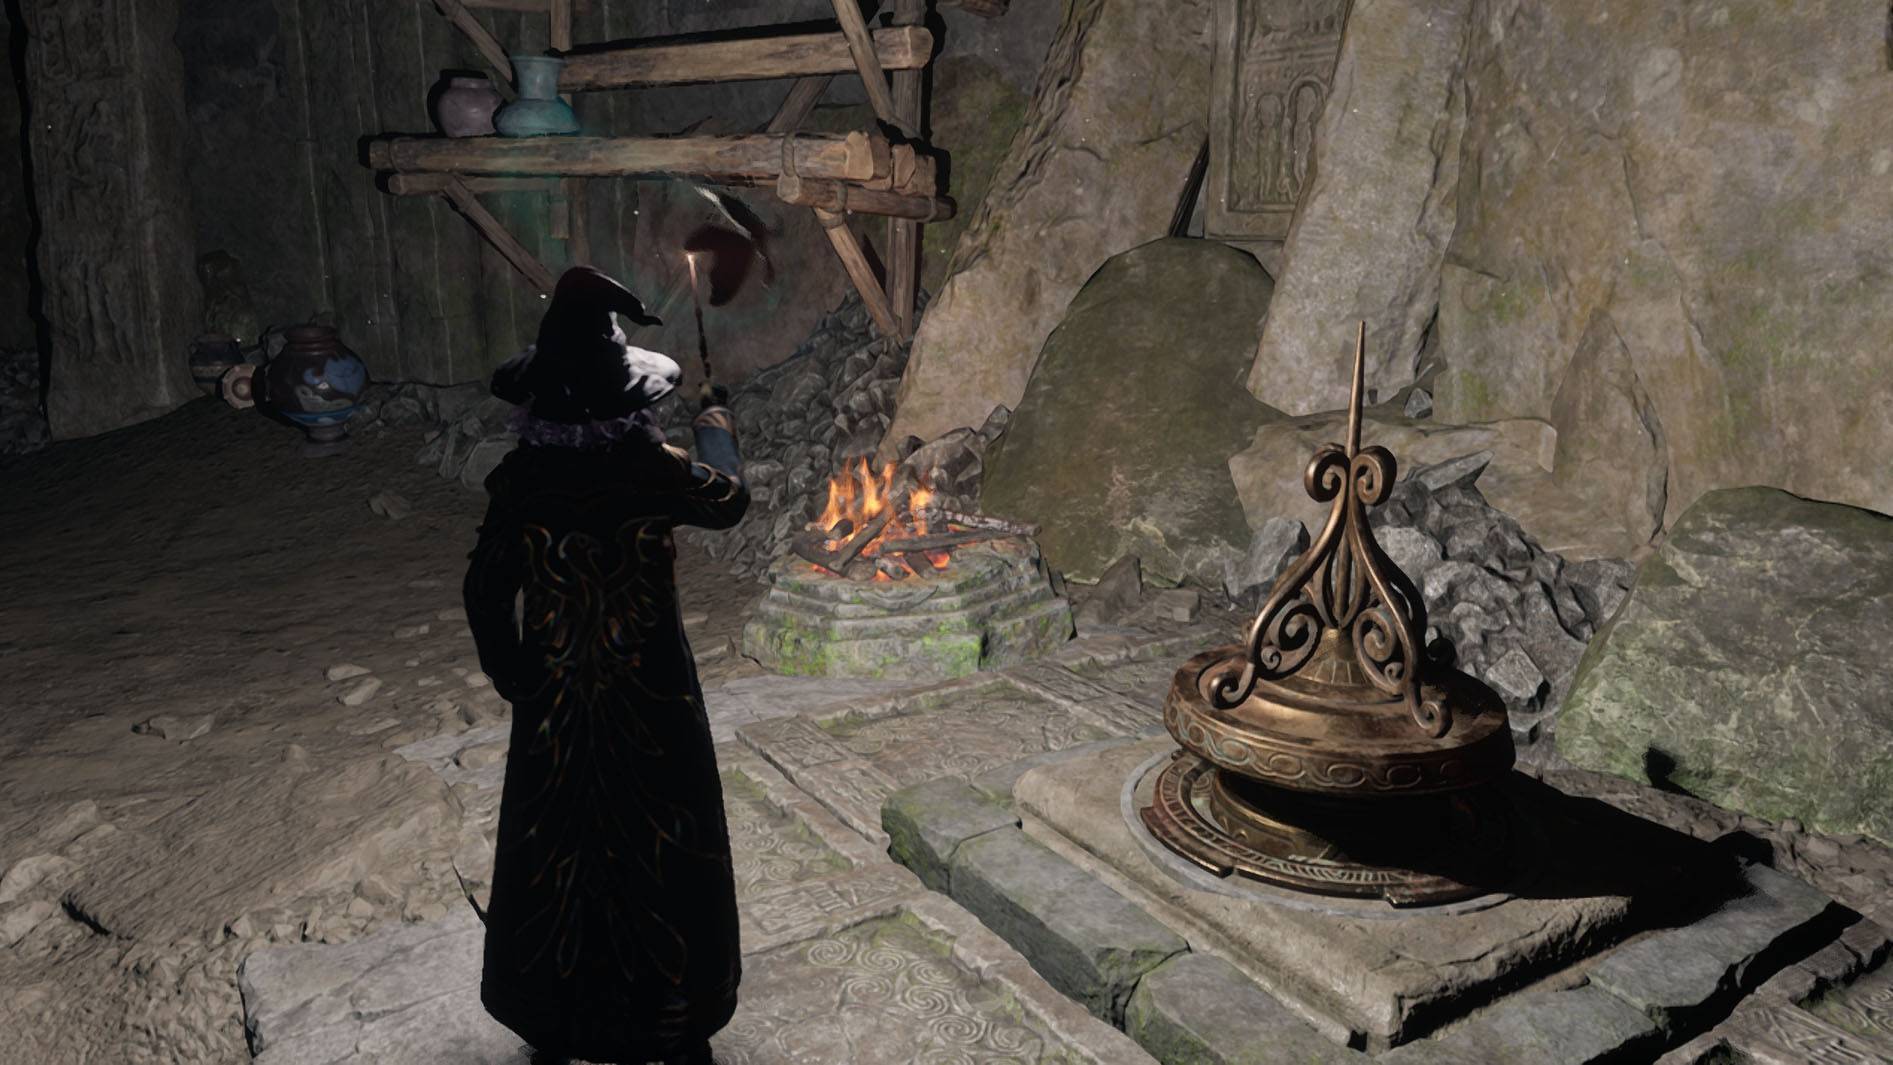
Next grab another moth from the other alcove via Lumos and put it on the perch near the campfire on the ground.
Go stand on the platform against the wall near the spinning mechanism and then hit the mechanism three times with Depulso to lift the platform higher. Quickly turn and attract the moth on your left to you with Lumos. Now run and jump across the lowering platform and bring the moth to the moth puzzle door.
While standing in front of the moth puzzle door, look down at the spinning mechanism and hit it with Depulso three times. Quickly turn and use Lumos to attract the moth on the raised platform to the right.
Deposit this moth in the door. Do not jump off the platform. The third and final moth is in a small alcove to the right of the moth door. Bring it to the door using Lumos and the moth puzzle door will open.
Helm of Urtkot: Leaving The Collector's Tomb
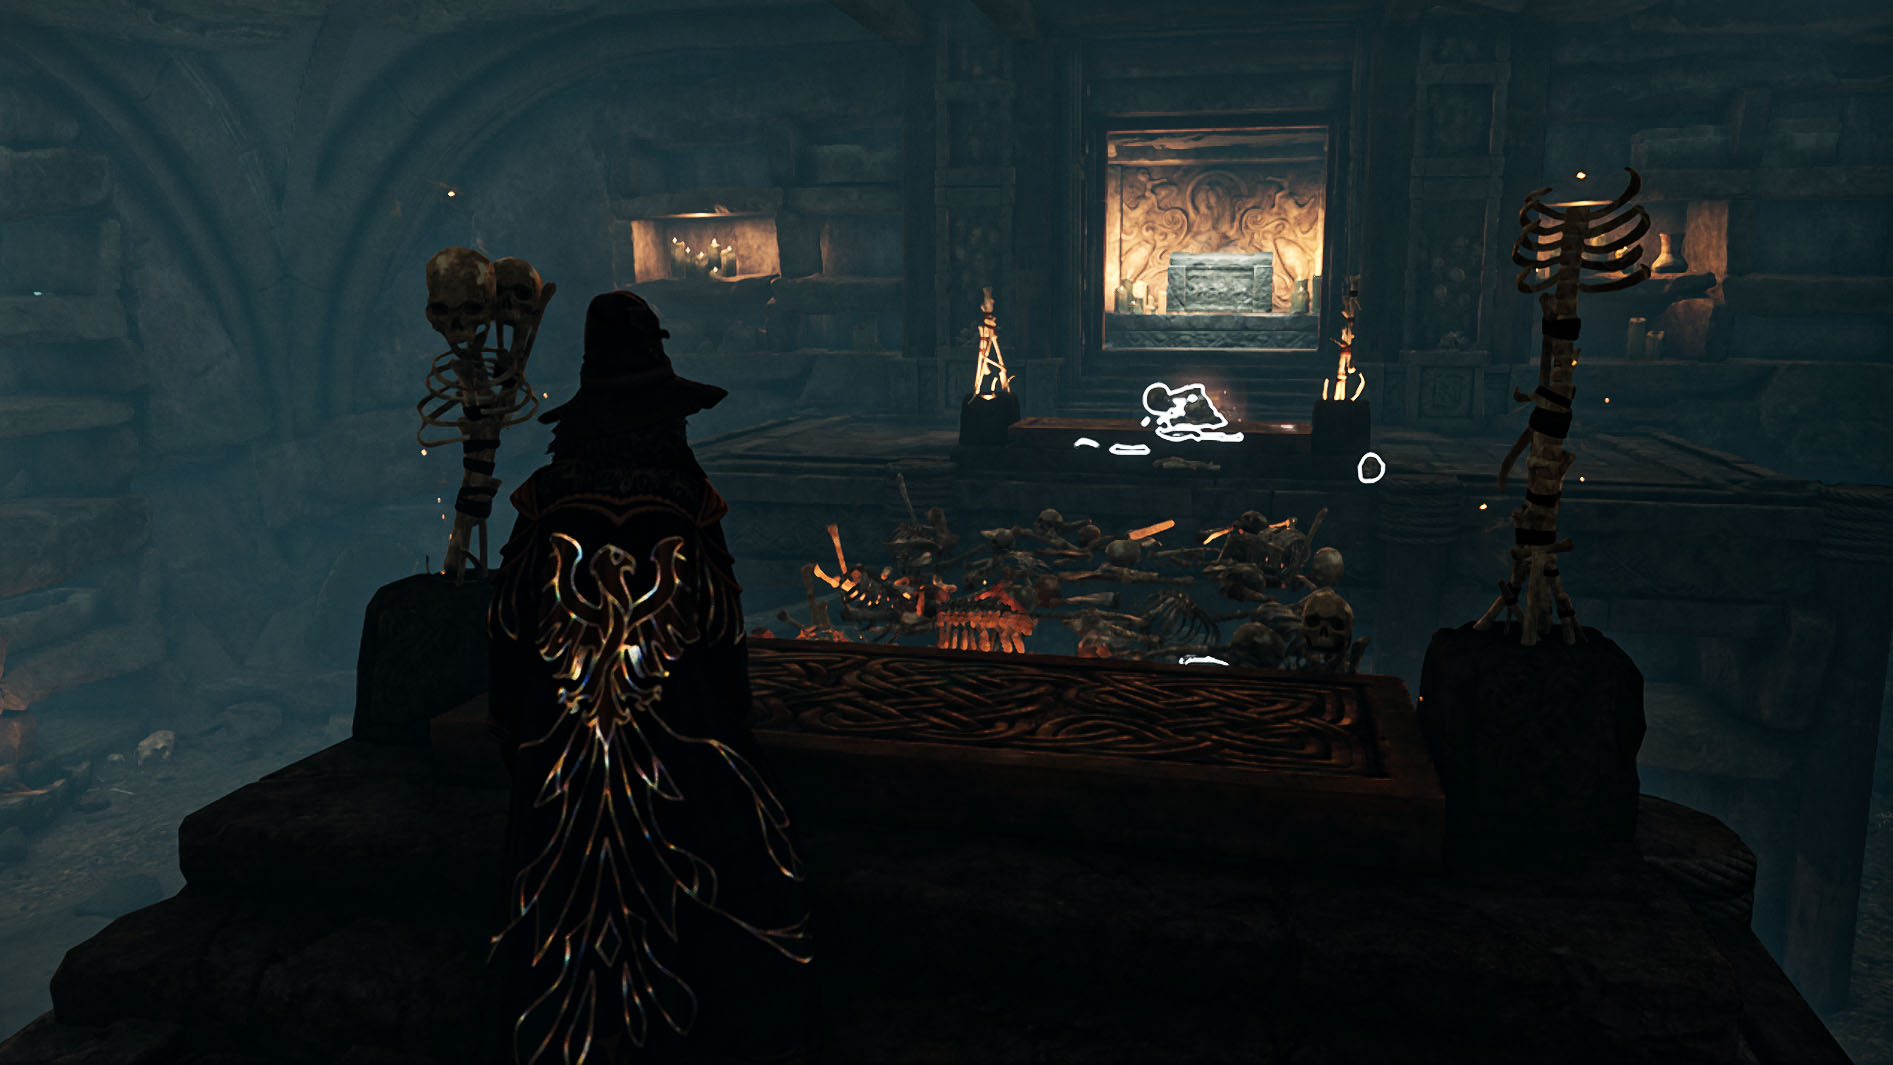
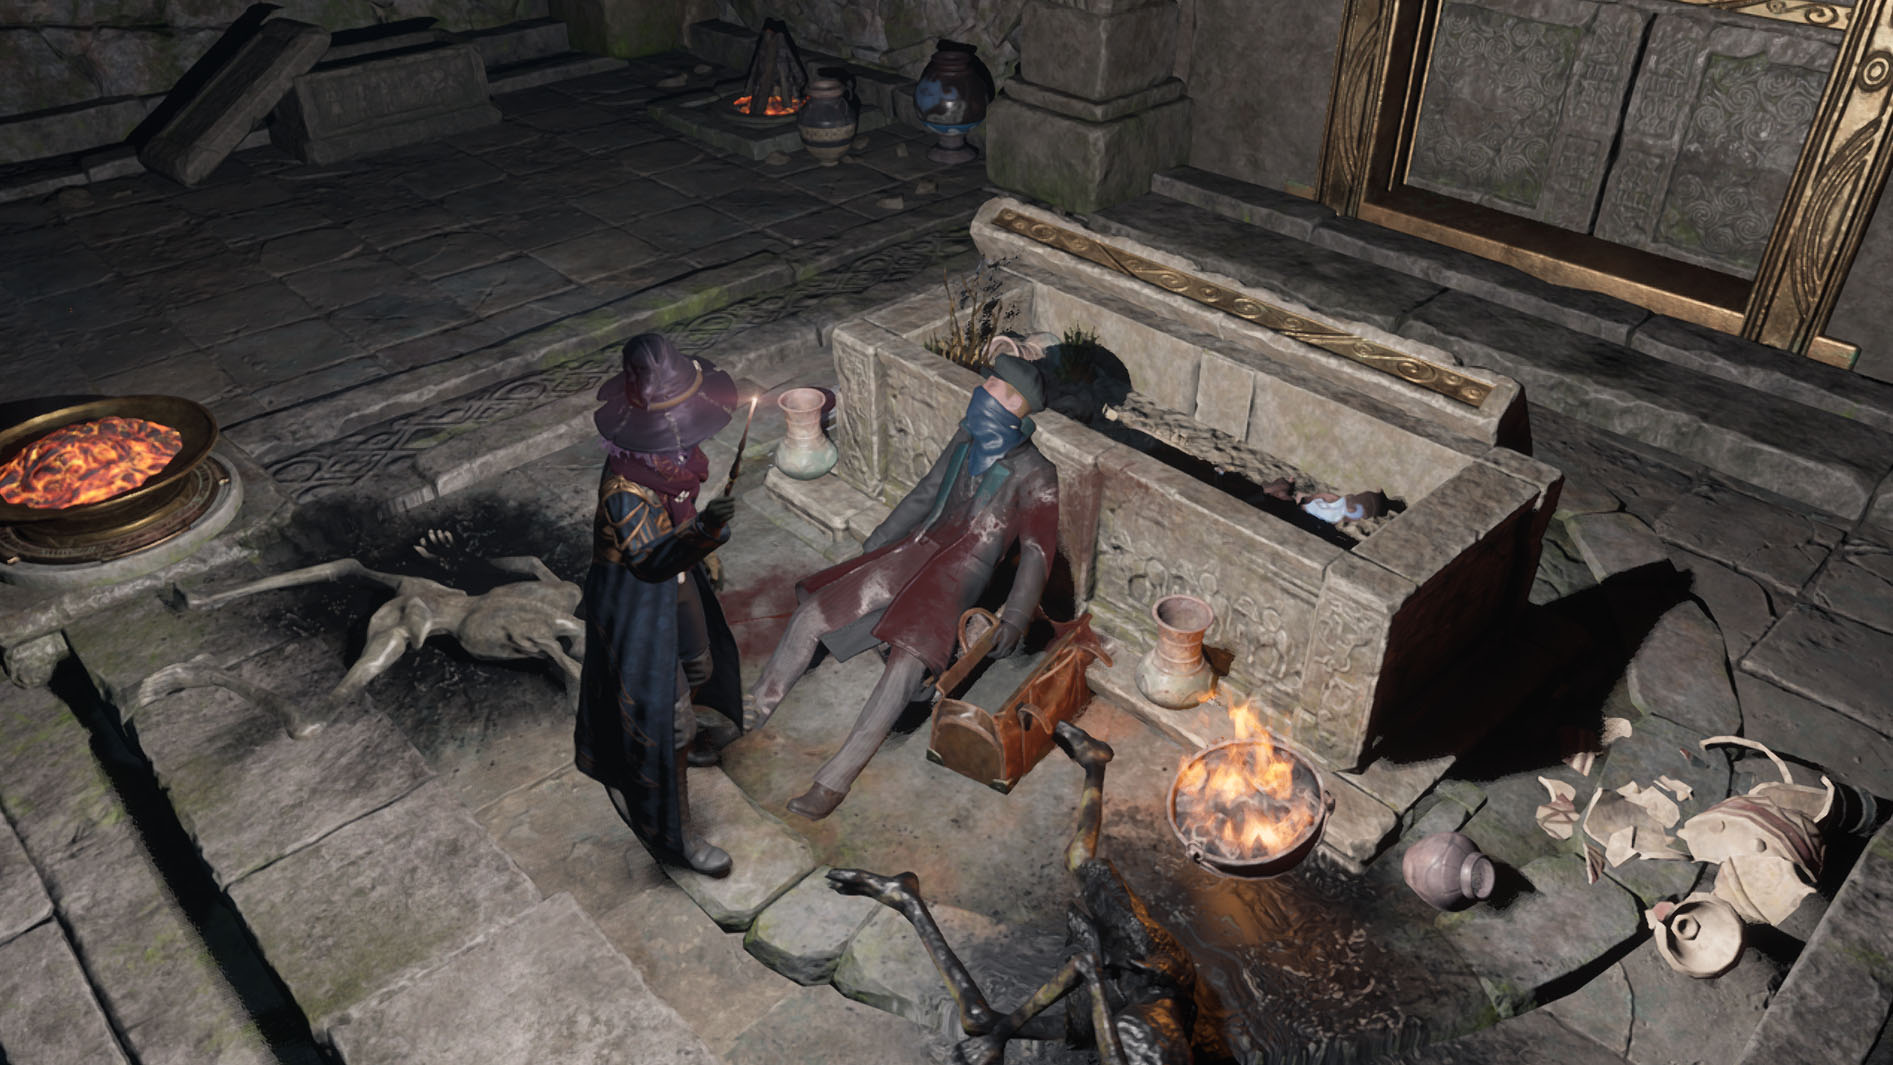
Head through the door and investigate the scene around the open sarcophagus. You'll learn that the Helm isn't even here after all the work you went through to get this far into the tomb.
Now exit the tomb by interacting with the stone slabs behind the sarcophagus.
Helm of Urtkot: Taking care of bandits
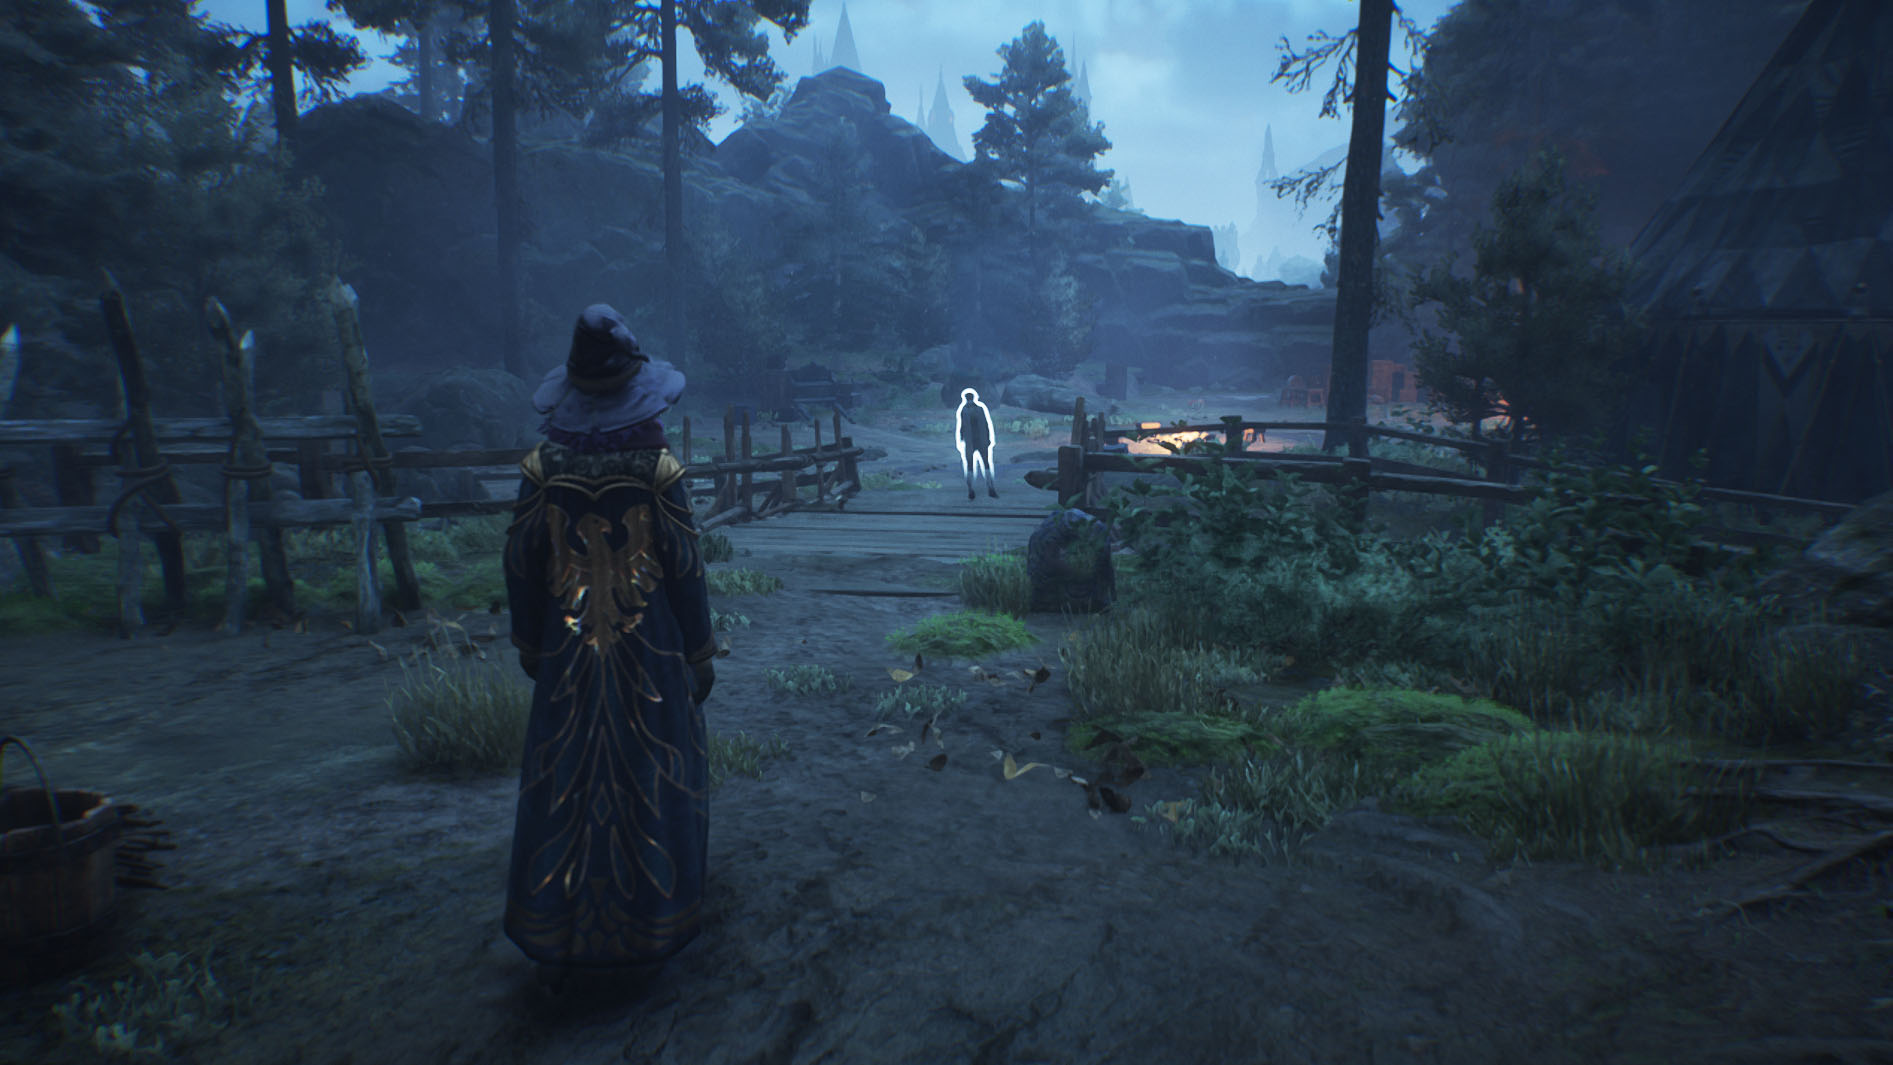
Once out in the fresh air again, you'll talk with Lodgok about the burgled tomb. He'll tell you where you might find the Helm. Head to the Bandit Camp that Lodgok indicates (it's to the west of The Collector's Cave).
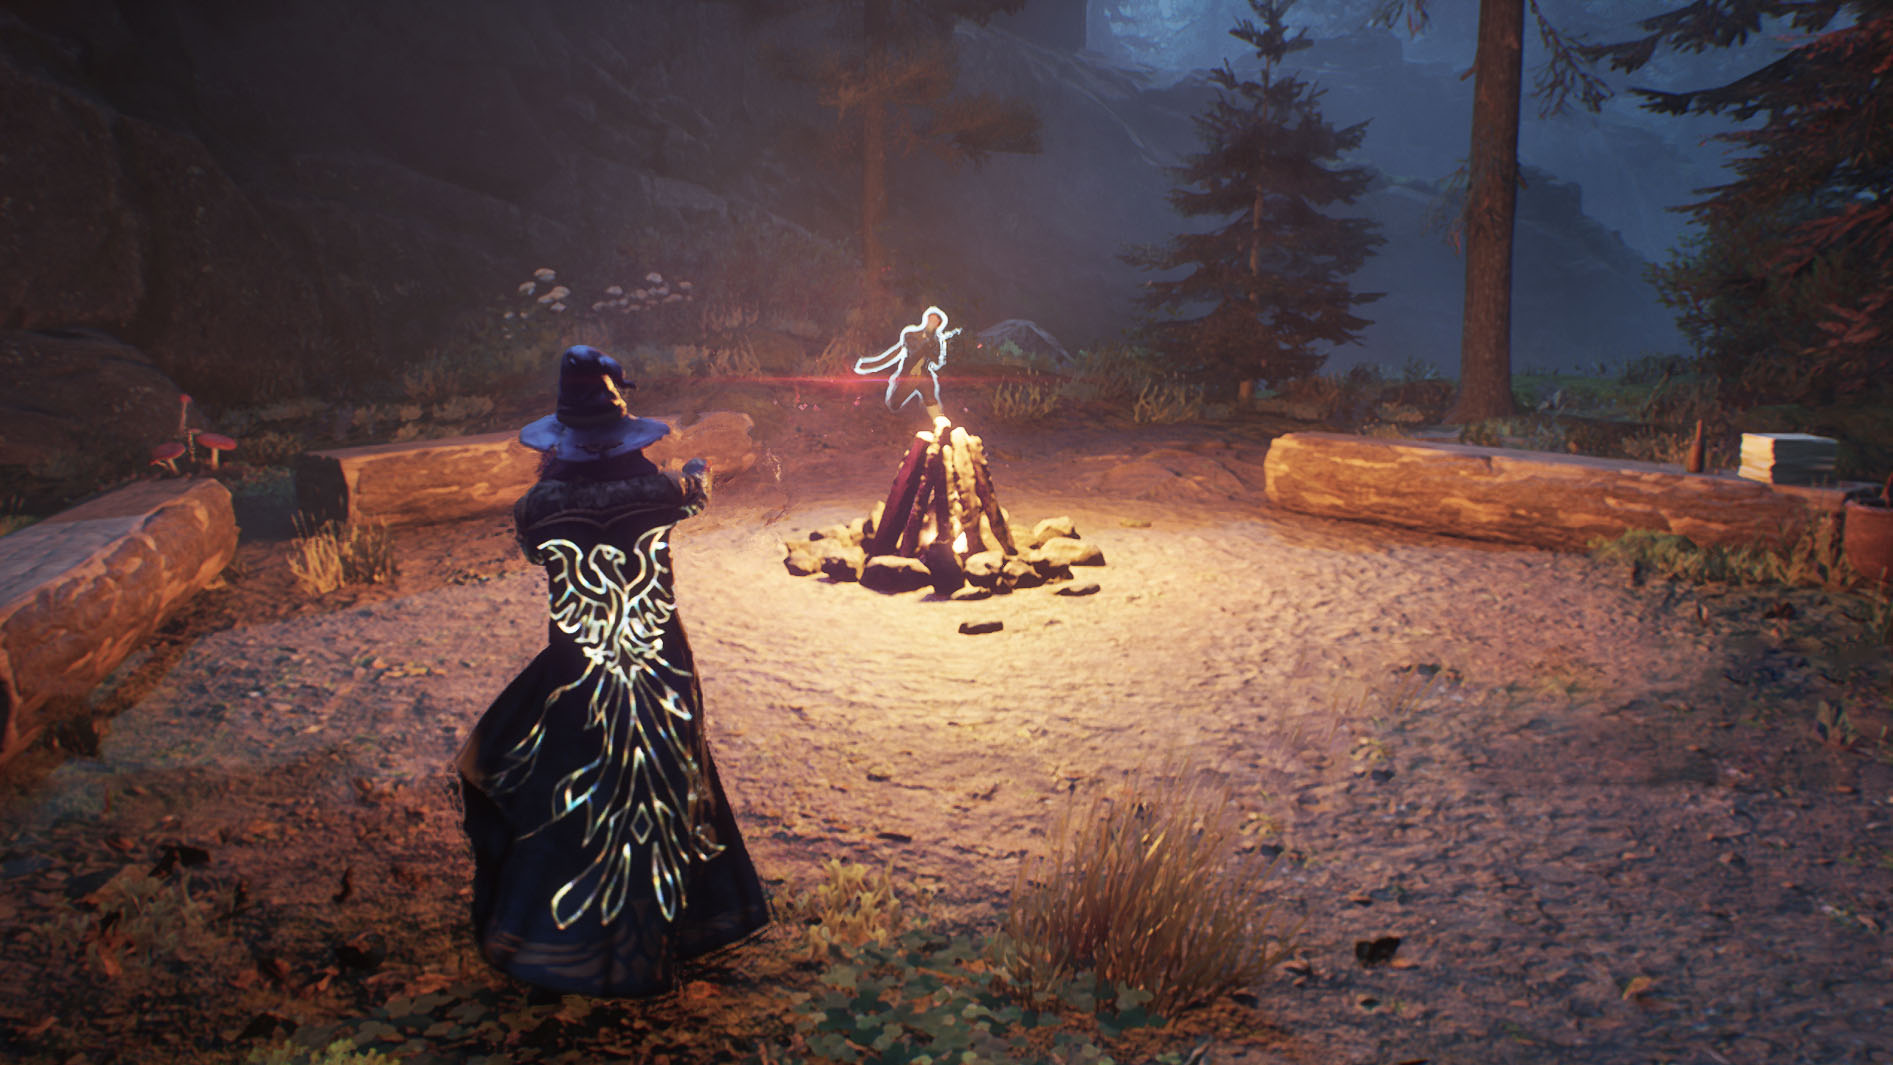
There are several Ashwinders and a difficult troll to defeat at this bandit camp. Work on taking out all of the smaller enemies first so you can then focus on defeating the troll. Make use of hurling objects around you, using your powerful Ancient Magic attacks, and casting your best spells to make this go quickly. You'll also need to be quick to dodge or block depending on the situation. Of course, if your health gets low, drink a potion to freshen yourself back up.
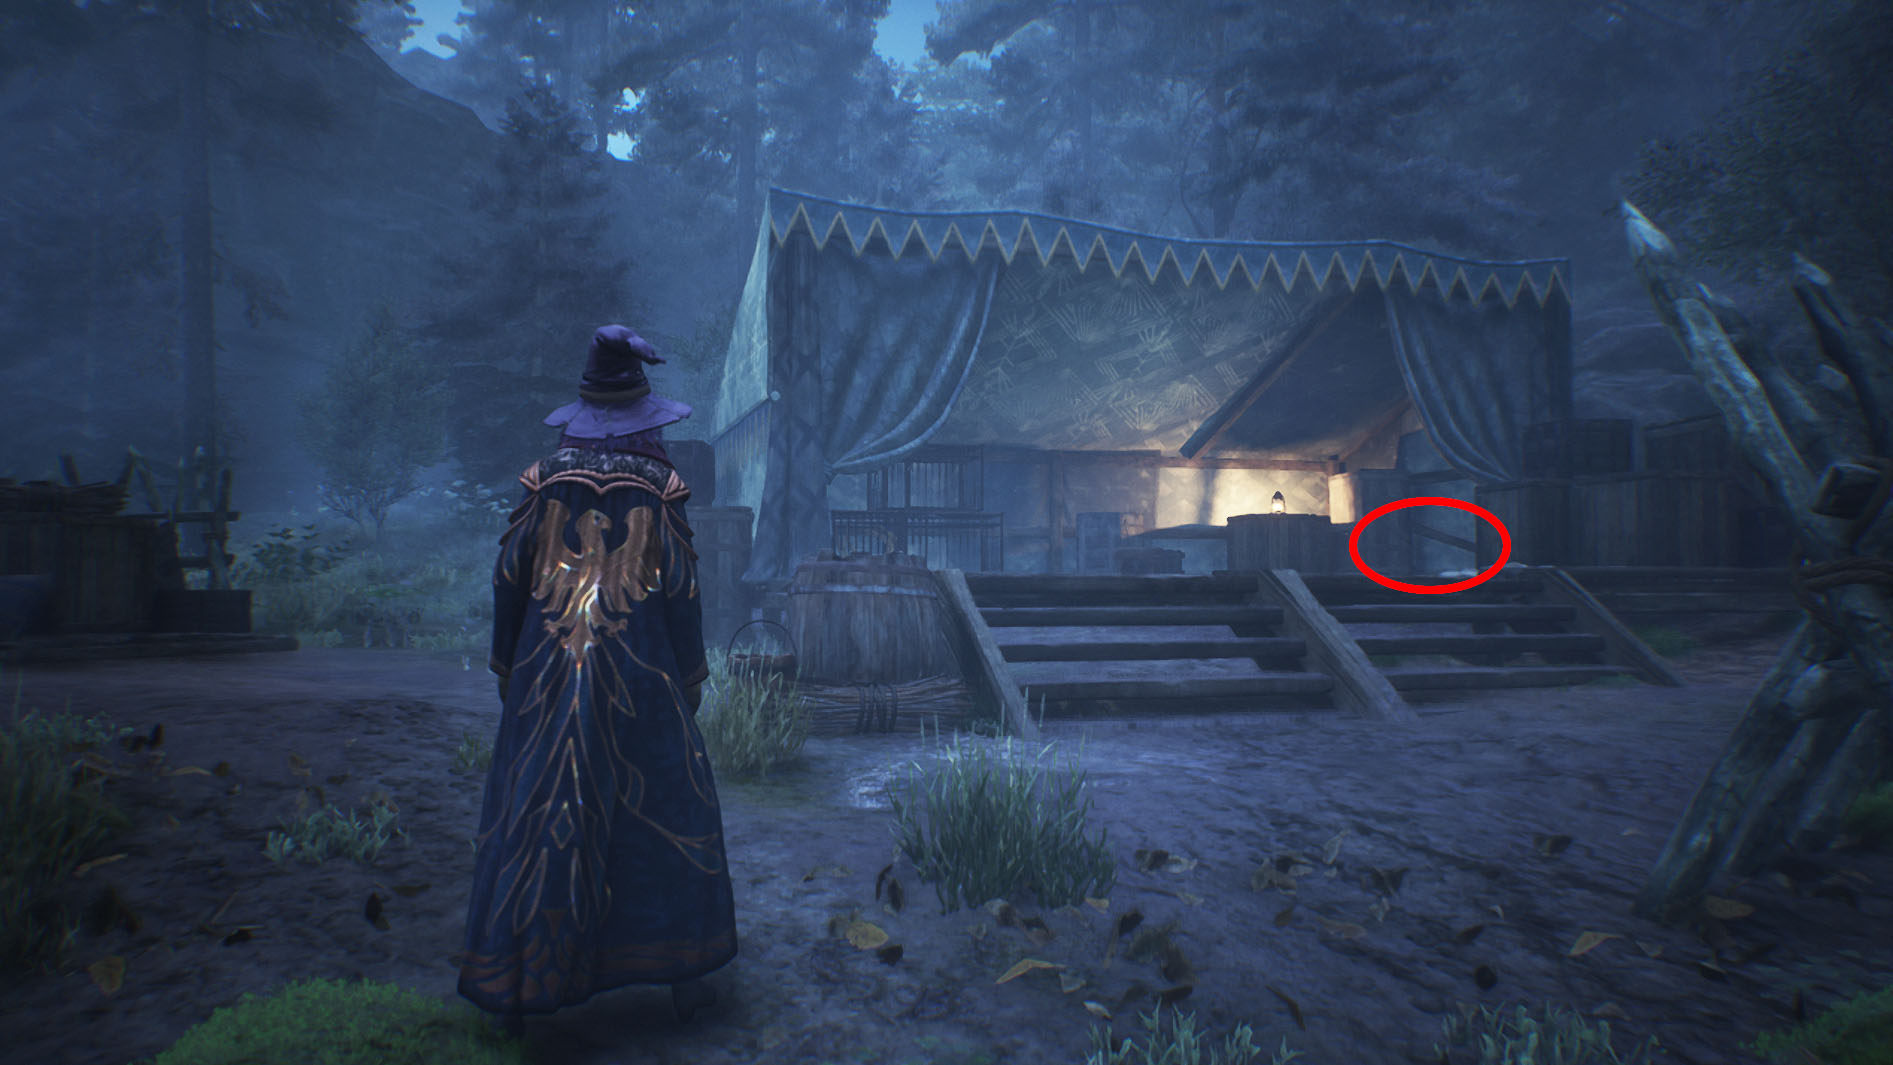
When everyone is defeated, cross the wooden bridge (if you haven't already) go up the wooden stairs to the tent, and open the chest to get the helmet.
An Ashwinder Assassin and other enemies will appear. So you'll need to defeat them as well.
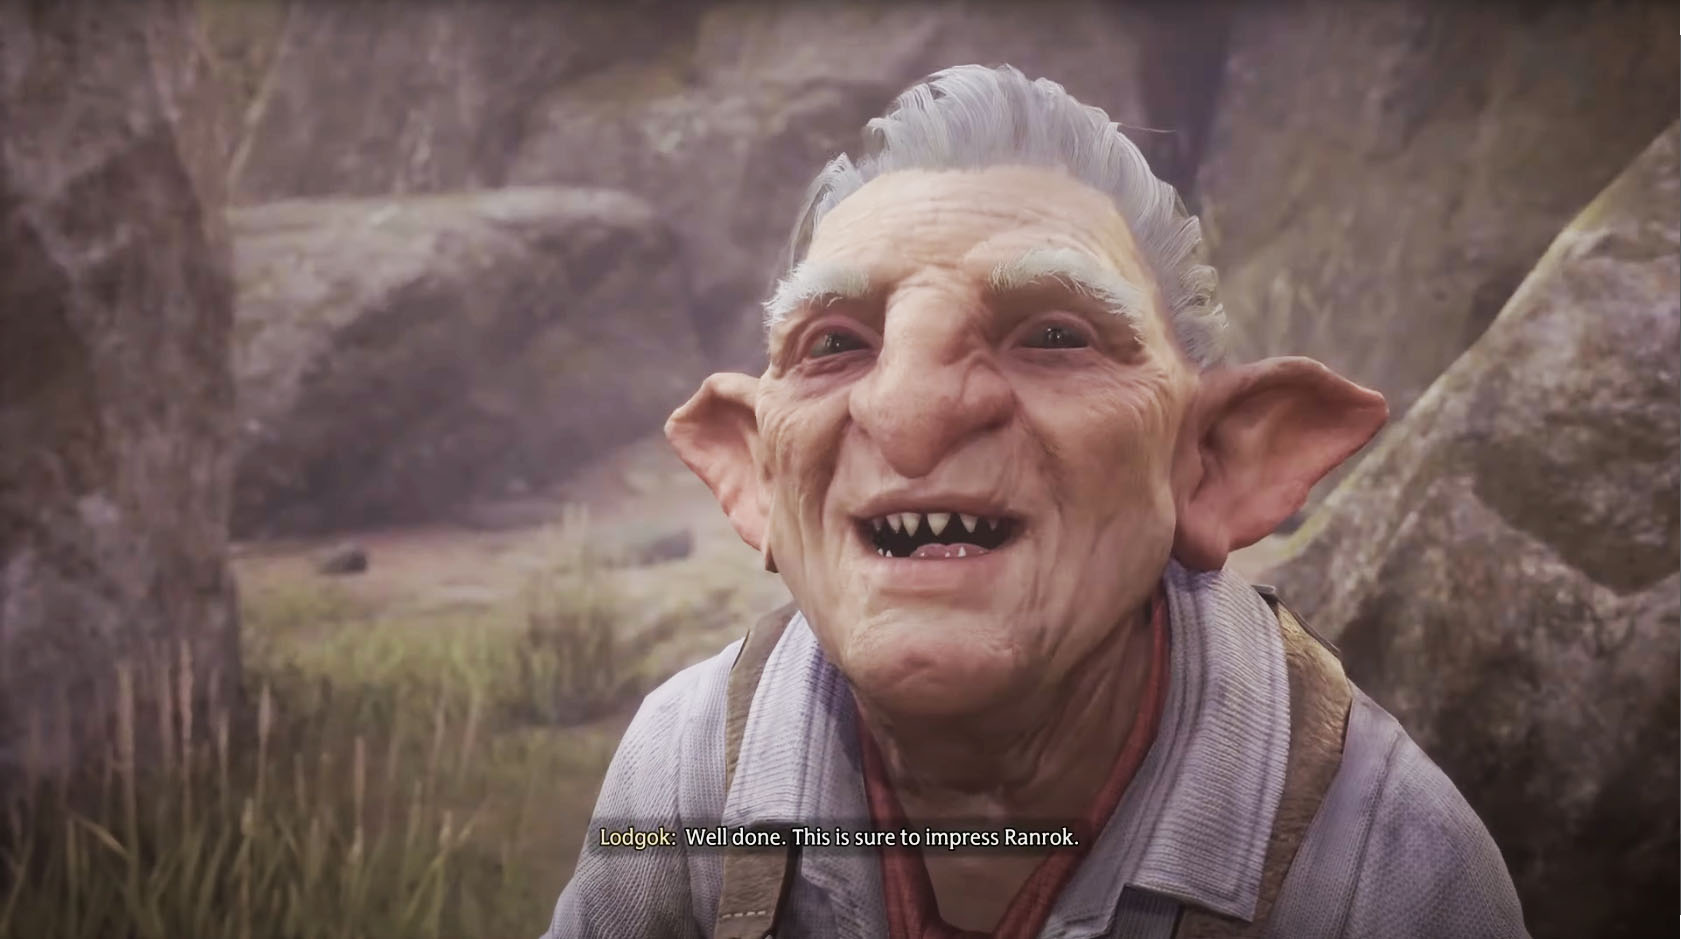
When you're victorious, return to Lodgok who is still near The Collector's Cave and the quest will finish up.
Where is the Helm of Urtkot in Hogwarts Legacy?
Players are tasked with making it all the way through the Witch's Tomb before learning that the Helm of Urtkot isn't there.
You'll need to go to an Ashwinder bandit camp that Lodgok tells you about to find the chest containing the Helm of Urtkot.
How do you solve moth puzzles in Hogwarts Legacy?
You have to get close to a moth and then attract it to you with Lumos. Then, walk the moth to the puzzle mechanism and cast it into the device. If there is more than one moth imprint, you'll need to collect multiple moths.
Making your way through the tomb for Urtkot's Helm
Finally after making it through all of those caverns and moth door puzzles, you get to the back of The Collector's Tomb only to realize that the Helm of Urtkot has already been taken.
It's honestly kind of a let down given how time-consuming the whole dungeon is. But it's easy enough to pick up the Helm from the bandits that stole it once you're out in fresh air again.
Things are ramping up a bit at this point between Ranrok, Lodgok, and the other characters in Hogwarts Legacy. There's plenty more to experience as you find ways to thwart these baddies.

Follow Windows Central on Google News to keep our latest news, insights, and features at the top of your feeds!

Self-professed gaming geek Rebecca Spear is one of Windows Central's editors and reviewers with a focus on gaming handhelds, mini PCs, PC gaming, and laptops. When she isn't checking out the latest games on Xbox Game Pass, PC, ROG Ally, or Steam Deck; she can be found digital drawing with a Wacom tablet. She's written thousands of articles with everything from editorials, reviews, previews, features, previews, and hardware reviews over the last few years. If you need information about anything gaming-related, her articles can help you out. She also loves testing game accessories and any new tech on the market. You can follow her @rrspear on X (formerly Twitter).
You must confirm your public display name before commenting
Please logout and then login again, you will then be prompted to enter your display name.
 Join The Club


