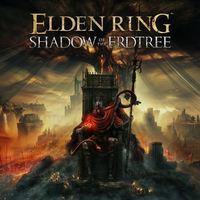
Elden Ring DLC: Bayle the Dread weakness and how to beat in Shadow of the Erdtree
Learn how to defeat Bayle, one of the hardest bosses in Elden Ring's DLC.
- Elden Ring DLC review
- How to start the DLC
- Scadutree Fragment locations
- Revered Spirit Ash locations
- Hand-to-hand martial arts
- Best Elden Ring builds
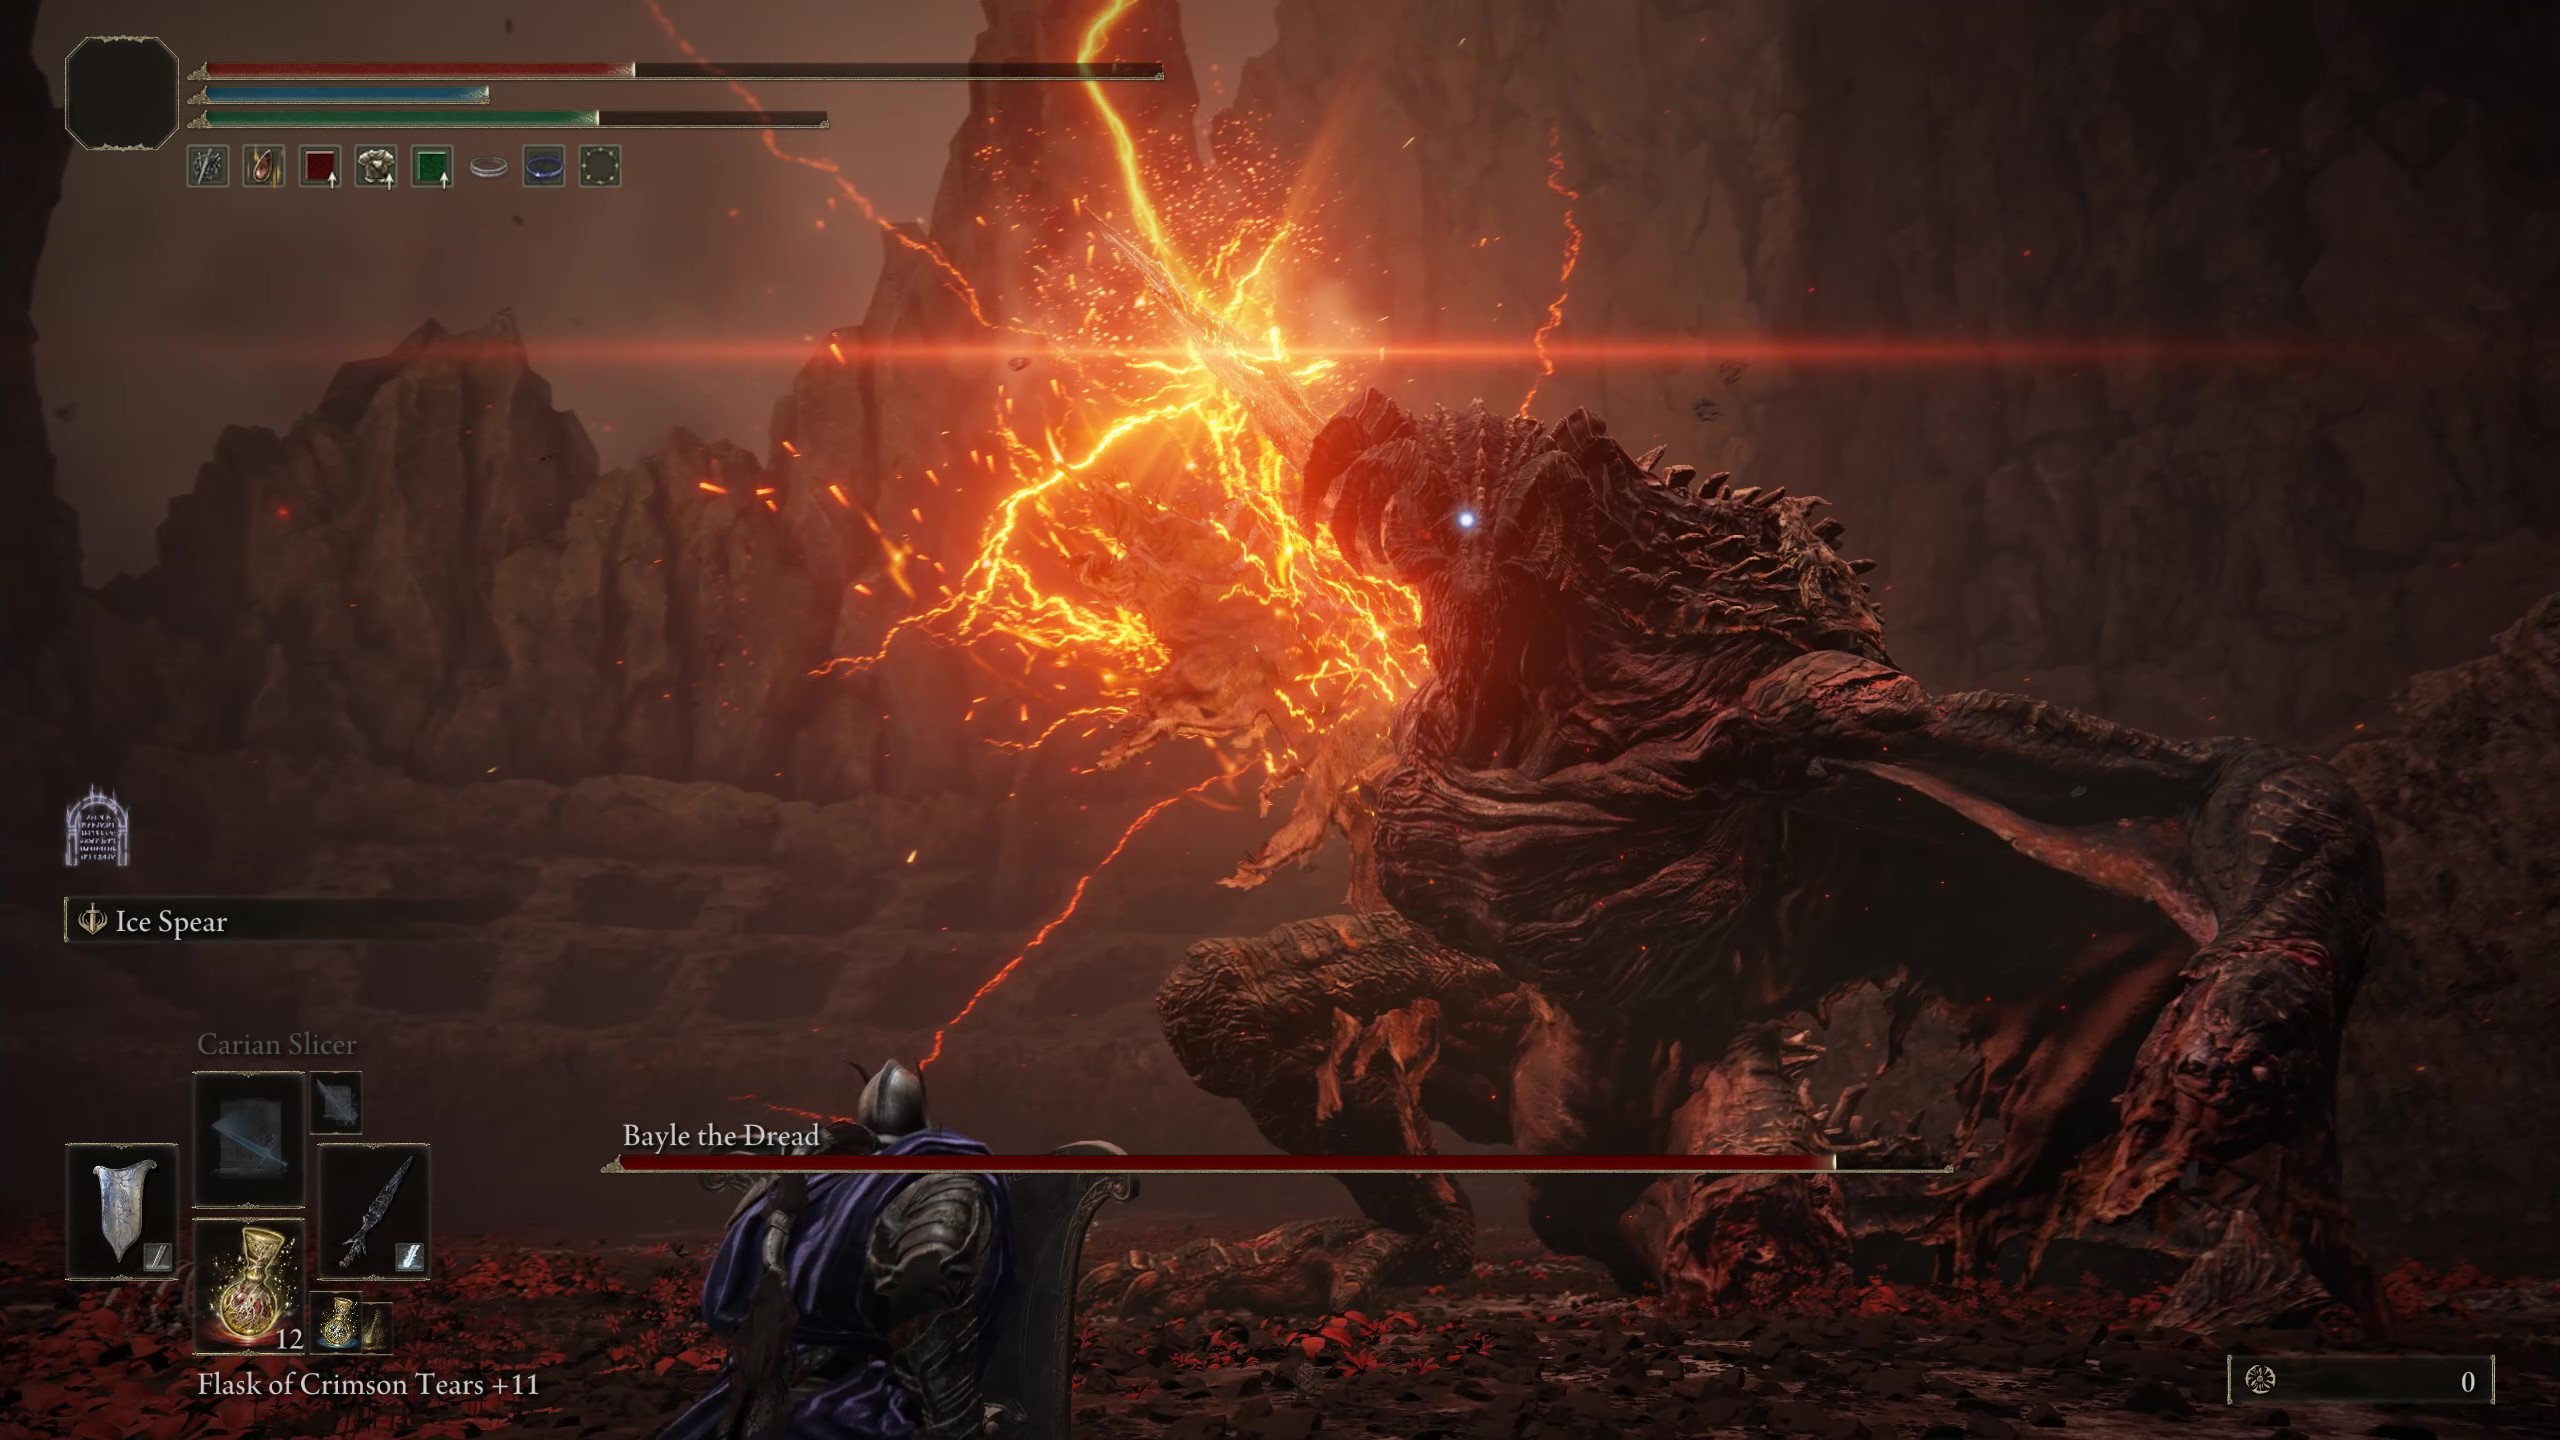
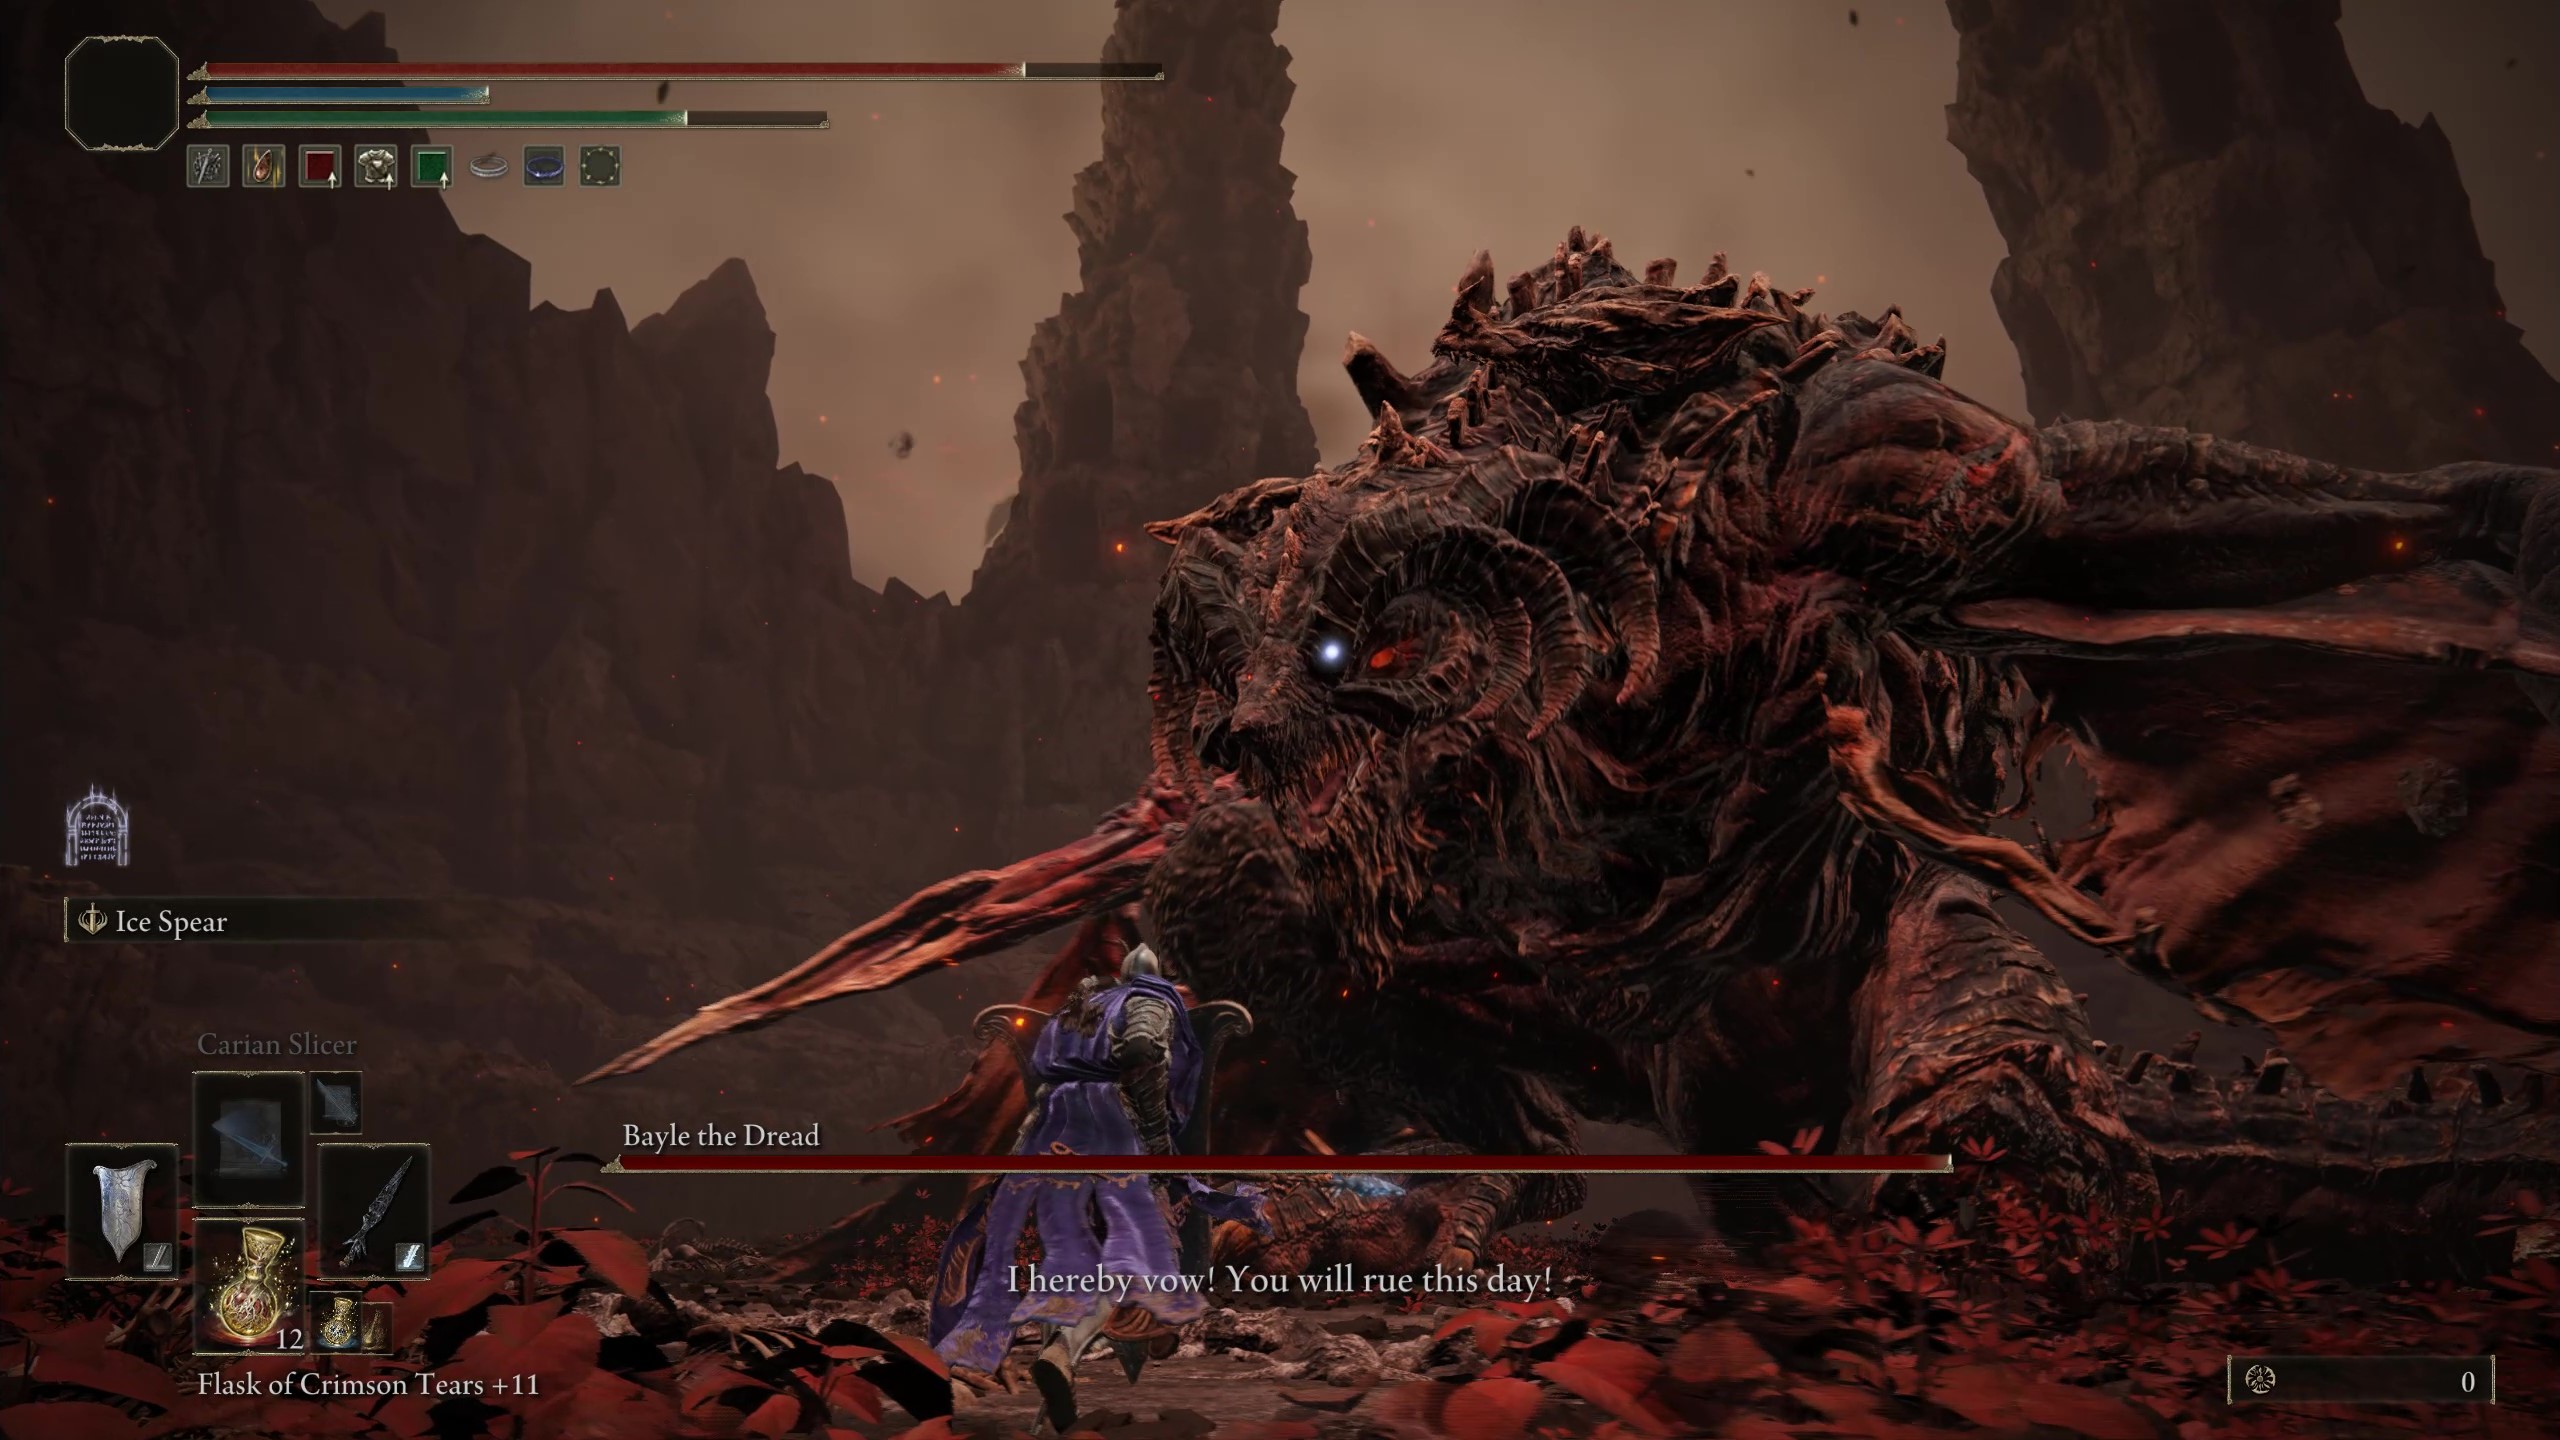
Attentive Elden Ring: Shadow of the Erdtree players who investigate the area near the Suppressing Pillar in eastern Gravesite Plain will discover a hidden pathway that leads to one of the DLC's secret areas: Jagged Peak. This gigantic craggy mountain is home to many different dragons and Ancient Dragons, with one brutal beast at its apex: Bayle the Dread. Known and feared for his savagery, he's unsurprisingly one of the hardest bosses you can fight in the Land of Shadow.
Like most Shadow of the Erdtree bosses, Bayle hits incredibly hard, and has multiple attacks that will likely catch you off-guard until you learn how to counter them. Unlike other bosses, though, the ancient dragon is only weak to one damage type and one specific type of weapon buff, and is highly resistant to all status effects.
To say that Bayle is extremely tough is an understatement — but the bout with him is an incredible one that's full of jaw-dropping spectacle and some of the best music ever added to Elden Ring. If you're having a hard time taking him down, I've put together an in-depth boss guide below that goes over some general tips for defeating him as well as a complete overview of his moveset and how you can dodge each of his attacks.
Bayle the Dread weakness and tips
- Consider coming back to this fight towards the end of your DLC playthrough once you have most or all Scadutree Fragments and Revered Spirit Ashes. Bayle is unquestionably one of Shadow of the Erdtree's hardest boss fights despite the fact you can reach him very early, so it helps to come with the best possible damage output and reduction.
- The Ancient Dragon's Blessing consumable given to you by the Dragon Communion Priestess at the Grand Altar of Dragon Communion in southwestern Jagged Peak can help quite a bit in this fight, though fast traveling to her to get one each time you die is annoying. This item boosts your damage negation and blocking capabilities considerably for a small FP cost, and lasts for 70 seconds. If used at the right time, it can be a difference maker.
- Igon, the Dragon Communion NPC you can summon for this fight, doesn't deal much damage but is extremely tanky, can hold Bayle's aggro fairly well, and even debuffs his attack and defense with the Greyoll's Roar incantation. Summon him if you're having a particularly hard time staying alive.
- The Mimic Tear Spirit Ashes are also fantastic for this fight for the same reason. They're less resilient, but will contribute more damage.
- Many of Bayle's attacks deal a combination of Fire and Lightning damage. If you're struggling to survive against these, you may want to equip or use talismans, spells, and consumables that reduce Fire and Lightning damage.
- Bayle is highly resistant to most status effects, though you can Bleed him to deal big chunks of damage. Arcane or Dexterity builds can take advantage of this better than others, as they have access to the strongest Bleed weapons and buildup.
- Being a dragon, Bayle takes considerably increased damage from weapons when they're buffed with Dragonwound Grease. If you're using a non-elementally infused weapon, definitely bring this consumable along and keep it in your quick menu so you can reapply it when needed.
- Note that the Dragon-Hunter's Great Katana — the weapon dropped by the Ancient Dragon-Man in the Dragon's Pit that led you to Jagged Peak — has an Ash of War that buffs the sword with Dragonwound while you perform a leaping slash with it. This makes it an exceptional weapon for killing dragons, and it's top-tier against Bayle, too.
- Bayle's only other weakness is Pierce damage, so try to use it if possible. Spears and Halberds are typically the best options for Pierce damage, though many different sword-type weapons have thrusting attacks that inflict Pierce damage as well.
- Bayle can be stance broken with heavy attacks from decently heavy weapons or powerful Ashes of War, giving Strength builds good opportunities to land a critical hit. Be aware, though, that due to how fast Bayle is, you likely won't have time to charge heavy attacks. It's best to use jump heavies to break his stance for this reason.
Boss guide: How to beat Bayle the Dread
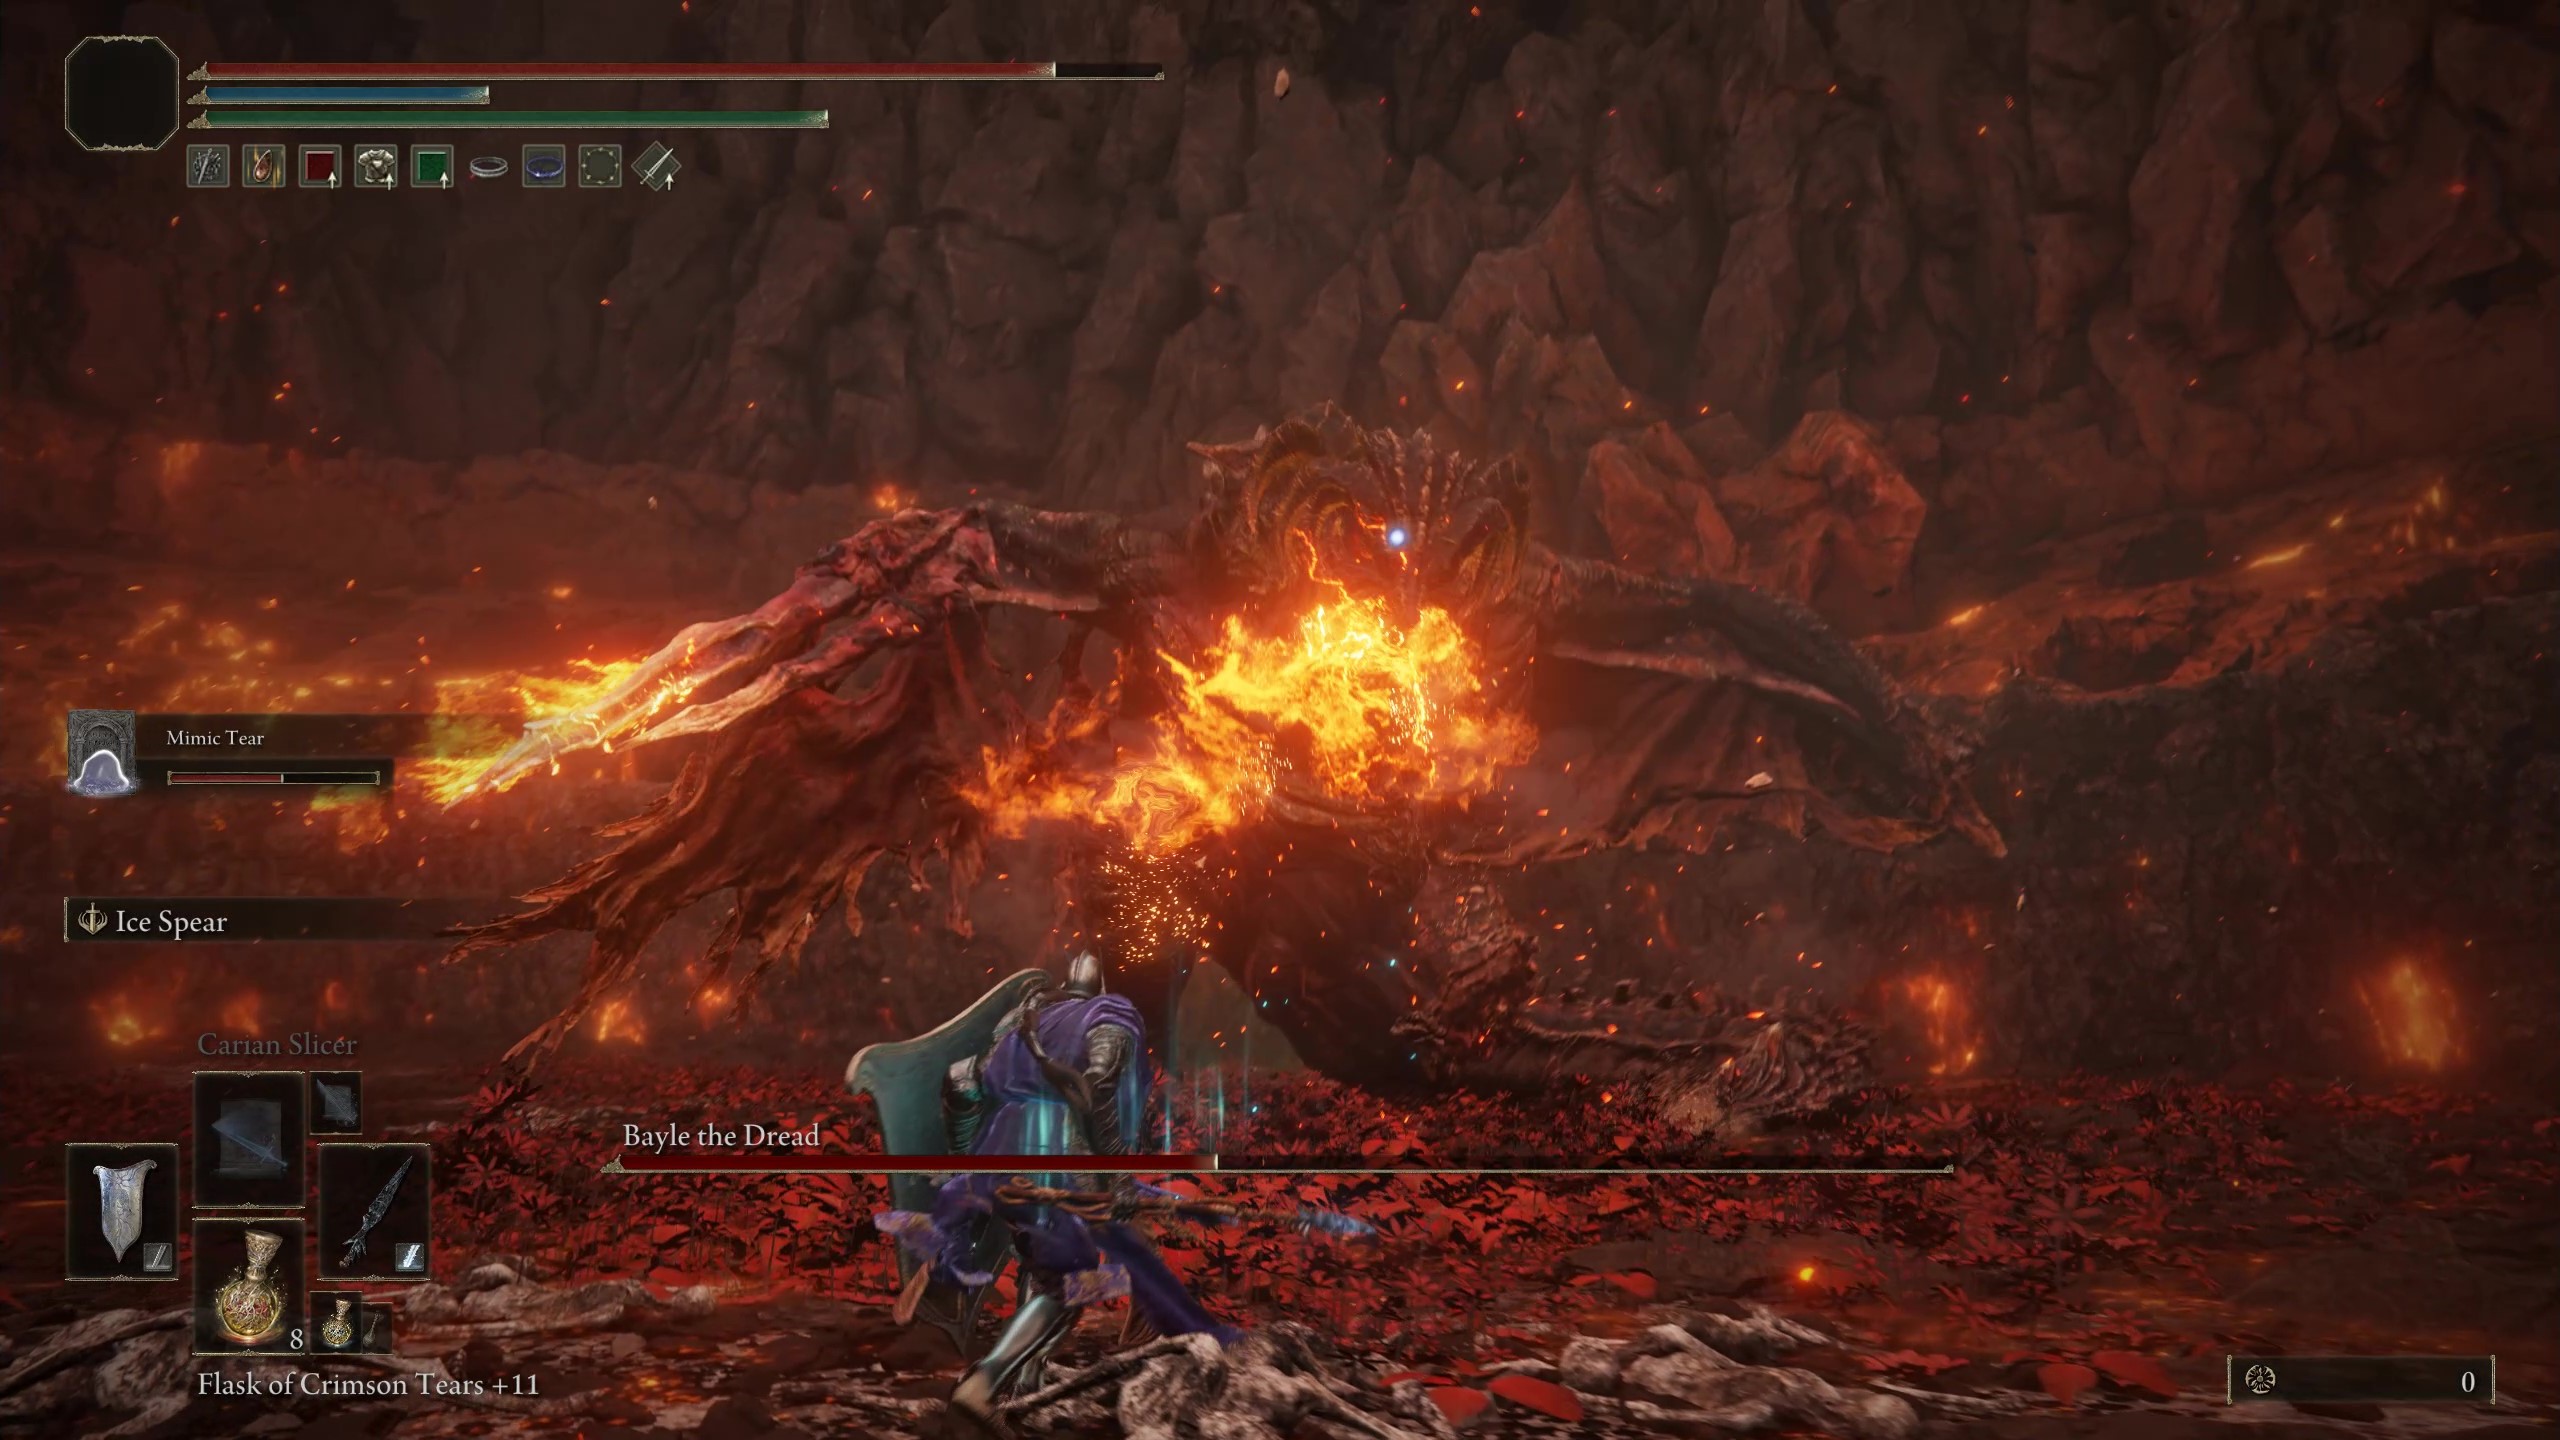
- Similar to Darkeater Midir from Dark Souls 3, it's important to stay near Bayle's head since this is the only part of his body you can lock onto and reliably hit. Dodge to the side or backwards when avoiding the majority of his attacks to do this. Getting caught under Bayle is awkward, both because the camera makes it hard to see and because his attacks are very difficult to read when you're there.
- Bayle's basic attack combos are a combination of two claw sweeps and/or bites. They're very clearly telegraphed and simple to avoid, though they're delayed, so make sure you don't roll prematurely.
- If Bayle pulls back slightly and gathers lightning in his mouth, he's about to go for a lethal bite grab. Roll to the side as this comes in to avoid being chomped.
- When Bayle roars while on the ground, multiple delayed lightning strikes will follow his target. Dodge rolling repeatedly or sprinting will allow you to safely evade these.
- If Bayle rears back and roars, he's about to perform a combo of two claw sweeps followed by a slam. Roll to the side with the first two attacks, than backwards as he slams.
- When Bayle powers his claw with lightning, he's about to do a single extremely damaging slam. This is pretty easy to dodge, but it does massive damage if it lands.
- If Bayle leaps into the air, he'll attempt to land on you with his feet shortly afterwards. Dodge backwards just as he crashes to the ground to avoid damage and give yourself the opportunity to hit his head.
- If Bayle leaps back and turns his body, he's about to go for a tail swipe before jumping back into close range. He may also do this if you're near his tail. A well-timed dodge in any direction will work for this one.
- Bayle has three different types of fire breath attacks. Here's how to dodge each one:
- If Bayle sweeps the arena with fire: Roll directly through the fire as it passes you.
- If Bayle breathes fire directly at you: Sprint or dodge to the side.
- If Bayle breathes fire directly below him: Sprint or roll away from him.
Bayle the Dread Phase 2
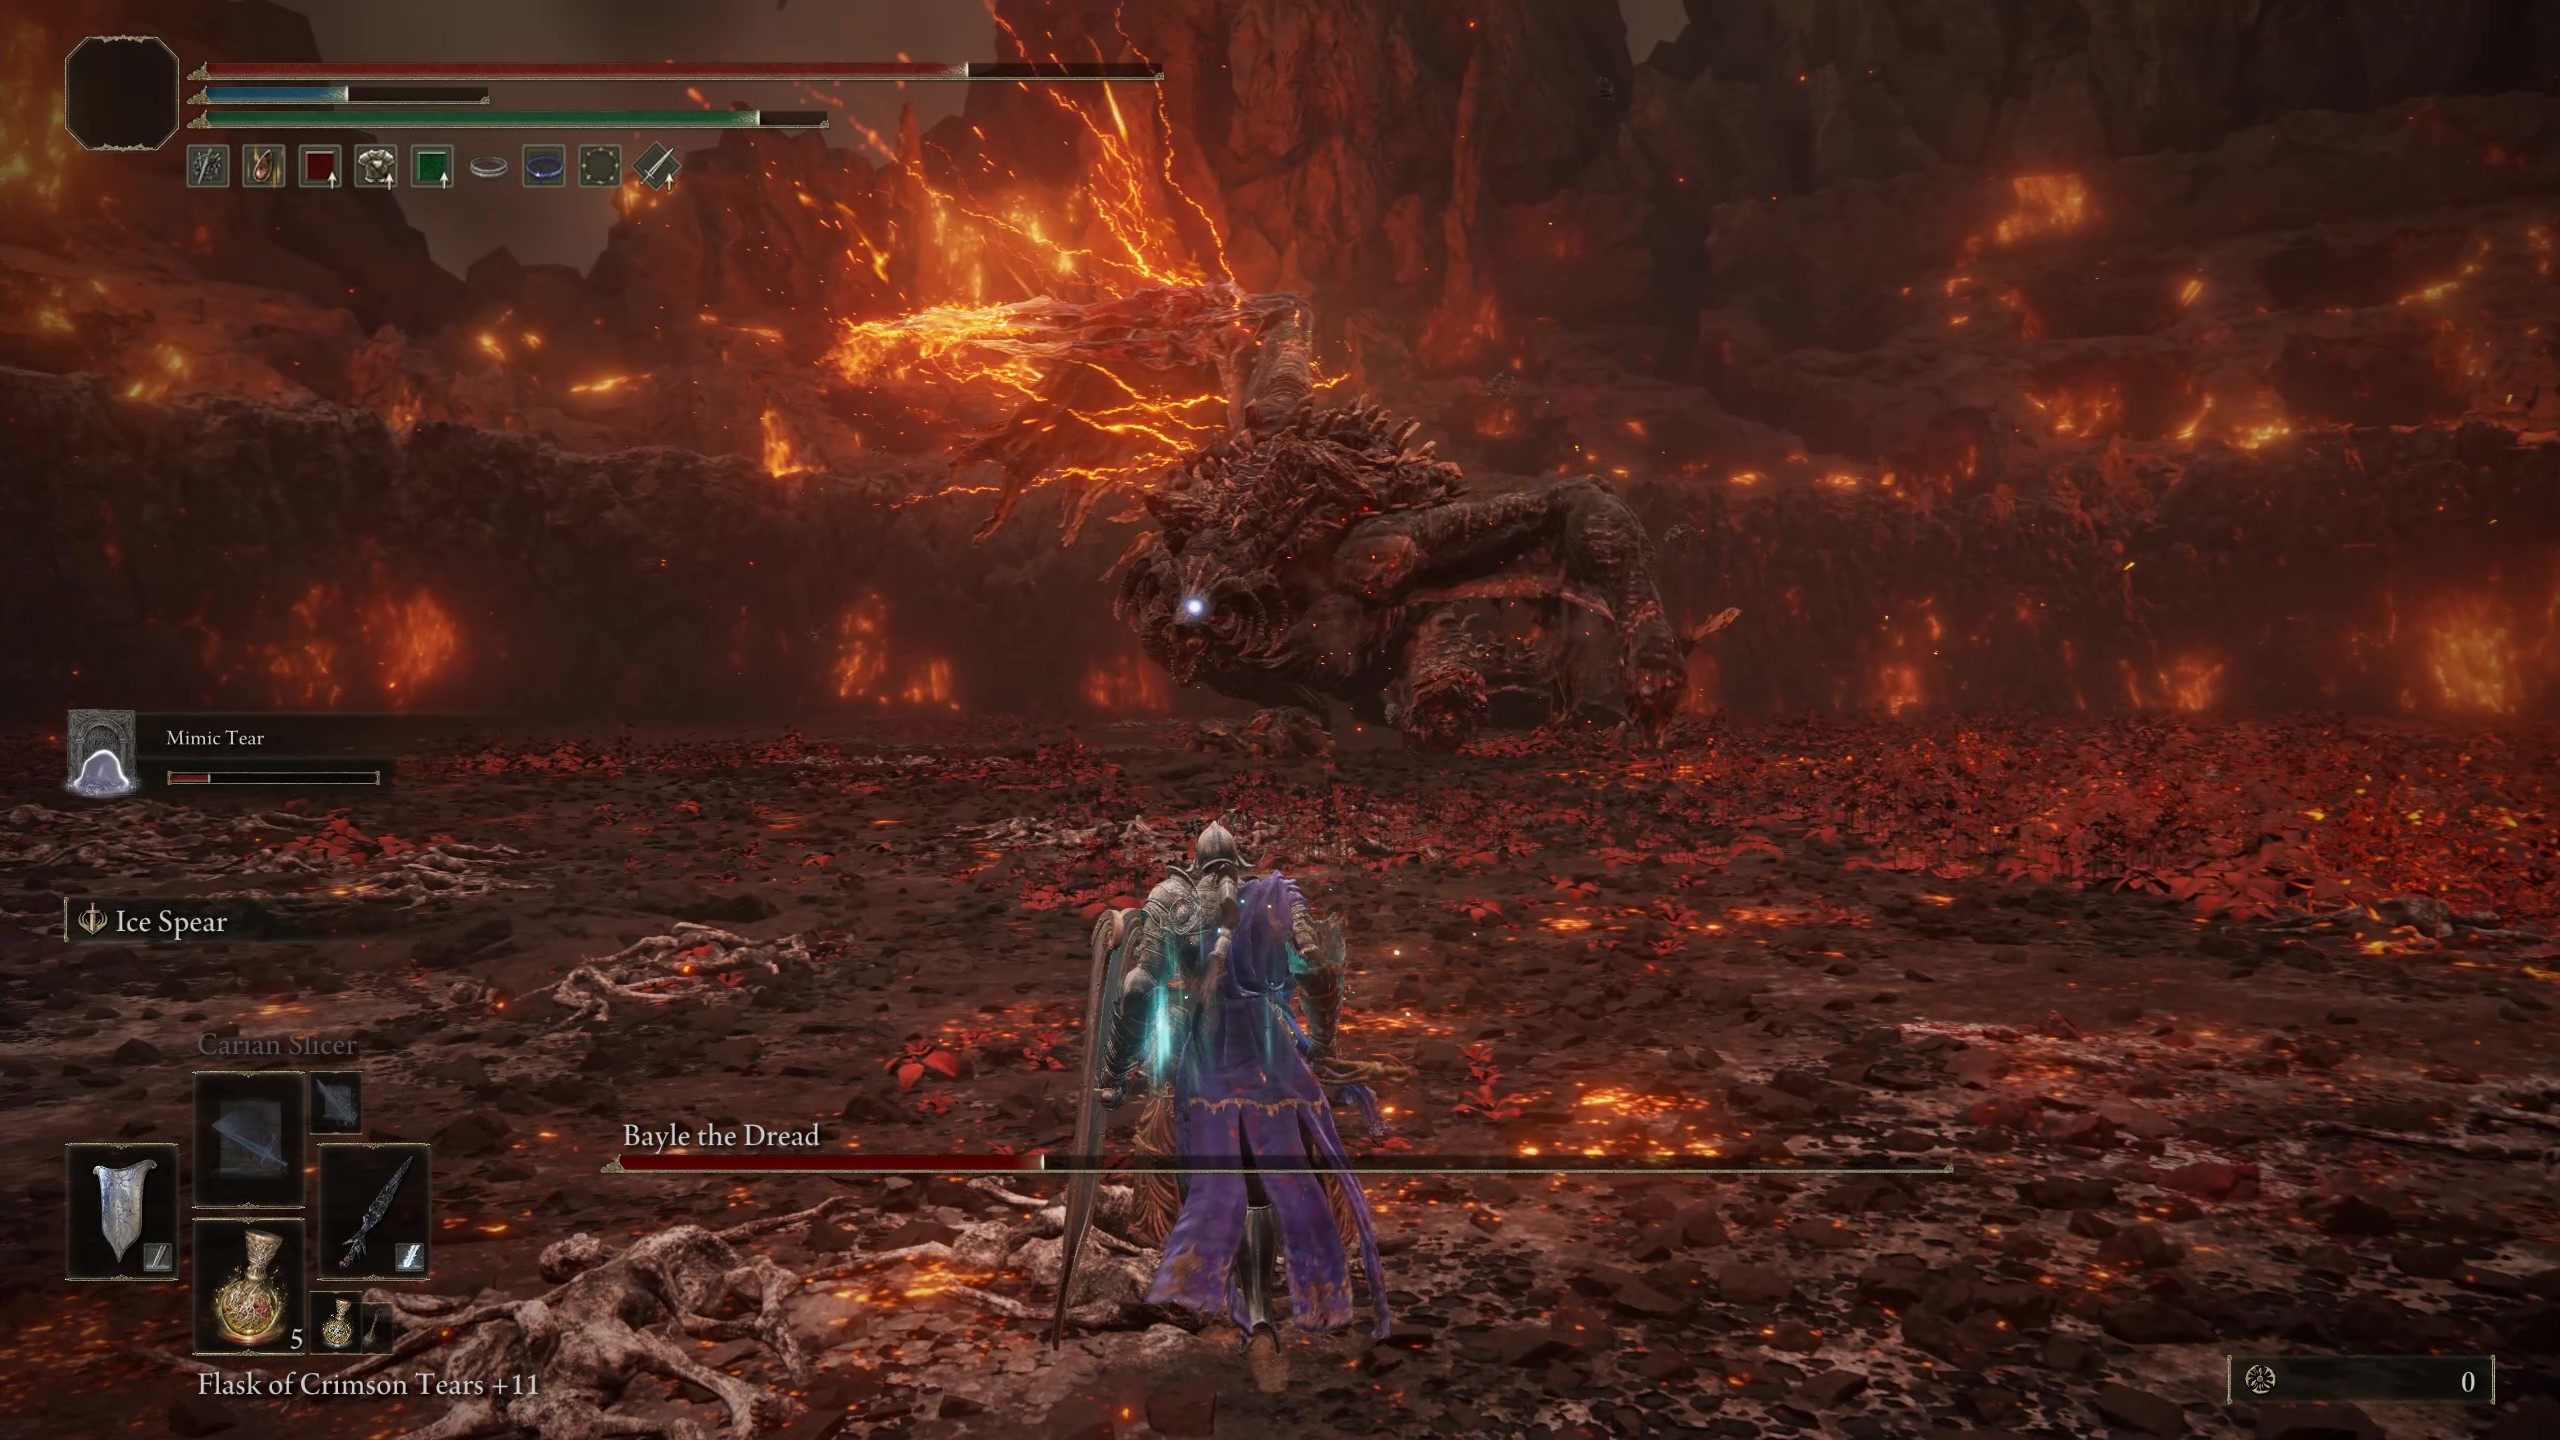
At close to 50-60% health, Bayle will stand still and channel energy around him before exploding in a fiery lightning blast and sprouting electric wings, signaling the start of Phase 2. He gets some wild new attacks in this phase, and also empowers several of his previous ones with extra damage. Here's how to survive the rest of the battle and take him down.
- Casters and ranged Ash of War users can get in a good amount of free damage on Bayle as he performs his phase transition, provided they're not standing on any of the swelling molten energy around him before it explodes. He may do this move again throughout Phase 2, so keep that in mind and take advantage of it if he does.
- After Phase 2 starts, Bayle will perform his first new move in which he flies high around the arena, raining meteor-like fireballs down on you before flying into you as he lands. Avoid the fireballs by sprinting or dodge roll spamming to the side, then carefully time a roll through Bayle as he crashes into you.
- His other new attack involves him hovering above the arena and breathing a massive wall of rolling fire towards you before following up with a vertical laser-like beam of his fire-lightning, the trail of which will explode after a moment. Roll through the wall of fire he sends at you first, then dodge to the side to avoid the beam. Keep dodging or sprint to the side afterwards to avoid the beam's secondary explosion as well.
- In Phase 2, Bayle's right claw is also permanently imbued with lightning, making his attacks with it deadlier. They also leave behind a small group of delayed lightning strikes. Make sure to carefully avoid these when you go to hit him between his combos.
- Bayle's three-hit combo that ends in a slam also now creates a vertical line of delayed lightning strikes, so dodge to the side when rolling it in Phase 2. You still have time to roll again to avoid them if you dodge backwards for the slam, but the timing is pretty tight.
Do everything you can to survive Bayle's onslaught of attacks while dealing your own damage whenever you can, and you'll eventually come out on top. This is arguably the hardest dragon battle that's ever been in a Soulsborne game, so don't feel discouraged if you're struggling a lot; once you beat it, you should feel proud. Note that he drops Bayle's Heart when he dies, which you can trade for either the Bayle's Flame Lightning or Bayle's Tyranny Dragon Communion incantations at the Grand Altar of Dragon Communion.
The Elden Ring: Shadow of the Erdtree DLC is finally here, and it makes one of the best Xbox games and best PC games of all time even better. It's out now on Xbox Series X|S, Xbox One, PS5, PS4, and Windows PC for $39.99.
Elden Ring: Shadow of the Erdtree | $34.89 at CDKeys (Xbox)
Shadow of the Erdtree is Elden Ring at its most refined, with the base game's overly formulaic elements cut away and some of FromSoftware's best boss fights. The result is a 40-hour-long masterpiece of a DLC that's an absolute must-play for any Soulsborne fan.
Also see: Shadow of the Erdtree (PC, $37.09) | Deluxe Edition (PC, $90.89)
Collector's Edition: Bandai Namco Store (€249.99)
Get the Windows Central Newsletter
All the latest news, reviews, and guides for Windows and Xbox diehards.
Brendan Lowry is a Windows Central writer and Oakland University graduate with a burning passion for video games, of which he's been an avid fan since childhood. He's been writing for Team WC since the summer of 2017, and you'll find him doing news, editorials, reviews, and general coverage on everything gaming, Xbox, and Windows PC. His favorite game of all time is probably NieR: Automata, though Elden Ring, Fallout: New Vegas, and Team Fortress 2 are in the running, too. When he's not writing or gaming, there's a good chance he's either watching an interesting new movie or TV show or actually going outside for once. Follow him on X (Twitter).
