Don't throw away mechanical hard drives! Re-use them to expand PC storage
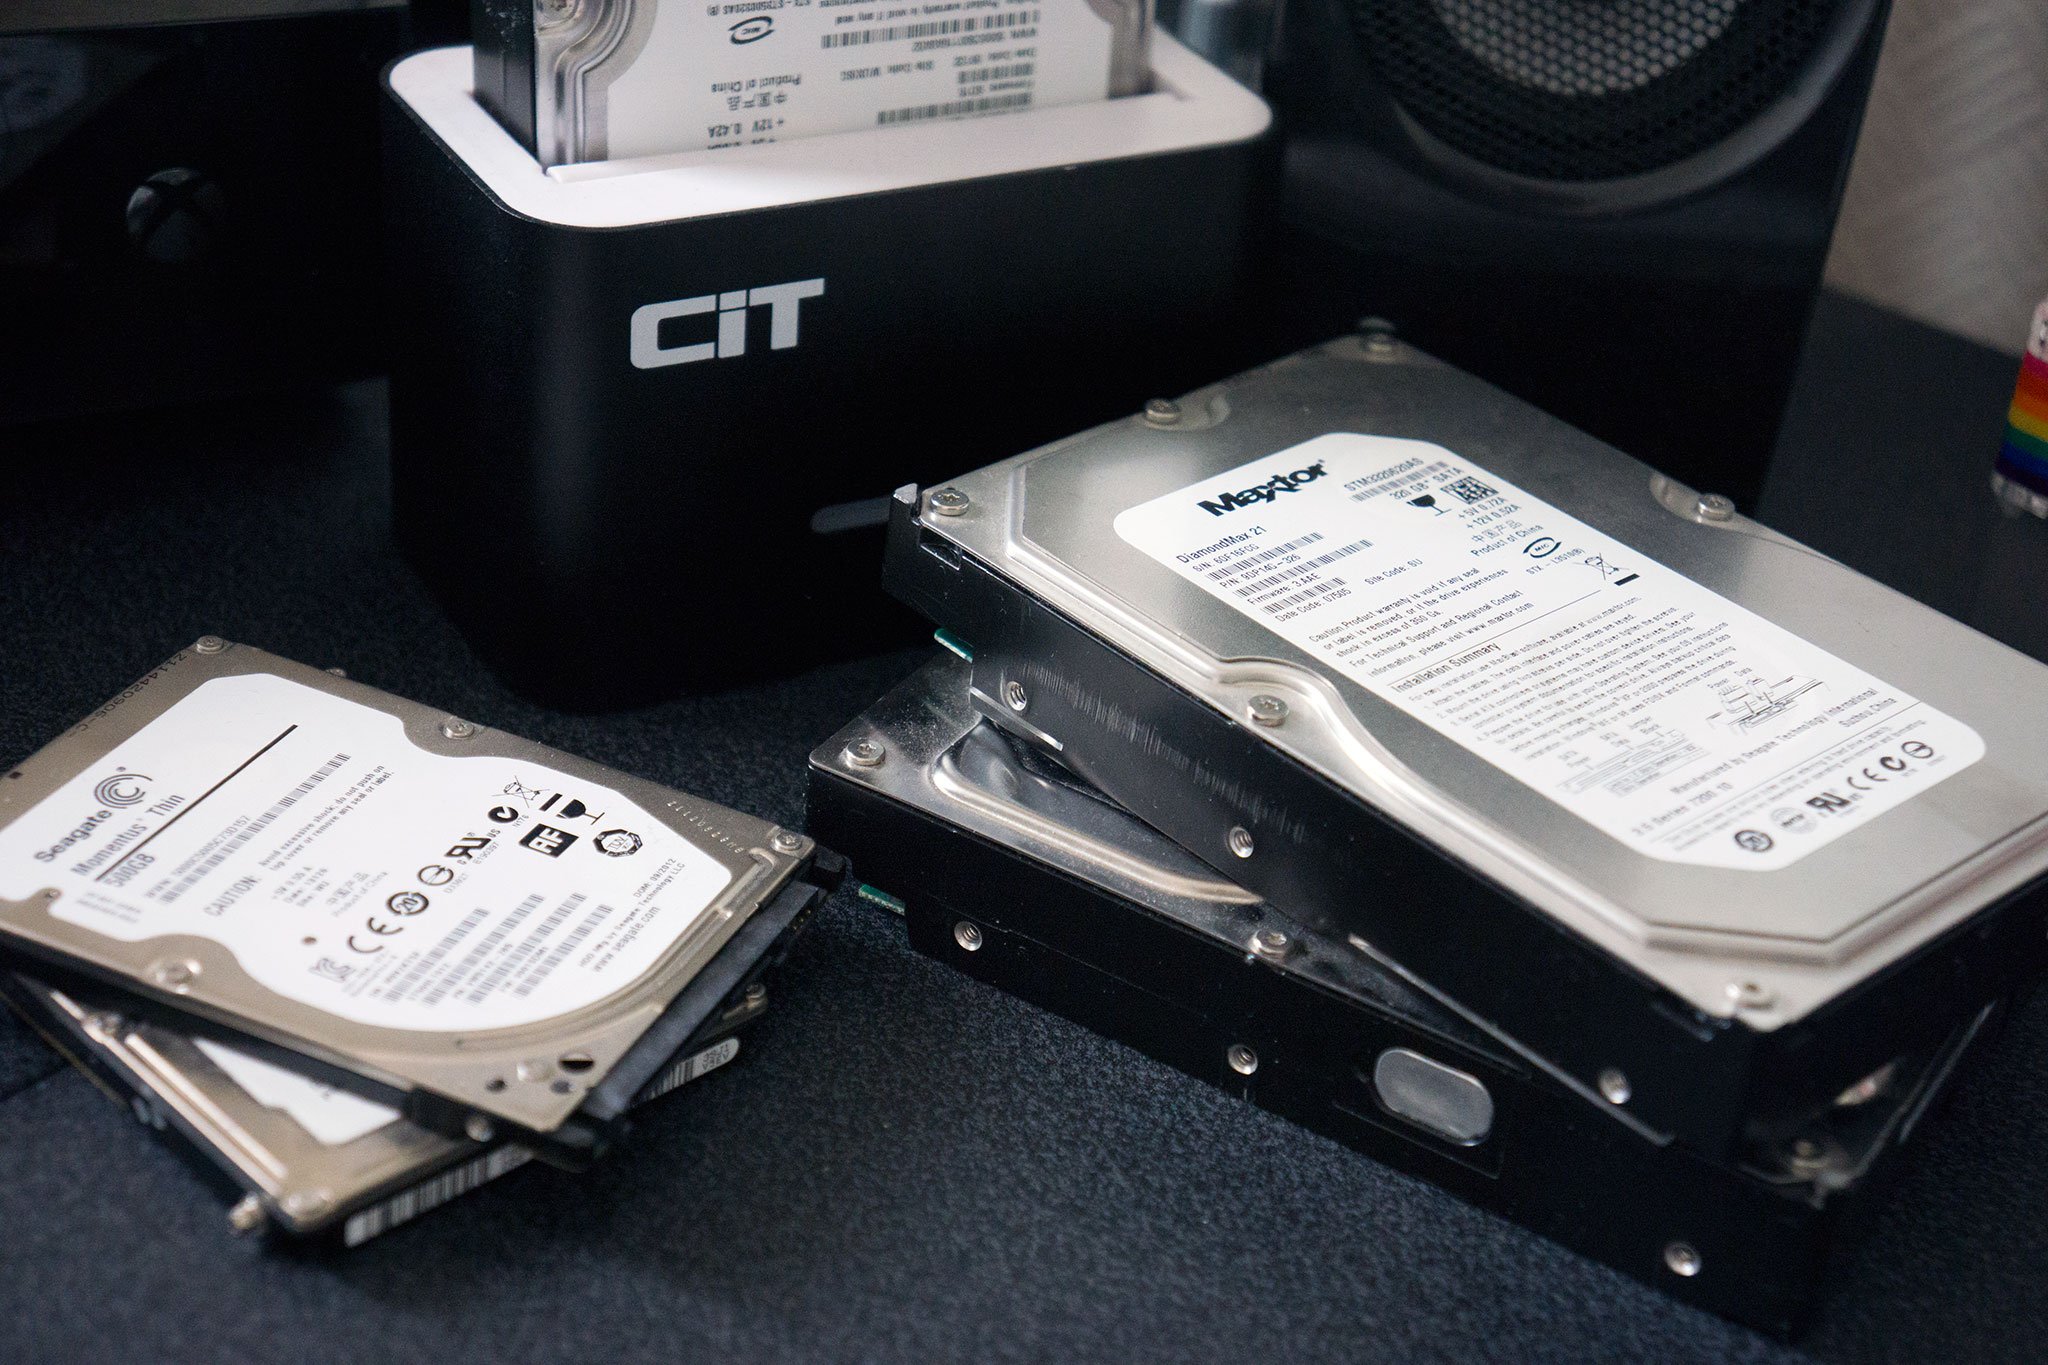
It's common knowledge that solid state hard drives are better than mechanical drives, simply due to how they are constructed and operate. That said, you shouldn't throw away old drives. Deploy an external casing or dock, re-use the drives and expand your storage space by however many GBs you have at hand in those old spinning wonders.
This is similar to our guide on expanding storage on your Xbox One with old PC drives, but instead of gaming on Microsoft's console we'll be re-using our components on our desktop PC. Better yet, both 2.5- and 3.5-inch hard drives are eligible for this handy resource, so don't throw away those old laptop drives either!
Connection Established
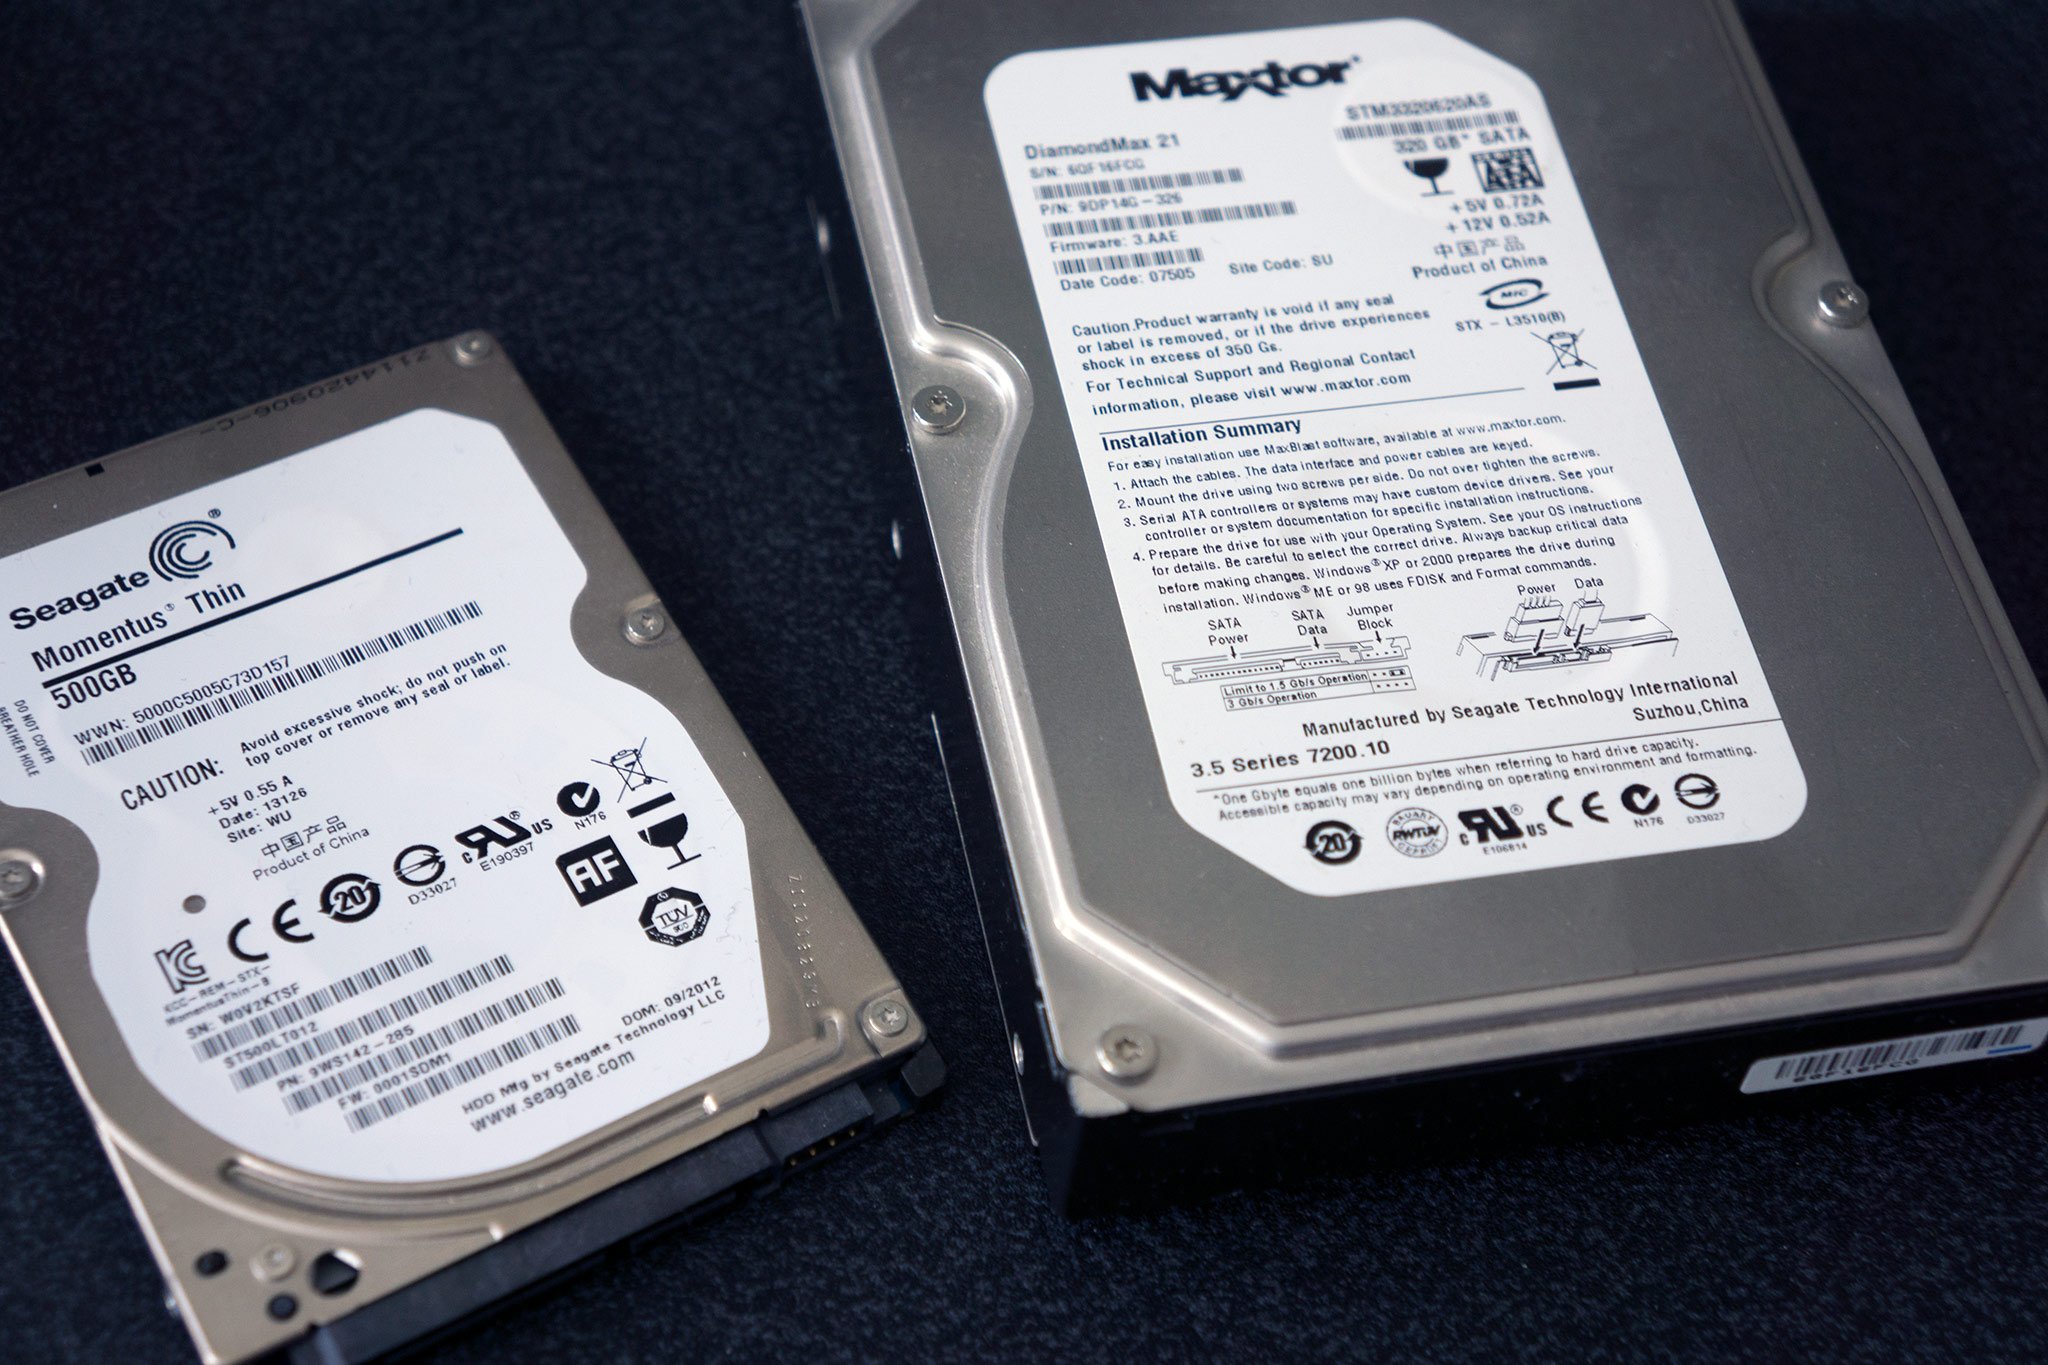
First we need to pick up an external dock or case. This will allow us to connect our old mechanical drives to our PC. Depending on what kind of drive you have, you'll need to make sure the purchase you make will accommodate the size. (A 3.5-inch HDD will not fit into a 2.5-inch supporting dock or case, no matter how hard you try.)
Cases or enclosures are ideal for drives you'll leave around for some duration to better protect the component against dust and other potential hazards. Docks are an option for those with numerous hard drives (like myself), who require the ability to quickly pull one out and plug another in. The best part about both options is you won't have to fork out an absolute fortune.
For 3.5-inch hard drives, you're going to need external power of some sorts. A single USB cable simply cannot provide enough juice to power the motor inside, as well as transfer data to and from your PC. This is where external docks and enclosures come into play:
- Inateck USB 3.0 2.5 & 3.5-inch Aluminum enclosure
- Protronix E35-A USB 3.0 3.5-inch SATA Hard Drive External Enclosure
- Mediasonic USB 3.0 3.5-inch SATA hard drive enclosure
- Sabrent USB 3.0 2.5 & 3.5-inch SATA External Hard Drive Lay-Flat Docking Station
- Unitek USB 3.0 2.5 & 3.5-inch SATA External Hard Drive Docking Station
While many docking stations and enclosures can fit both sizes, there are specific options available for 2.5-inch laptop hard drives. These don't require external power and should be portable enough to keep the drive itself secured.
- Inateck 2.5 Inch USB 3.0 HDD SATA External Hard Drive Disk Enclosure
- Sabrent Ultra Slim USB 3.0 to 2.5-Inch SATA External Aluminum Hard Drive Enclosure
Once you have your chosen solution setup and ready to go, it's time to connect the hard drive(s) to your PC. Next we'll look at how to format them.
Get the Windows Central Newsletter
All the latest news, reviews, and guides for Windows and Xbox diehards.
Formatting 1001001
Formatting hard drives in Windows 10 is fairly straightforward. First, you'll need to be triple sure that all the data you require off the hard drive has been extracted. Only format a hard drive when you no longer require the data stored on it and wish to start fresh. With that in mind, there are a few steps we need to take in order to format our recently plugged in external HDD.
- Say hello to Cortana (hint: Windows Key + Q).
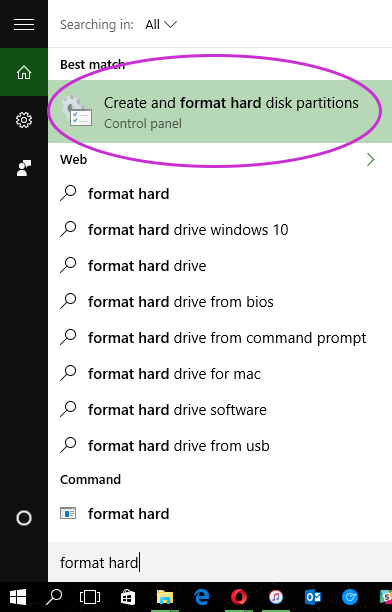
- Search for "format" and choose Create and format hard disk partitions.
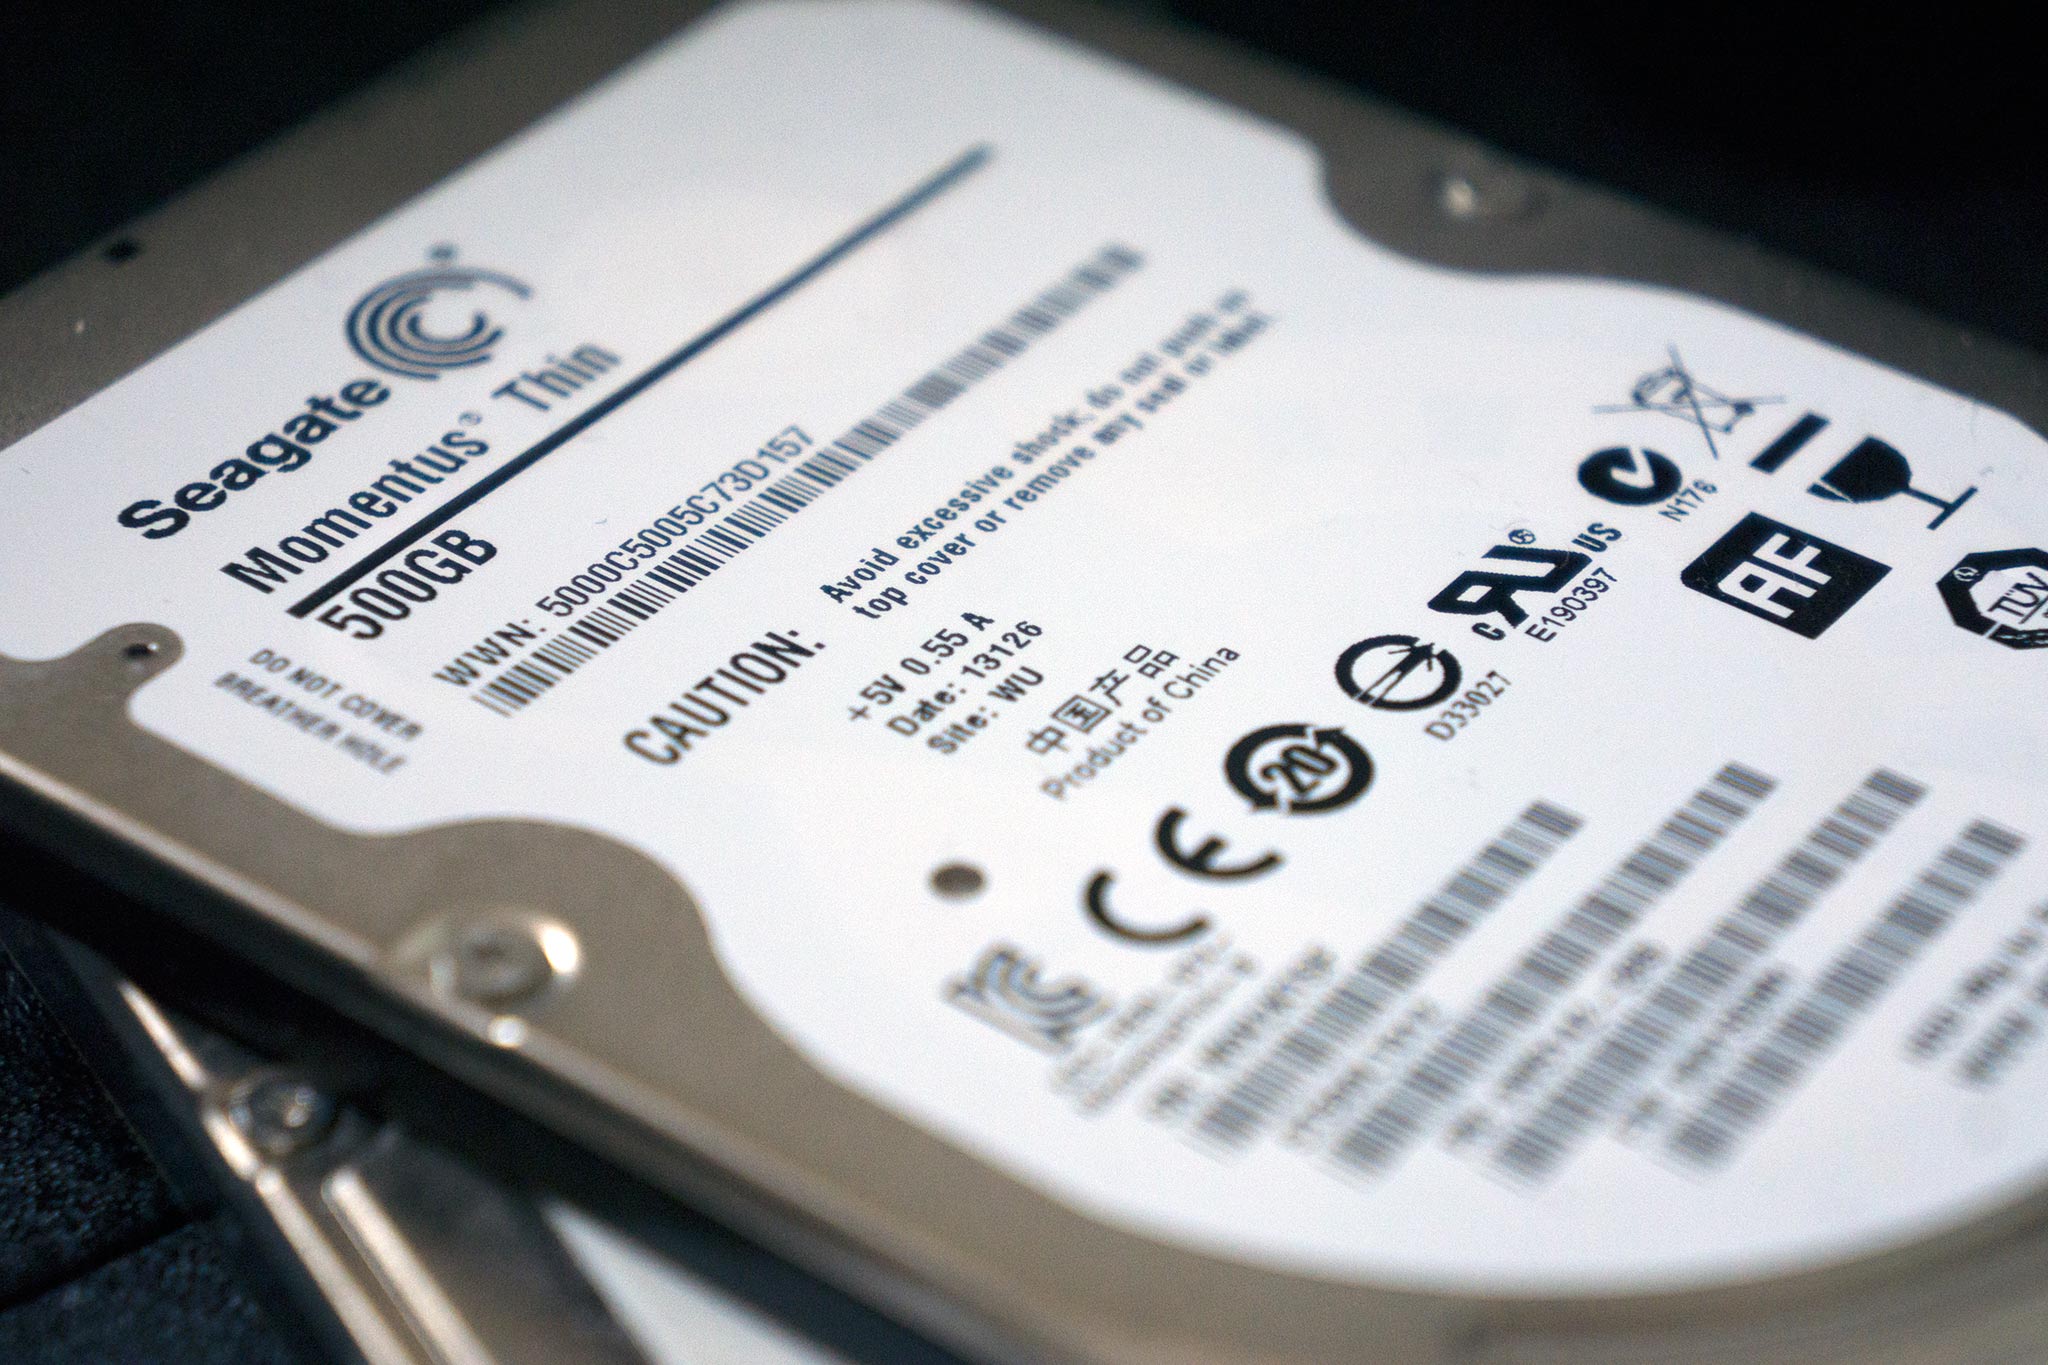
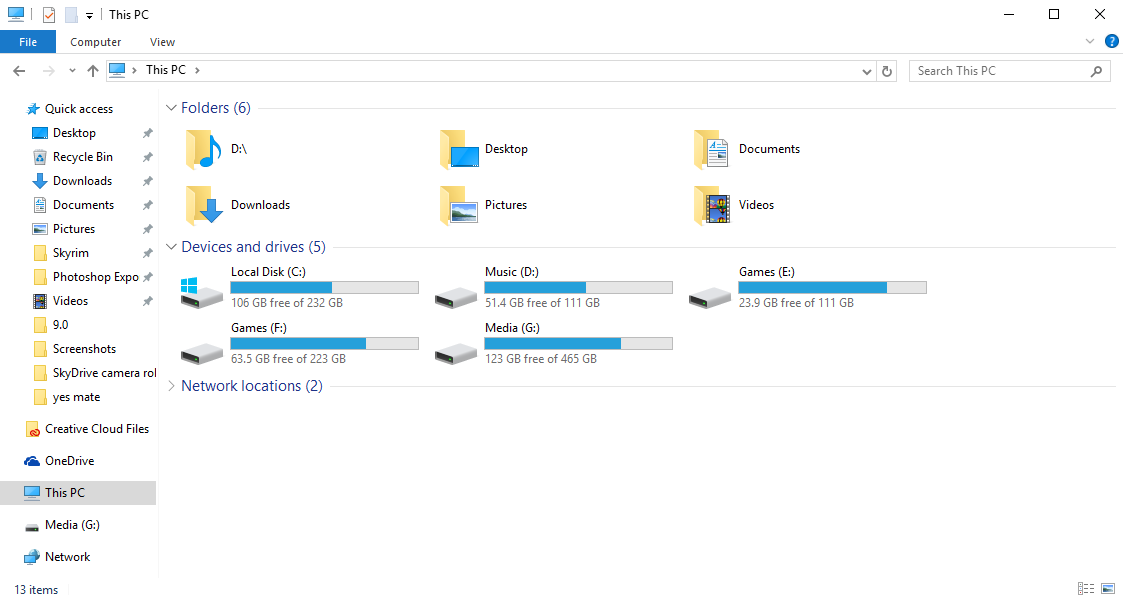
- Select the drive you wish to format.If you're unable to work out which drive you need to select from the list because they all have partitions, head into File Explorer and choose This PC on the sidebar. This will show your available partitions and your external drive should show up as the next corresponding letter.So if you already have C, D and E assigned to internal hard drives, the one we wish to format will be F. (It could be G, etc. depending on what other storage devices are connected like flash drives, cameras, phones, etc.) If all else fails, try and select by matching storage capacity with what's printed on the HDD casing.
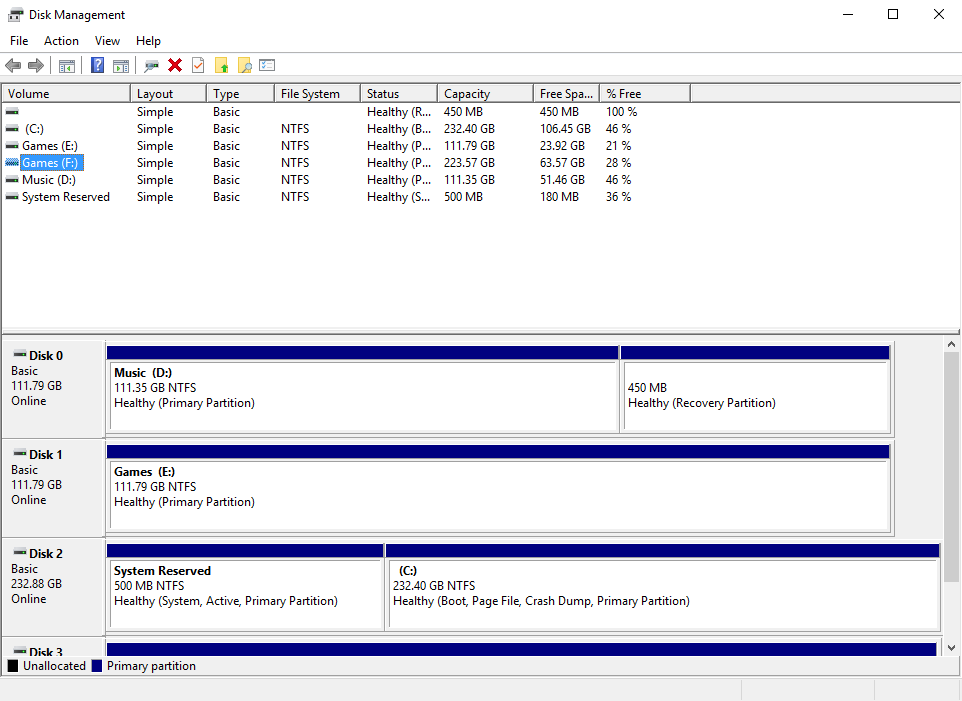
- Right-click and choose Format.
- Give the partition a name, leave the rest of the options as they are and hit "Okay".
It can take some time depending on the size of your hard drive, so be sure to give Windows a few minutes to complete this action. Please do not try removing your drive or attempt to unplug it. Once the formatting has completed, you should now see your hard drive appear on "My PC" in File Explorer with the name you gave it during the formatting process. Job done!
You can now enjoy the added storage on your PC without forking out on expensive solutions. You've also saved a working drive from being recycled or destroyed. Feel proud! Have you already been rocking your own setup to swap out traditional drives? Let us know how you handle old hard drives in the comments below.

Rich Edmonds was formerly a Senior Editor of PC hardware at Windows Central, covering everything related to PC components and NAS. He's been involved in technology for more than a decade and knows a thing or two about the magic inside a PC chassis. You can follow him on Twitter at @RichEdmonds.
