Unlock the secrets of Chaos Rings with our Windows Phone Achievement Guide
Square-Enix’s Chaos Rings is easily the cream of the single-player Role-Playing Game crop on Windows Phone. With an intricate storyline spanning alternate dimensions and timelines and four teams of playable characters, it’s also one of the vaster and most complex games in the Xbox Windows Phone lineup.
Windows Phone Central has spent countless hours exploring Chaos Rings’ every cranny and secret, and now we’ve got an exclusive Achievement Guide to share with you. Learn which team to start with, the best equipment and skills to use, where to find the hidden bosses, and lots more – after the break!
Game flow
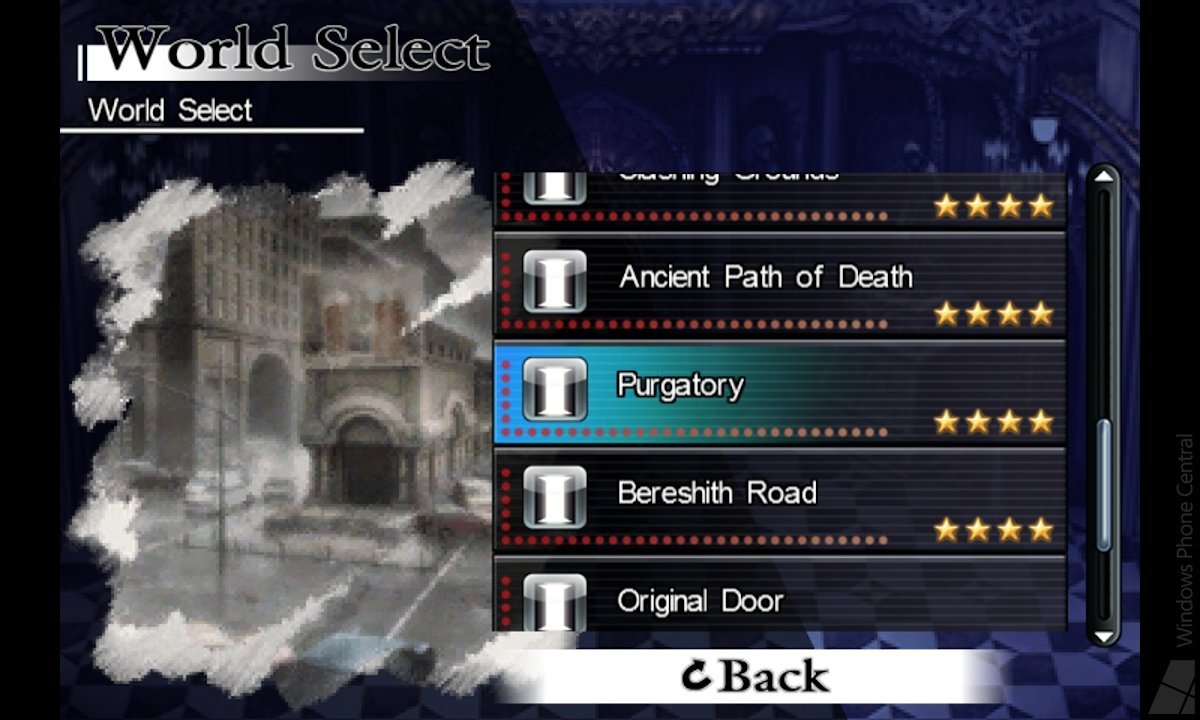
While each team takes on the worlds in a different order, their games all follow the same flow:
- First world
- Second world
- Arena battle against another team
- Third world
- Fourth world
- Arena battle against remaining team
- Original Door
- Bereshith Road (fifth world)
The first four worlds each consists of two halves and two bosses, plus four puzzles each. If you get stuck on a puzzle, use this guide.
After defeating the Agent and going through the Original Door, you’ll get an ending. Make sure you save once the credits finish. Then load the same team and the Bereshith Road area will become available. You won’t get the team-specific Achievement until your team completes Bereshith Road. Don’t forget to save after that, because you’ll be revisiting the team later on!
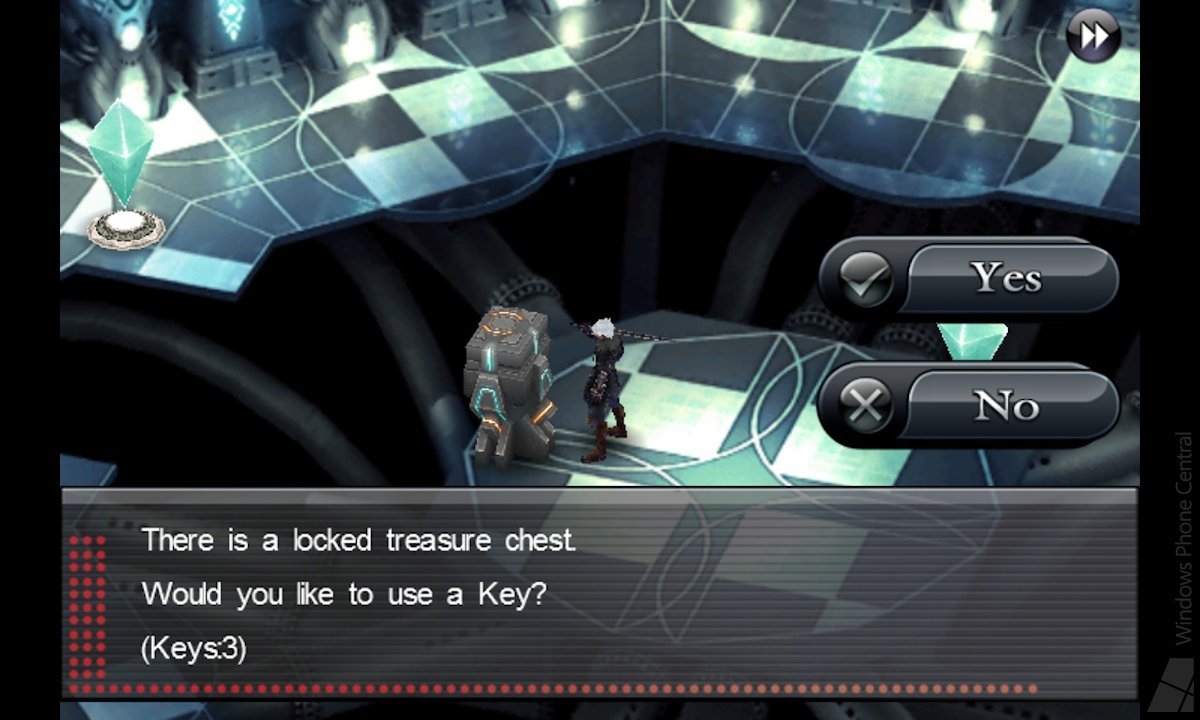
Each time your team completes a world, Piu Piu’s shop updates with new inventory. Always buy the best weapon, armor, and jewel available in his shop. The stat boosts will make life much easier. Keep at least 10 keys on-hand as well so that you don’t miss out on valuable locked chests.
First team: maxing out the genes
Your first team’s playthrough will be the longest because you’ll be working towards ‘All genes max level’ at the same time. Gene progress (and money) carriers over to the other teams, so subsequent playthroughs will go much faster. You can choose Escher’s or Eluca’s team for this run; I suggest starting with Escher and Museia to keep things simple.
Get the Windows Central Newsletter
All the latest news, reviews, and guides for Windows and Xbox diehards.
The first time you fight any new type of enemy, you’ll acquire its gene. A gene starts with only one skill. As you fight more of that enemy type, you’ll randomly acquire that gene’s remaining skills. Get all six of a gene’s skills to max it out.
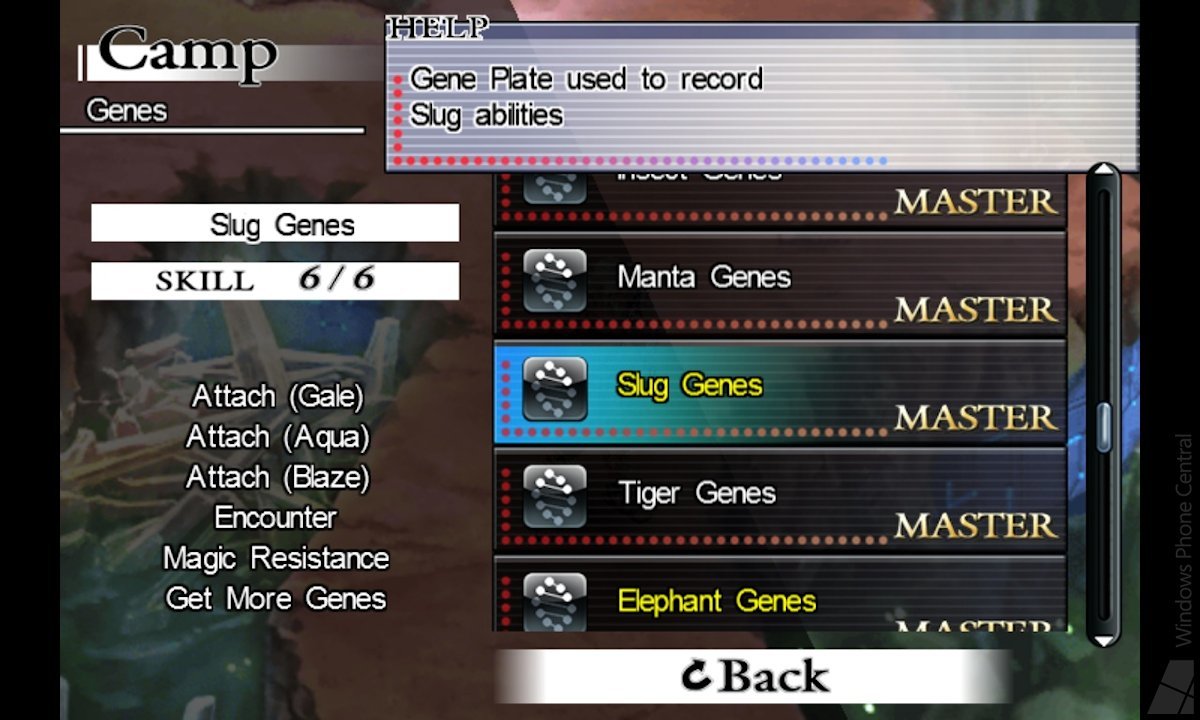
Your team is more likely to acquire skills from higher level enemies. You can also increase your chances of learning skills by equipping a maxed out Slug Gene. As soon as you learn the Slug Gene’s ‘Get More Genes’ skill, equip it on both characters. Don’t unequip it until you’ve maxed out every gene and unlocked the ‘All genes max level’ Achievement.
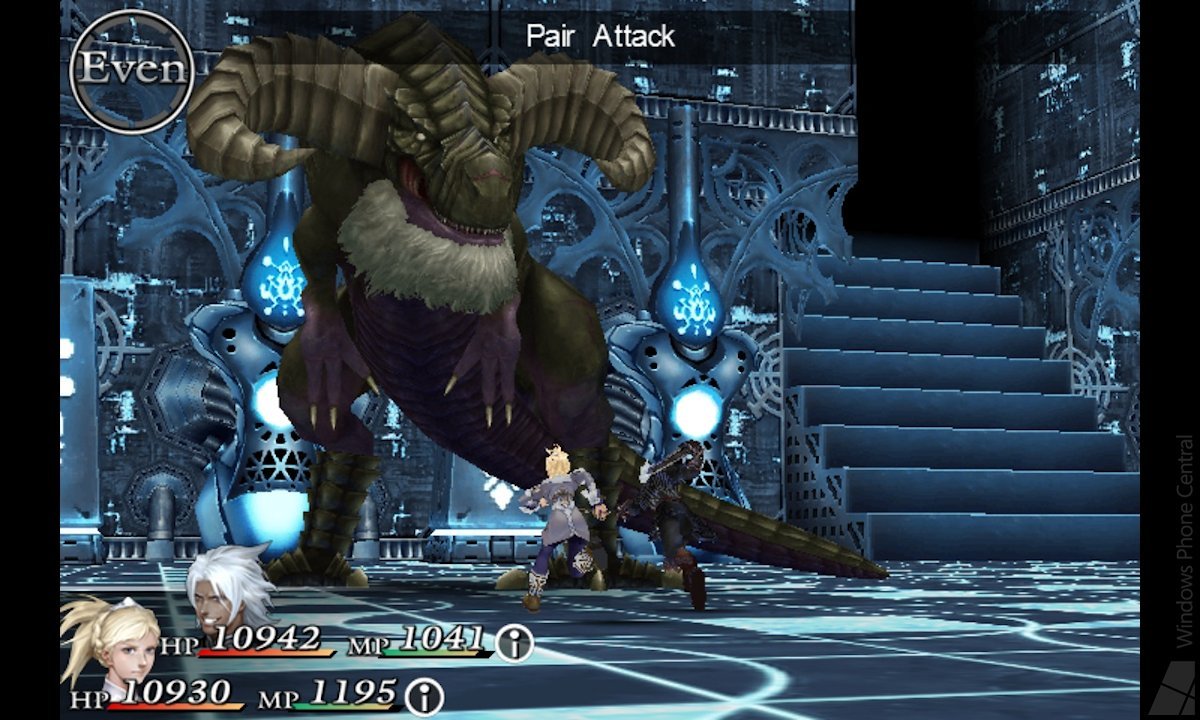
The strategy for learning new skills is simple. Whenever you find a new type of enemy as a random encounter, stay in that area and grind until you’ve maxed out the skill. Enemy types that first appear as bosses will eventually show up as regular enemies, so don’t worry if you haven’t seen one appear for a while. Several genes can’t be maxed until Bereshith Road.
Here are the genes you need to max out:
- Mouse Genes
- Dog Genes
- Crocodile Genes
- Deer Genes
- Bird Genes
- Monkey Genes
- Hippopotamus Genes
- Insect Genes
- Manta Genes
- Slug Genes
- Tiger Genes
- Elephant Genes
- Lion Genes
- Fish Genes
- Tortoise Genes
- Devil Genes
- Dinosaur Genes
- Dragon Genes
- Panda Genes
- Celestial Genes
For a list of gene abilities, go here. To see which enemies appear in each area, go here.
First team: reaching level 100
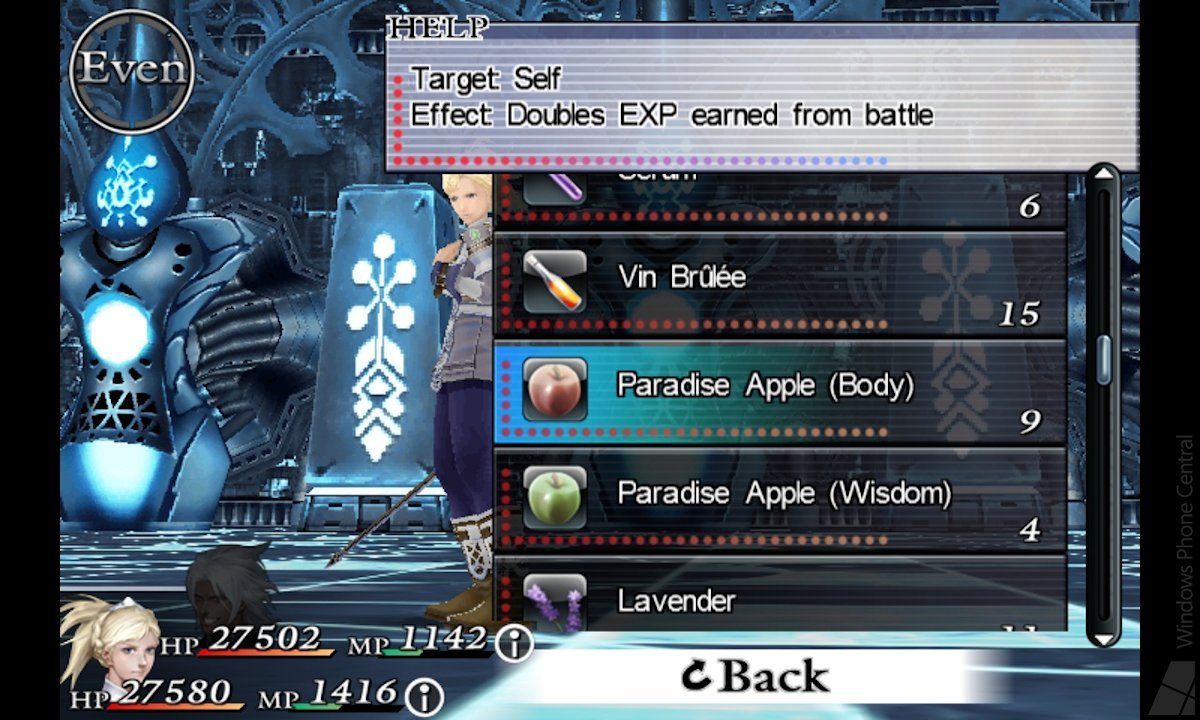
You only need to reach level 100 with one team, though it’s a good idea to do it with all of your teams. The key to leveling quickly is the Elephant gene’s ‘EXP Up’ skill. As soon as you get that skill, equip the Elephant on both of your characters and don’t take it off until they hit 100.
The best place to grind for EXP is Bereshith Road. There are two possible strategies to take before you reach that area:
- Play slowly. Do runs through the first four areas on both the same level you’re on and the highest level available. This takes longer but it’s easier and will also contribute more towards the ‘Defeat 1000 enemies’ Achievement.
- Play quickly. Only run through each area once, selecting the highest level available. This is harder, but saves grinding time that will be better spent in Bereshith Road. Just make sure you’ve always bought the best equipment available and plenty of healing and elemental items.
Once you clear the fourth area, Piu Piu starts selling the Paradise Apple (Body) in the shop. This item doubles EXP gained from a battle. You only need to use one per battle; the benefit applies to both teammates.
As soon as they become available, buy all the Paradise Apples (Body) you can afford. I would get 50-90, just to be safe. Use one in every battle that follows, whether it’s the final Arena battle or a random encounter in Bereshith Road.
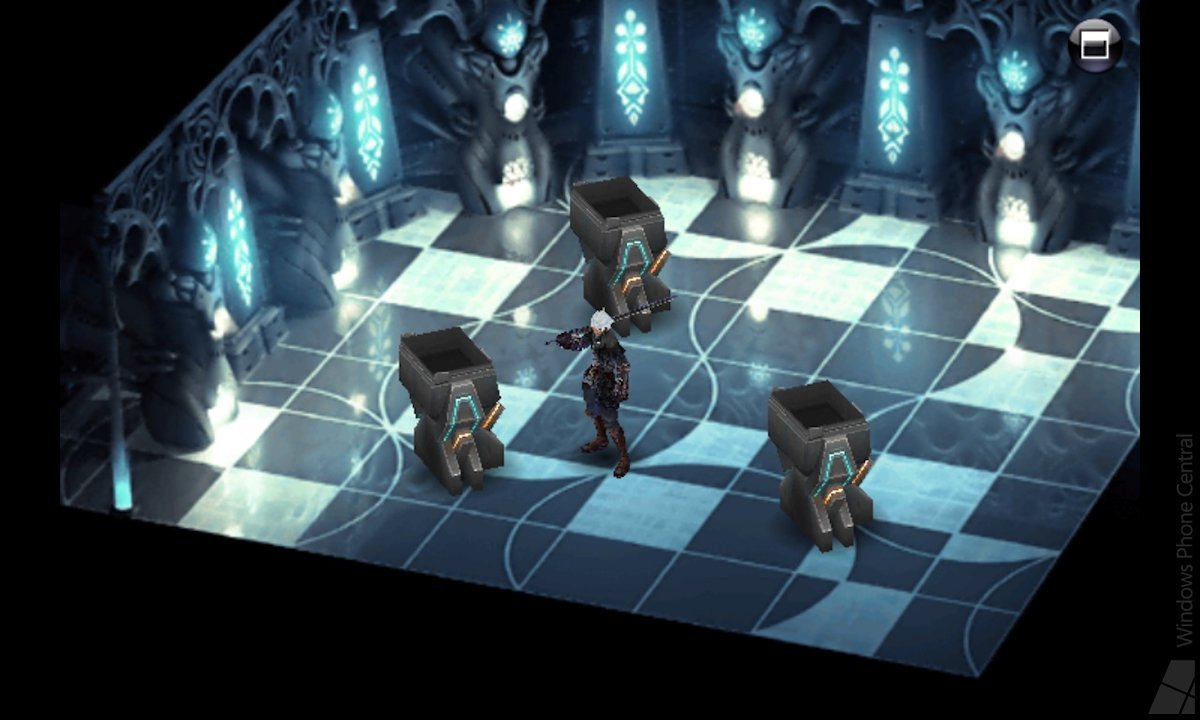
The single best location to grind for EXP is the treasure room on floor 137 of Bereshith Road (pictured above). The fifth world doesn’t actually 137 floors; you’ll reach 137 fairly quickly via elevator. Near the end of floor 137, you can take an exit crystal towards the computer room and the area boss, or go past that exit to another exit. The second exit leads to a room with three treasure chests; that’s our destination.
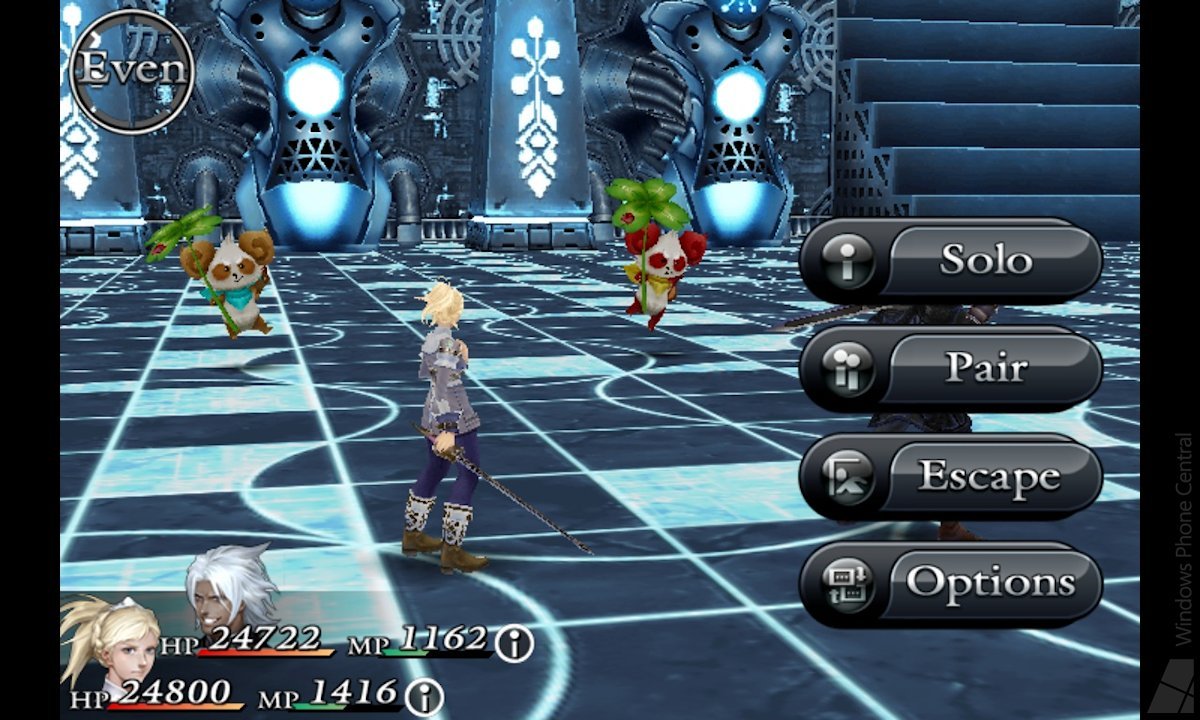
Inside the treasure room, you’ll randomly encounter three types of panda enemies. The red variety, Tomorrow Biliken gives the most EXP in the game. Use a Paradise Apple (Body) while fighting him and your team will gain 2-6 levels after the battle!
Sometimes Tomorrow Bilikens appear relatively frequently, other times hardly at all. Just stay in the treasure room, using Paradise Apples (Body) during every single battle, and you’ll reach level 100 after one or two hours.
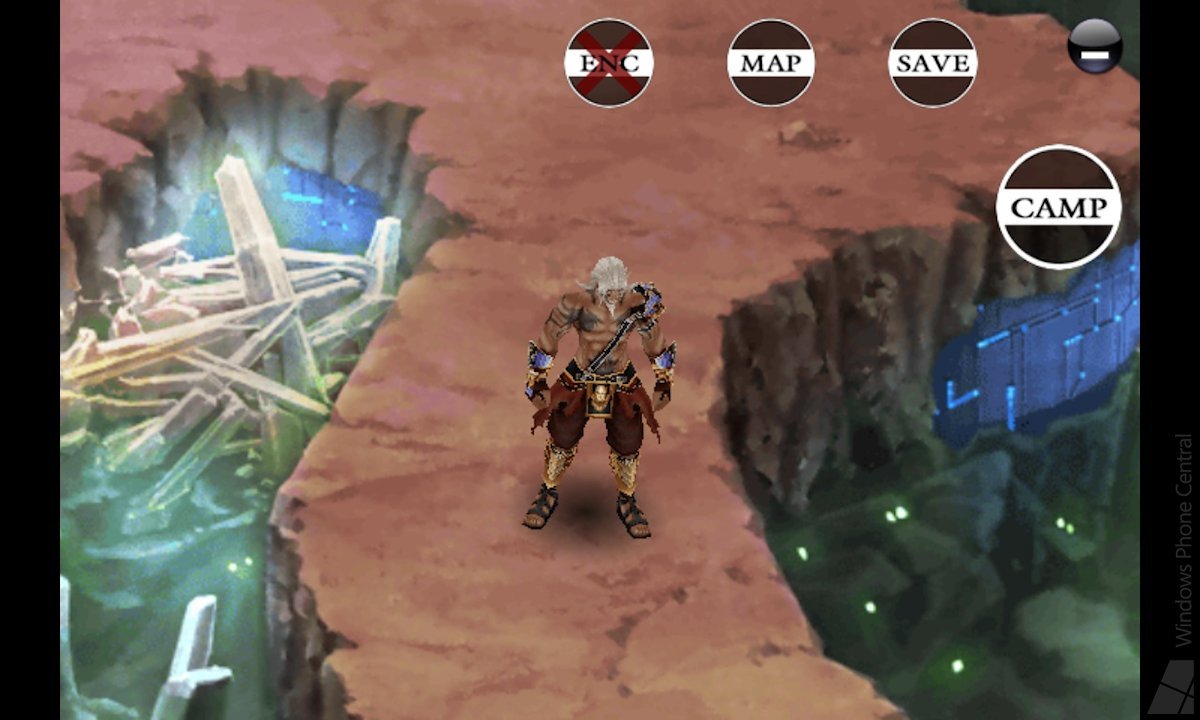
Once you hit 100 (and assuming you’ve maxed all genes), turn off Random encounters by pressing the button at the top-right corner of the screen and then press the ‘Enc’ button that appears at left of the Camp button. Proceed to the computer room and the area boss. Defeat the boss; you’ll get the team-specific Achievement after the credits roll. Save and then it’s time to start the next team!
Second, third, and fourth teams
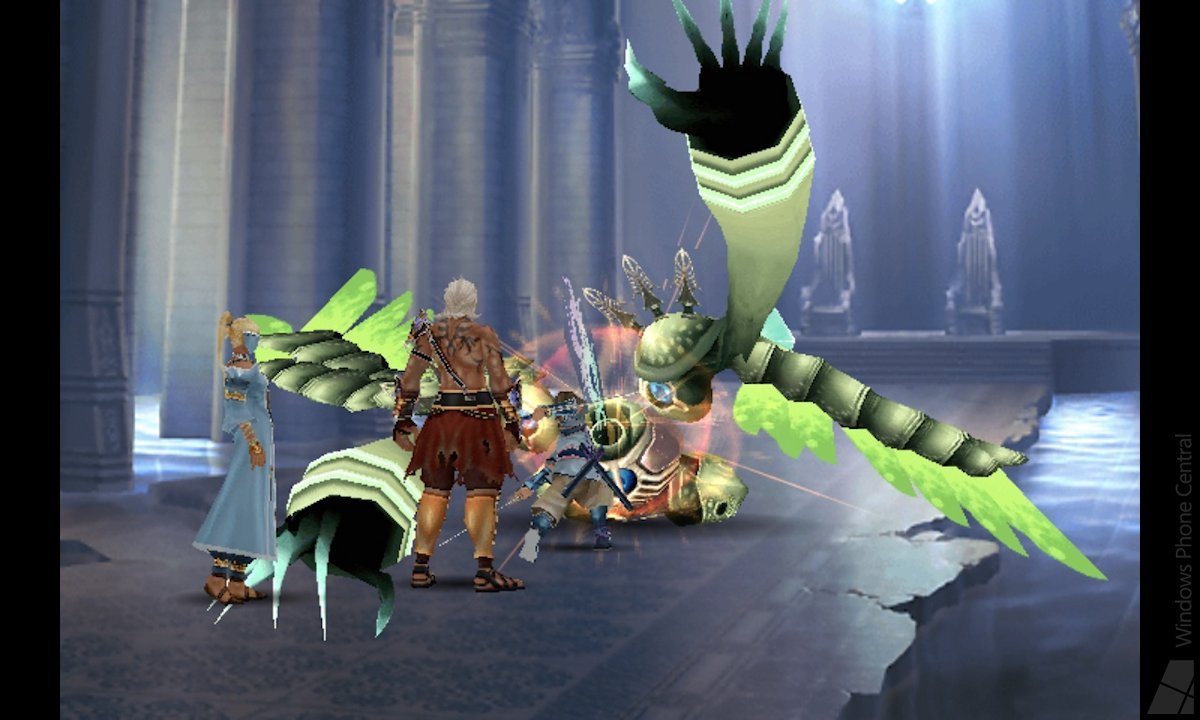
The three remaining teams will go so much quicker than the first. Follow this strategy and they will take about four hours apiece to complete.
At the start of each team’s game, head to the shop and buy the best equipment and some healing items. You’ll also need to equip three genes on each character before heading to the first area. I recommend:
- Elephant (for the EXP boost and S-Healing)
- Lion (for Auto Counter, which helps battles go faster whenever it activates)
- Dragon (adds 100 points to speed and attack)
This setup only gives your team fire magic. You’ll mostly be brute forcing battles instead of worrying about elements. But when you need the elemental advantage during a boss fight, just use element-changing items.
Having readied your party, jump into the first world on 11-20 difficulty. Use the ‘play quickly’ strategy I described earlier, running through each area only once instead of multiple times. Occasionally a boss might give you trouble, but if you remember to heal and use elements as needed, you’ll come out on top.
Once your teams reach Bereshith Road (71-80), you can make for the treasure room and get them properly leveled. I highly recommend getting each team to at least level 80, if not 100. They still have a few tough boss fights ahead after Bereshith Road…
Complete the ‘Final’ battle
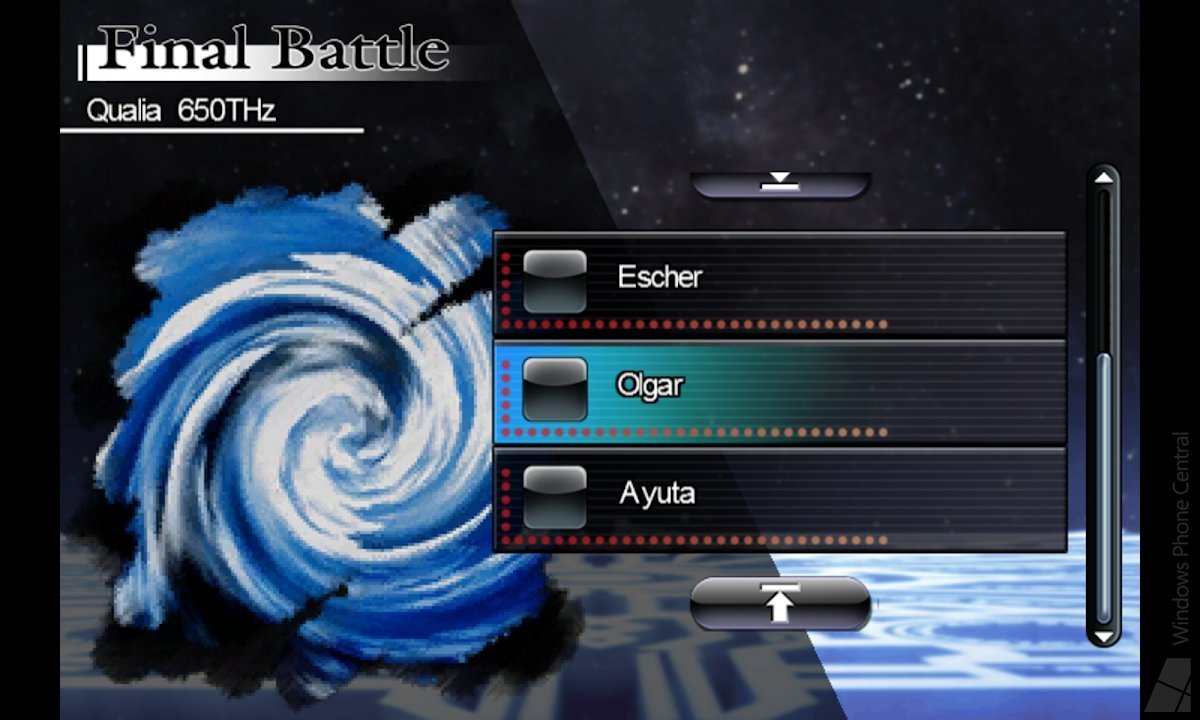
Having completed each team’s story, you’ll now have the option to engage in the Final scenario with any team. The Final scenario consists of four consecutive battles; one for each duo of heroes. As long as your teams are high level, these battles will be a cakewalk.
Watch the end credits and remember to save. The ‘Clear all areas’ Achievement will unlock.
Defeat the hidden bosses (all teams)
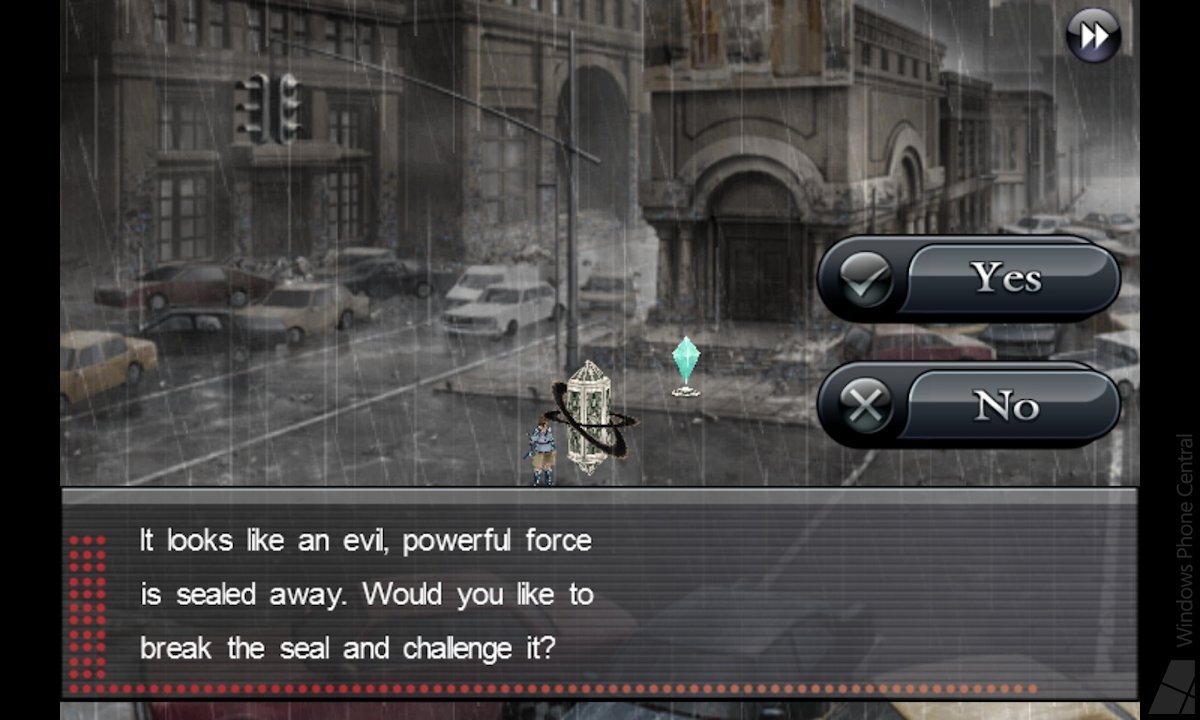
Each of the five main worlds has two hidden bosses who can only be fought after completing Bereshith Road for the first time. These bosses award the best weapons, armor, and jewels in the game.
When you’re ready to face the hidden bosses, return to any of the main worlds. In the spot where you previously faced a boss, you’ll now find a large crystal. Activate it to fight the hidden boss within.
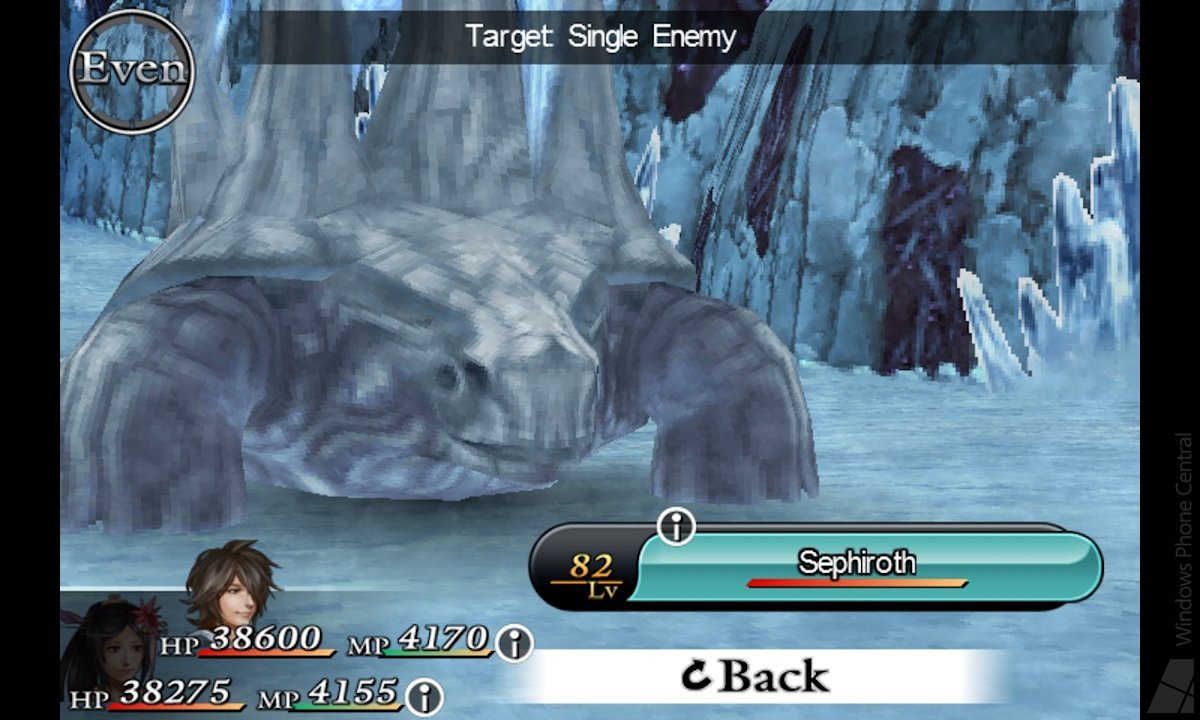
To reach the hidden bosses as fast as possible:
- Turn off random encounters
- Choose to skip the first half of the world. You’ll start just past the first boss fight. Backtrack immediately to reach the first hidden boss. Then progress through the rest of the area to meet the second one.
All four teams must defeat all nine secret bosses for the ‘Defeat all hidden bosses’ Achievement to unlock. The process should take about 20 minutes per team. After getting the Achievement, save and return to the Ark.
Finally: face the secret boss
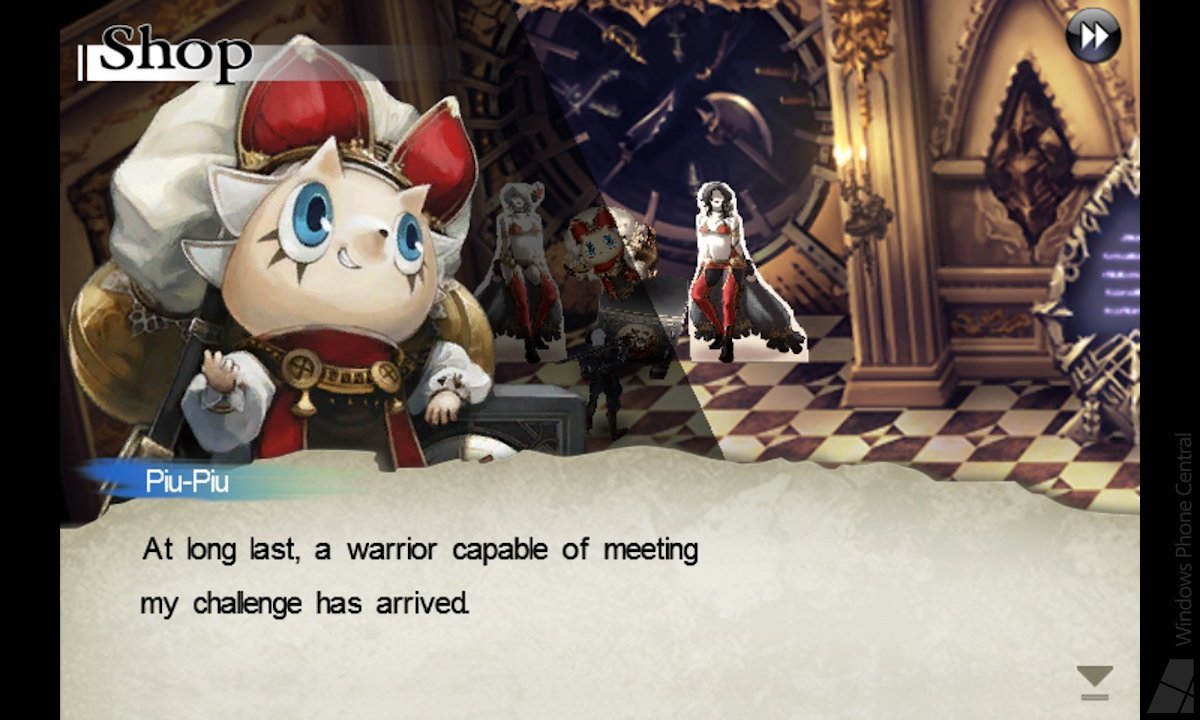
After defeating all hidden bosses with all couples, take your strongest team and talk to Piu Piu. You’ll now have the chance to fight the hardest boss in the game!
The boss is so challenging because he casts a different elemental attack every 1-2 turns and automatically recovers 10,000 HP every turn. Your team will need to cast whatever spell the opponent is currently weak against (or use an item to do so) and then attack until he changes elements again. Repeat the process, casting S-Healing as necessary, until you win.
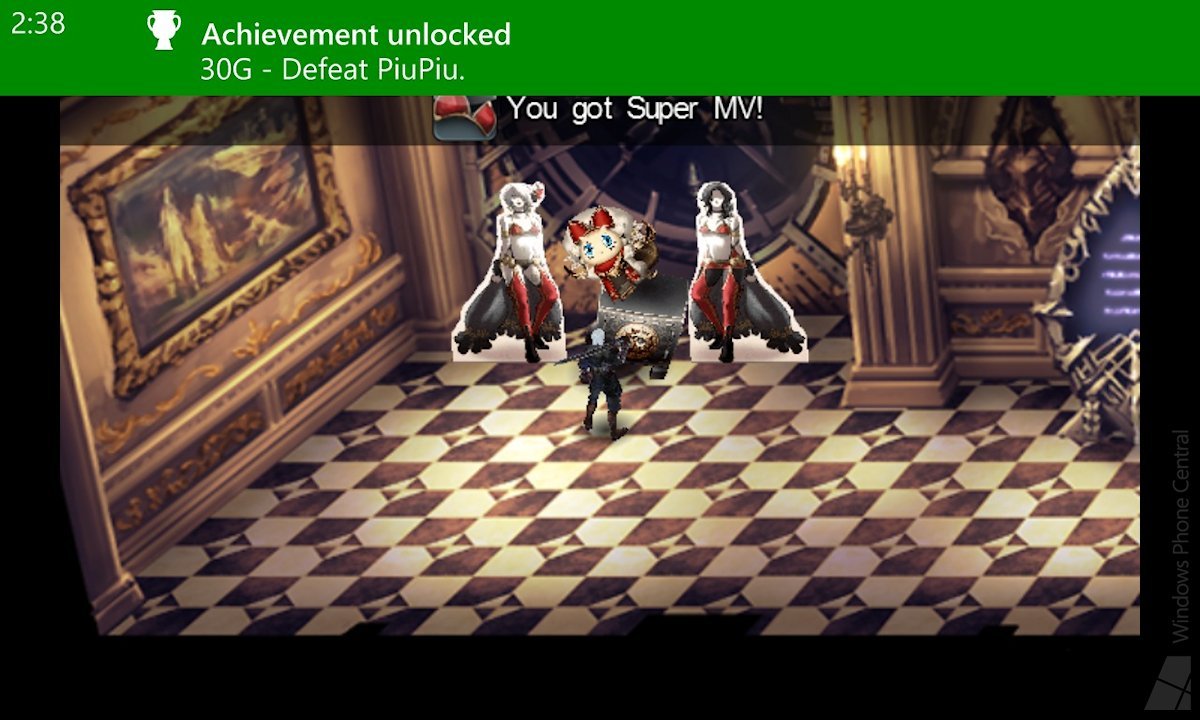
The battle should take 10 minutes or so. As soon as it ends, you’ll unlock the secret ‘Defeat Piu Piu’ Achievement. You’ll also receive the best “jewel” in the game: the ‘Super MV.’ Piu Piu only needs to be beaten once, but each team you thwart him with adds an extra two percent to your completion ratio.
Epilogue: kill 1,000 monsters
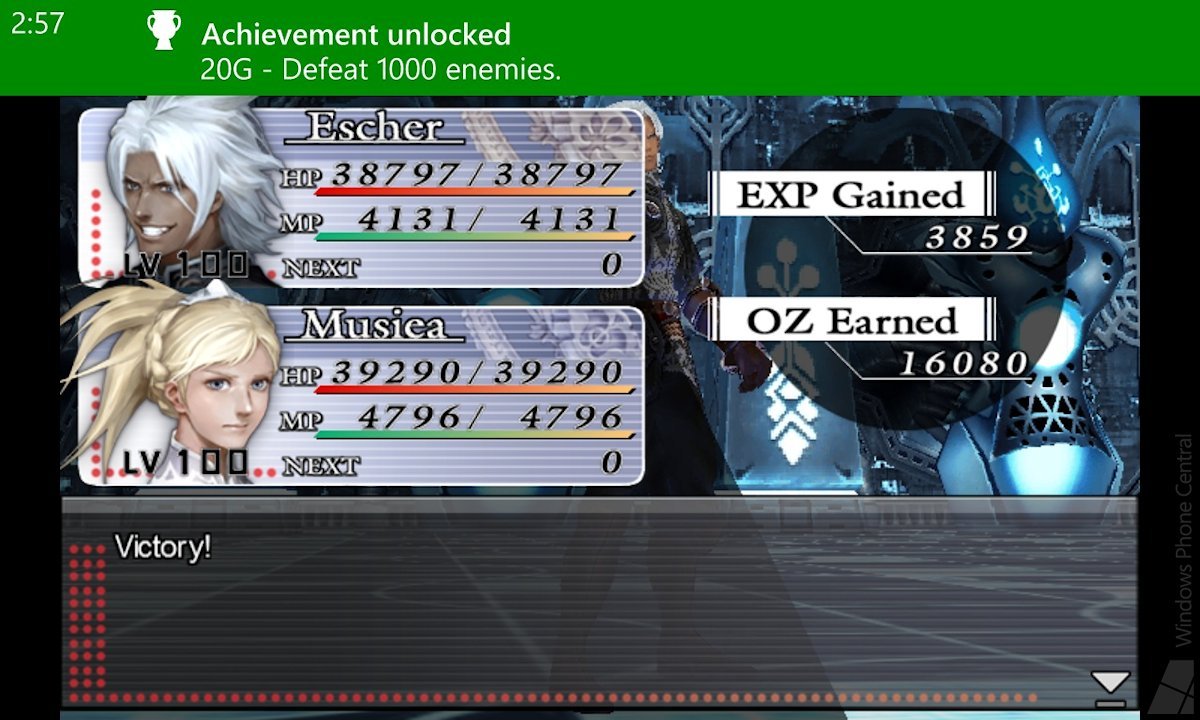
Having cleared every storyline and defeated every boss, you should be left with only one Achievement remaining – ‘Defeat 1000 enemies.’ The game doesn’t provide a way to check how many monsters you’ve killed, sadly. But if you ran through the main areas more than once with a few of your teams, you’re probably pretty close to a thousand kills already.
To grind the rest of the kills out, either head to the treasure room we grinded in earlier or just make a few trips through previous worlds. Choose low levels (1-10) to make the fights end sooner. Just keep fighting and you’ll get that last Achievement sooner or later.
Time for Chaos
RPG fans, we hope you’ve found this guide useful. And for players on the fence about Chaos Rings, don't miss our full review.
- Chaos Rings – Windows Phone 7 or 8 – 775 MB - $9.99 – Store Link

Paul Acevedo is the Games Editor at Windows Central. A lifelong gamer, he has written about videogames for over 15 years and reviewed over 350 games for our site. Follow him on Twitter @PaulRAcevedo. Don’t hate. Appreciate!

