Can you extend your Windows Mixed Reality cables?
Can you extend your Windows Mixed Reality cables?
The original cables are too short
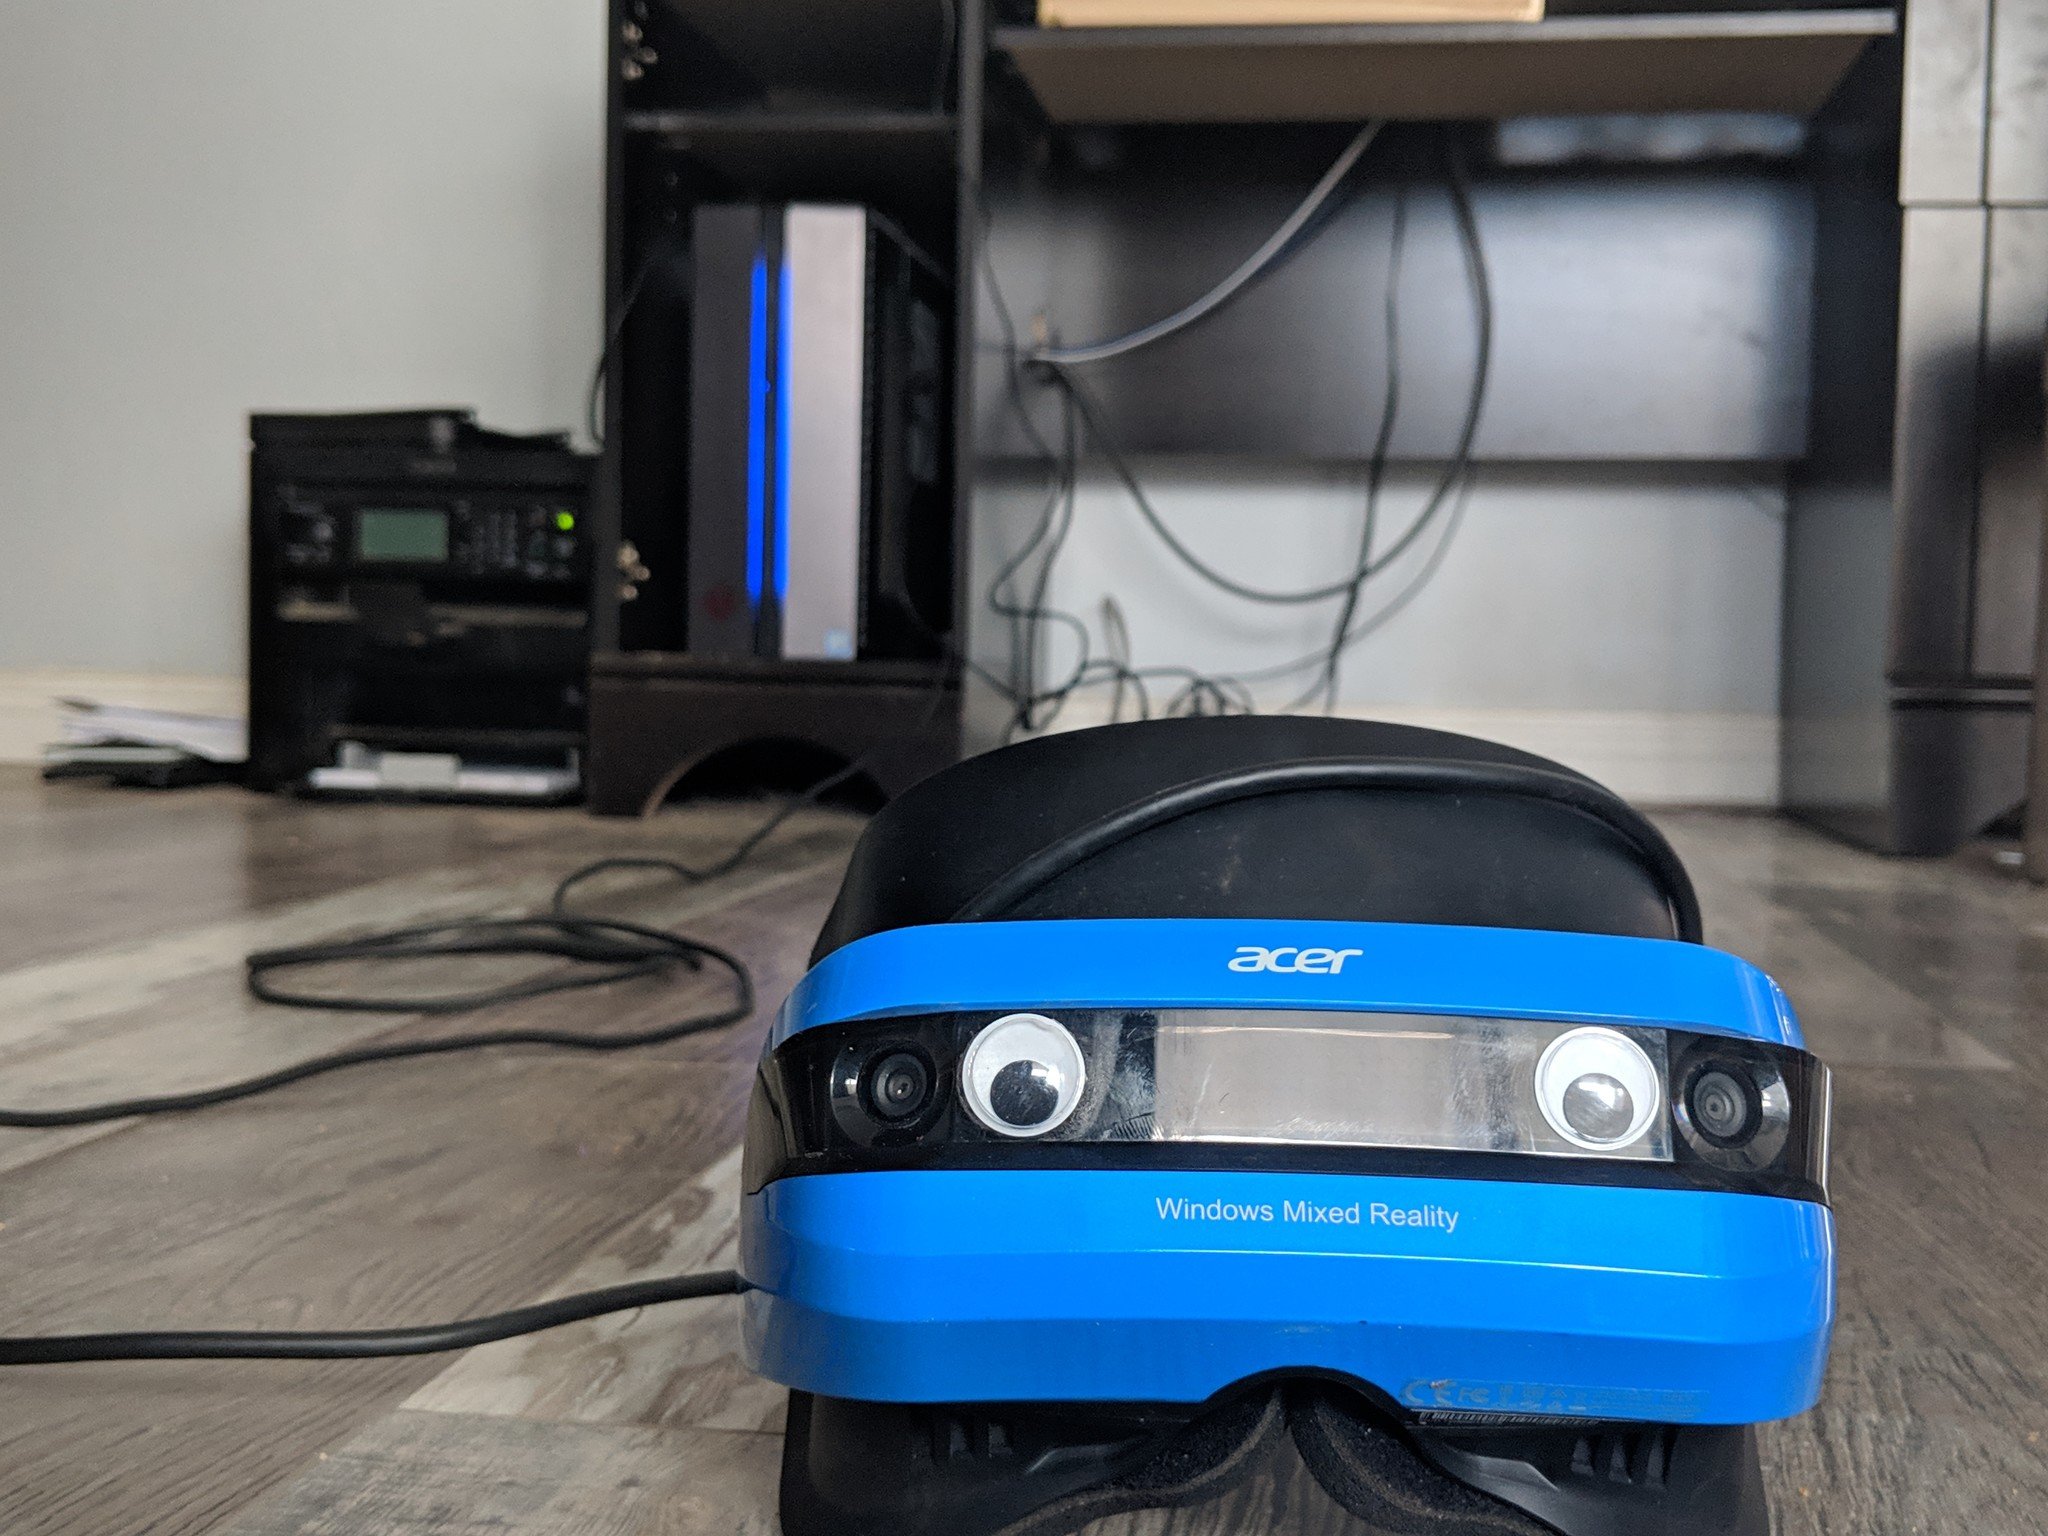
The cables for the Windows Mixed Reality headsets are pretty ridiculous. Most of the length of the cable is taken up by the length of your body, meaning you can't spread out as much as you would need in some of the more energetic games you can play. The cables on my Acer WMR are around 12 feet long, which sounds like a lot until you factor in my height. Because I'm six feet tall and the cable has to run up the length of my body that only leaves me six feet of cable to play with, which isn't a lot if you want to play in a large area.
By adding 10-foot extension cables, you give yourself enough length to make the most of your play space. It also gives you a chance to run your cabling over the ceiling and down to your play area, removing the safety issues that come from trailing cables.
Make sure you get the right cables
The type of extension cable you get for your WMR matters. The Windows Mixed Reality headsets require USB 3.0 — that's the one that is blue on the inside — and HDMI 2.0. Strictly speaking, you only need HDMI 2.0 for the Ultra version of WMR but the cost difference in the cables is almost zero, so it always pays to future-proof yourself.
By purchasing the cables in this article you will get the correct ones for your WMR. Both have proven to work so you shouldn't have any issues with compatibility.
Here's a brief How-to
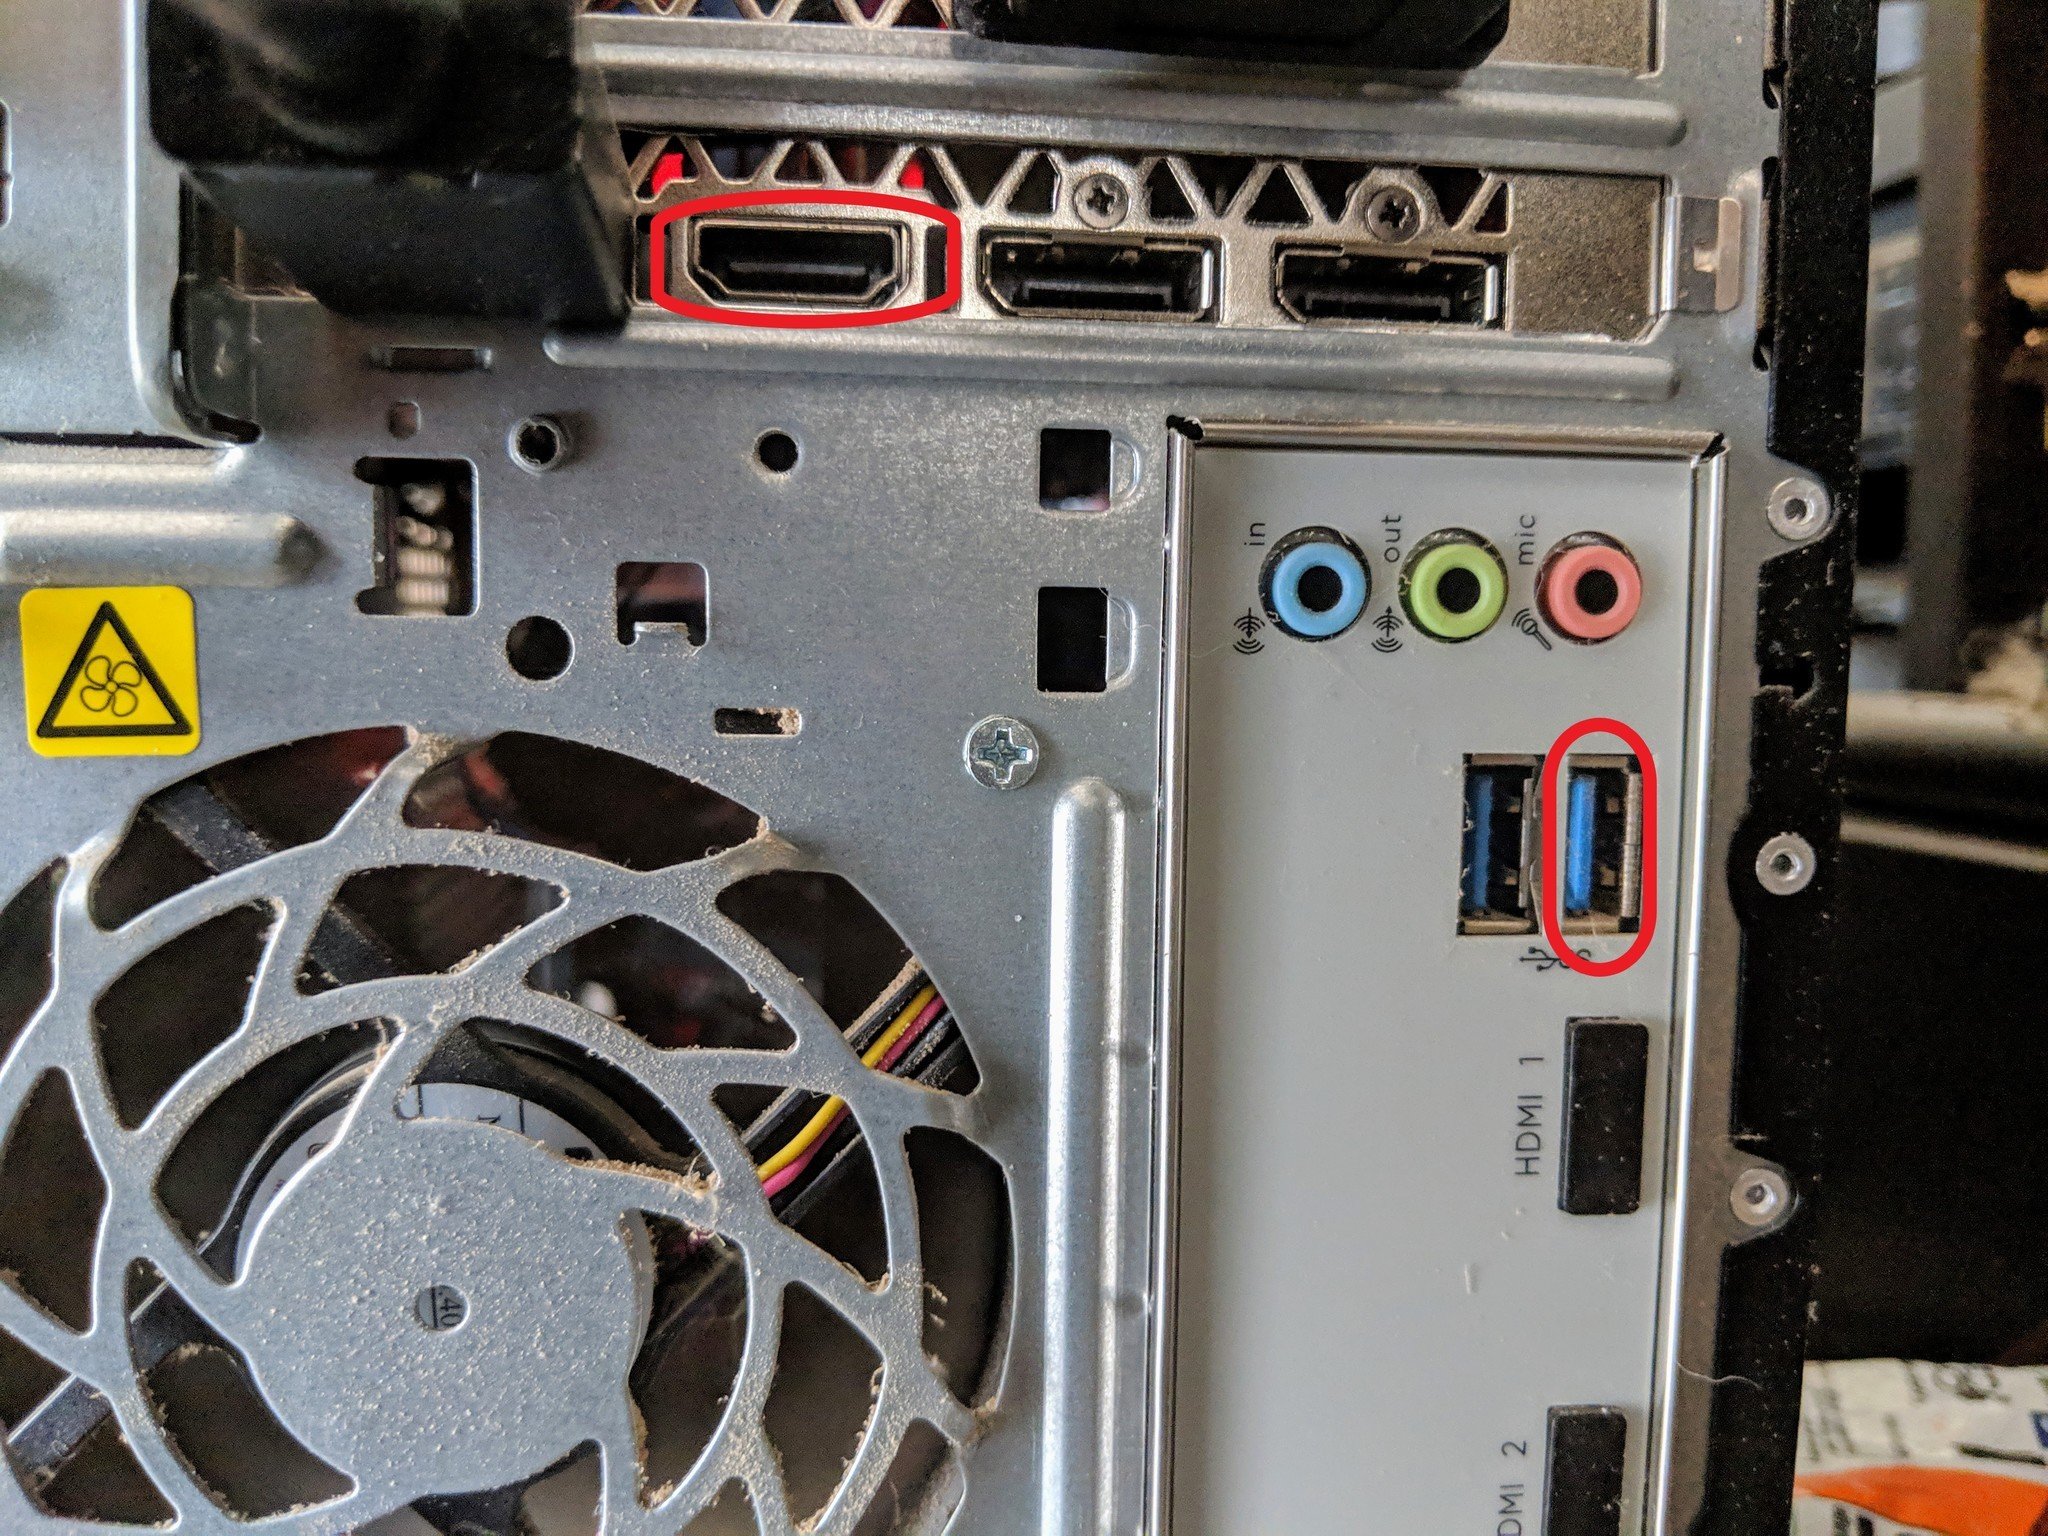
Connecting your HDMI and USB cables is incredibly easy. Just unplug your WMR's HDMI and USB cables from the back of the PC, attach one end of each of the extensions to the correct plug, and then attach the open ends of the extension cables to the PC. That's it — no fuss, no mess, just longer cables with ease.
One last important note: Make sure you put the HDMI cable into your graphics card and not the onboard card. You may not have a very good experience if you do that, and check that you are using the blue USB 3.0 sockets not the standard black ones.
High speed data
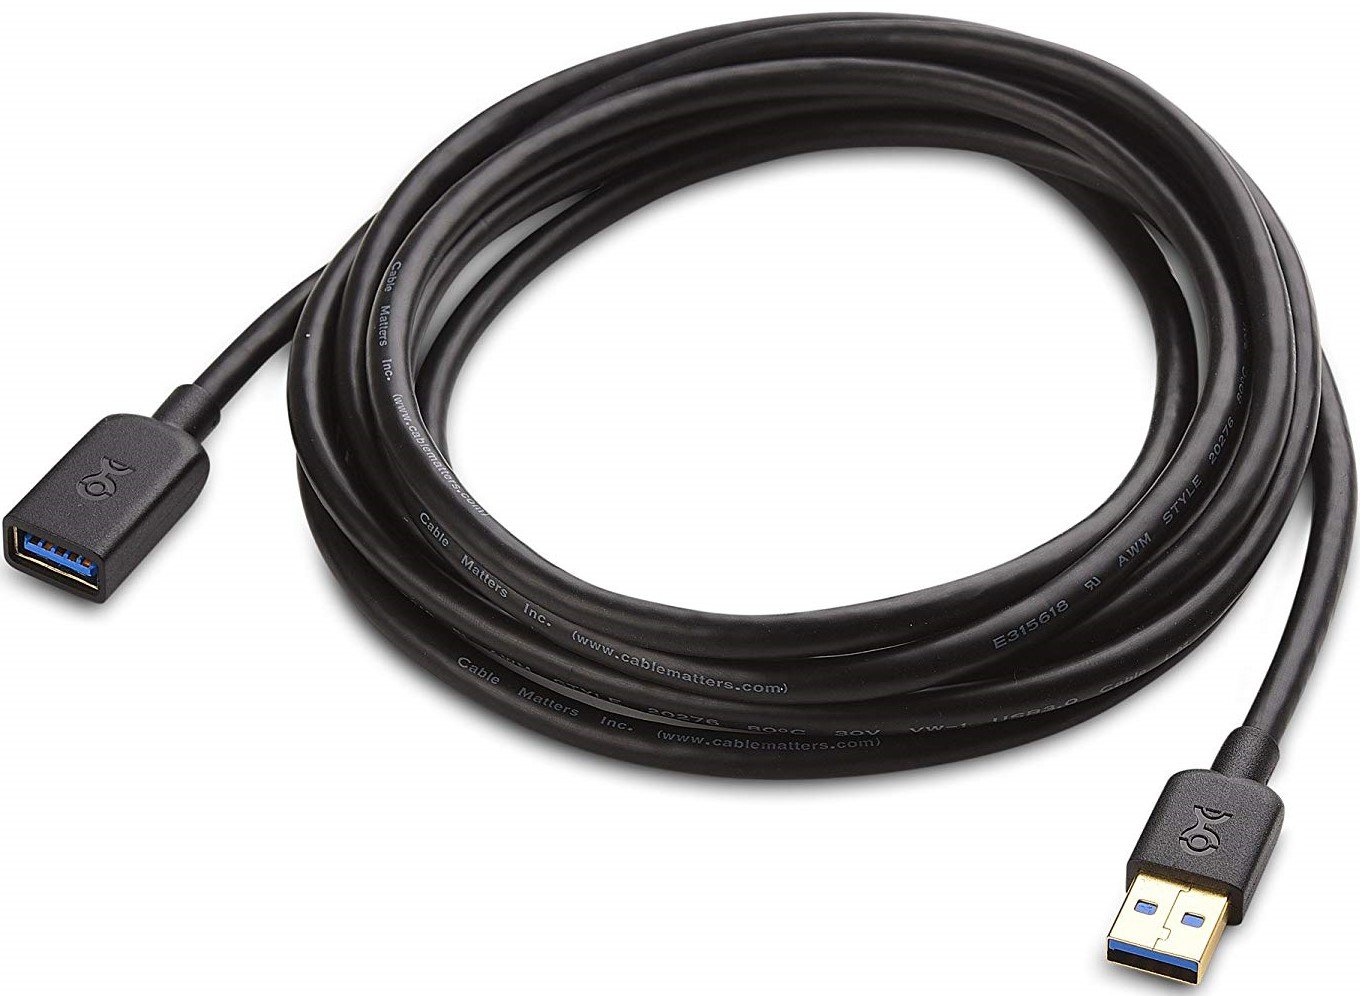
This USB 3.0 cable will extend the range of your WMR headset by 10 feet. Not only will it give you the room you need to play but will do so at the fastest transfer rate possible so there is little chance of latency issues.
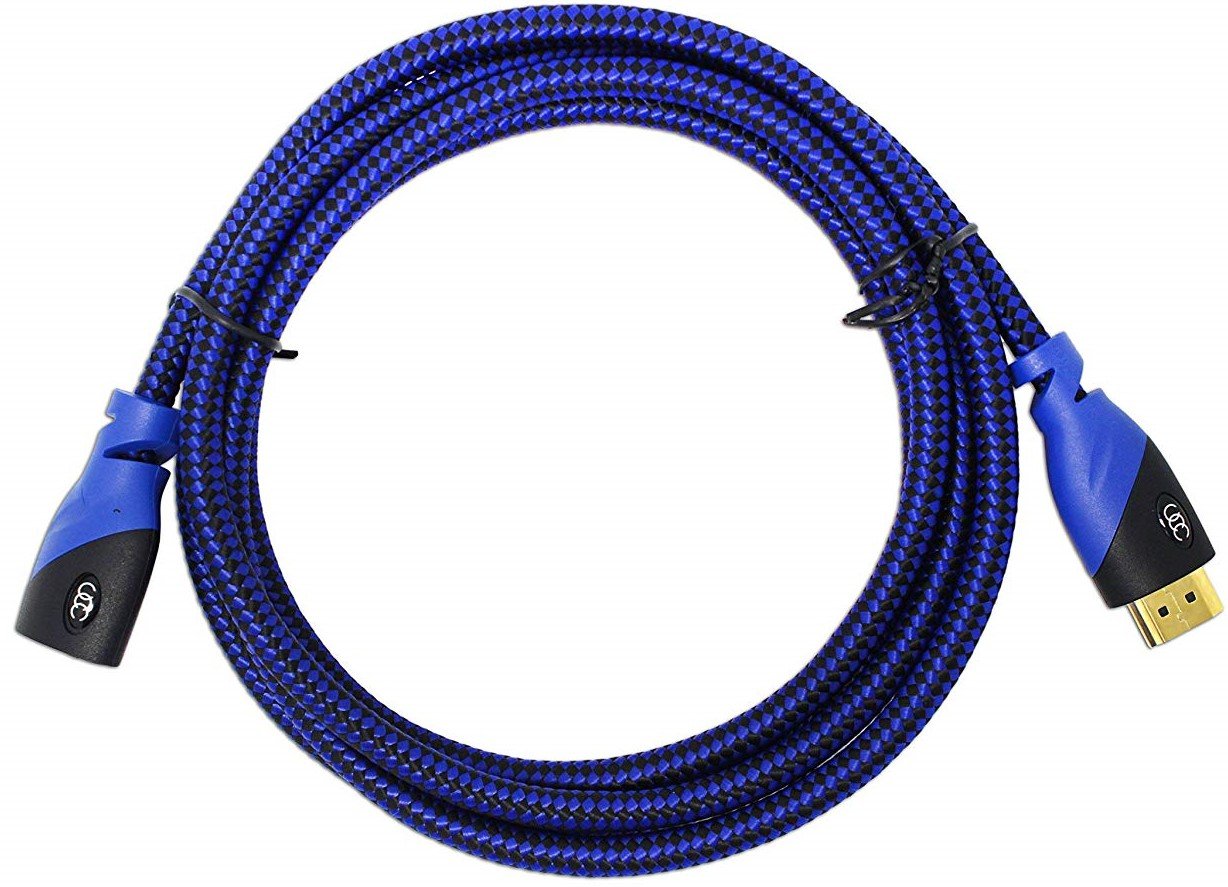
Future-proof
With HDMI 2.0 baked into this 10-foot cable, you can be sure your Windows Mixed Reality headset will work, whether it is WMR ultra or not. Give yourself the comfort of knowing your tech is future-proofed.
Get the Windows Central Newsletter
All the latest news, reviews, and guides for Windows and Xbox diehards.
James built his first PC when he was 13 and has never looked back. He can be found on Windows Central, usually in the corner where all the 3D printers are, or huddled around the Xbox playing the latest games.

