The Ascent, an action RPG from Neon Giant, has now launched on Xbox and PC for everyone, but we were lucky enough to play it for the last couple of weeks. It's violent, it's beautiful, and the music pumps. It's also not quite as straightforward as it looks, with plenty of lessons to be learned only after you've crossed the threshold. We've rounded up 10 tips and tricks you need to know before you dive into The Ascent.
1. Explore the world's branching paths
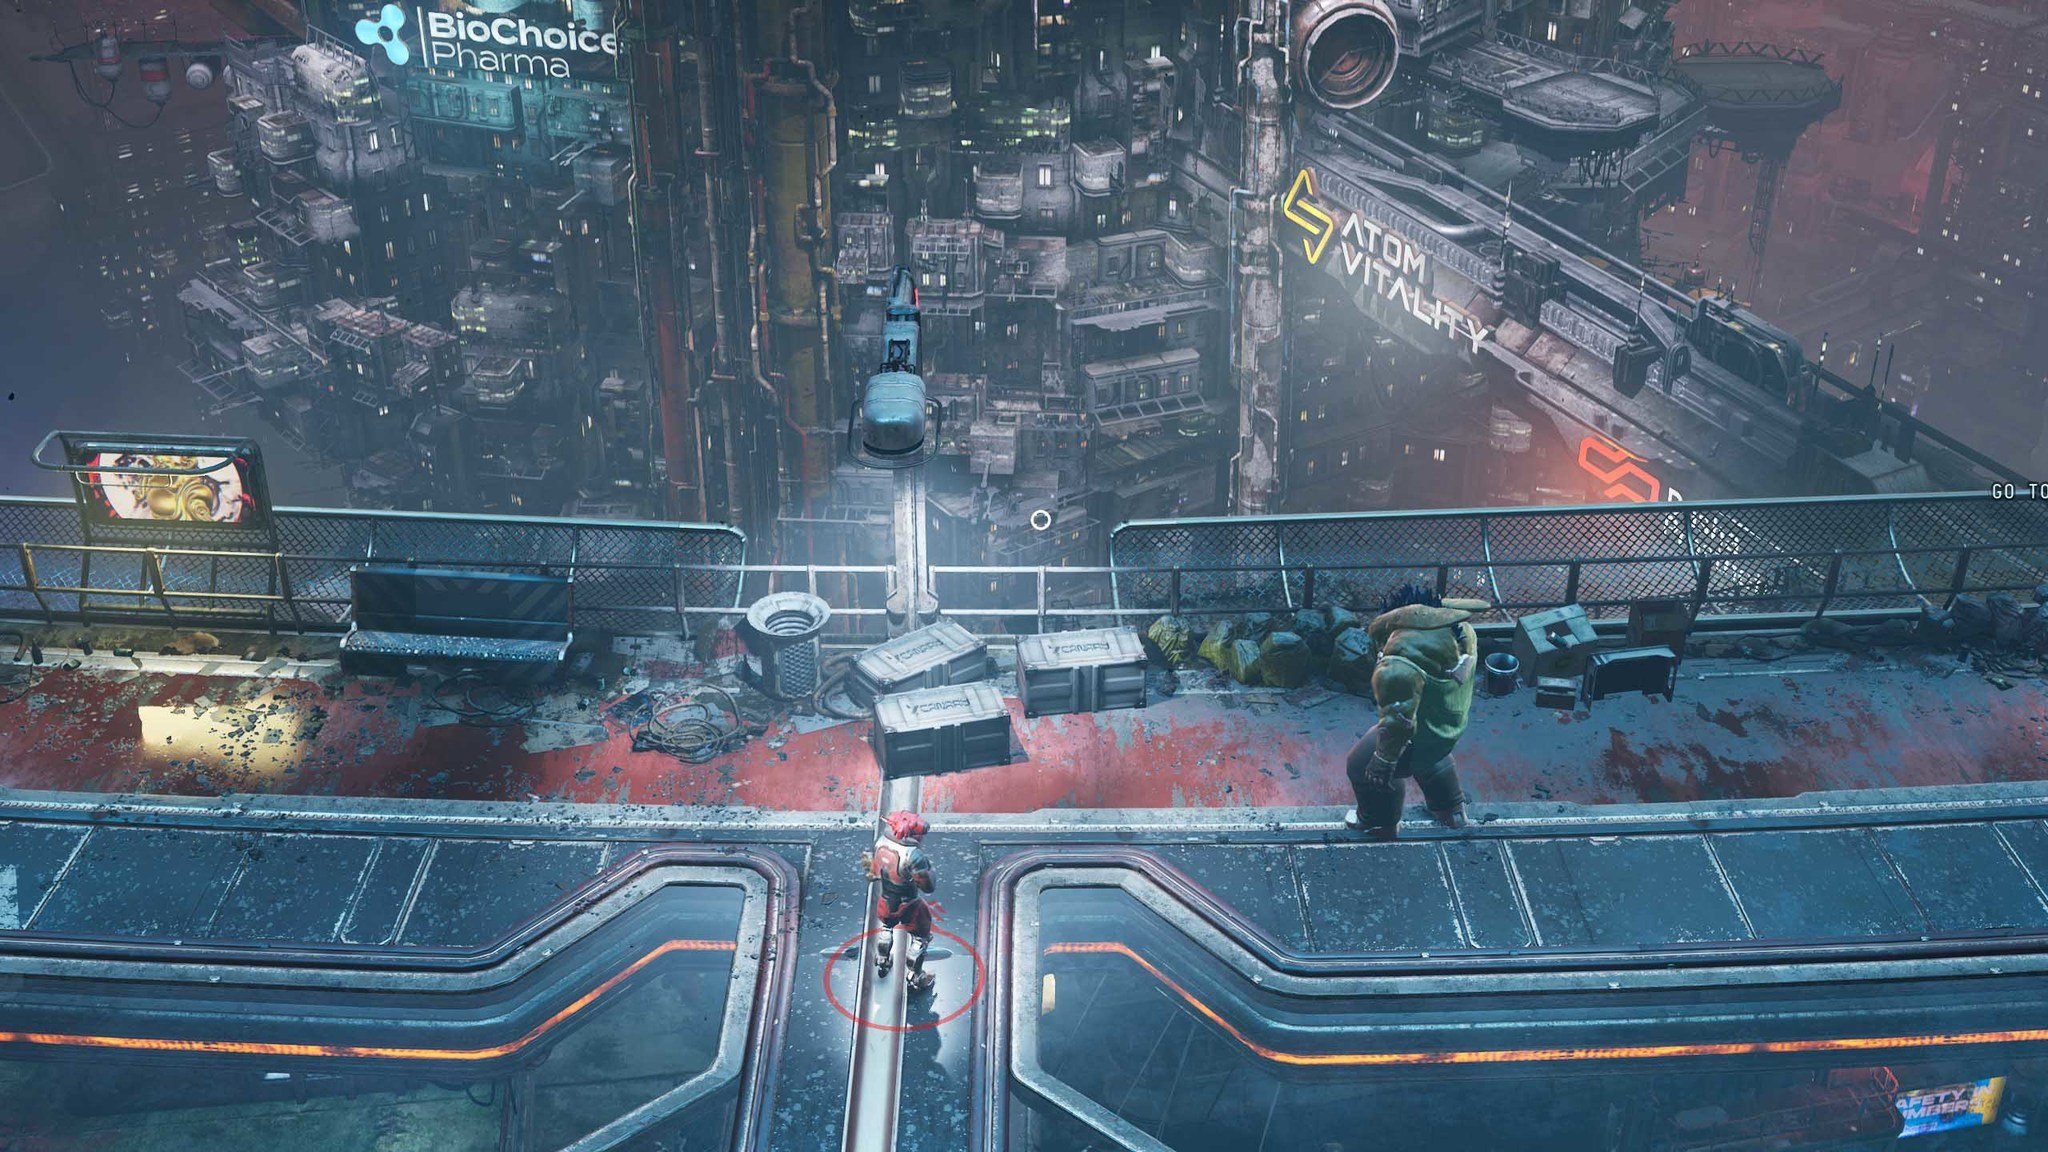
The Ascent's world of Veles has carefully crafted set pieces that are something to behold, with a sense of life in every corner. While there is always a main direction in which you need to travel to complete your objective, plenty of paths branch off of the main route. Developer Neon Giant took the opportunity to fill many of those branching paths with world-building scenes, though plenty are filled with crates and chests full of loot. This makes it (usually) worth your while to explore beyond the main trail.
Take notice, though, that some paths will lead you into high-level enemies. Whether it's an intentional gamble or design flaw, you will shortly respawn at the nearest checkpoint if you discover one of these areas.
2. Loot everything
Veles is filled with interactive junk, including broken-down cars, rotting crates, Indent lockers, and backroom countertops. There are plenty of opportunities to find uCreds (the game's currency), cosmetics, crafting supplies, armor, weapons, datapads with lore, and even skill points, so it's to your benefit to smash all crates and explore all openings.
This is especially true if you're low on health, energy, or tactical charges, as many areas will have a vial of the red, blue, or yellow goo that refills your meters.
3. Take cover whenever possible
You might prefer a run-and-gun playstyle with plenty of dodging, but eventually you're going to be swarmed by enemies with enough firepower to drain your health. Luckily, The Ascent has a neat cover system that lets you deal damage without receiving damage. Enemies won't be able to hit you when you crouch behind half-height environment, but you can hold up your gun and shoot over. This seems to reduce your accuracy, but it will keep your health bar filled.
Enemies will adapt to your cover as you progress through the game, shooting with seeker projectiles or leaping up close for melee damage. They'll also take their own cover, which will force you to change positions.
All the latest news, reviews, and guides for Windows and Xbox diehards.
4. Use your dodge ability properly
Dodging in The Ascent is a useful tool, but it's not meant to be spammed. The red circle around your player includes an arrow in the direction that you're aiming; any chevrons above that arrow indicate dodge charges. Once depleted, there will be a short cooldown before you can dodge again. Use your dodge charges wisely for best effect.
The Ascent doesn't quite grant invincibility frames (i-frames) while dodging. I tested by dodging repeatedly into an explosion radius, as well as out of an explosion radius. While you can dodge to prevent all damage, it seems that you must land outside the explosion. If you're going to land within the explosion's radius at the end of the dodge you will take damage. As for projectiles, the same seems to apply; don't land directly in front of one and you won't take damage.
5. Don't die to bounty mobs
You don't need to visit any sort of bulletin board or NPC to pick up bounty work in The Ascent. Instead, certain mobs will spawn with a more powerful enemy that holds the bounty contract as well as some extra loot. Kill this bountied enemy and you'll be able to turn the contract in to a bartender.
If you die before killing the bountied enemy, you'll respawn at the nearest checkpoint. However, the enemy won't still be waiting around for you, wrecking your chances of collecting the bounty. Be wary and take your time with bounty fights to prevent losing out on the extra uCreds and loot.
6. Pay attention to weapon damage types
The game's early enemies almost all take decent damage from basic ballistic weapons. But as you progress, you might notice your weapons not doing as much damage. I noticed this the most when I first began to encounter mechanized mobs, but a change to an energy weapon brought my damage back up.
The Ascent doesn't give you any sort of carrying weight cap, so feel free to carry around a bunch of different guns with different damage types.
7. Don't be afraid to upgrade your weapons
The Ascent doesn't have a standard RPG tier system for weapons. There are no basic, rare, legendary, or elite options. Instead, each weapon has a Mk. level that you can upgrade at a gunsmith with found components.
The trick here is that once you upgrade the weapon, every future instance of the weapon found will be the same level. There's really no issue with upgrading the weapons you're enjoying using, as you won't ever find a weapon with a higher level in the wild.
There are, however, different colors based on item quality, level, and efficiency. Peach is the lowest, scaling up with bronze, silver, gold, and purple. For augmentations, better color means better scaling with your selected attributes. With armor it indicates defense, and on weapons it indicates the Mk. level.
8. Use vending machines to your advantage
Veles is the pinnacle of late-stage capitalism, so it's no surprise that there are vending machines everywhere. They're usually marked on your minimap for easier scouting, and they'll contain either health, energy, or tactical charges. Unless you've upgraded your cyberdeck a few times with the correct hacking software, you will have to give up some uCreds.
Note that the vending machines do have a limited stock, so don't overbuy if you know you might be respawning at a nearby checkpoint (say during a boss battle). You can also shoot and blow up vending machines to deal extra damage to nearby enemies.
9. You can fast travel two different ways
Veles is both horizontal and vertical, with plenty of open space that takes a long time to cross. Luckily, there are two different ways to fast travel. You can call a taxi (with T on PC) from just about anywhere as long as you're not in combat. Taking a taxi ride costs 1,000 uCred and it will take you to any discovered area on the same level.
There are also fixed metro stations you'll find around the map with a train you can ride for free. The train will take you to any other stations you've discovered on the same level. To travel up and down levels, you must use the fixed elevators that are generally located in the main arcology section.
10. Augmentations benefit from different attributes
There are four different attributes for your character: Cybernetics, Motorics, Biometrics, and Frame. These are leveled up each time you add a point to one of the eight different skills available. For example, adding five points into both Vital Signs and Body Battery skills will give you 10 points for the Biometrics attribute.
The augmentations you find and equip receive a boost from certain attributes. For example, the Hydraulic Slam augmentation will do more damage as you level up your Motorics attribute. If you fall in love with a certain augmentation, maximize its potential with the correct attributes. And don't worry if you've spent your skill points; they can be reset at a Grafter.

Cale Hunt brings to Windows Central more than nine years of experience writing about laptops, PCs, accessories, games, and beyond. If it runs Windows or in some way complements the hardware, there’s a good chance he knows about it, has written about it, or is already busy testing it.
