Apps to help make the most of your Windows Phone photos
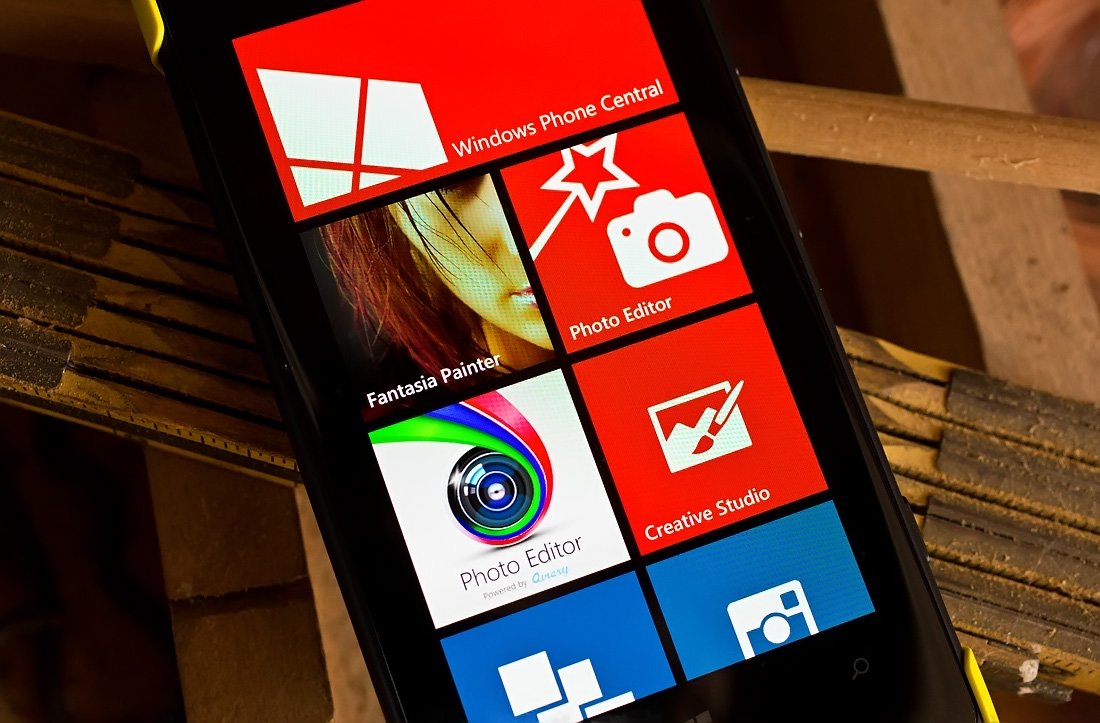
Windows Phone Central App Roundup: Photo Editors
As someone who has spent a lot of time behind a camera, it's nice to see our Windows Phone cameras and photography apps improve over the years. The hardware has well passed the novelty stage back when VGA was the only capture resolution and are now easily capable of taking noteworthy images. Our Windows Phone cameras have become very handy and capable means to capture the moment.
The Windows Phone apps supporting our cameras have equally improved significantly from apps that simple slap creative filters on your images to apps that have Photoshop-like capabilities to not only add filters but also to make exposure adjustments and other quality control edits.
We picked four Windows Phone photo editing apps in this week's roundup that go beyond special effects and filters to help us make the most of our cameras and the images they capture.
Real quick... for the roundup I used this image as the test image.
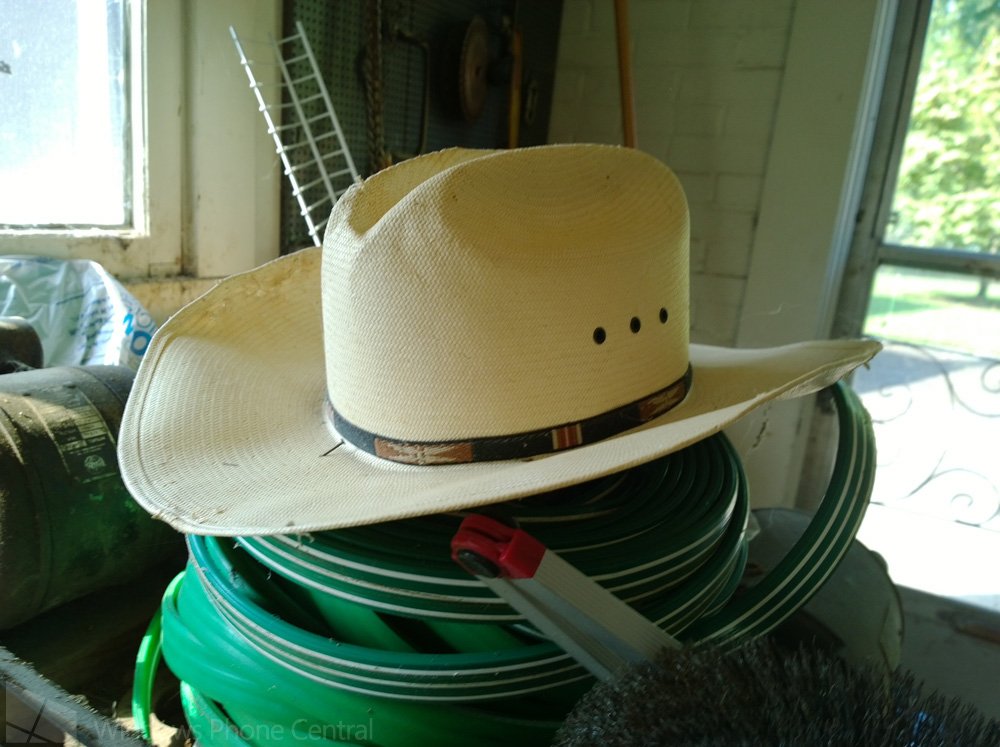
The original image resolution is 2592x1936 pixels. In my experience that should yield a 36x26 inch image at web resolution (72dpi) or roughly a 8x6 image at print resolutions (300dpi). Web resolution is suitable for emailing or web publication (Flickr, Twitter, Facebook, etc) while print publication is suitable for...well... printing. You may be able to get away with a lower dpi resolution but I've always found 300dpi to be the best. Your results may vary.
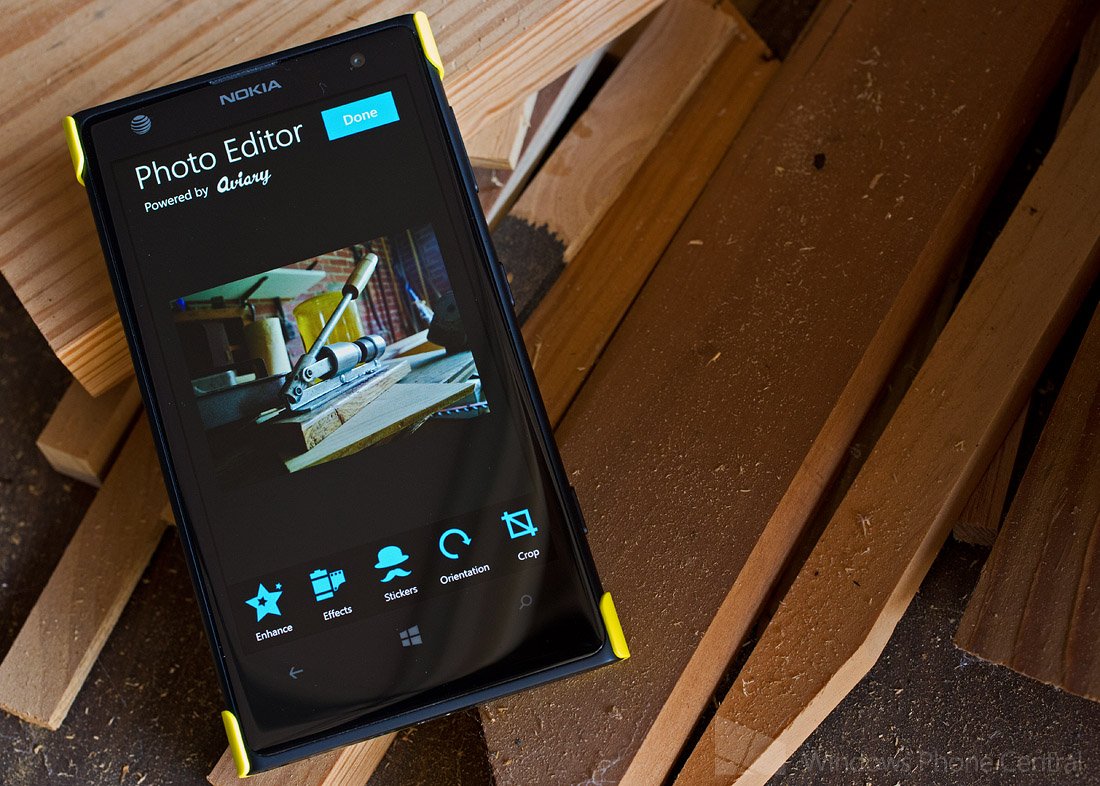
Photo Editor by Aviary (free): Aviary is a name many will be accustomed with in that Aviary makes their photo SDK available to Windows Phone developers to easily incorporate a photo editor into their apps. We see it with Instagraph, Rowi and other Windows Phone apps.
Get the Windows Central Newsletter
All the latest news, reviews, and guides for Windows and Xbox diehards.
Photo Editor by Aviary is a Windows Phone 8 photography app that is a stand alone version of the editor others have integrated with. If you've used any of the apps that use Aviary's SDK, you will be very familiar with this stand alone editor.
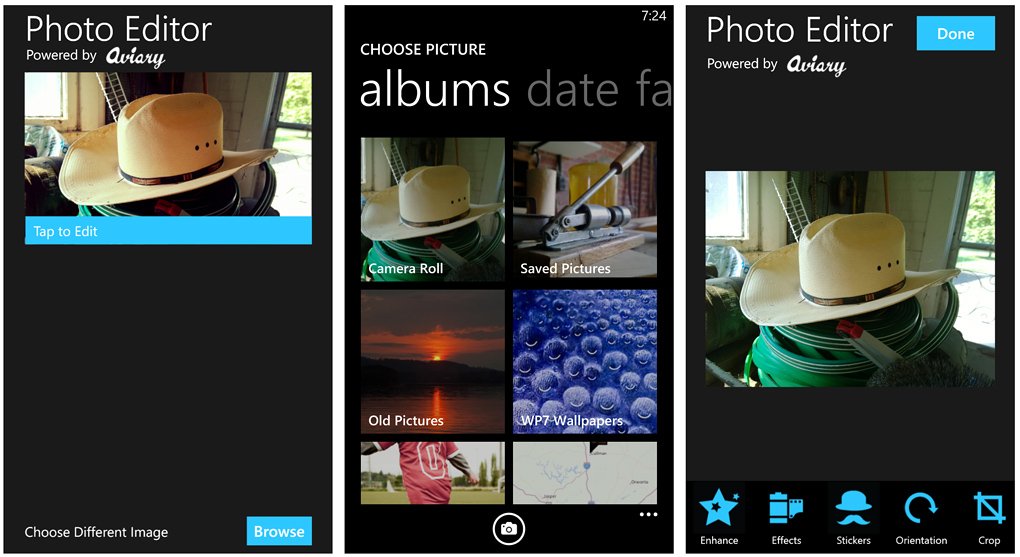
Photo Editor by Aviary main screen, photo select, and main editing page
As with most editors in the roundup, when you first launch Photo Editor by Aviary you'll need to choose a photo to edit. Your most recently edited images will be displayed on the launch page for you to revisit or you can tap the browse button in the bottom right corner of the screen. This will send you to an album listing for your Pictures Hub or you can tap the camera button at the bottom of the screen to launch the native Windows Phone camera app to capture a new image to edit.
Once a photo is chosen or captured you'll be sent to the main editing screen. The image to be edited sits center screen and your editing options run across the bottom of the screen.
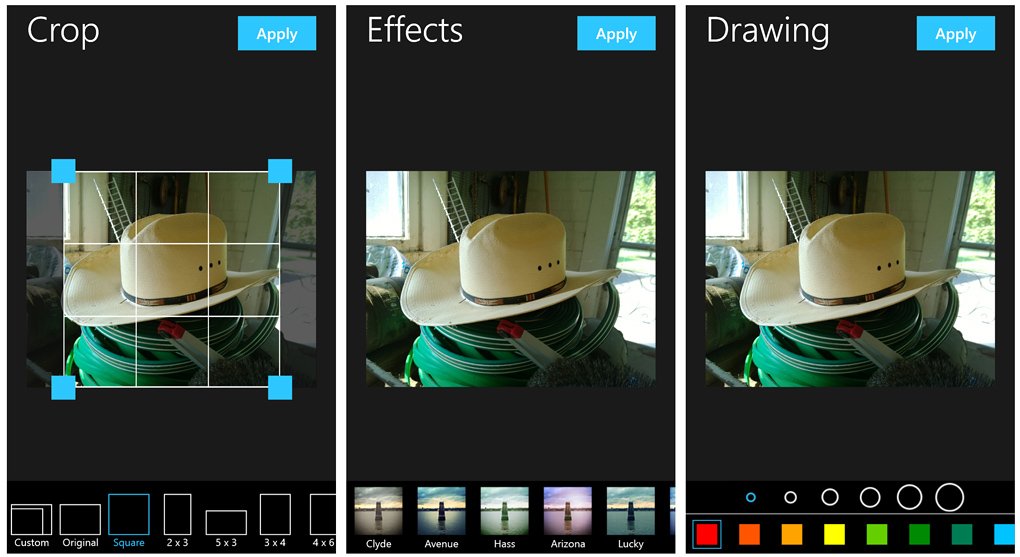
Photo Editor by Aviary editing screens
Depending on the tool, you may have adjustment bars to set how much of an effect is applied and an "apply" button will sit in the upper right corner. If you just don't like the editing, just tap the back button to return to the main editing screen. Editing tools are as follows with the Photo Editor by Aviary.
- Enhance: Tools include an auto adjust that picks the optimum adjustments for proper exposure and automatically make adjustments for night, backlit or just to balance things out.
- Effects: A dozen effects filters that can be applied and stacked on to your photo. The filters are a wide range of hues and tints.
- Stickers: Twenty-three stickers ranging from arrows to sunglasses to a crown that can be attached to your photo. Stickers can be enlarged or reduced in size and positioned anywhere on your photo.
- Orientation: You can rotate your image or flip it horizontally and vertically.
- Crop: Photo Editor by Aviary has twelve preset crop aspect ratios as well as a custom cropping tool for those unique situations where none of the presets work.
- Brightness, Contrast, Saturation, and Sharpness: Each tool is present to help you fine tune your images exposure.
- Text: This tool, as you would guess, allows you to add text to your photos. You can select the color of your font with size and position accomplished through touch.
- Drawing: Want to add a mustache to a photo? How about darken out a few teeth? The drawing tool will allow you to add free form doodles to you pictures. You have a decent selection of colors to choose from and six line sizes available.
- Redeye, Whiten, and Blemish: Tools to get the red out of your subjects eyes automatically, whiten teeth (or any other part of your photo) and correct any skin blemishes that may exist.
When all it said and done, just tap the Done button at the top right corner of the main editing page and your image is saved to your Saved Pictures folder of the Windows Phone Pictures Hub. Saved resolution for an uncropped image is reduced to 1184 x 884 pixels which yields you a 16x12 inch image at web resolution or a 4x3 inch image at print resolution. Keep in mind that if you crop the image, your saved image resolution will differ.
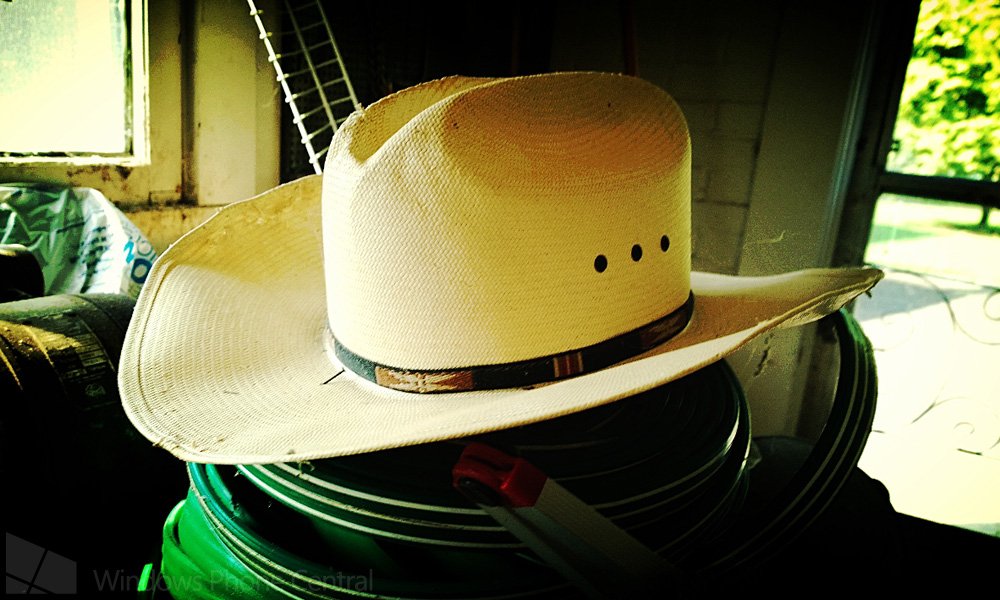
Photo Editor by Aviary photo sample
Photo Editor by Aviary is a very healthy photo editor. A few suggestions for improvement would include a before/after button to help you toggle between your edited image and its original appearance and a sharing option from within the app. Photo Editor by Aviary also lacks horizontal support which would give you a larger view and make some edits easier to apply.
Still...while there is room for improvement Photo Editor by Aviary is a Windows Phone 8 photo editor worth trying. It is a free app and you can pick up Photo Editor by Aviary here in the Windows Phone Store. There is also a Windows 8 version that works rather nicely on tablets that you can pick up here in the Windows Store.
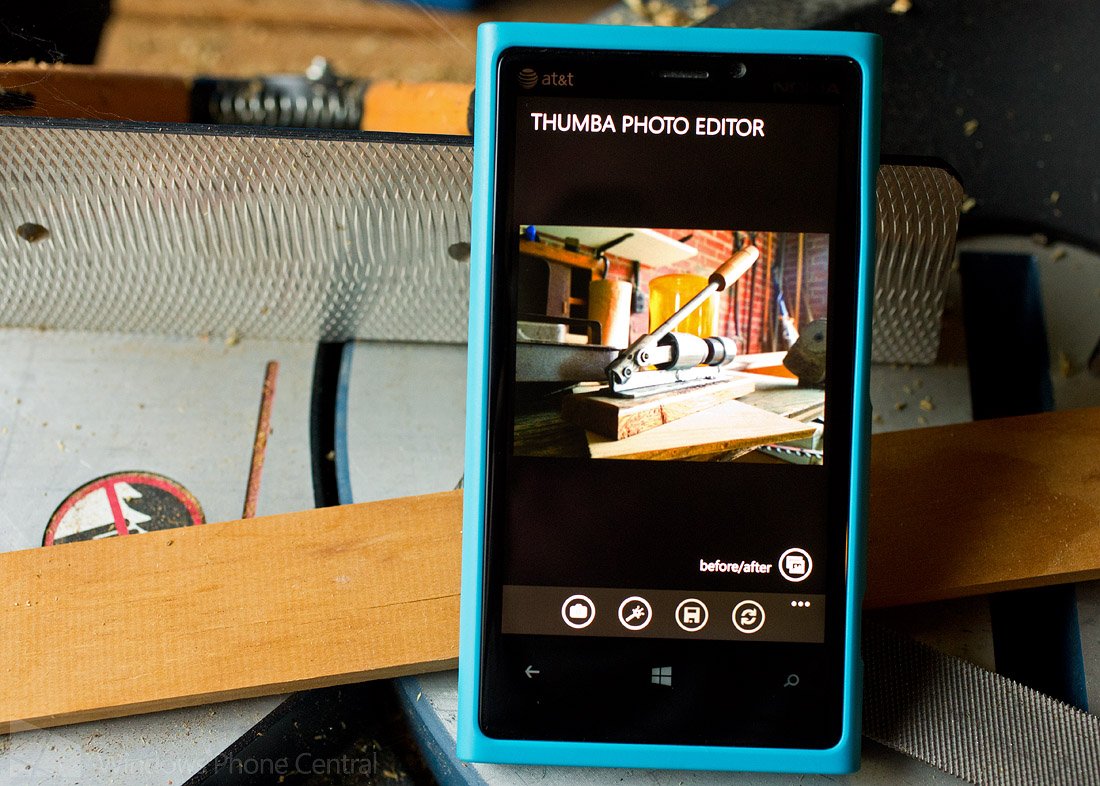
Thumba Photo Editor (Trial/$.99): Thumba Photo Editor has been on the Windows Phone Store shelves for a very long time. If my aging memory serves me correctly, it was available when (or just after) Windows Phone 7 launched. It is a feature crazy photo editor for both Windows Phone 8 and 7.x device and at $.99 it's a steal.
Thumba Photo Editor starts you out in typical fashion having you find a picture to edit. Just tap the "get photo" button at the bottom of the main page. This will send you to your Pictures Hub folders or you can launch your Windows Phone native camera app to capture a new photo to edit.
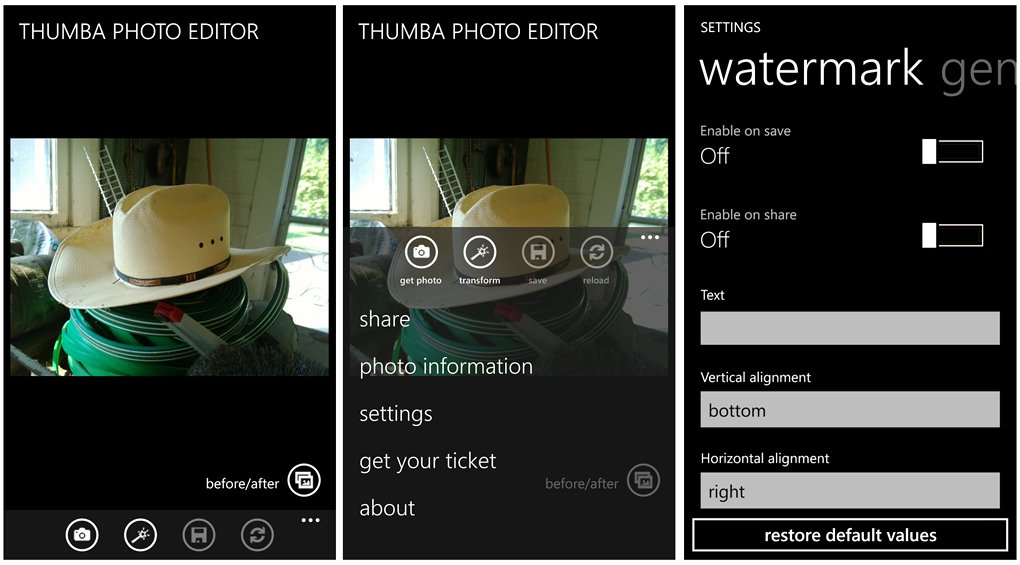
Thumba Photo Editor's main screen, menu options and settings
Once you find an image to edit, you have a transform button that comes to life that will launch your editing tools. Also, up under the three-dot menu you will find options to share the image, view information on the photo (file name, dimensions, histogram and a map view if there's GPS information available), and access Thumba's settings.
Settings cover general options such as turning on/off GPS services and running the app under a locked screen; photo settings such as jpeg quality on saving and adding a photographer's name; and watermark settings.
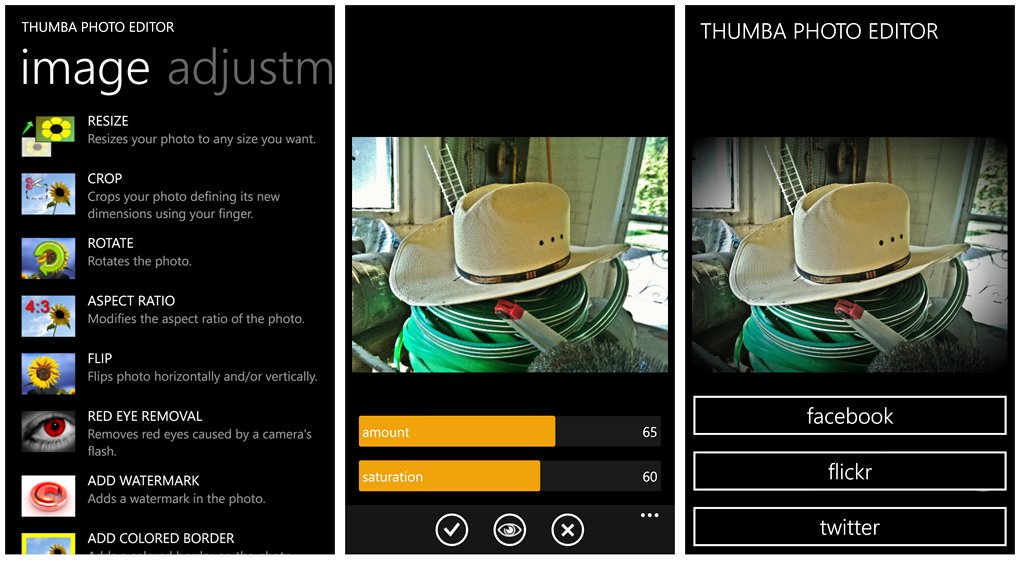
Thumba Photo Editor editing screens
In tapping the transform button you'll pull up Thumba's editing tools. Depending on the editing tool you may have adjustment bars to allow you to determine how much of an effect or adjustment is made to a photo. Once you have things set, tap the check mark to apply the edit or the X button to cancel things out. You also have a show/hide button to get rid of any adjustment bars that are present to give you an unobstructed view of the image.
Editing tools (there is over seventy of them) are spread across multiple pages that includes:
- Adjustments: These tools mainly deal with your image's exposure and include contrast adjustments, hue and saturation controls, levels adjustments, white balance, color balance, noise reduction and posterize. There are seventeen tools in this category.
- Filters: This is where your creative filters reside. There are twenty three filters that include HDR, Tilt-shift, Sepia, Lomography, and color filters.
- Effects: Twenty options rest on the effects page that include watercolor, solarization, night vision, mosaic, pencil sketch and more.
- Image: Twelve options are available to adjust appearance aspects of your photo such as red eye removal, cropping your photo, rotating your image, add a watermark and a few border options.
Each time you apply an edit, you'll return to the main editing page where button controls to save your image, reload (start from scratch) your image and a before/after view will become available. When you are done with all the fine tuning, just tap the save button and your image is saved to your Saved Images folder of the Windows Phone Pictures Hub. At any point in the editing process you can share your images (option is up under the three-dot menu) to Facebook, Flickr, or Twitter.
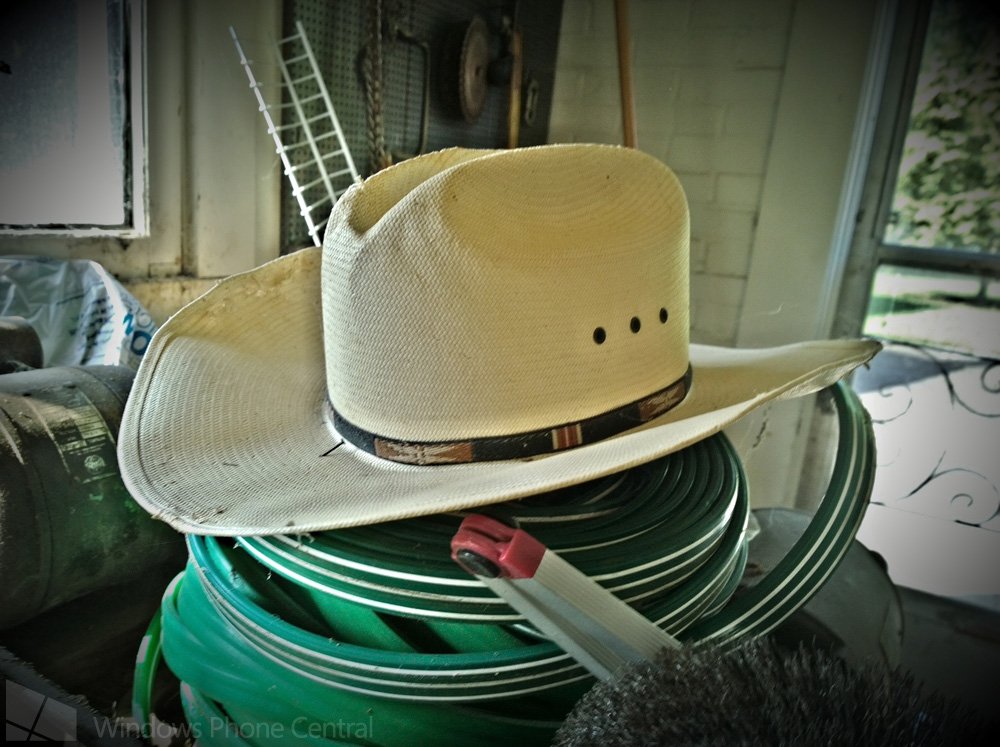
Thumba Photo Editor photo sample
While you do have the option to set JPEG quality in Thumba's settings I still experienced some reduction in resolution when the images are saved. With the setting at 100%, image resolution after saving an image is 2000x1493 pixels which yields an image size of 27x20 inches at web resolution and 6x4 inches at print resolution.
Thumba does have a lot of back and forth navigation between the editing tools and the main editing page. The user interface works but you can't help but think things could be a little more fluid. I like the before/after button and the sharing options that are available within the app. Thumba also supports horizontal view, giving you a bit more elbow room in editing photos.
Thumba Photo Editor has a ton of editing tools to experiment with and is a good option to consider. There is a free trial version available to let you try things out before investing the $.99 for the full version. You can find Thumba Photo Editor here in the Windows Phone Store. It is available for both Windows Phone 8 and 7.x devices.
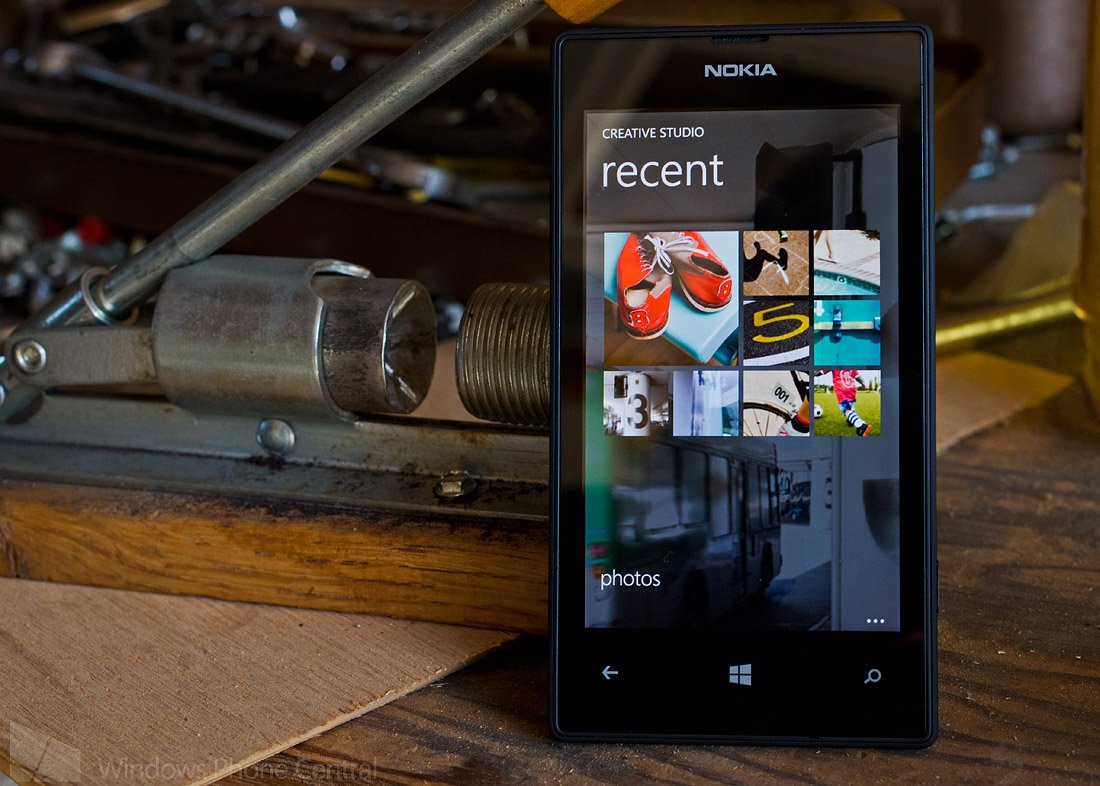
Creative Studio (free): This is Nokia's photo editing option for Lumia Windows Phones. It doesn't have as many editing tools as the other editors in this week's roundup, but it can hold it's own rather nicely.
The launch page for Creative Studio will display a thumbnail collection of your most recently captured or saved images. If none of those images tickle your fancy to edit you can tap the "photos" link to pull up an image from your Pictures Hub. Creative Studio lacks the option to launch your Windows Phone camera to capture a new image to edit.
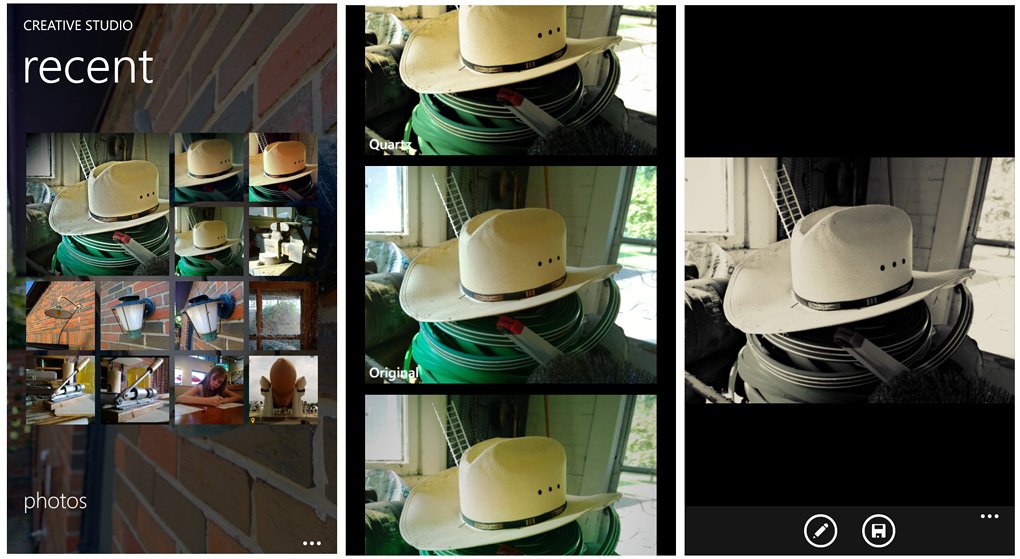
Creative Studio launch, filters and editing pages
With Creative Studio being accessible under the edit options when your review your images in either the native camera app, Nokia Pro Cam, the Pictures Hub or other third party camera apps, not being to launch the camera app internally really isn't an issue.
Once you've selected an image to edit, your first task is to select a creative filter to apply to your image. If you don't need a filter, there is an option to proceed with the original image.
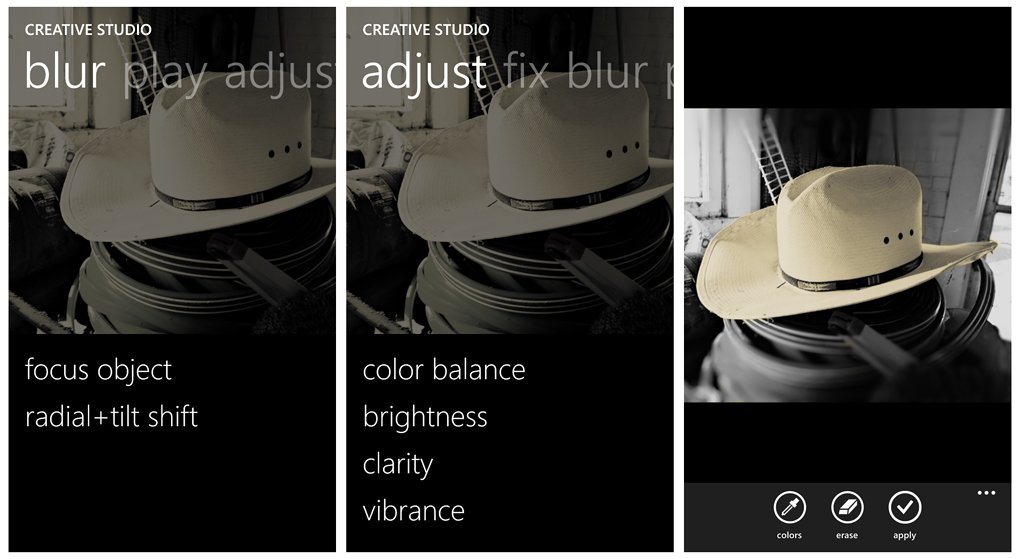
Creative Studio editing screens
Once you choose a filter (or don't choose a filter) you move to a preview page that has a edit and save control button. When you tap the edit button you'll move to the editing tools. Creative Studio's editing tools are scattered about several pages that include:
- Blur: Two tools are located on this page. Focus Object allows you to selectively blur portions of your image to pull the image's focus to a particular subject or area of the image. You also have a Tilt Shift tool on this page.
- Play: A Color Pop and Collage creative tool rests in this category. Color Pop allows you to selectively remove color shades from your image. You can pinch to zoom to make your edits more precise. The Collage tool will let you build collages that include up to seven images.
- Adjust: The Adjust Page has options to tweak the image's color balance, brightness, clarity and vibrance.
- Fix: Creative Studio's Fix Page holds the options to crop, rotate and correct red eye. Cropping options have a standard square crop and a custom option to let you choose how things shape out.
After each tool is applied to your liking, tap the check button to apply the edits and return to the preview page. You can then edit the image further or save the image to your Saved Images folder. Once saved you'll have the option to save the image through your typical Windows Phone sharing options (tap+send, Bluetooth, Messaging, Email, OneNote or any other sharing app).
Creative Studio maintains full resolution when saving images. That is unless you crop things down.
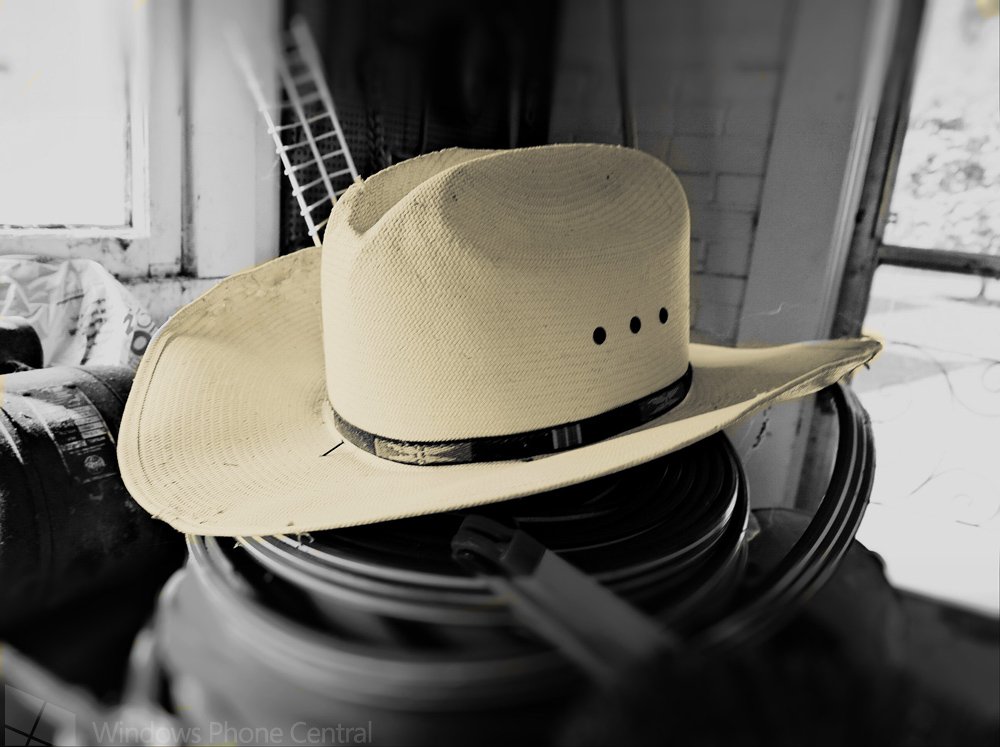
Creative Studio photo sample
Creative Studio may not have as many filters or editing options as other Windows Phone photo editors but it does a commendable job of things. Additionally, Creative Studios supports horizontal as well as vertical view to give you a little more real estate when editing.
It is a free app for your Nokia Lumia Windows Phone 8 devices and you can download Creative Studio here in the Nokia Collection of the Windows Phone Store.
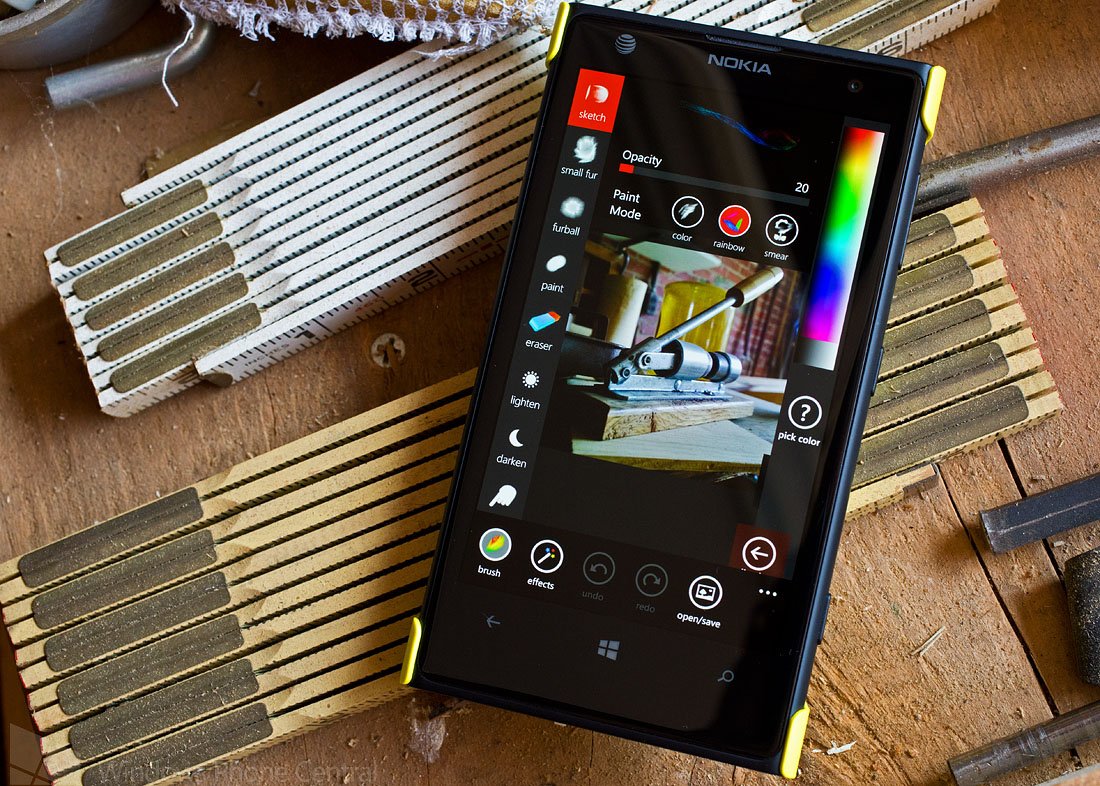
Fantasia Painter (free/$1.99): Fantasia Painter may be one of the best kept secrets amongst the photo editors for our Windows Phone. It has a strong following but at times is often overlooked. Like Thumba, Fantasia has been around for some time and is a healthy photo editing option to consider.
When you launch Fantasia, you find yourself at the main editing page. If you've been working on an image, that image will be displayed as you last saved it. Otherwise, you'll need to choose or capture a photo to edit. You also have the ability to open a blank canvass and create a new painting.
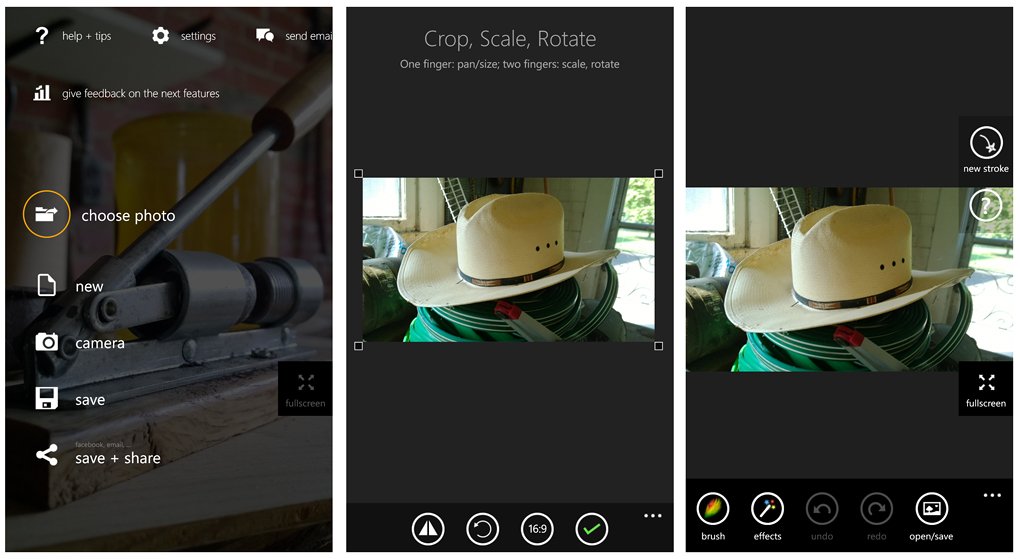
Fantasia Painter utilities, crop and edit pages
Five control buttons line the bottom of the screen. One to launch your brush tools, one to launch your effects tools, two image rotation buttons and a open/save button. The open/save button launch a utilities page with your options to choose a photo to edit from your Pictures Hub, work off a blank canvas (the new option), launch the native Windows Phone camera app, and save/share your creations. You can also access the help screen, Fantasia's settings, and feedback options for the developer.
Fantasia's settings include options for picture-in-picture view for high precision painting, options to run under a lock screen, and options for the edited/created image's save and shared resolutions.
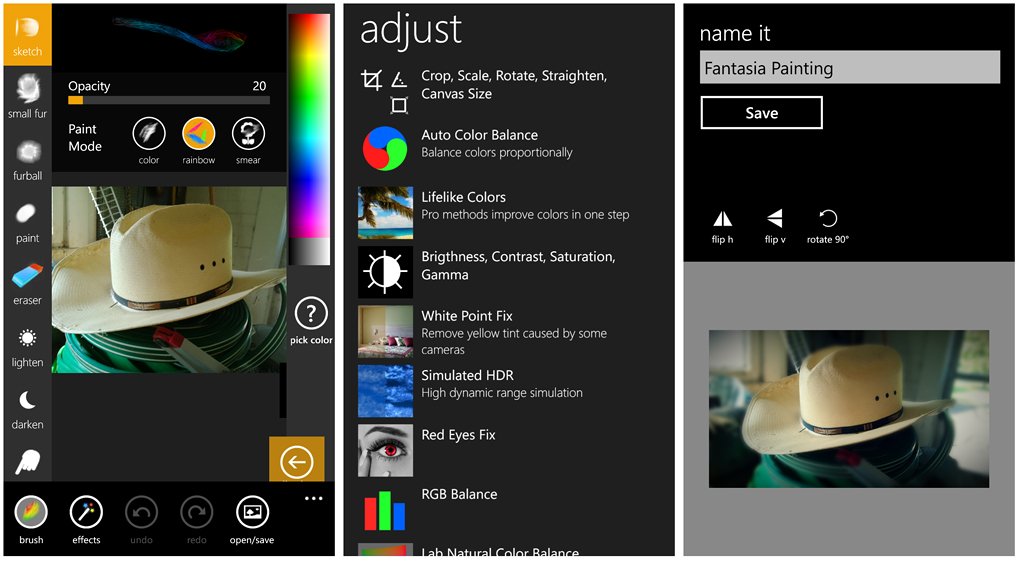
Fantasia Painter brush options, effects, and save screens
The brush tools allow you to create a new painting or add drawings to your photographic images. Brush options line the left side of the screen with a color palette resting on the right side. Any options for the brush tools will sit in the upper center screen.
The effects tool button will pull up a very long list of photo effects. Scrolling down will reveal the following options.
- Top Effects: These effects include colorize, add text, add stickers, create collages and add borders.
- Style: A collection of creative effects and filters such as gradient blend, grunge, light+bokeh, and vintage.
- Adjust: Here is where you'll find tools to adjust your image's exposure, color balance, crop/rotate your image, and tweak brightness, contrast, and saturation.
- Artistic: Yet another collection of creative filters and effects that include lomography, sepia, tilt shift, a sharpening tool, negative filter and more.
- Distort: Five options to blur, bloat, pixelize, mirror, and add motion to your images.
All totaled there is over a hundred effects that can be applied to your images. Each will have a variety of adjustments bars to let you fine tune how much of an effect is applied and when you get things just right, tap the back button. In doing so you'll have two options... keep the changes or discard the changes. Whichever option you choose you'll return to the effects page where you can edit things further or hit the back button again to return to the main editing page.
Once everything is edited to your liking, tap the open/save button from the main editing page and choose the save option. Fantasia will let you name the edited file and then save it to your Saved Images folder in the Pictures Hub. If you choose the save + share option you can share your edited image through the typical Windows Phone sharing options.
As we see with Thumba, even with Fantasia's settings set to save at 100% quality you still have some reduction. Fantasia Painter resized photos to 1366x1019 pixels which will yield you a 18x14 inch image at web resolution or roughly a 4x4 inch image at print resolution.
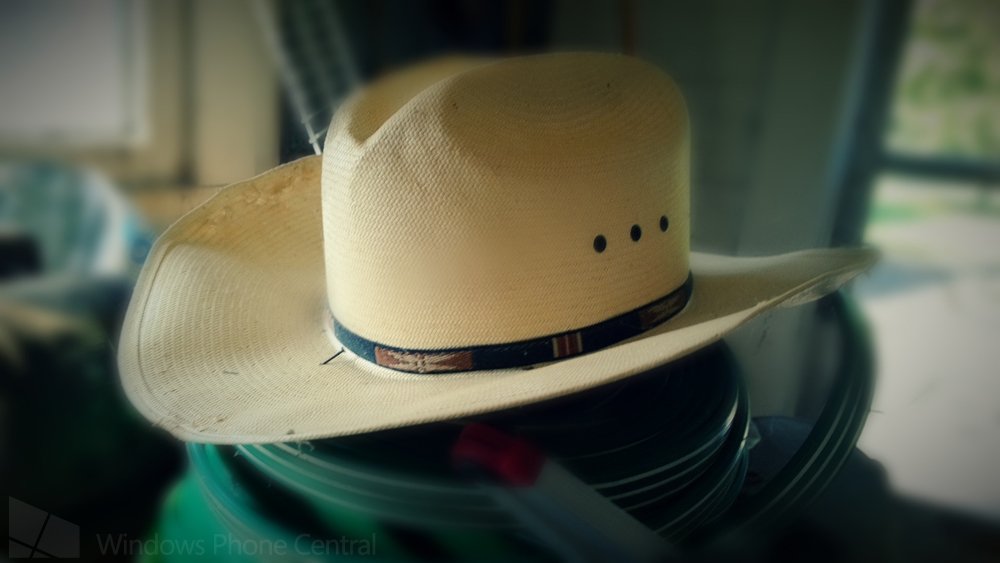
Fantasia Painter photo sample
Fantasia Painter has a ton of editing options to either edit an existing image or start from scratch and create a unique drawing. The navigation takes a little time to get used to and I think if the effects options were laid out across horizontal pages navigation would be a touch more fluid. The vertical scroll gets a little old at times. Fantasia also lacks horizontal view which would make editing a little easier.
As with the other photo editing options in the roundup, Fantasia Painter is well worth a try. There are two versions of Fantasia Painter available for both Windows Phone 8 and 7.x devices in the Store.
There is Fantasia Painter Free that is a free, ad-supported version and Fantasia Painter (which has a trial version) that is ad free and is currently running $1.99.
Which is best? As with many Windows Phone app categories, the answer to that question boils down to personal tastes. Creative Studio maintains image resolution when the edited image is saved, which is a plus. However, if you are only sharing images electronically and have no need for printed images, even though reduced, the other options save things at decent levels.
One could make the argument that Photo Editor by Aviary tends to have the better user interface but it's hard to ignore all the editing tools of Thumba. Fantasia isn't a push over either offering a ripe selection of editing options as well.
There's truly not a bad one in the bunch with the challenging being finding the one that fits your needs the best. The nice thing about these and other editing options is that they either are free or have a trial version to let you take things out for a test drive.
These are only four of the many photo editing apps available for our Windows Phones. It's nothing nefarious just one can only write so much. If we've missed your favorite, sound off below in the comments with your recommendation.
George is the Reviews Editor at Windows Central, concentrating on Windows 10 PC and Mobile apps. He's been a supporter of the platform since the days of Windows CE and uses his current Windows 10 Mobile phone daily to keep up with life and enjoy a game during down time.

