How to move media Libraries to a microSD card on your Surface Pro 3
Beginners' Tips Series!
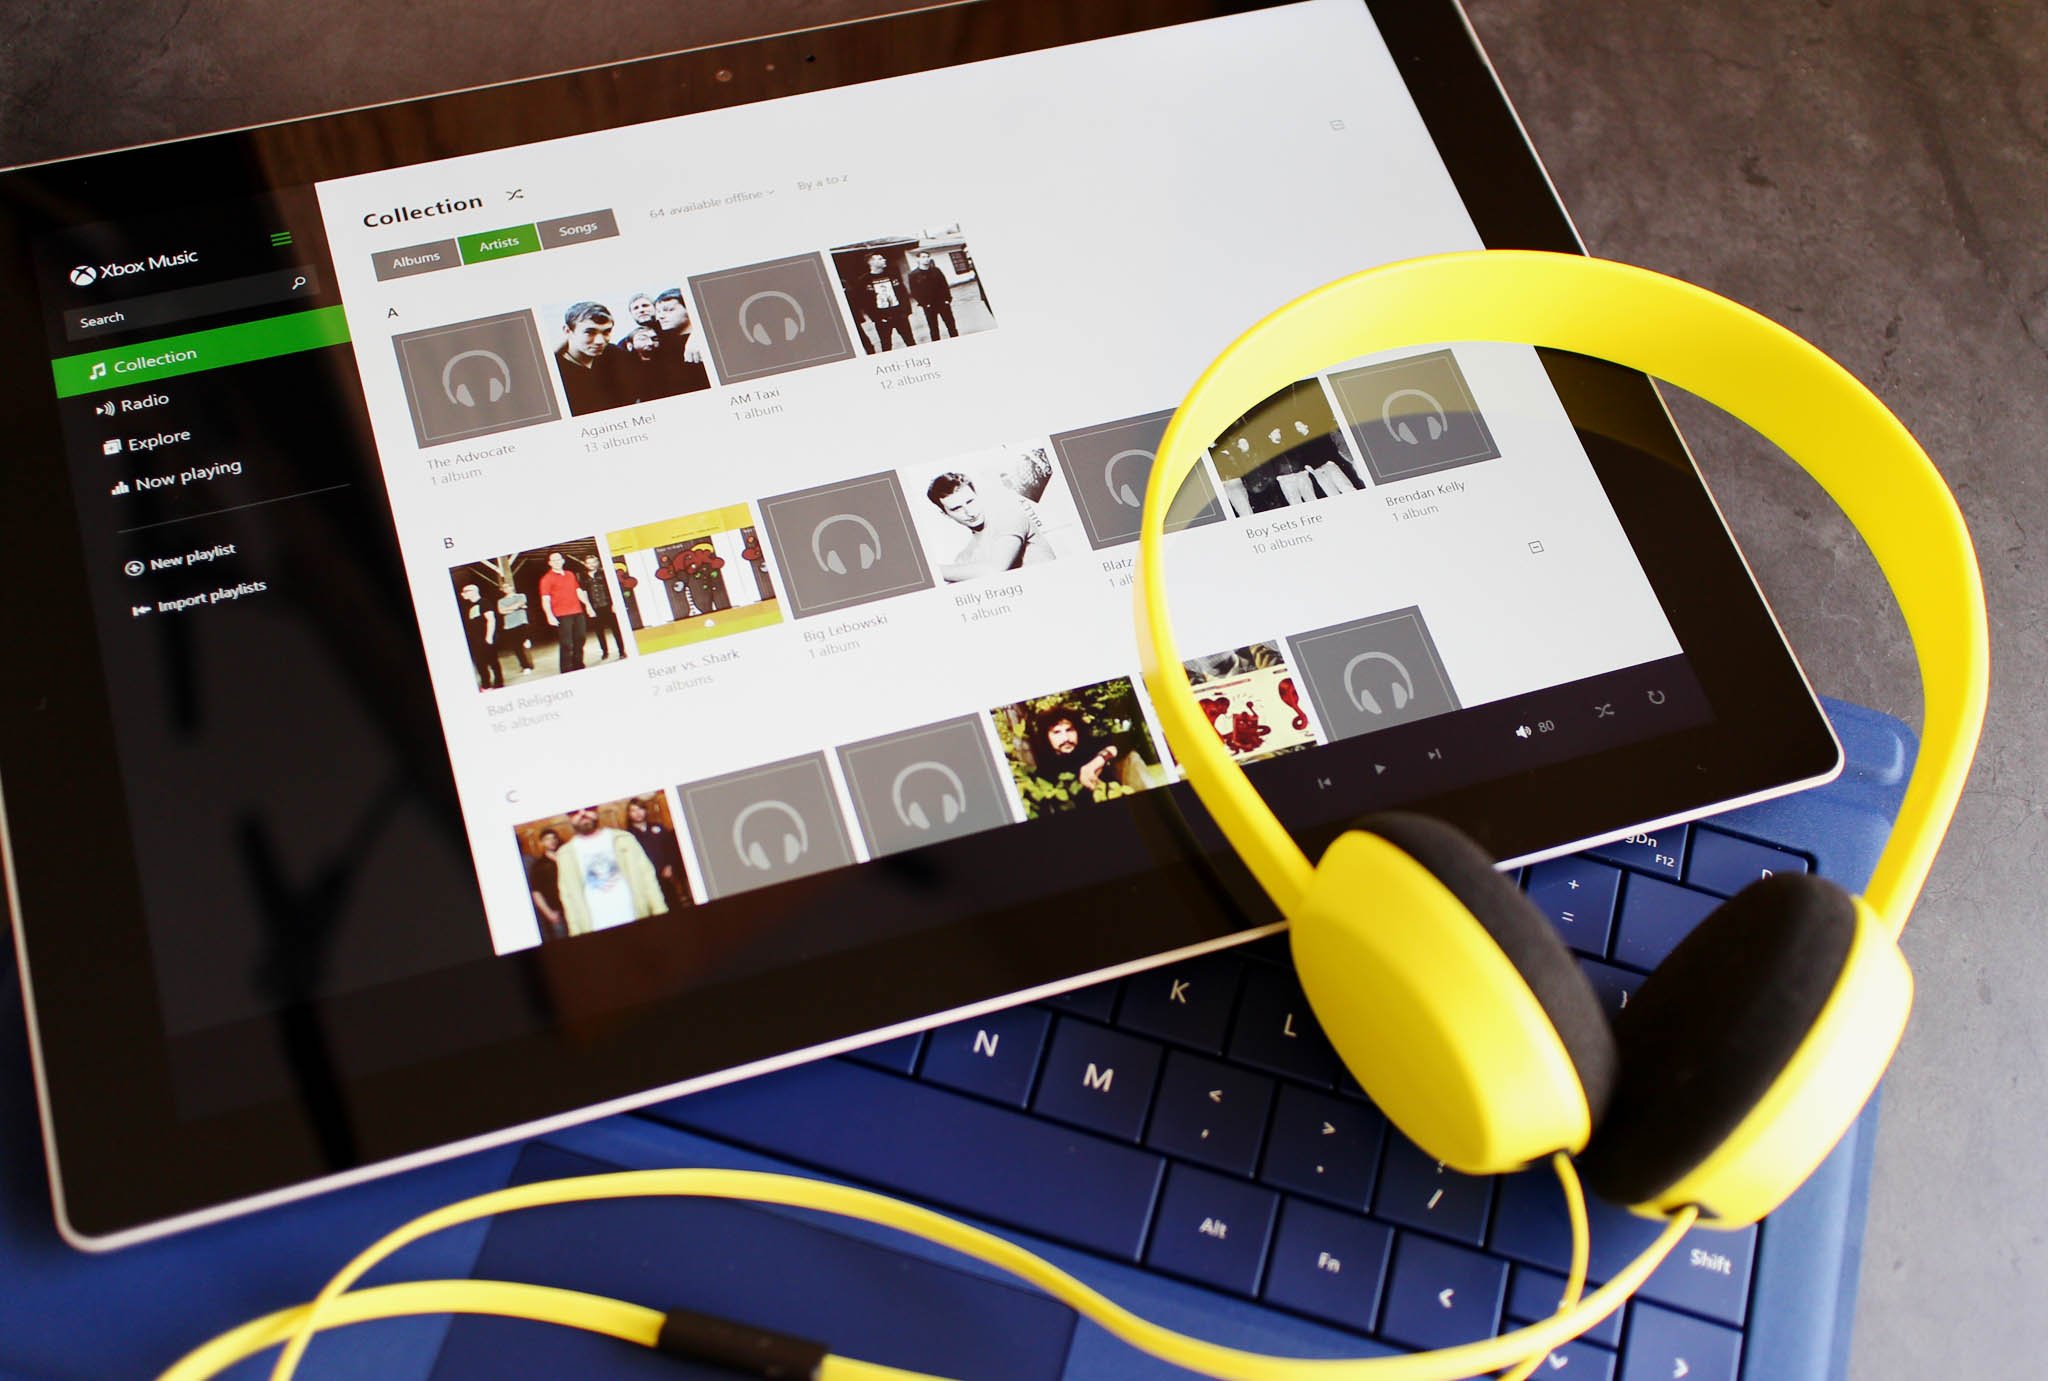
My Surface Pro 3 has quickly become the device I use most often. And since what I do on it is typically limited to writing, crawling the web and communicating with people, my demand for storage is not very high. However, I always make sure that I have plenty of music on my Surface, which can take up a lot of space.
When deciding on which version of the Surface I was going to buy I knew I wanted an Intel i5 processor, which left me with 128GB and 256GB for hard drive options. From a storage perspective, it was a no-brainer for me to go with the 128GB drive. Knowing full well that I could increase the amount of storage at any given time by taking advantage of the Surface's microSD card slot helps with that decision.
Considering I already had a 64GB microSD card sitting at home, it was a decision that saved me $300 over the 256GB model. The way that I found to manage storage best for my needs is to use a microSD card for my media, like music, leaving the hard drive of the Surface for apps and operating system needs. In order to do this, however, I needed to tell Windows that I wanted to operate this way, by making my music folder part of my Windows Libraries.
In earlier versions of Windows, there were some hoops that you needed to jump through because removable devices could not be added to Windows Libraries. But Windows 8.1 makes is easy, requiring just a few clicks of the mouse. I already had my music in a folder by the same name on my microSD card, so let's assume you will be starting from the same point.
Method 1
- First, insert your microSD card into the slot on the back of the Surface.
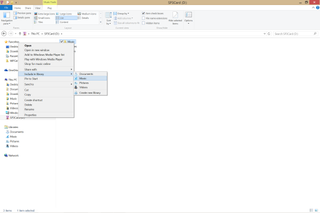
- Open File Explorer, and then browse to the folder on your microSD card that you would like to add to your Library.
- Right-click on the folder, then select Include In Library > Music
4. Now, all that is left is to open Xbox Music and wait for it to add the files to your Collection.
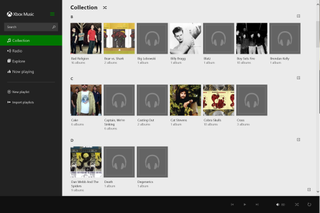
Another way to get your music from your microSD card to your Xbox Music is from within the app itself.
Method 2
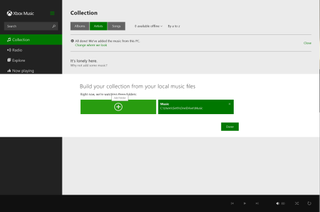
- From the Collection section of Xbox Music, click on "Change where we look."
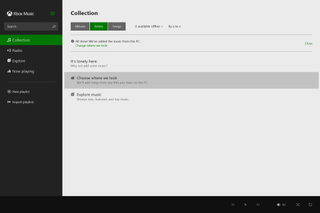
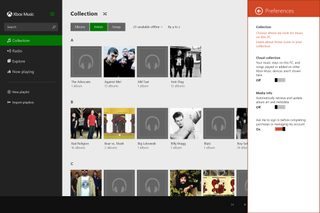
If for some reason you do not see that option, open the Charms bar, then go Settings > Preferences and select "Choose where we look for music on this PC."
Get the Windows Central Newsletter
All the latest news, reviews, and guides for Windows and Xbox diehards.
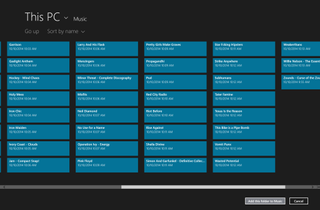
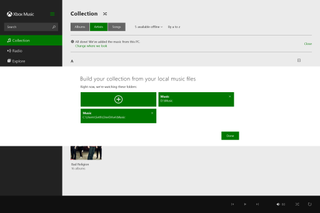
- Click the + symbol, then browse to the folder on your card.
If you ever want to remove your microSD card from your Library:
- Open File Explorer, and then right-click on your Music Library and select Properties.
- Click on the folder, then click Remove.
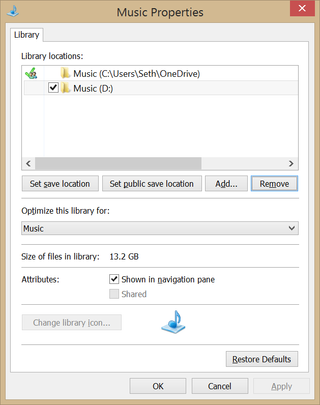
3. Click OK.
You can also, just undo what you did in Method 2.
Got any other storage tips? Be sure to weigh in below in the Comments.
