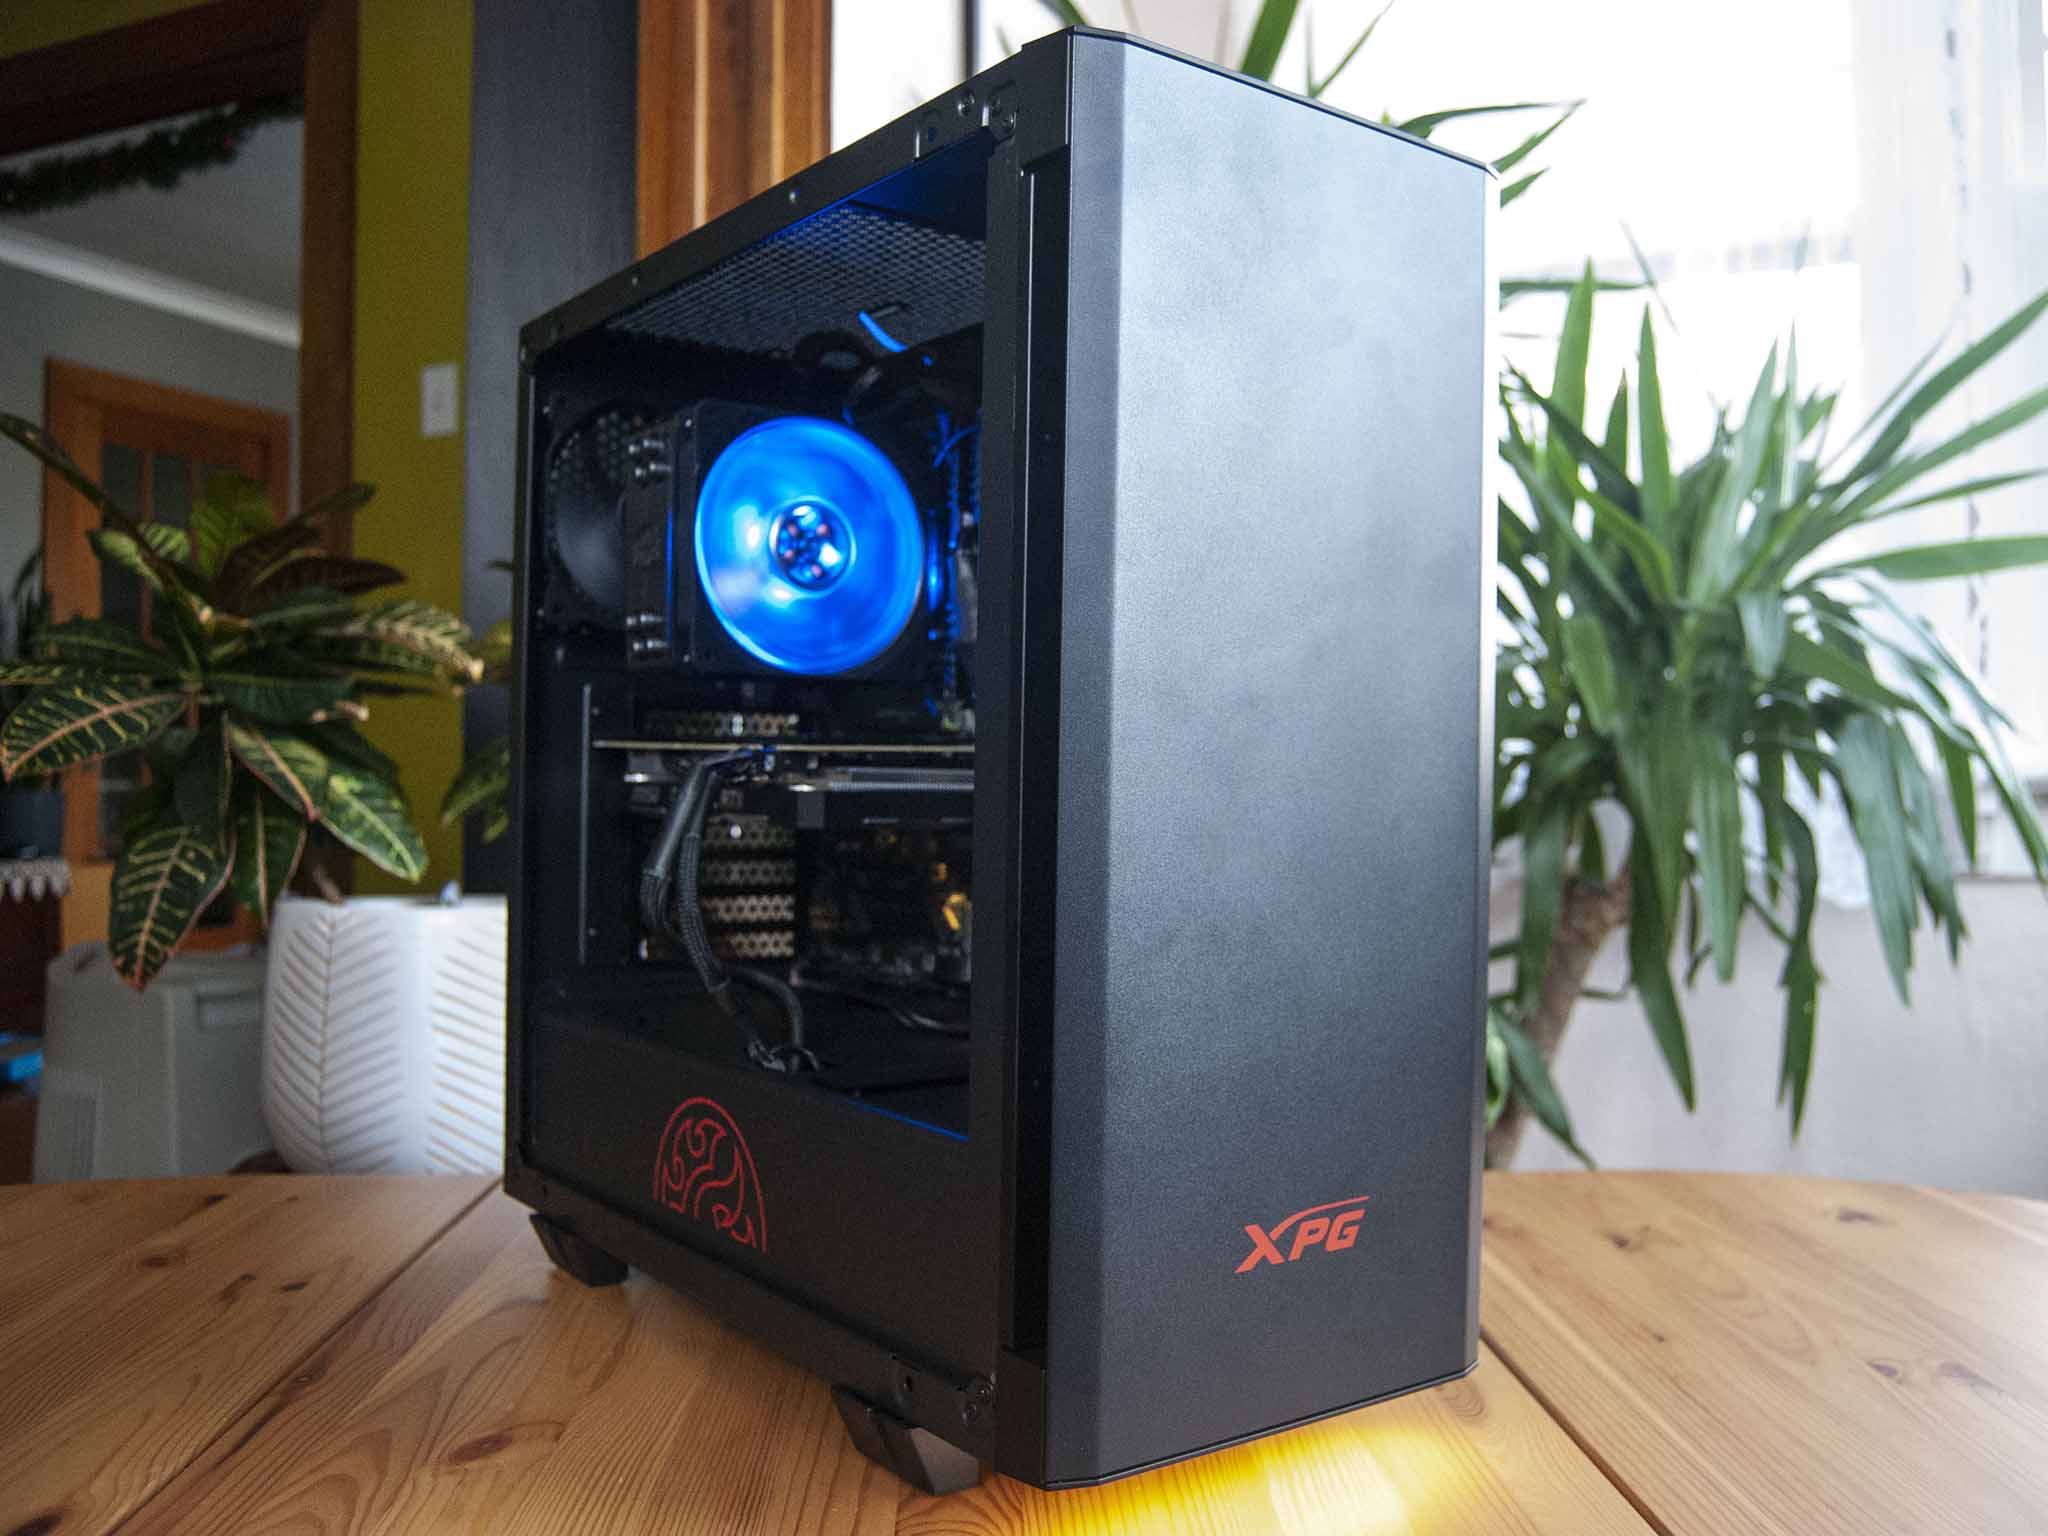
Primarily a storage and memory manufacturer, ADATA and its XPG gaming brand have recently made a move into gaming laptops and gaming PC components. That includes PC cases like the XPG Invader, a mid-tower chassis with plenty of airflow, lots of room for expansion, and some built-in RGB lighting for extra style. The timing for the arrival of the case was perfect, and I was able to build a new PC inside to see what the case is all about. Here's what I liked, what I disliked, and ultimately, whether or not it's worth the relatively agreeable price.
Bottom line: The XPG Invader is a roomy case with plenty of options for a custom PC build. The steel build is solid, the tempered glass is thick, and there's plenty of filtered airflow to keep your PC cool. It could do with slightly better cable management options, and the listed hardware dimensions that fit inside might not be completely accurate. Still, it's nevertheless a high-quality option if you're looking to spend less than $100.
For
- Plenty of room for custom build
- Tempered glass panel with no side screws
- Radiator support
- Excellent airflow
- RGB lighting below magnetic front panel
Against
- Not the best cable management
- GPU might not fit with a side-mounted rad
- Two SSD mounting brackets for four spots
XPG Invader at a glance
The XPG Invader is a mid-tower case that can fit ATX, Micro-ATX, and Mini-ITX motherboards, with plenty of room for custom cooling and rather large graphics cards (GPU). That's a good thing since the latest generation of the best graphics cards from AMD and NVIDIA are getting rather large. Here are the specs that make up the Invader case.
| Category | Spec |
|---|---|
| Motherboard | Mini-ITXMicro-ATXATX |
| I/O | Two USB-A 3.03.5mm audio |
| Expansion | Two 3.5-inch HDDTwo 2.5-inch SSDSeven PCI slots |
| Included fans | Front 120mmRear 120mm |
| Front fans | Three 120mmTwo 140mm |
| Top fans | Two 120mm |
| Right fans | Two 120mm |
| Bottom fan | One 120mm |
| Front rad | 240mm, 360mm |
| Top rad | 240mm |
| Right rad | 240mm |
| Filters | FrontRightTopBottom |
| Clearance | Cooler height (170mm)GPU length (400mm)PSU length (225mm) |
| Dimensions | 18.74 x 8.11 x 18.97 inches(470mm x 206mm x 482mm) |
| Materials | SPCC steelTempered glass |
| Warranty | Two years |
| Colors | Black or White |
What the XPG Invader has to offer
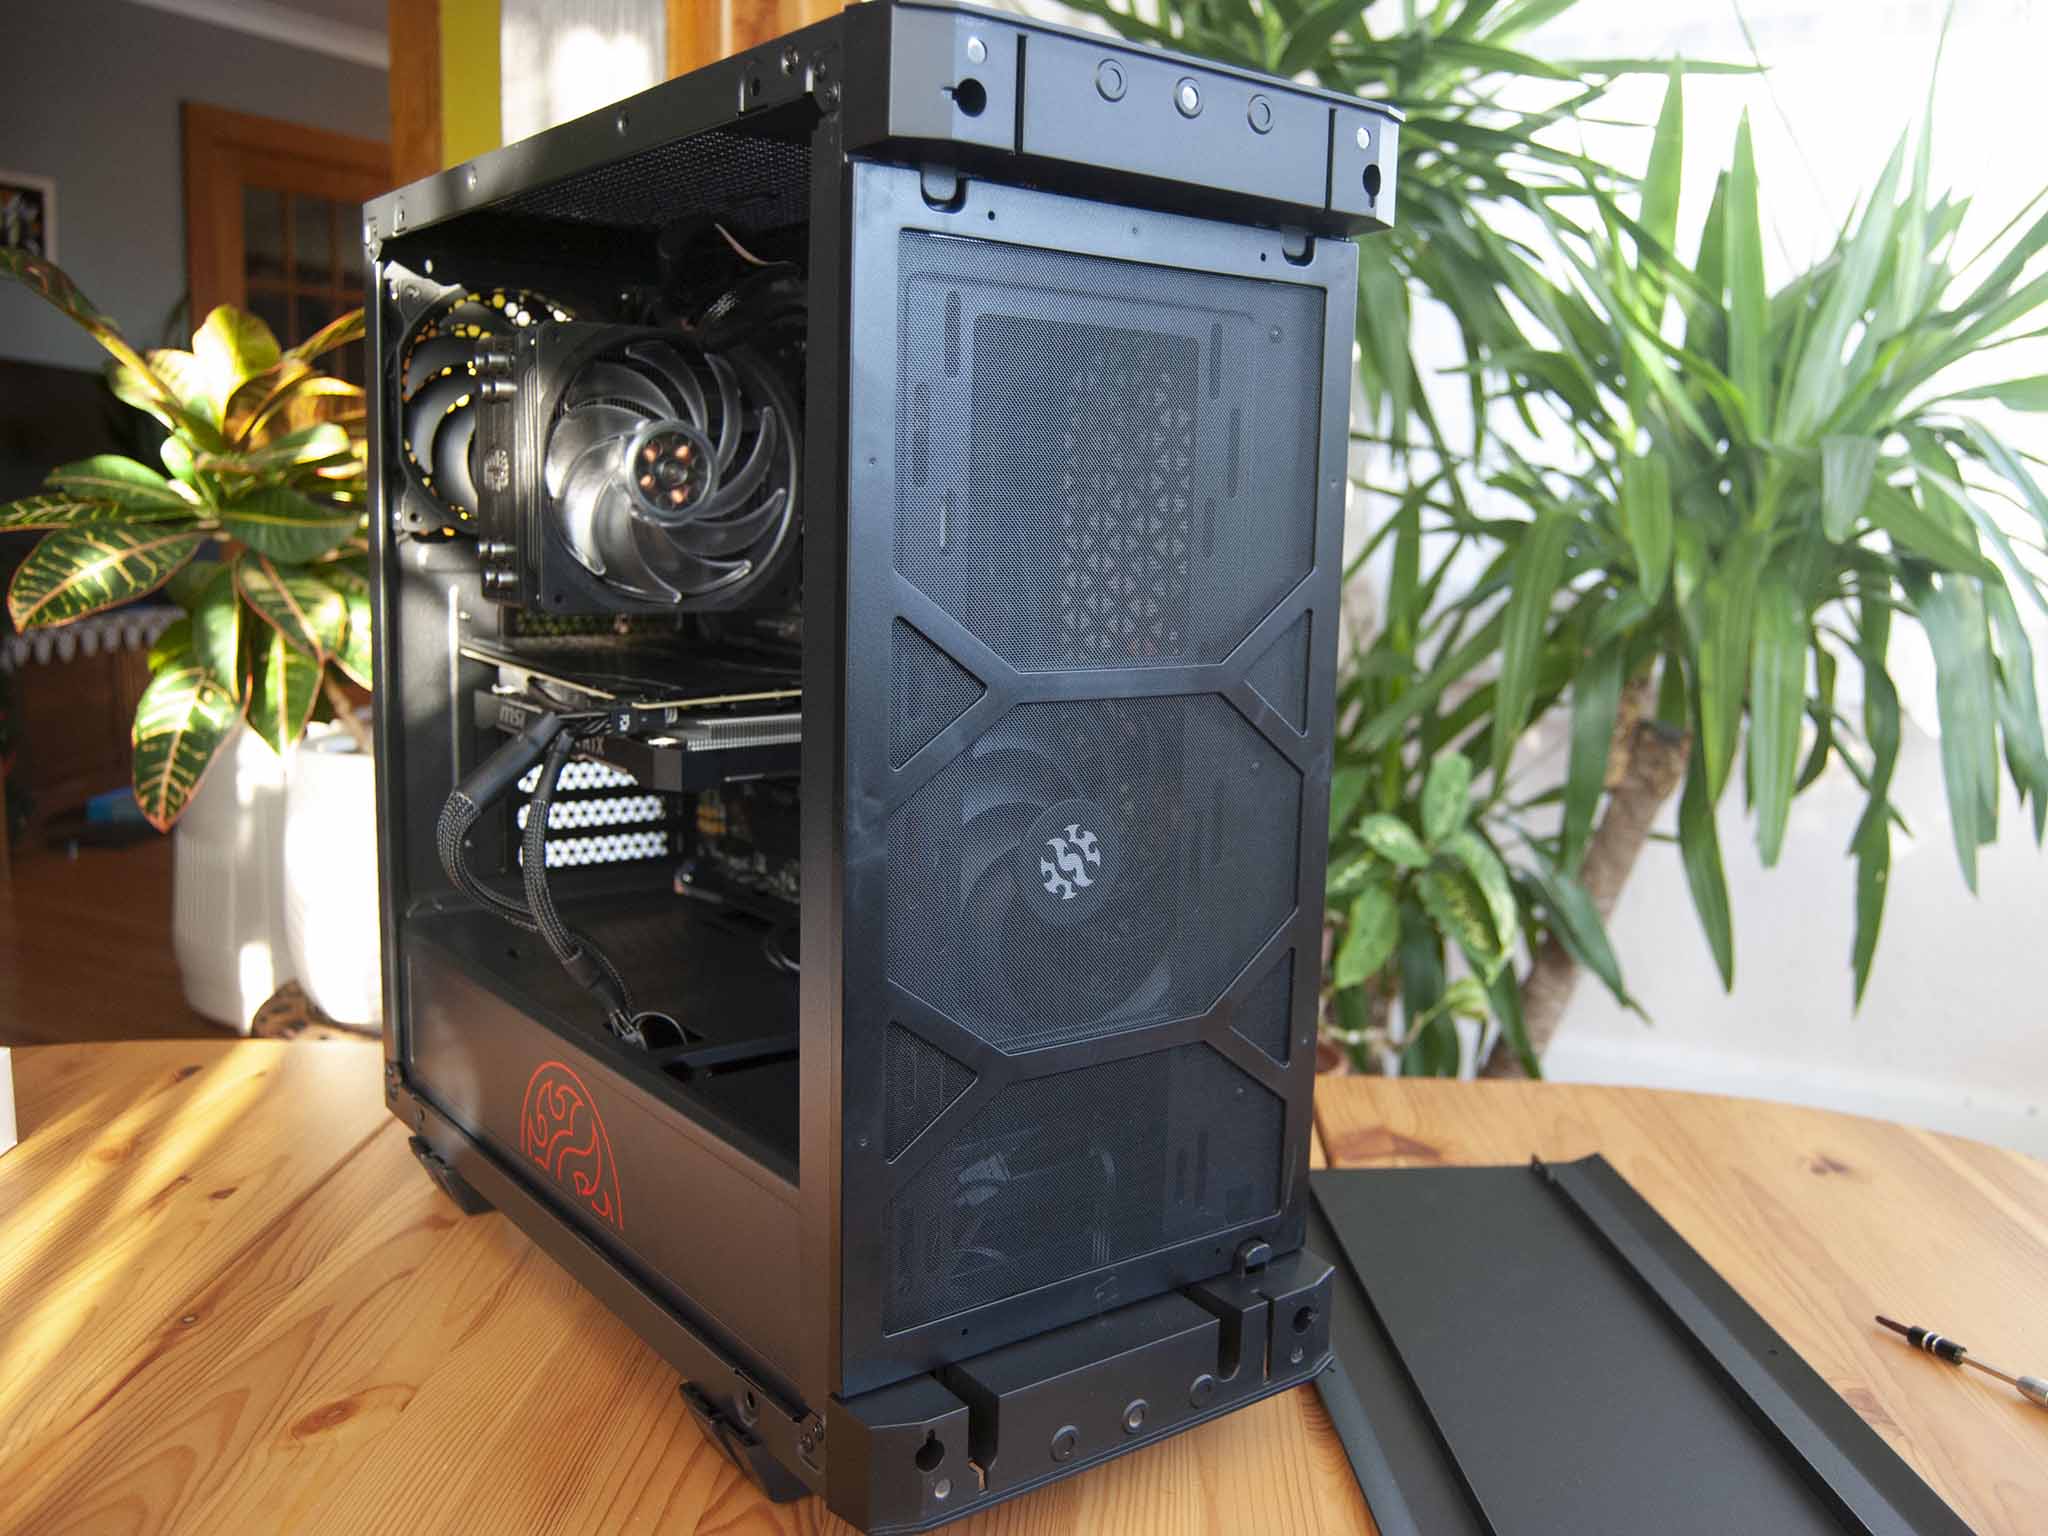
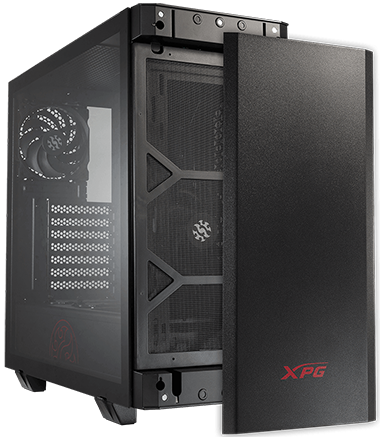
Starting at the front of the case, there's a solid steel panel with the XPG logo near the bottom. It's held snugly against the case with strong magnets, making it easy to remove but hard to bump out of place. It's an elegant solution. Removing the panel reveals a mesh filter large enough to cover the entire front air intake. It's also held into place with magnets for easy removal and seating. The front of the case supports three 120mm fans or two 140mm fans; the included stock is a single 120mm fan. It will also fit either a 240mm or 360mm radiator.
Filling this case with RGB is easy thanks to a built-in controller and extensions.
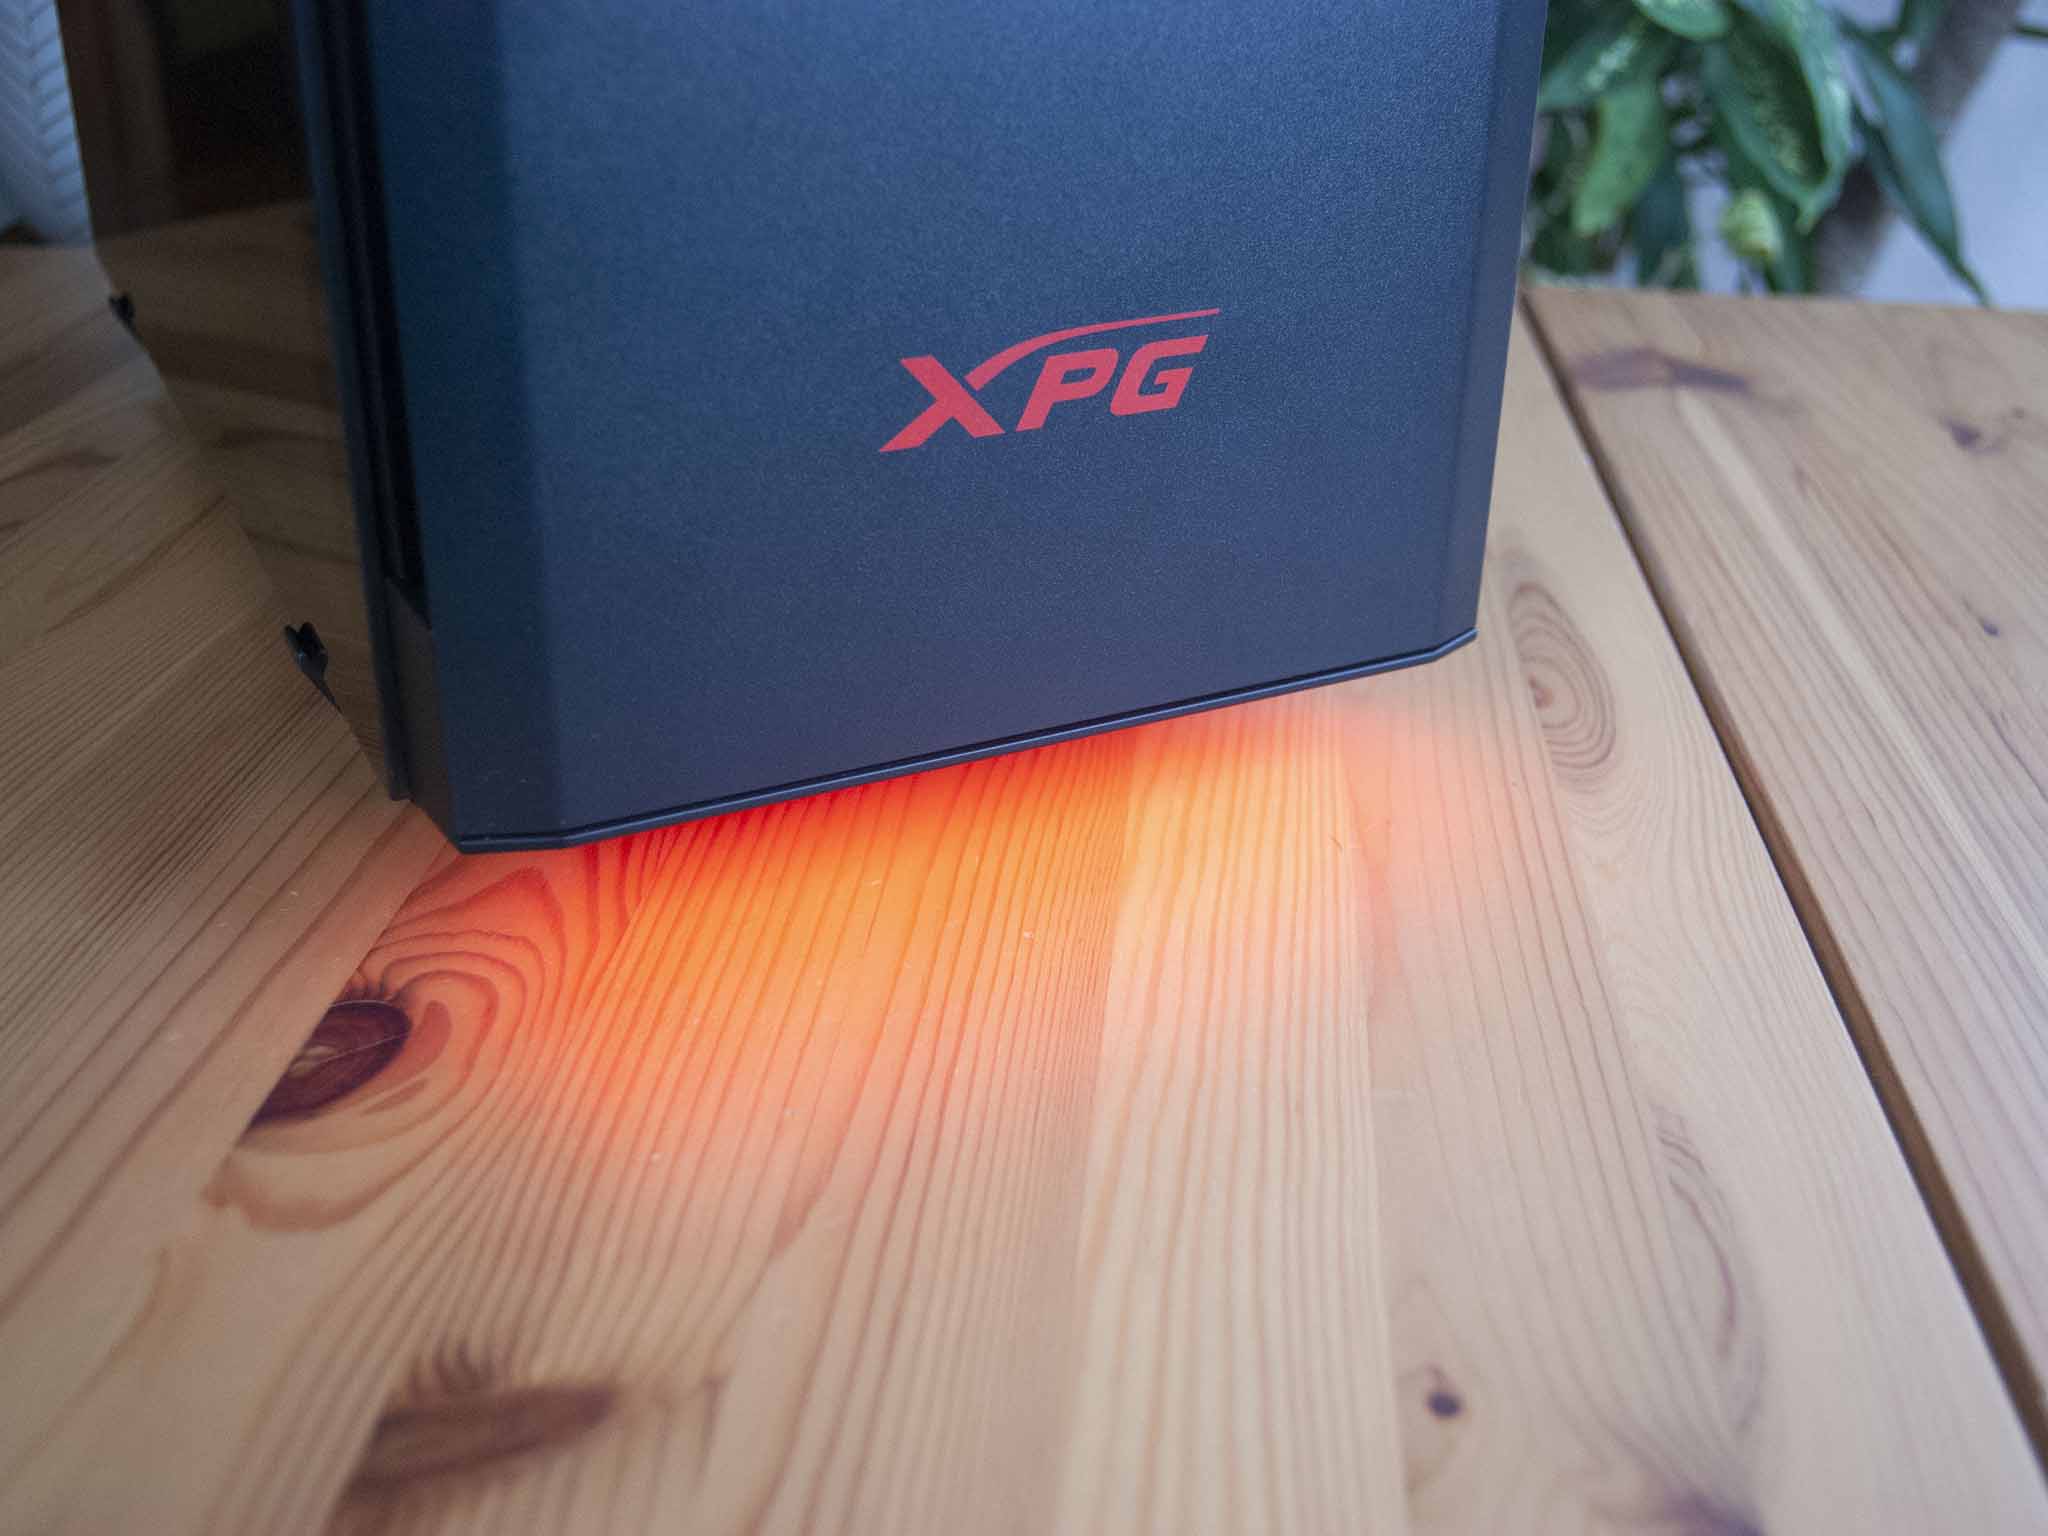
Below the front panel is an RGB strip that gives the tower a bit of underglow, customizable with a dedicated button on the top front of the case. There are the standard colors to switch between, as well as some animated presets. Perhaps the best part is the included RGB extenders you can use to absolutely fill this case with synced lighting. And if RGB isn't really your idea of fun, you can turn it off or simply leave the SATA power connector unplugged.
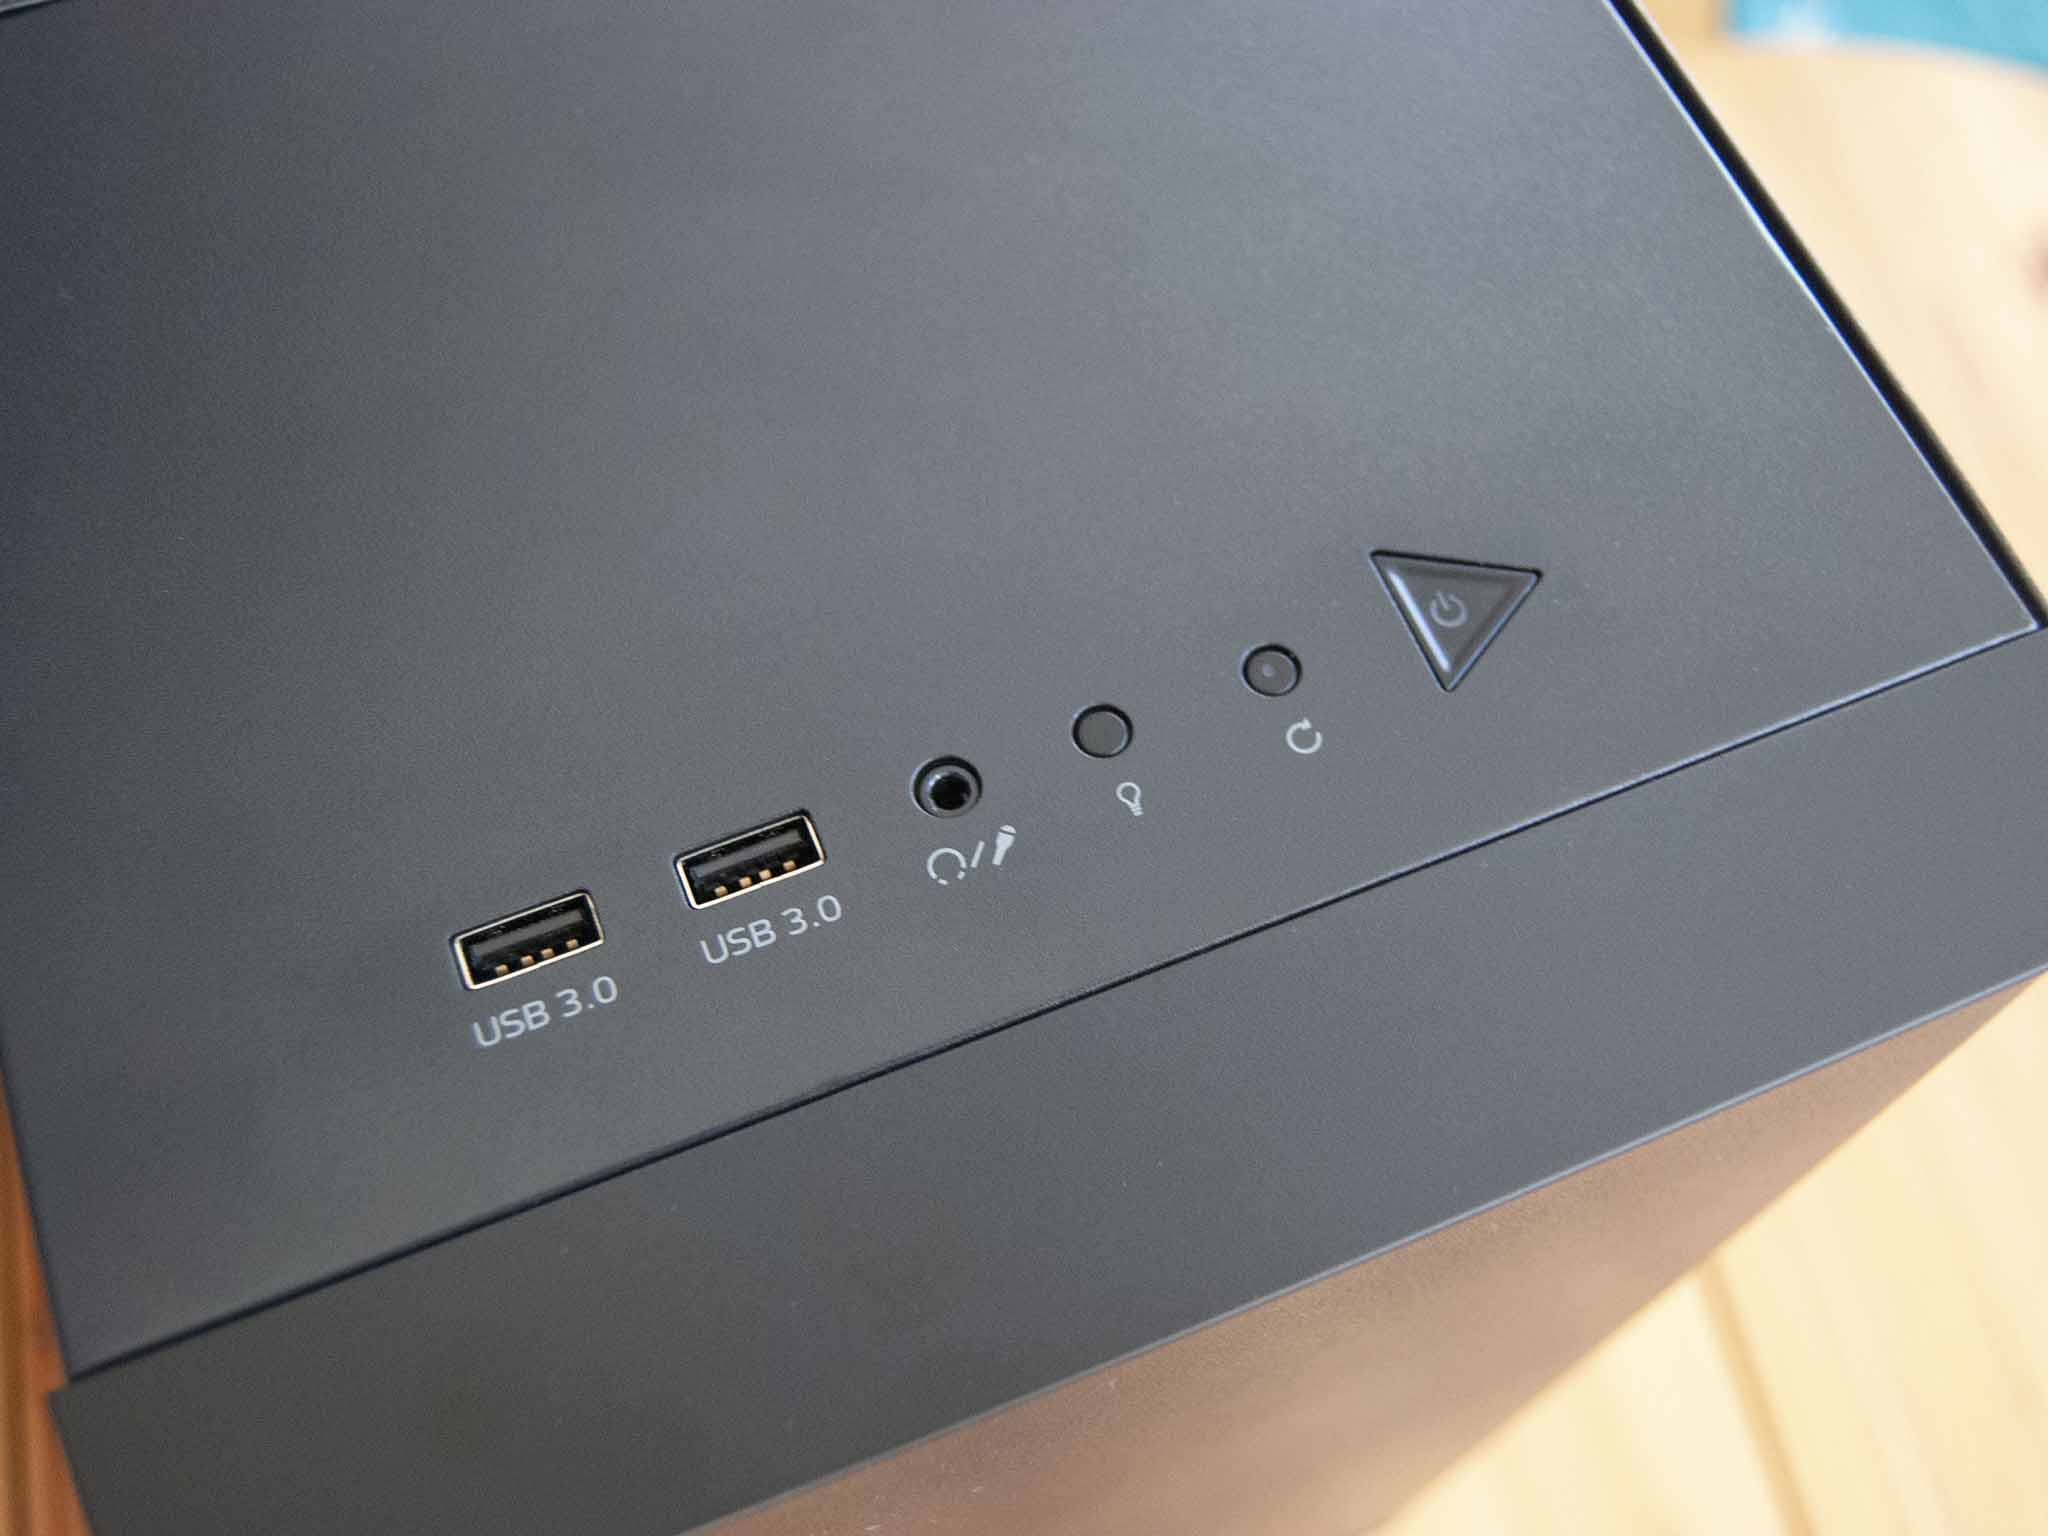
Alongside the RGB button on the top of the case, there are dual USB-A 3.0 ports, a 3.5mm headset jack (works with input and output), a restart button, and a triangular power button with a white LED. The cabling running from this collection is a bit messy, but I was able to mostly clean it up during the build process. Also on the top of the case is a sizable vent that aligns with inside mounting options for dual 120mm fans or a 240mm radiator. It, too, has a magnetic filter.
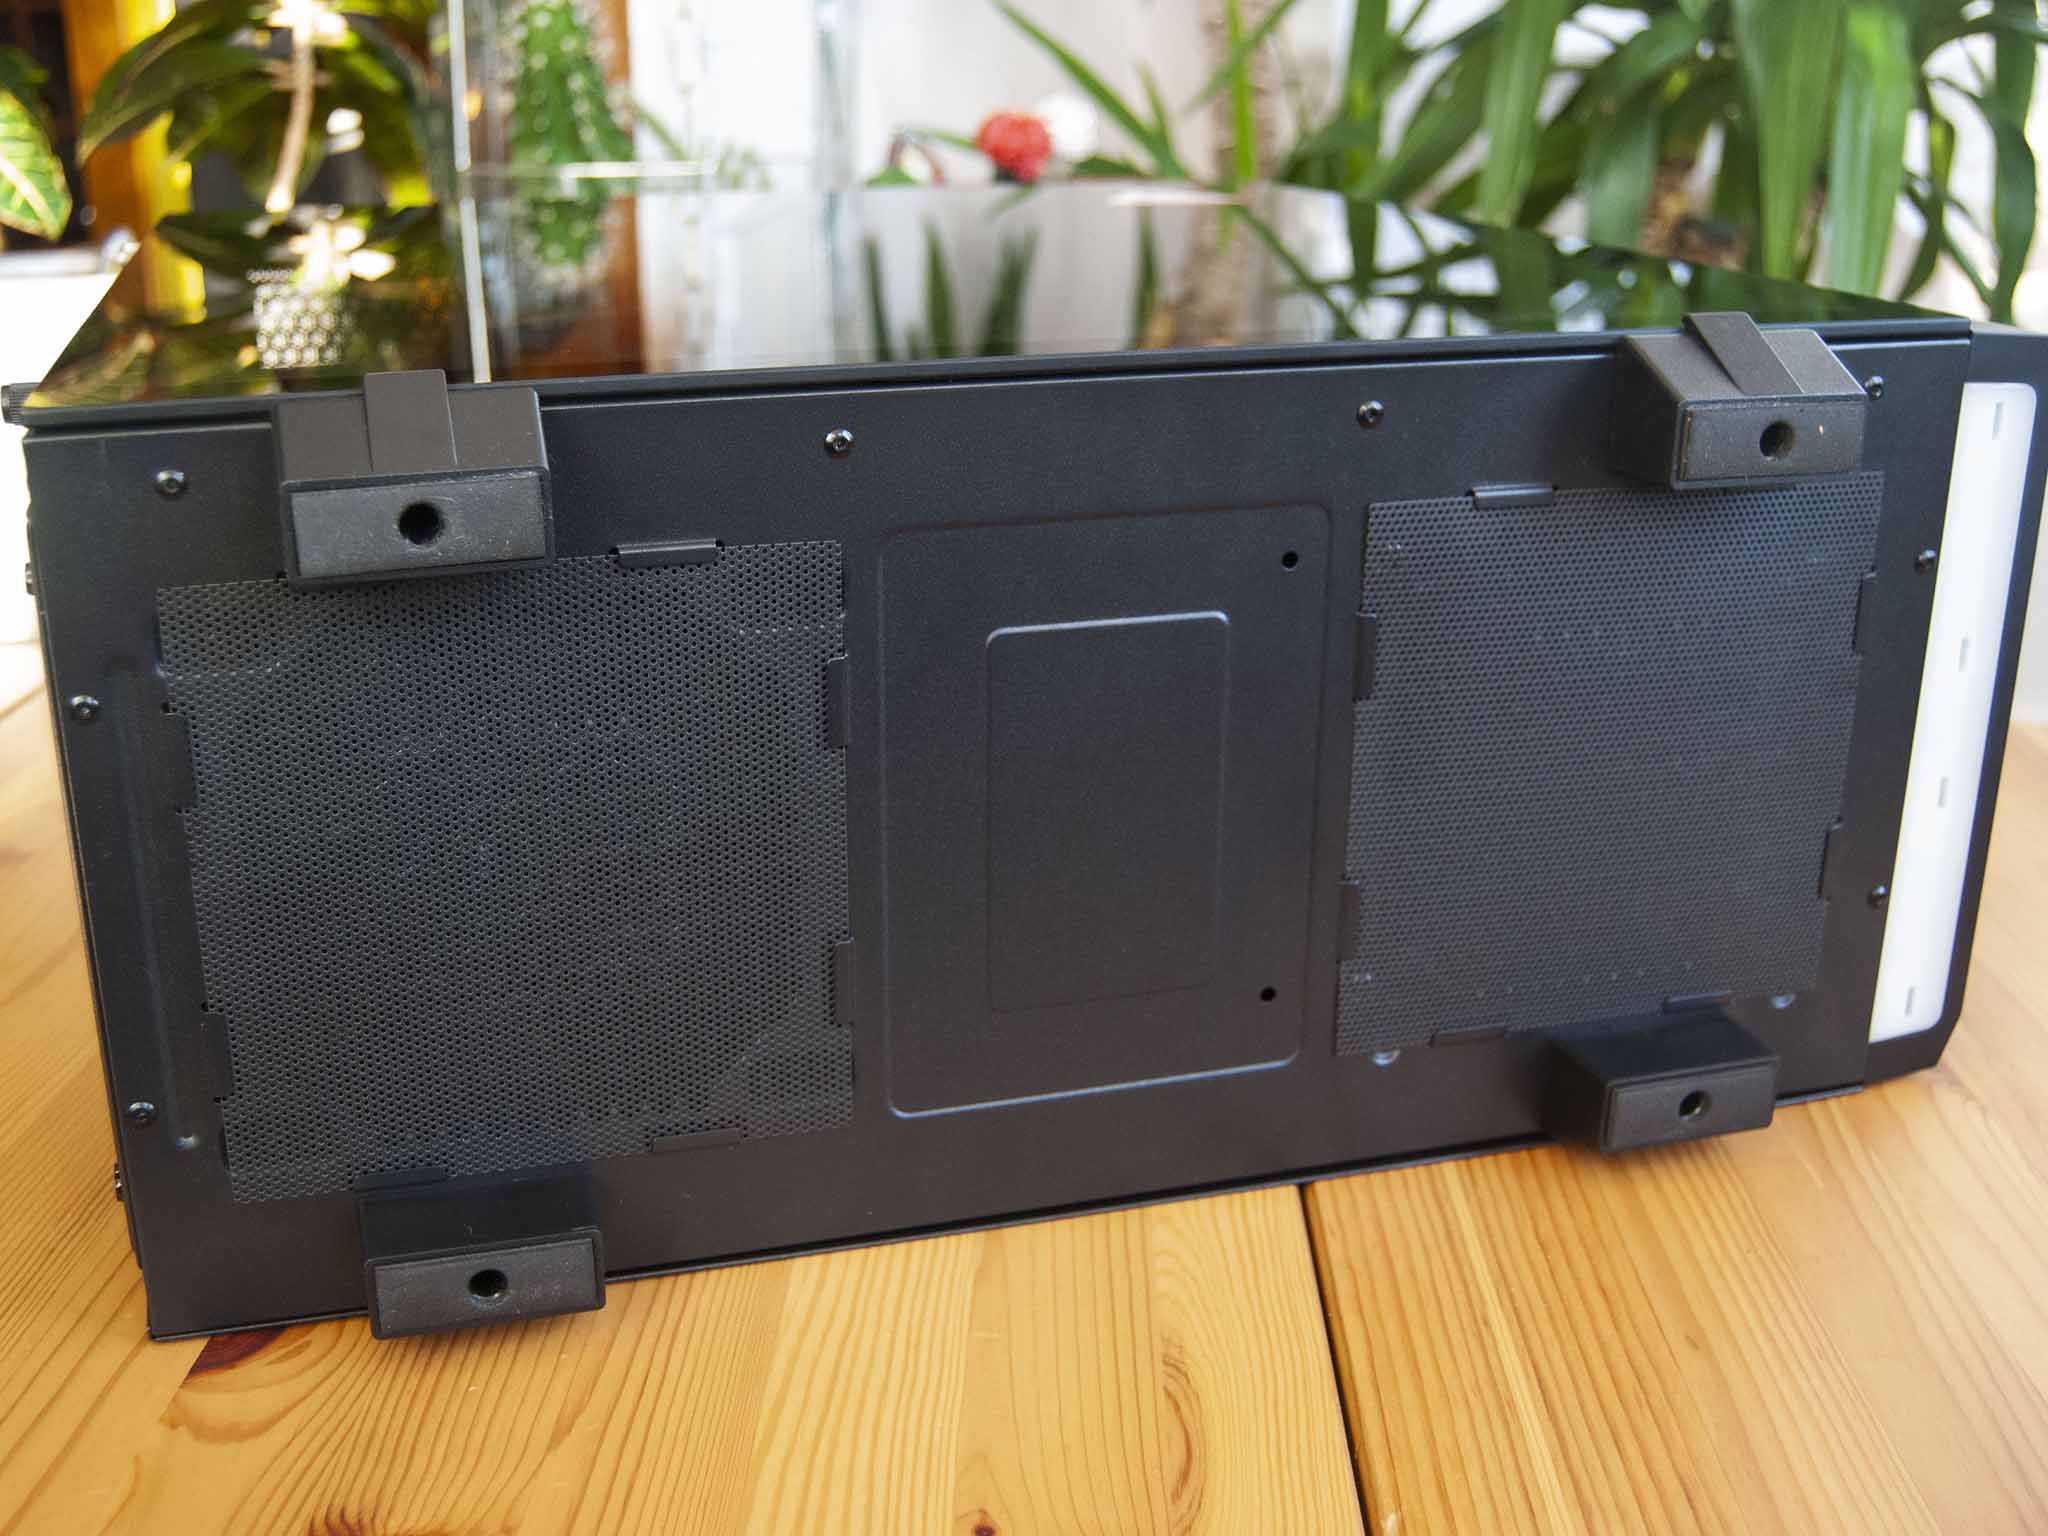
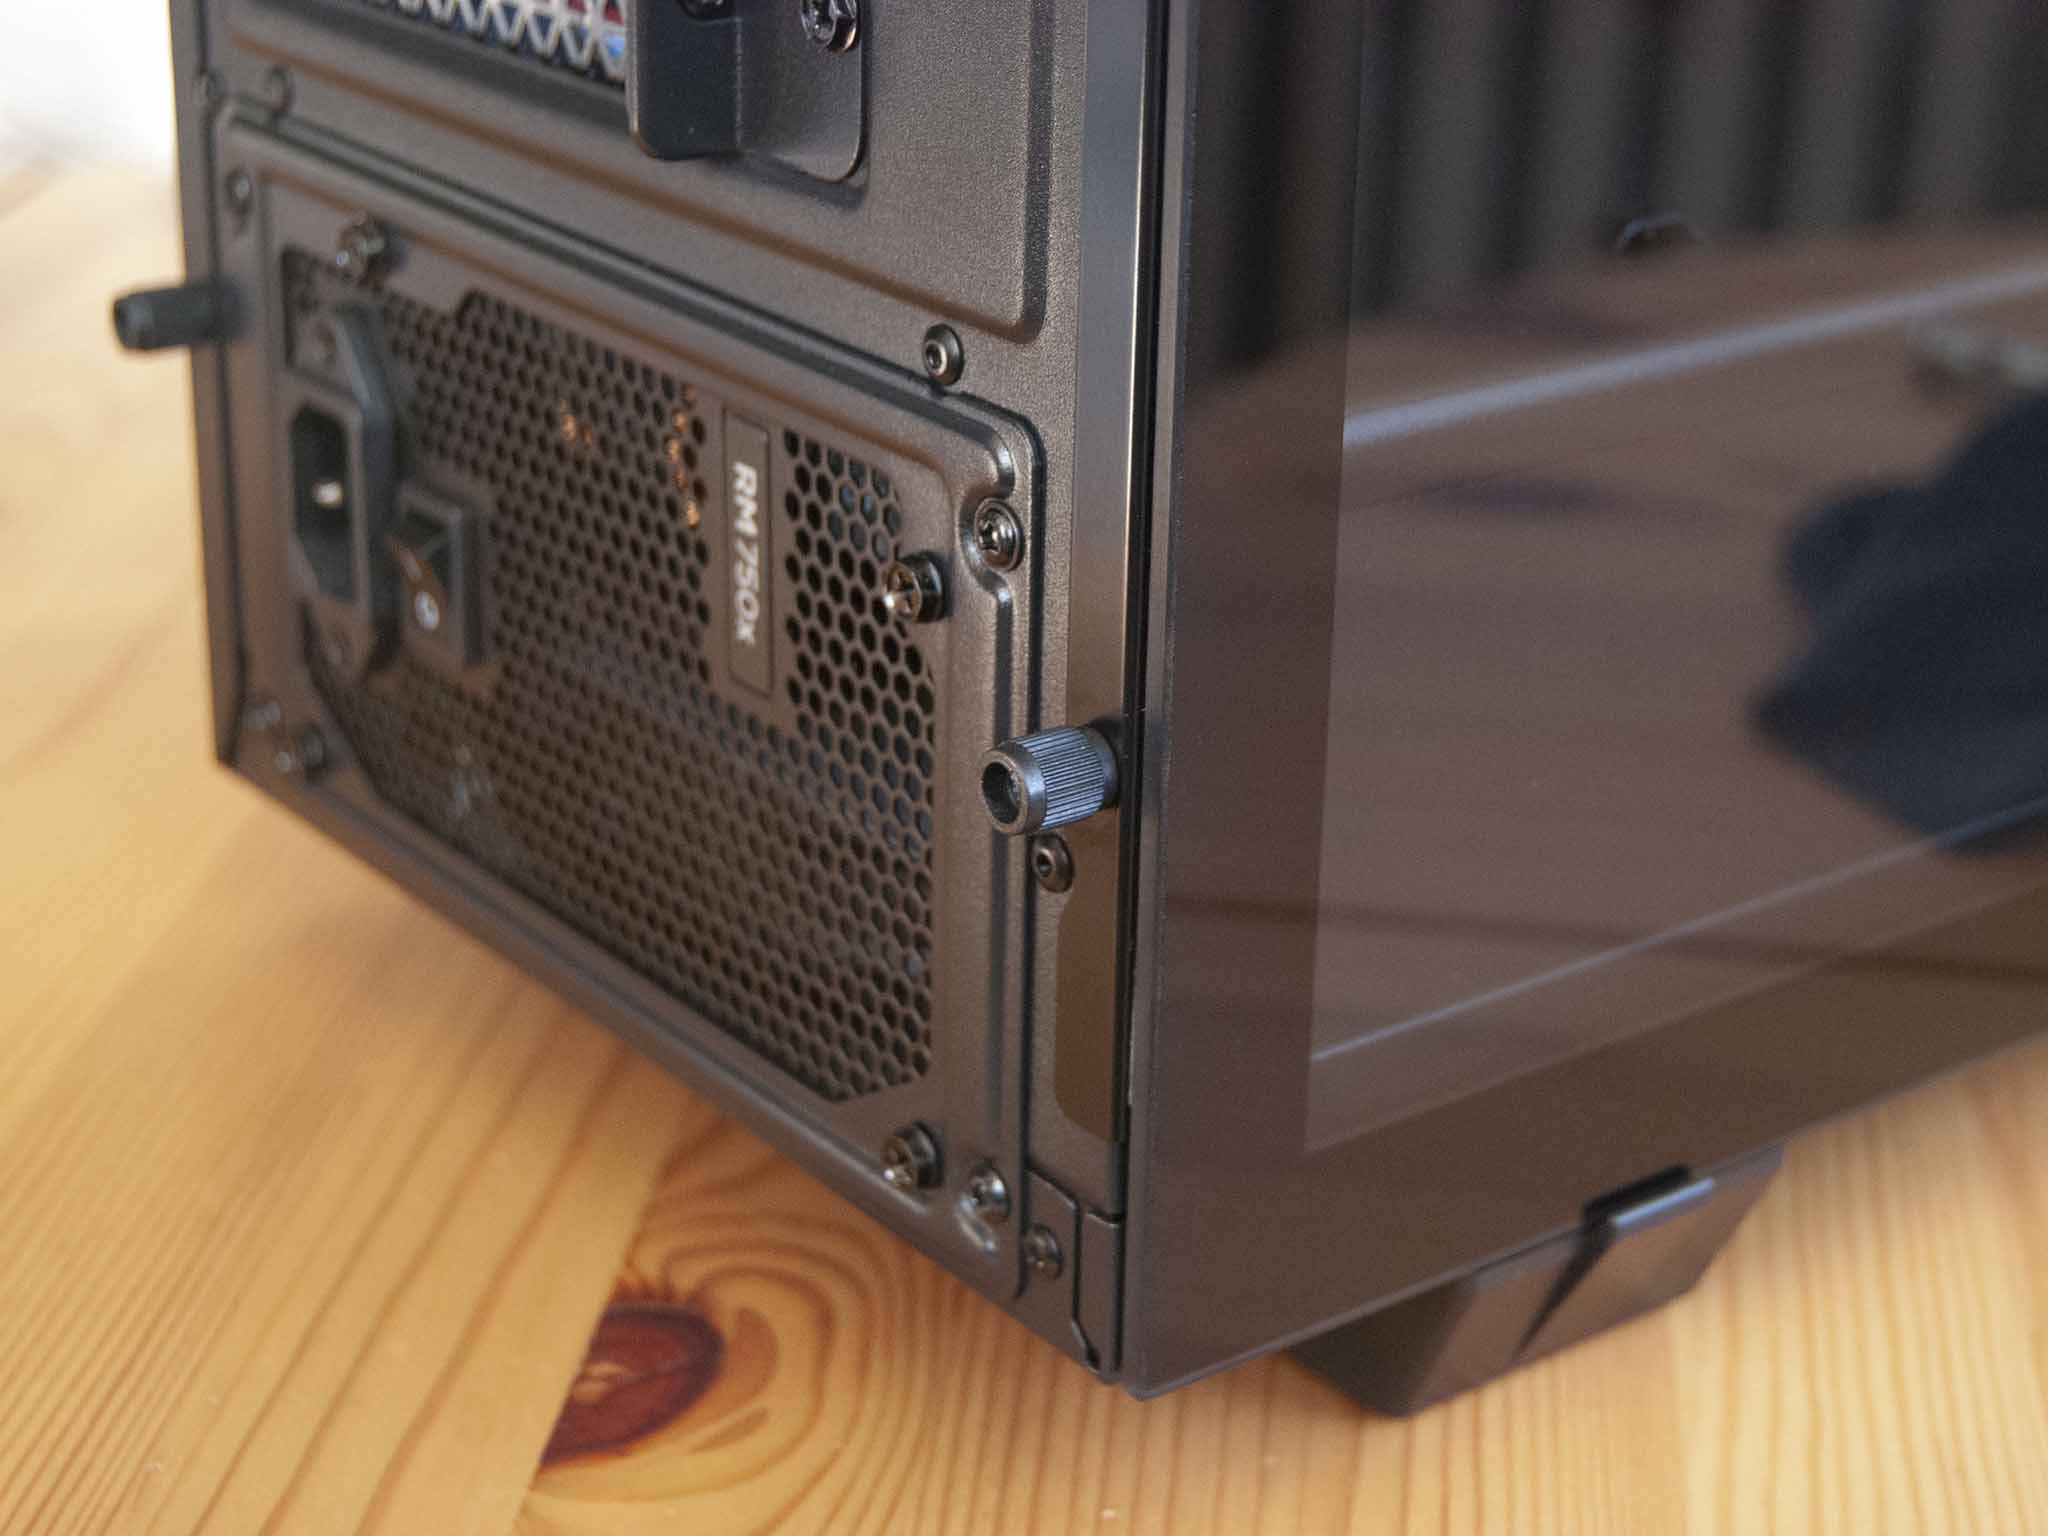
Moving to the back of the case, there are seven PCI expansion slots for lots of customization potential, a PSU insert (with an included bracket for easy installation), and an included 120mm fan for exhaust. Each PCI expansion slot has a removable steel grate to keep the PC looking sharp even if you're not maximizing its potential. Flipping the case onto its side reveals dual filtered vents (this time non-magnetic) for the PSU and for a potential bottom fan. The 3.5-inch HDD cage that normally sits toward the front of the case's bottom can seemingly be removed and replaced by a 120mm fan.
XPG has gone with two handscrews on the back edge of the tempered glass panel that makes up an entire side of the case. That means there's nothing sticking out the side, delivering a more streamlined look. The tempered glass is plenty thick, and there's a solid black border around the edge. It does seem like there's a bit of tint to the glass, not enough to hide any hardware, but just enough to really highlight any RGB lighting you might have inside.
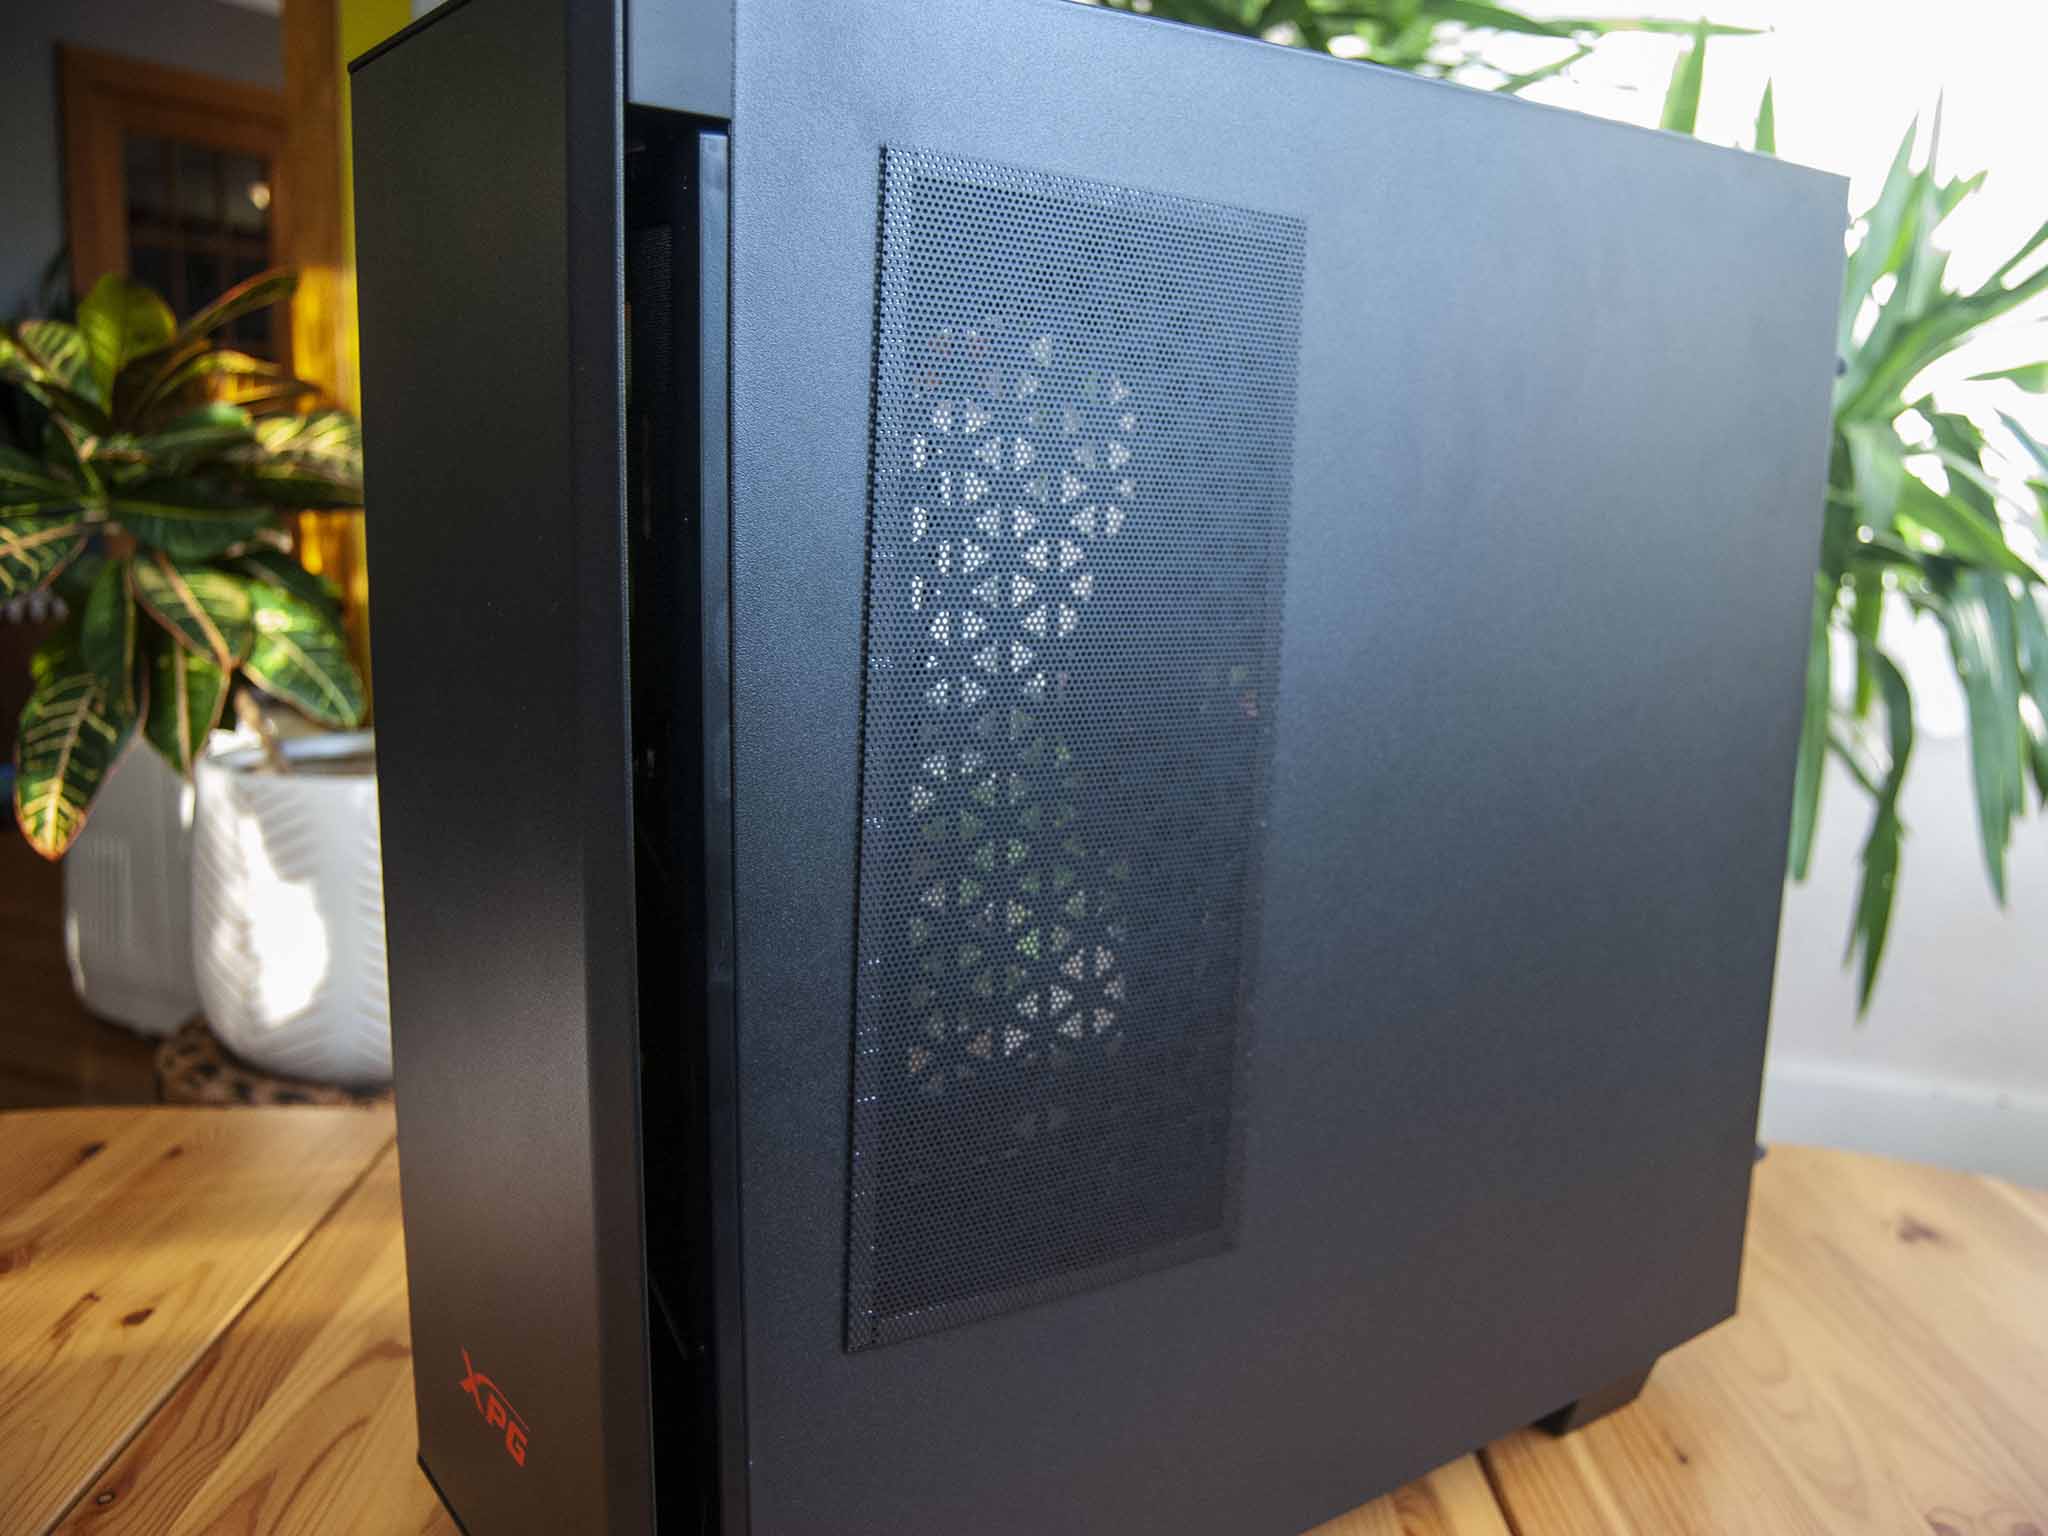
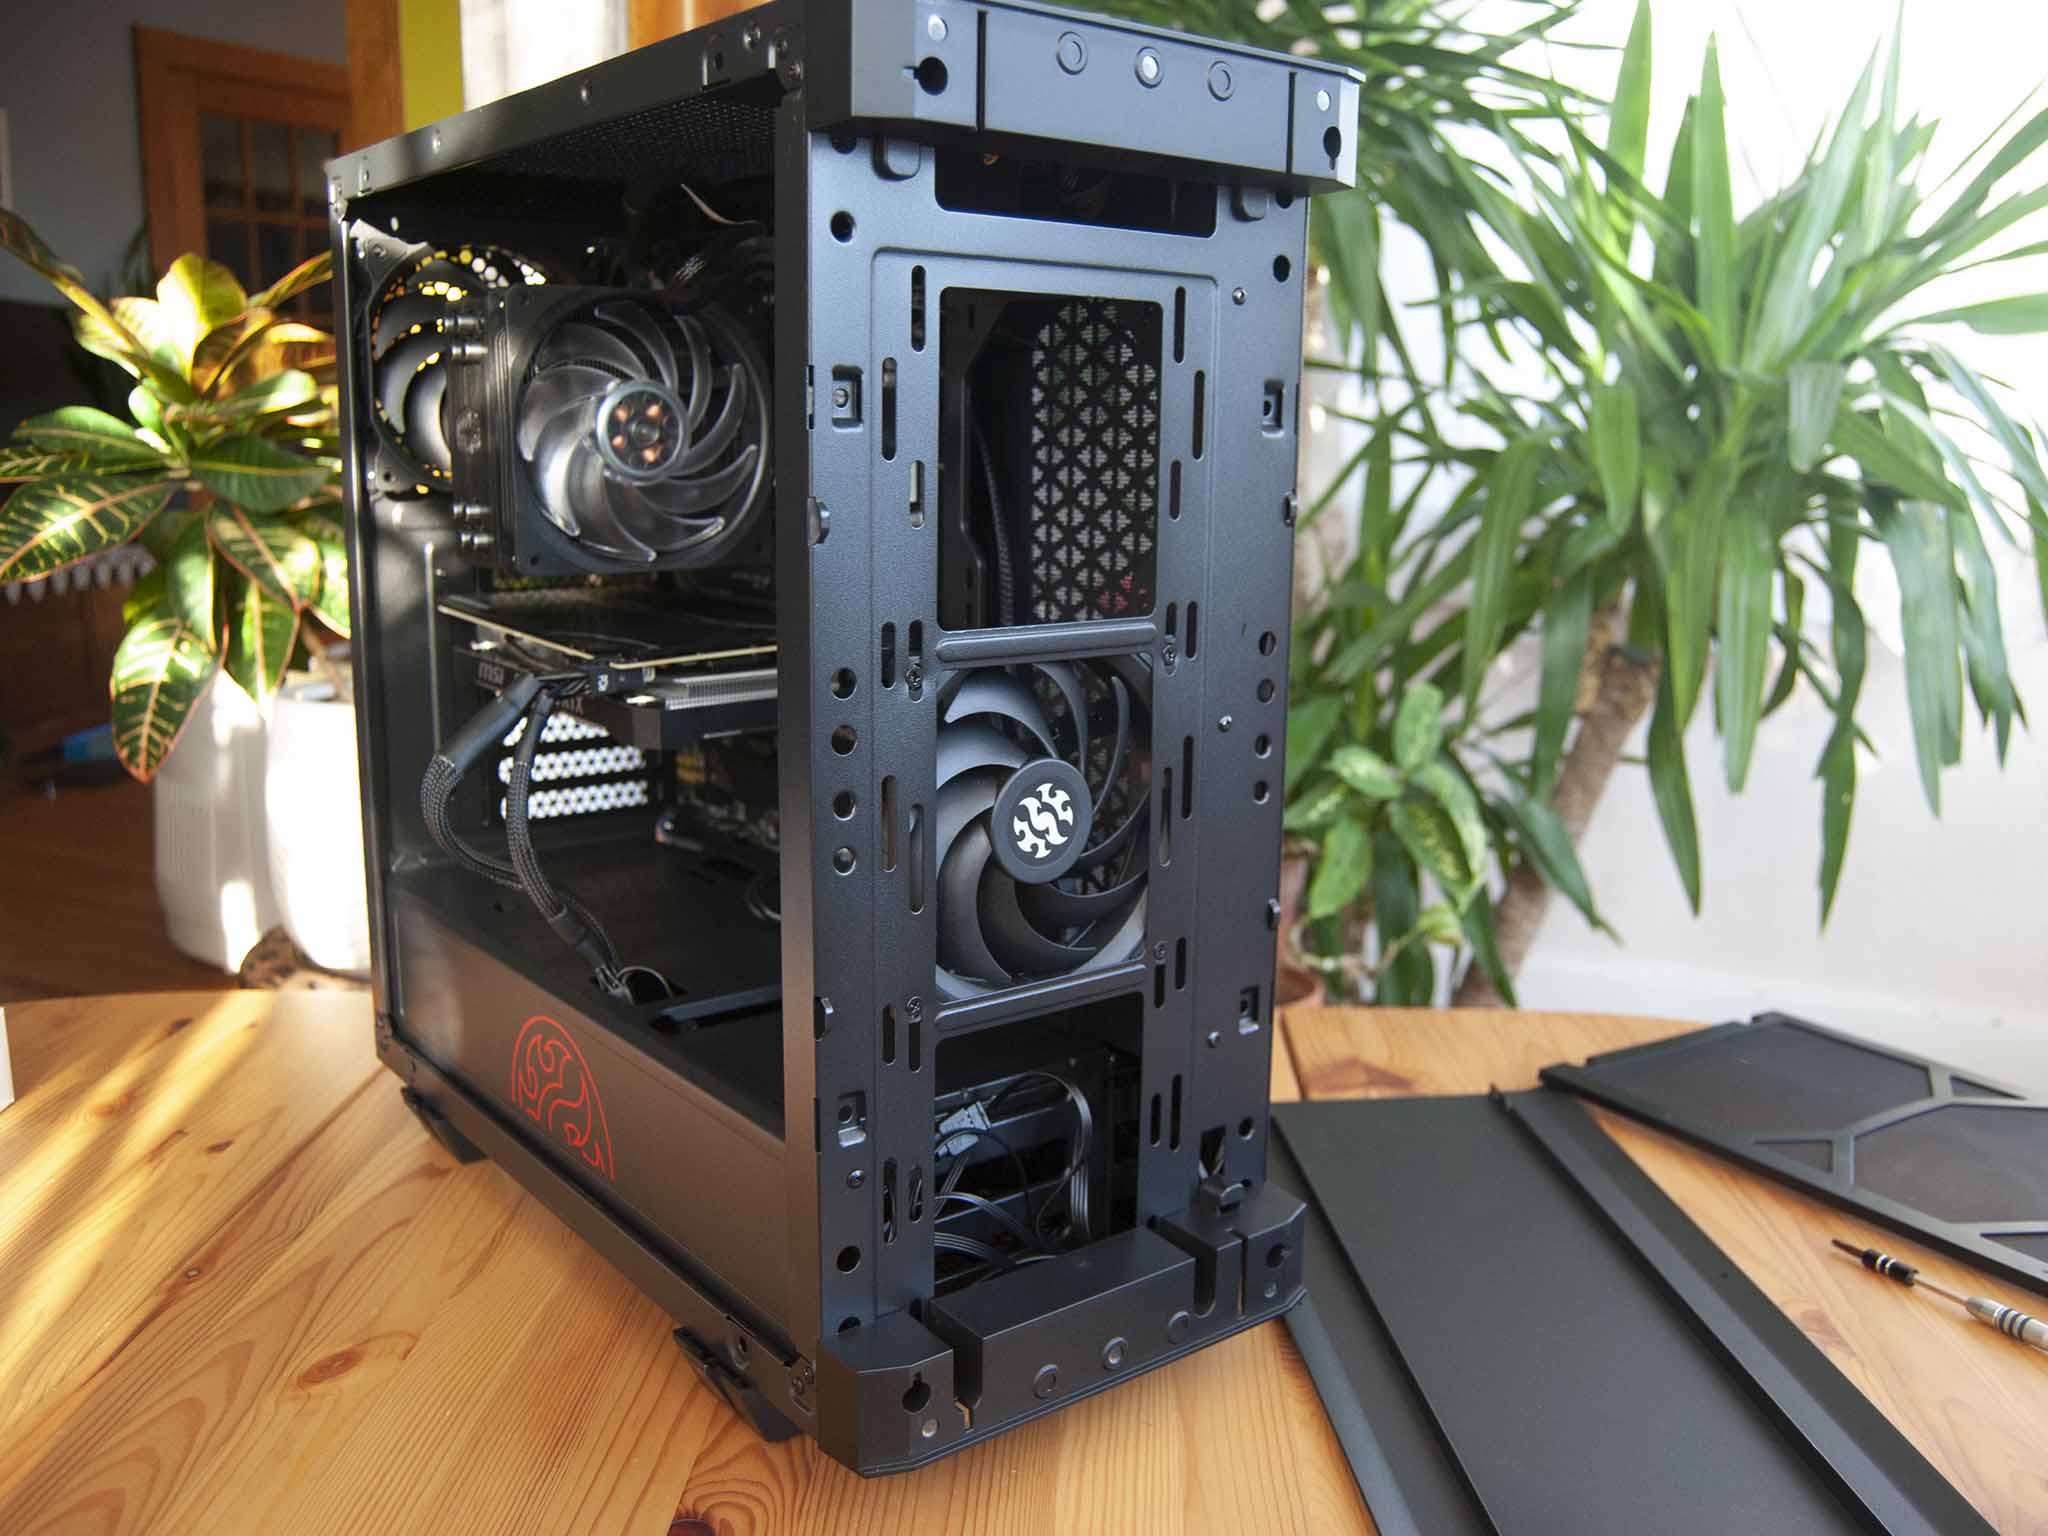
The other side of the case has a vented steel panel, also held in place with two rear screws. The vent on the side has its own magnetic filter and aligns with an optional vertical mounting area for a 240mm radiator or dual 120mm fans. It's clear that you pretty much have your pick of what type of cooling you want to run with. Even though I haven't yet taken full advantage of the potential radiator or extra fan mounts, I appreciate how much airflow is available.
The case rests on four robust plastic feet, and any potential vibration issues are eliminated thanks to soft rubber pads on the very bottom of the feet. Overall impressions of this case are quite positive. The steel construction feels durable and not cheap at all, the magnetic front panel and vent are a great choice, the glass is thick, and the paint job — available in black or white — is without noticeable flaw. But what's it like once you actually start building a PC inside?
Building a PC inside the XPG Invader
The best way to test out a case is to build a PC inside of it, and that's exactly what I did. I went to the largest recommended ATX motherboard size with an MSI MAG B550 Tomahawk and otherwise didn't really push things too far. The NVIDIA RTX 2060 GPU isn't particularly large, so it fits fine, the custom cooler had no problems, and there was enough dedicated space for myriad storage options.
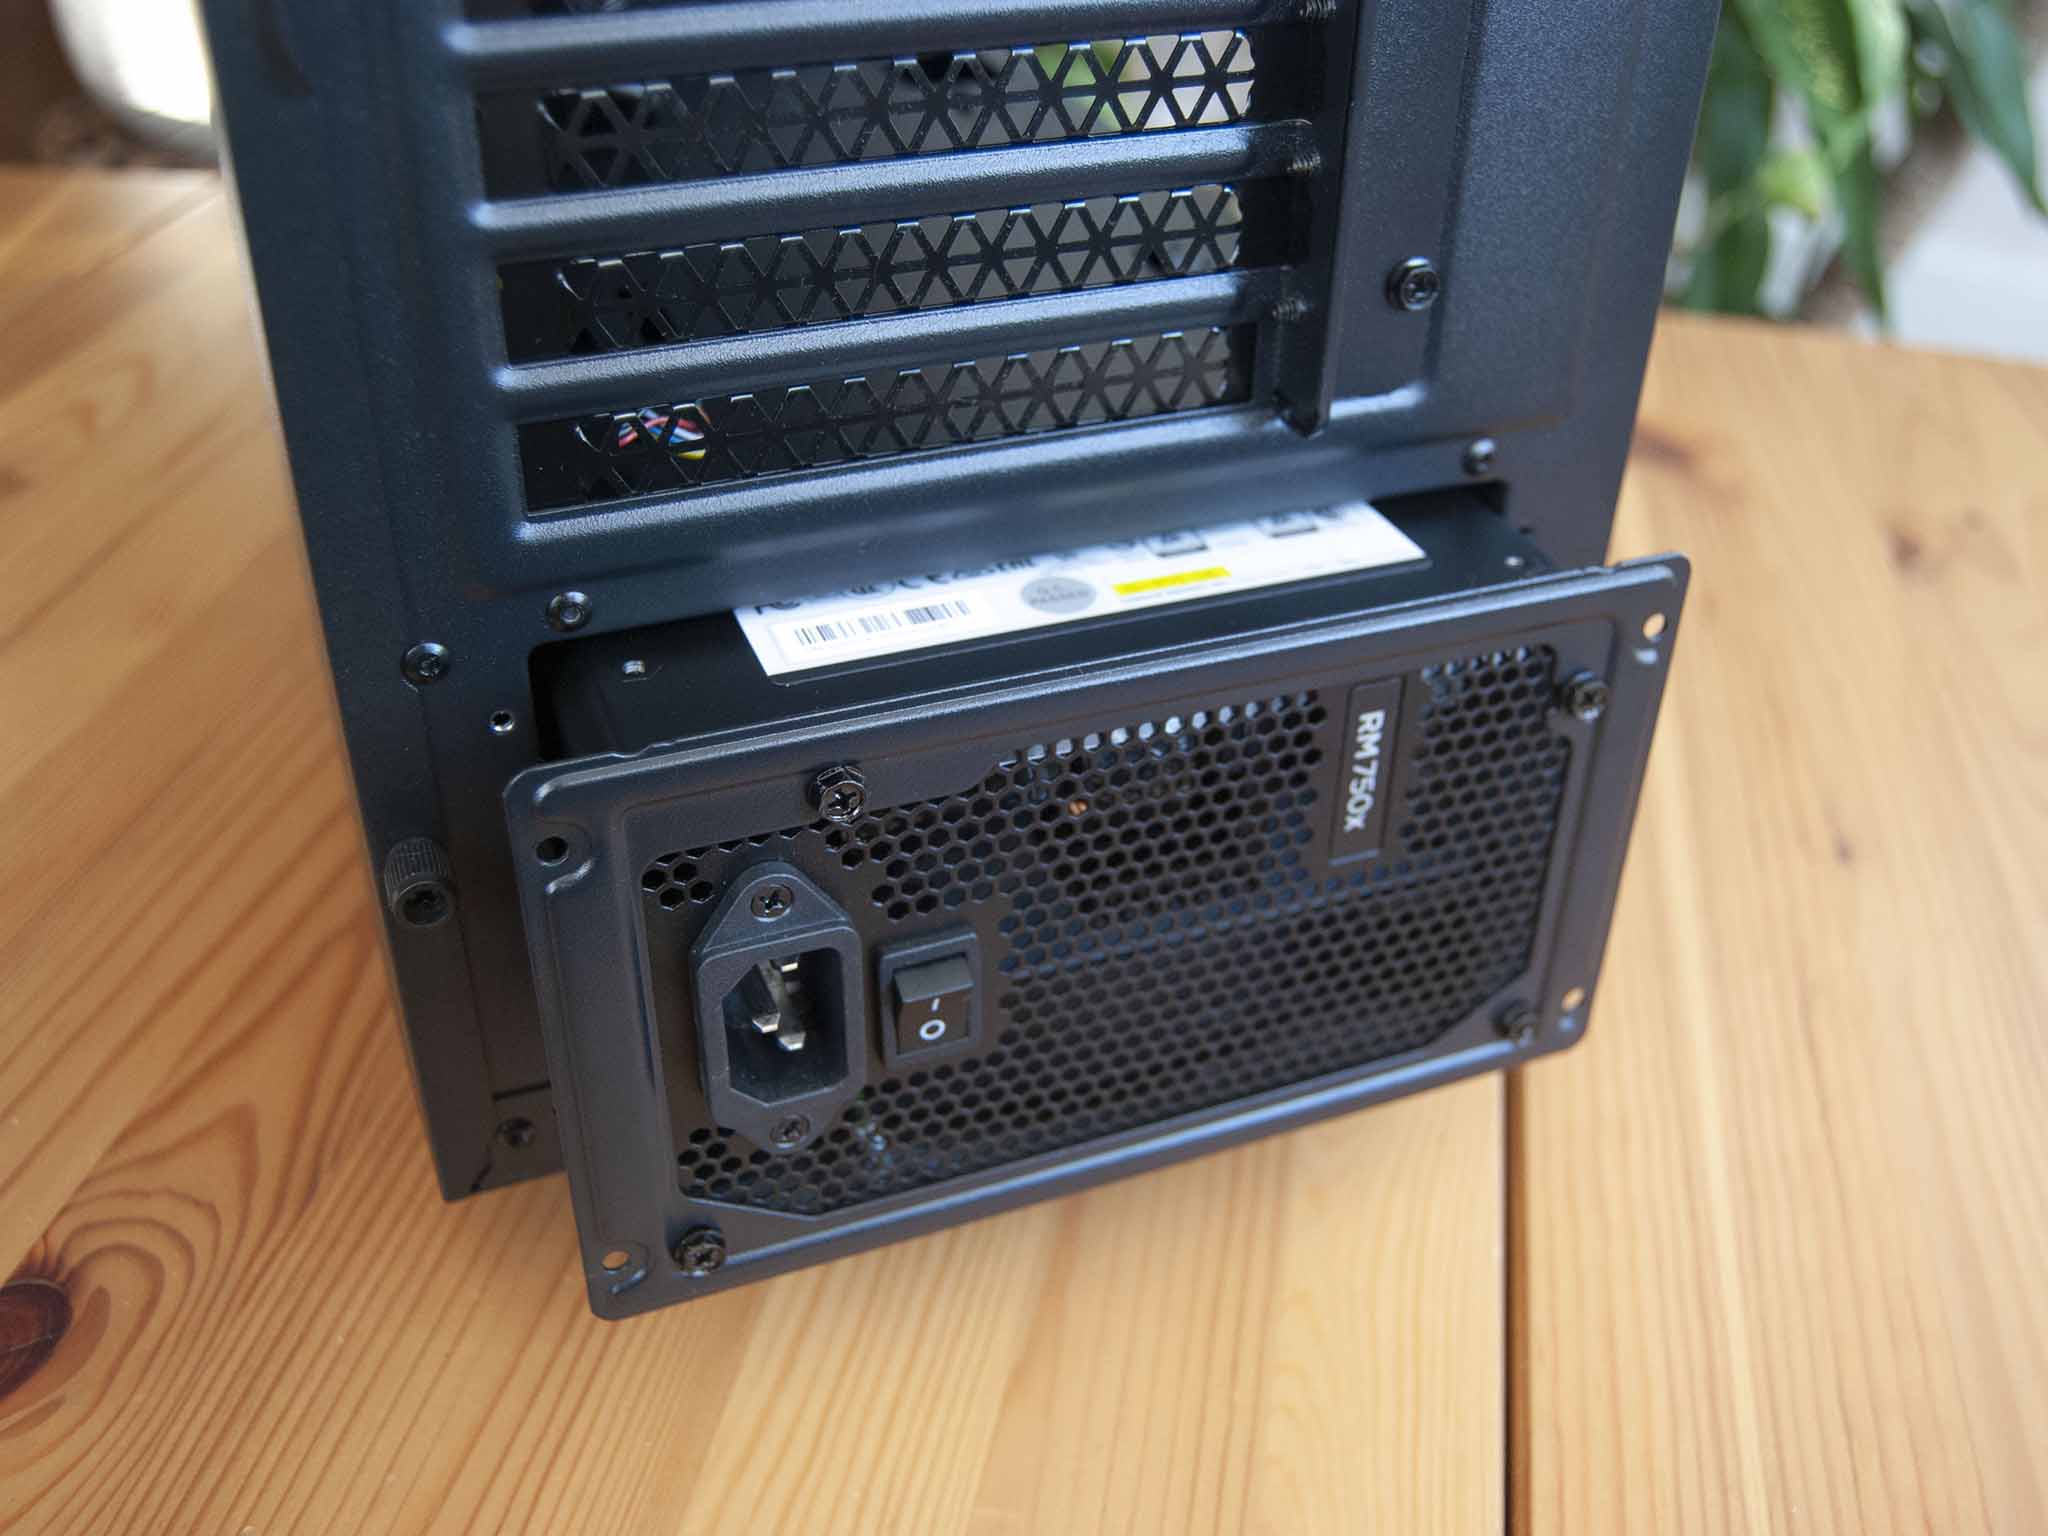
The motherboard fits in exactly as it should, with included screws and risers making the installation a breeze. The case fans and front I/O cables (including the usual power, reset, USB hookups) clip in easily, and you're good to move on. Installing the PSU is a breeze thanks to an included external bracket. You fasten it first to the face of the PSU, then slide the entire unit into the back of the case where it matches up with screw holes. Even using a rather large 750W PSU, there was no issue with space once inserted.
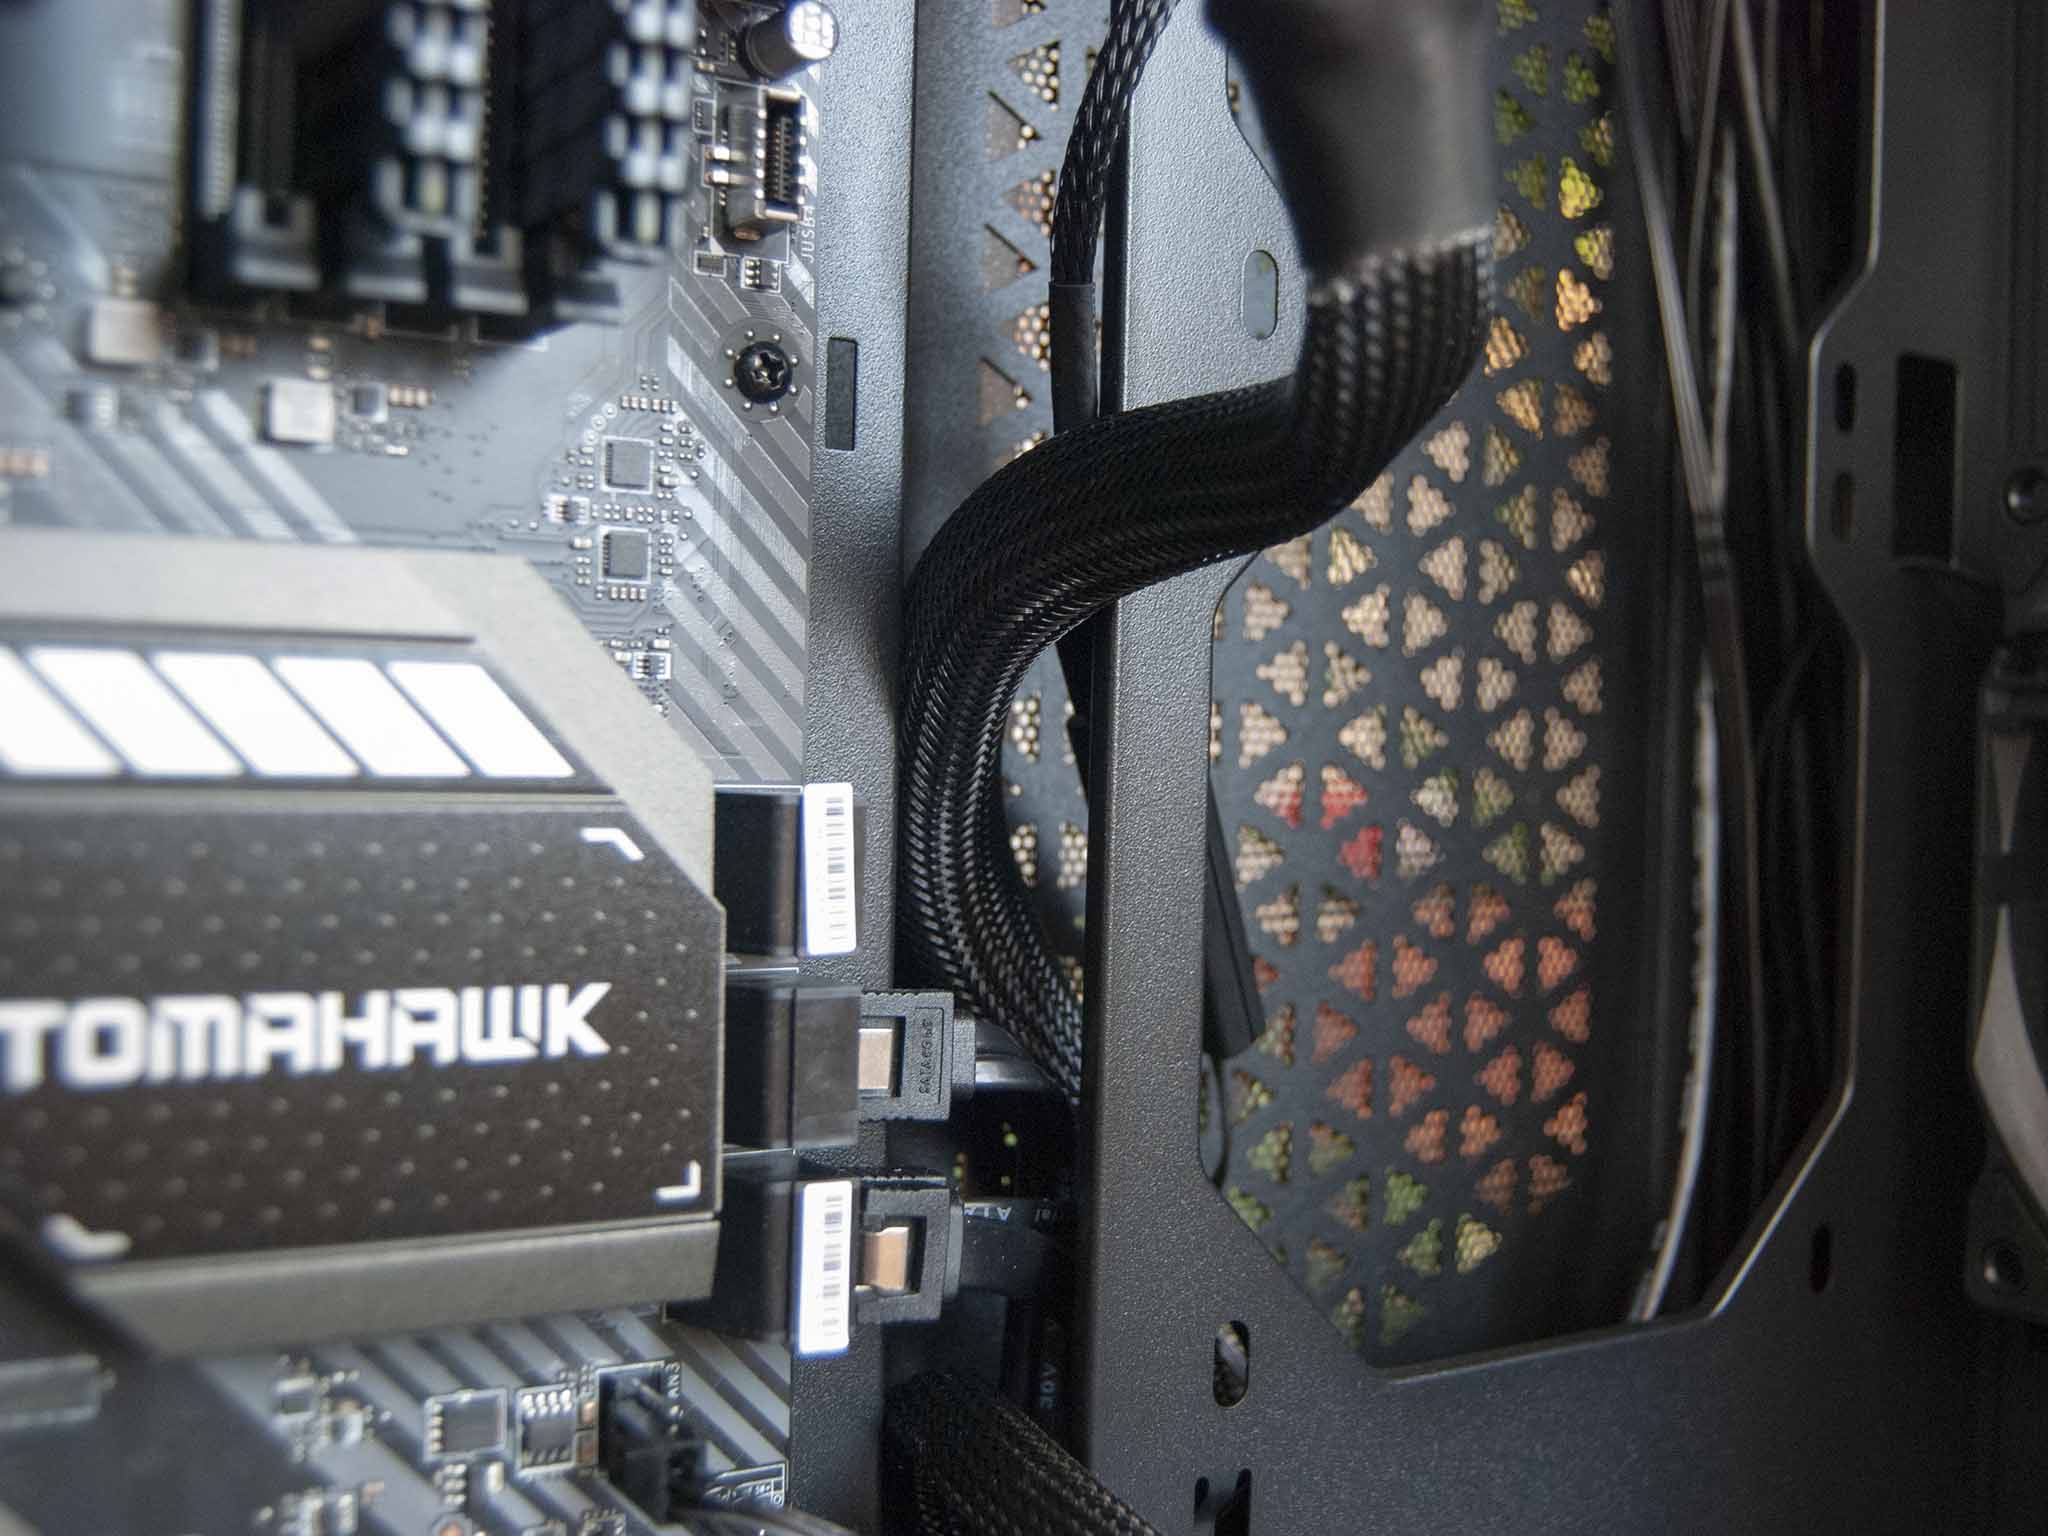
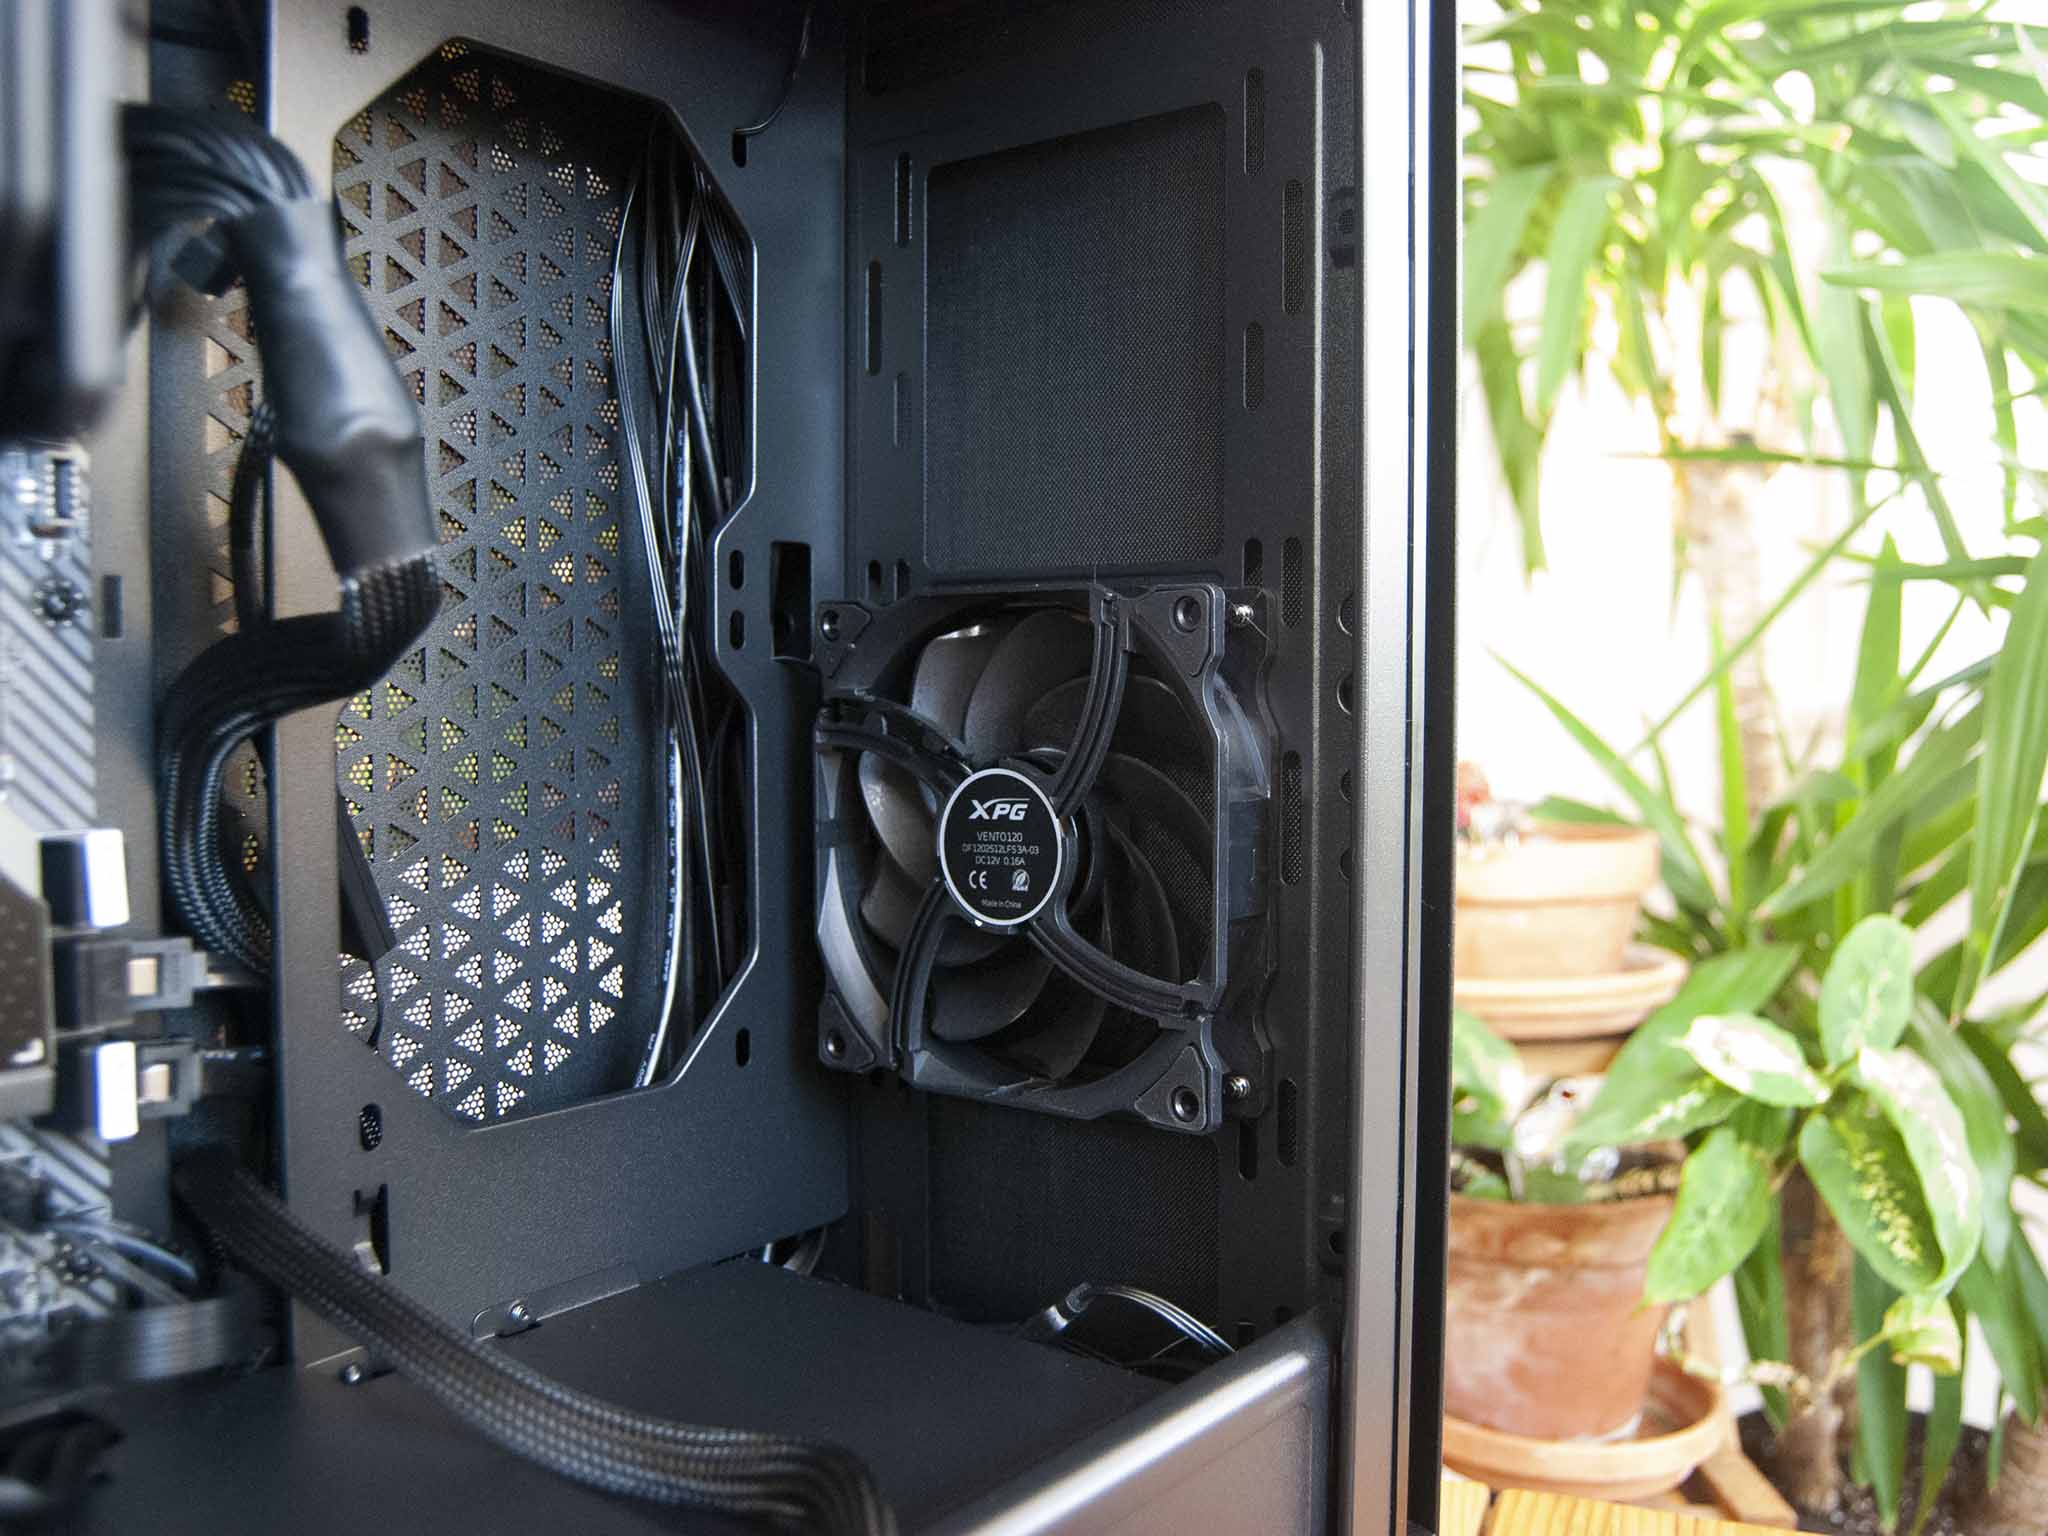
The mount for a vertical radiator next to the motherboard is set ahead just a bit compared to the motherboard mount, leaving a gap to run cables through to the board. There are also slots cut out above the motherboard and in the PSU shroud to make connecting the GPU and CPU power as easy as possible.
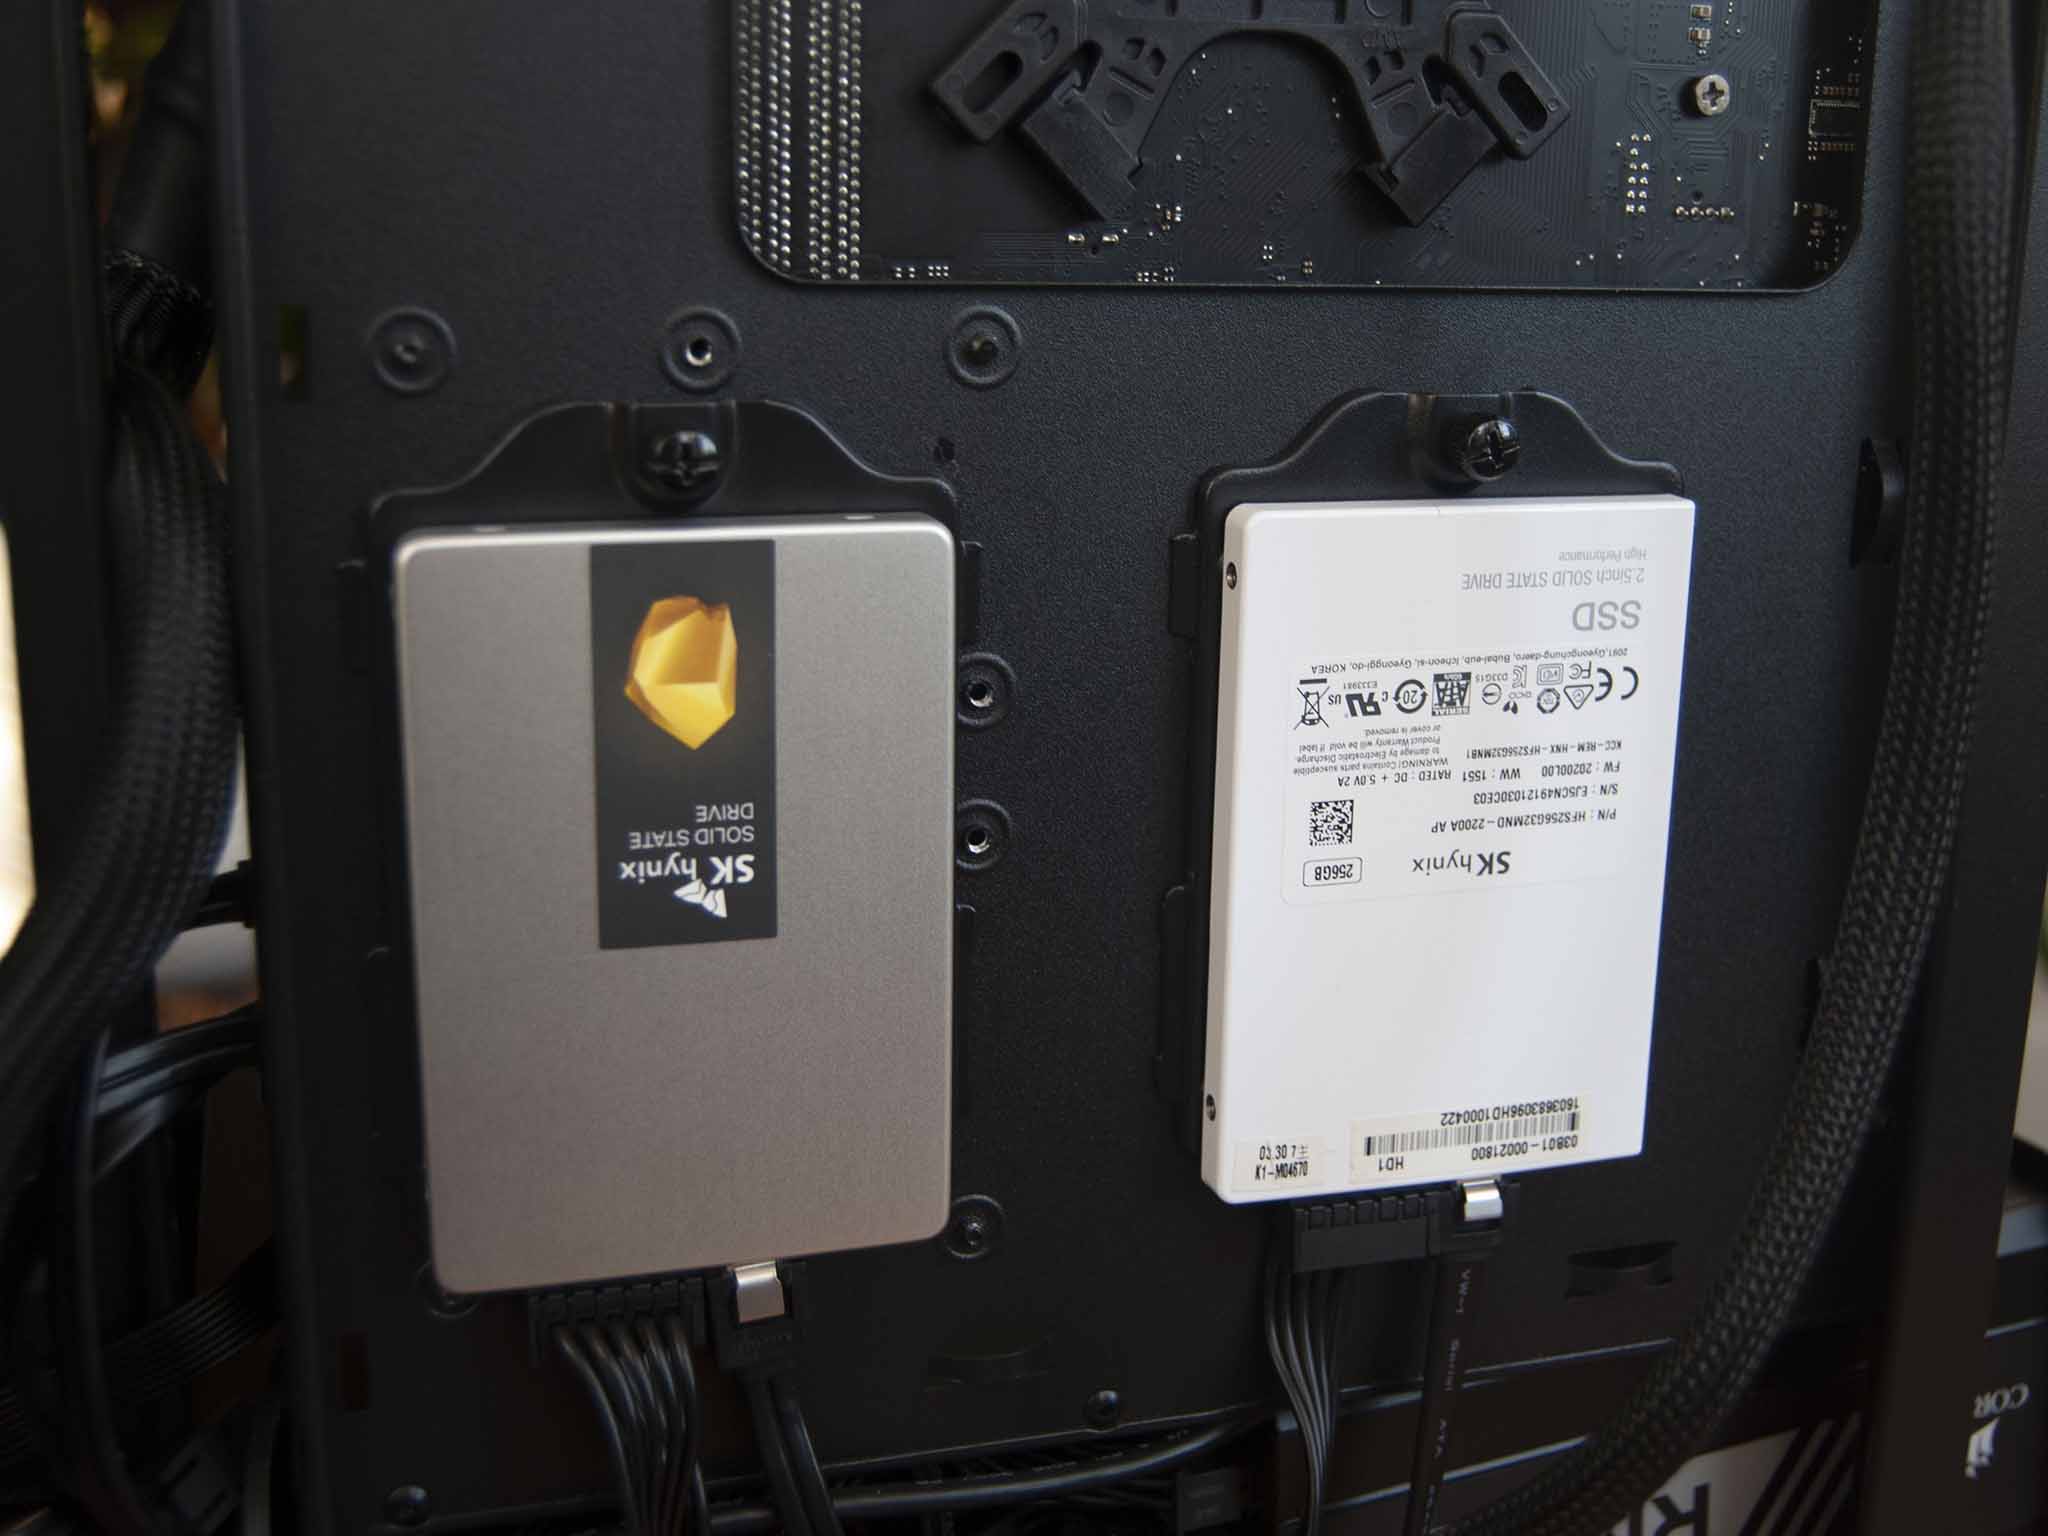
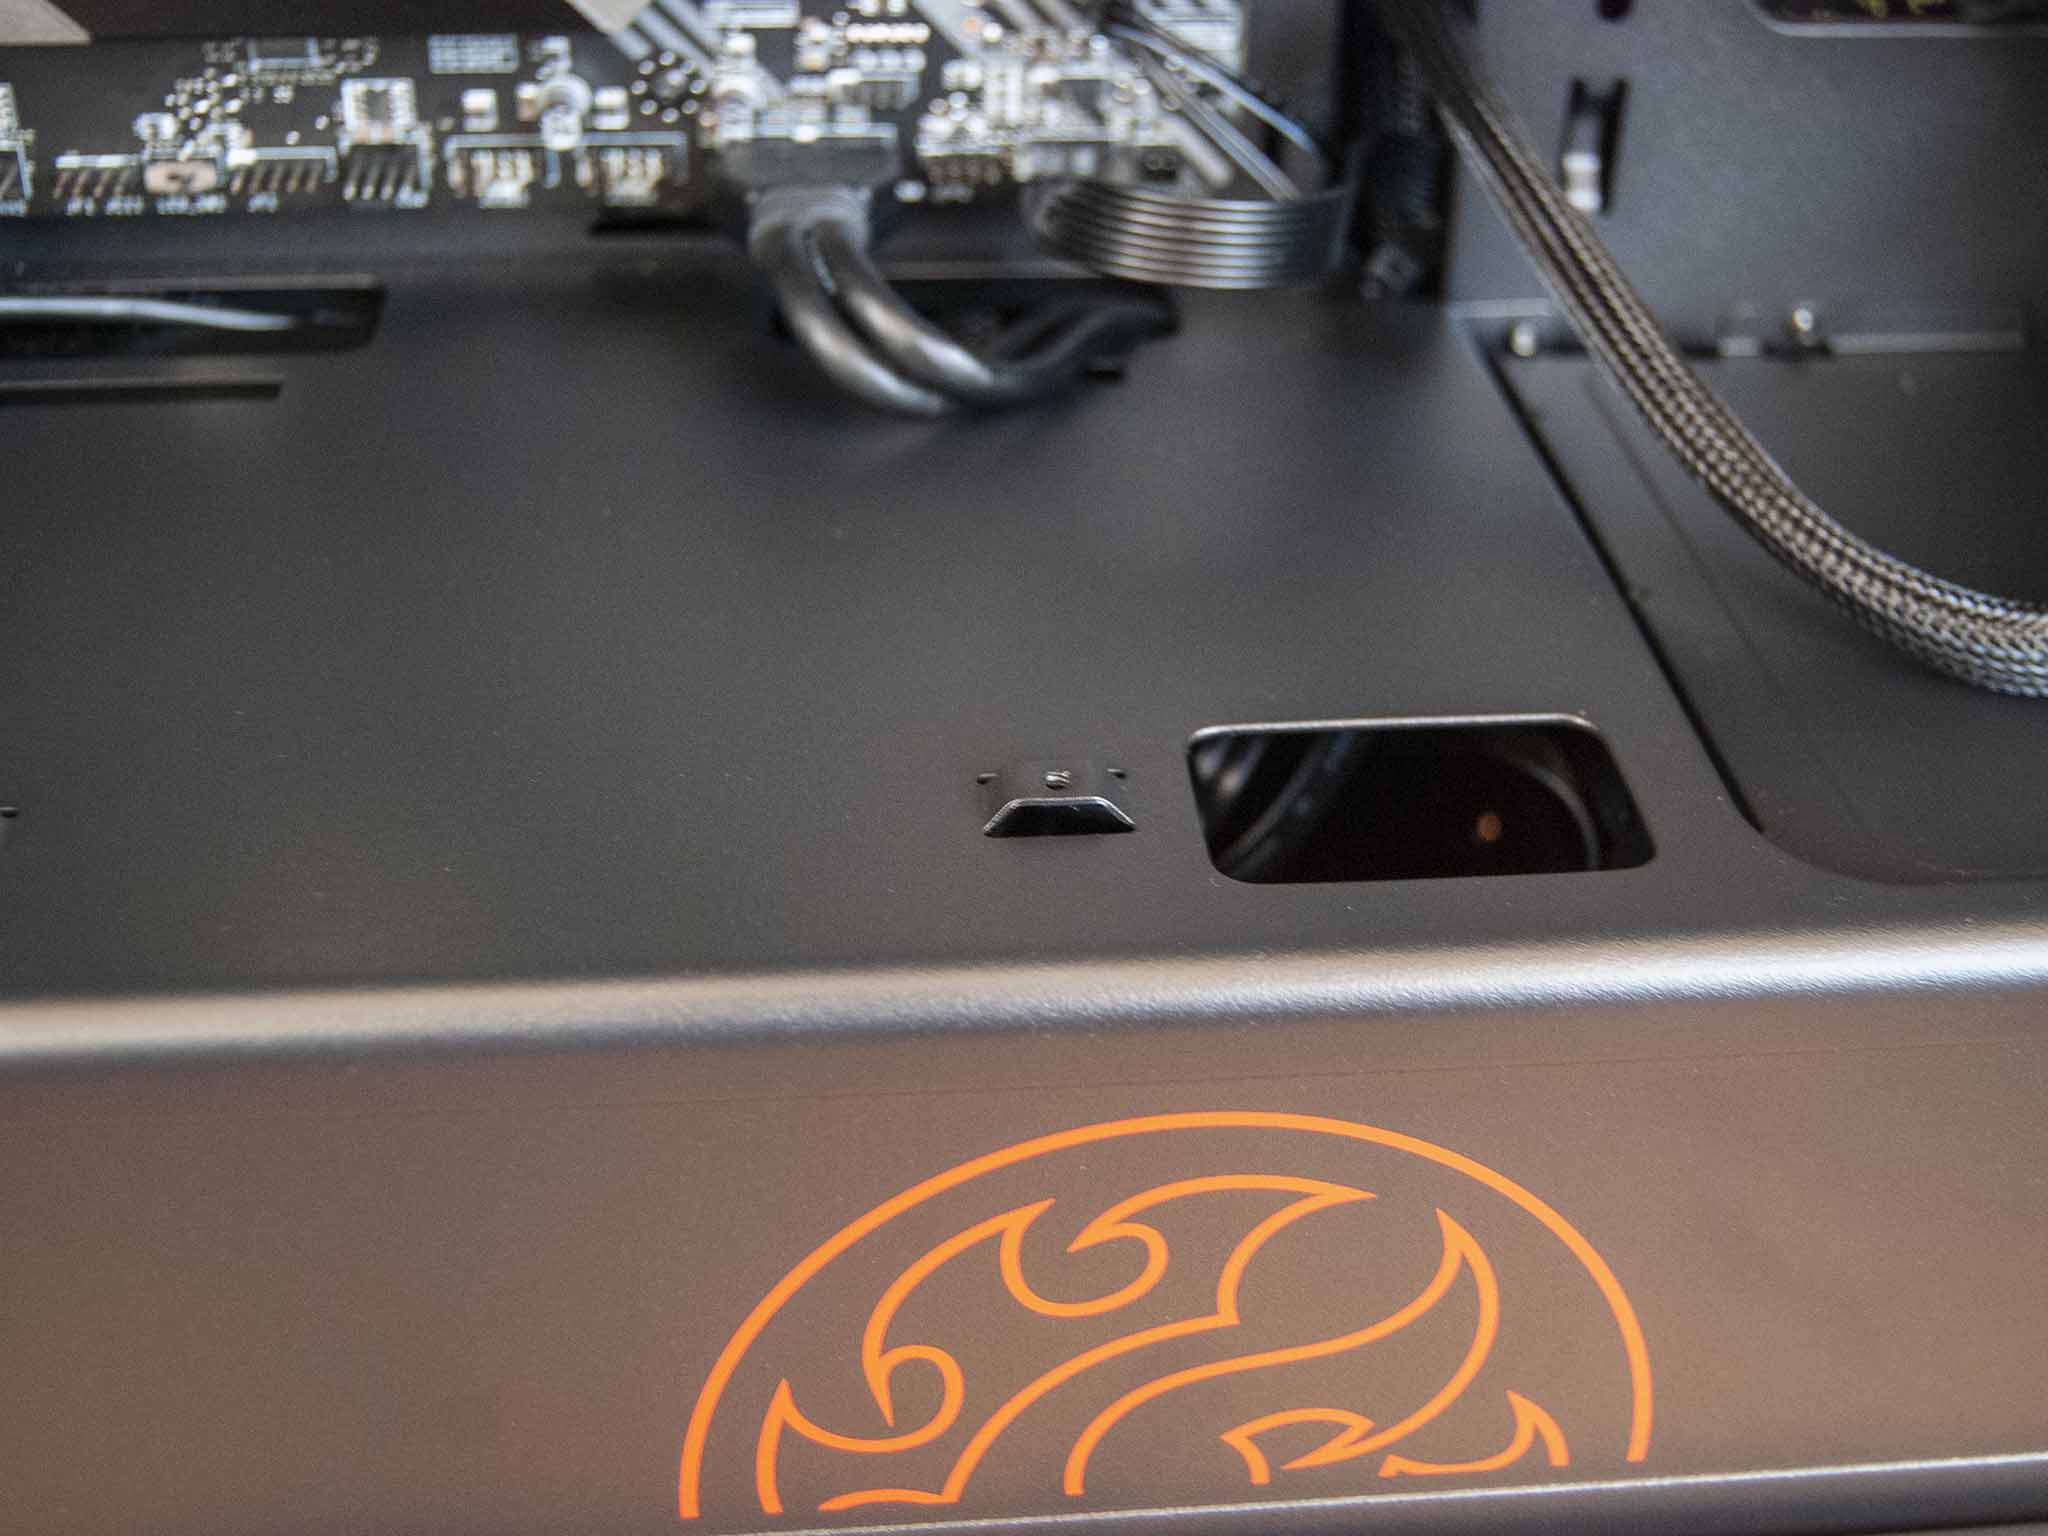
Behind the motherboard are two 2.5-inch SSD brackets that mount your drives vertically. Because the brackets attach to the drive then fasten to the motherboard mount with handscrews, you can quickly detach them. Why? There are two more cutouts on the top of the PSU shroud where the SSDs can be mounted horizontally. It would be nice to have two more brackets to fill the spots, with SSD attached or not, but at least the slots on the PSU shroud aren't very noticeable once the PC is up and running.
A removable cage with two 3.5-inch HDD bays near the front of the PC makes it easy to slot drive in without any tools. I just pulled out a bracket, clicked the HDD into place, and slid the package back into the top slot. Older 3.5-inch HDDs are becoming more rare for sure, so if you're not in need of the mounts, you can remove the entire cage to make room for another fan on the bottom of the chassis.
The XPG Invader is a well-built case with excellent airflow.
Once I had everything put together, I put the side panels back on and tested to see how well the case manages heat. With the two stock 120mm fans and nothing else added (save the CPU cooler), the temperature inside the case maxed out at about 49 degrees Celsius with the system under a relatively heavy and sustained load. Idling, it sat between 29 and 35 degrees Celsius. That's with a Ryzen 7 5800X CPU, RTX 2060 GPU, 16GB of RAM, and two M.2 PCIe SSDs. The stock fans run quietly. If you're not planning on immediately adding a bunch of fans to your build, you shouldn't run into any problems.
I'm an amateur PC builder at best, and even I could get everything connected neatly without much effort. Cabling in the bottom and on the right side of the case (hidden by the steel panel) is a bit of a mess, but there's lots of room to work despite the large PSU. I could spend more time dealing with cable management to clean it up, but the case could also do a better job in some areas to help builders get exactly what they want.
What I disliked about the XPG Invader
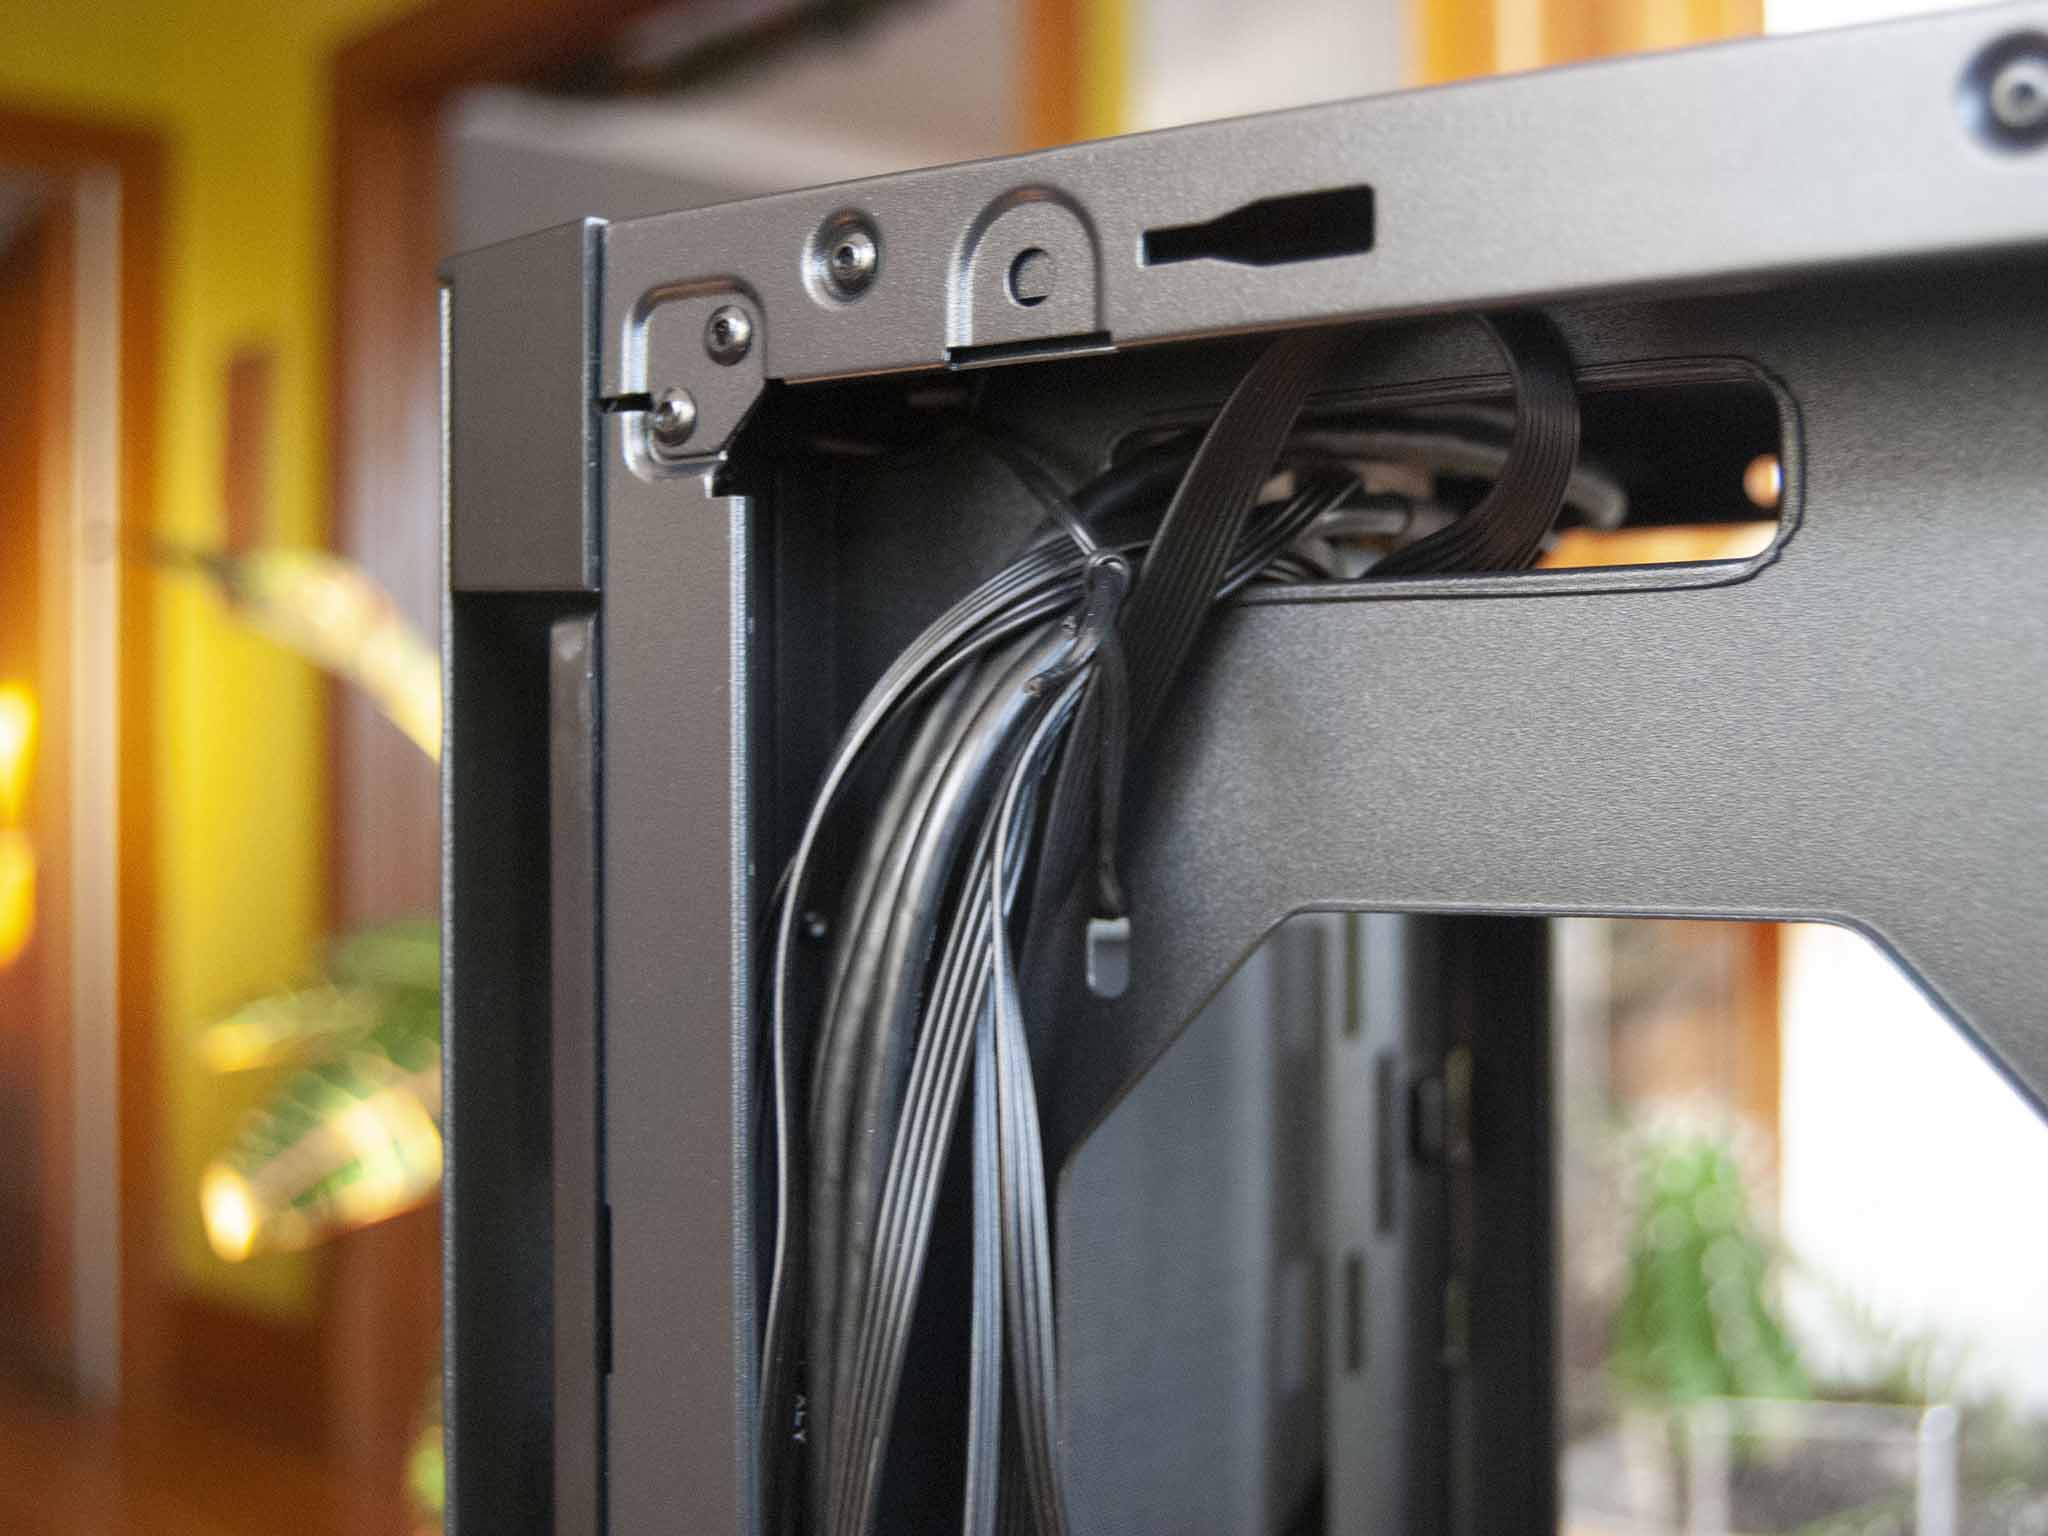
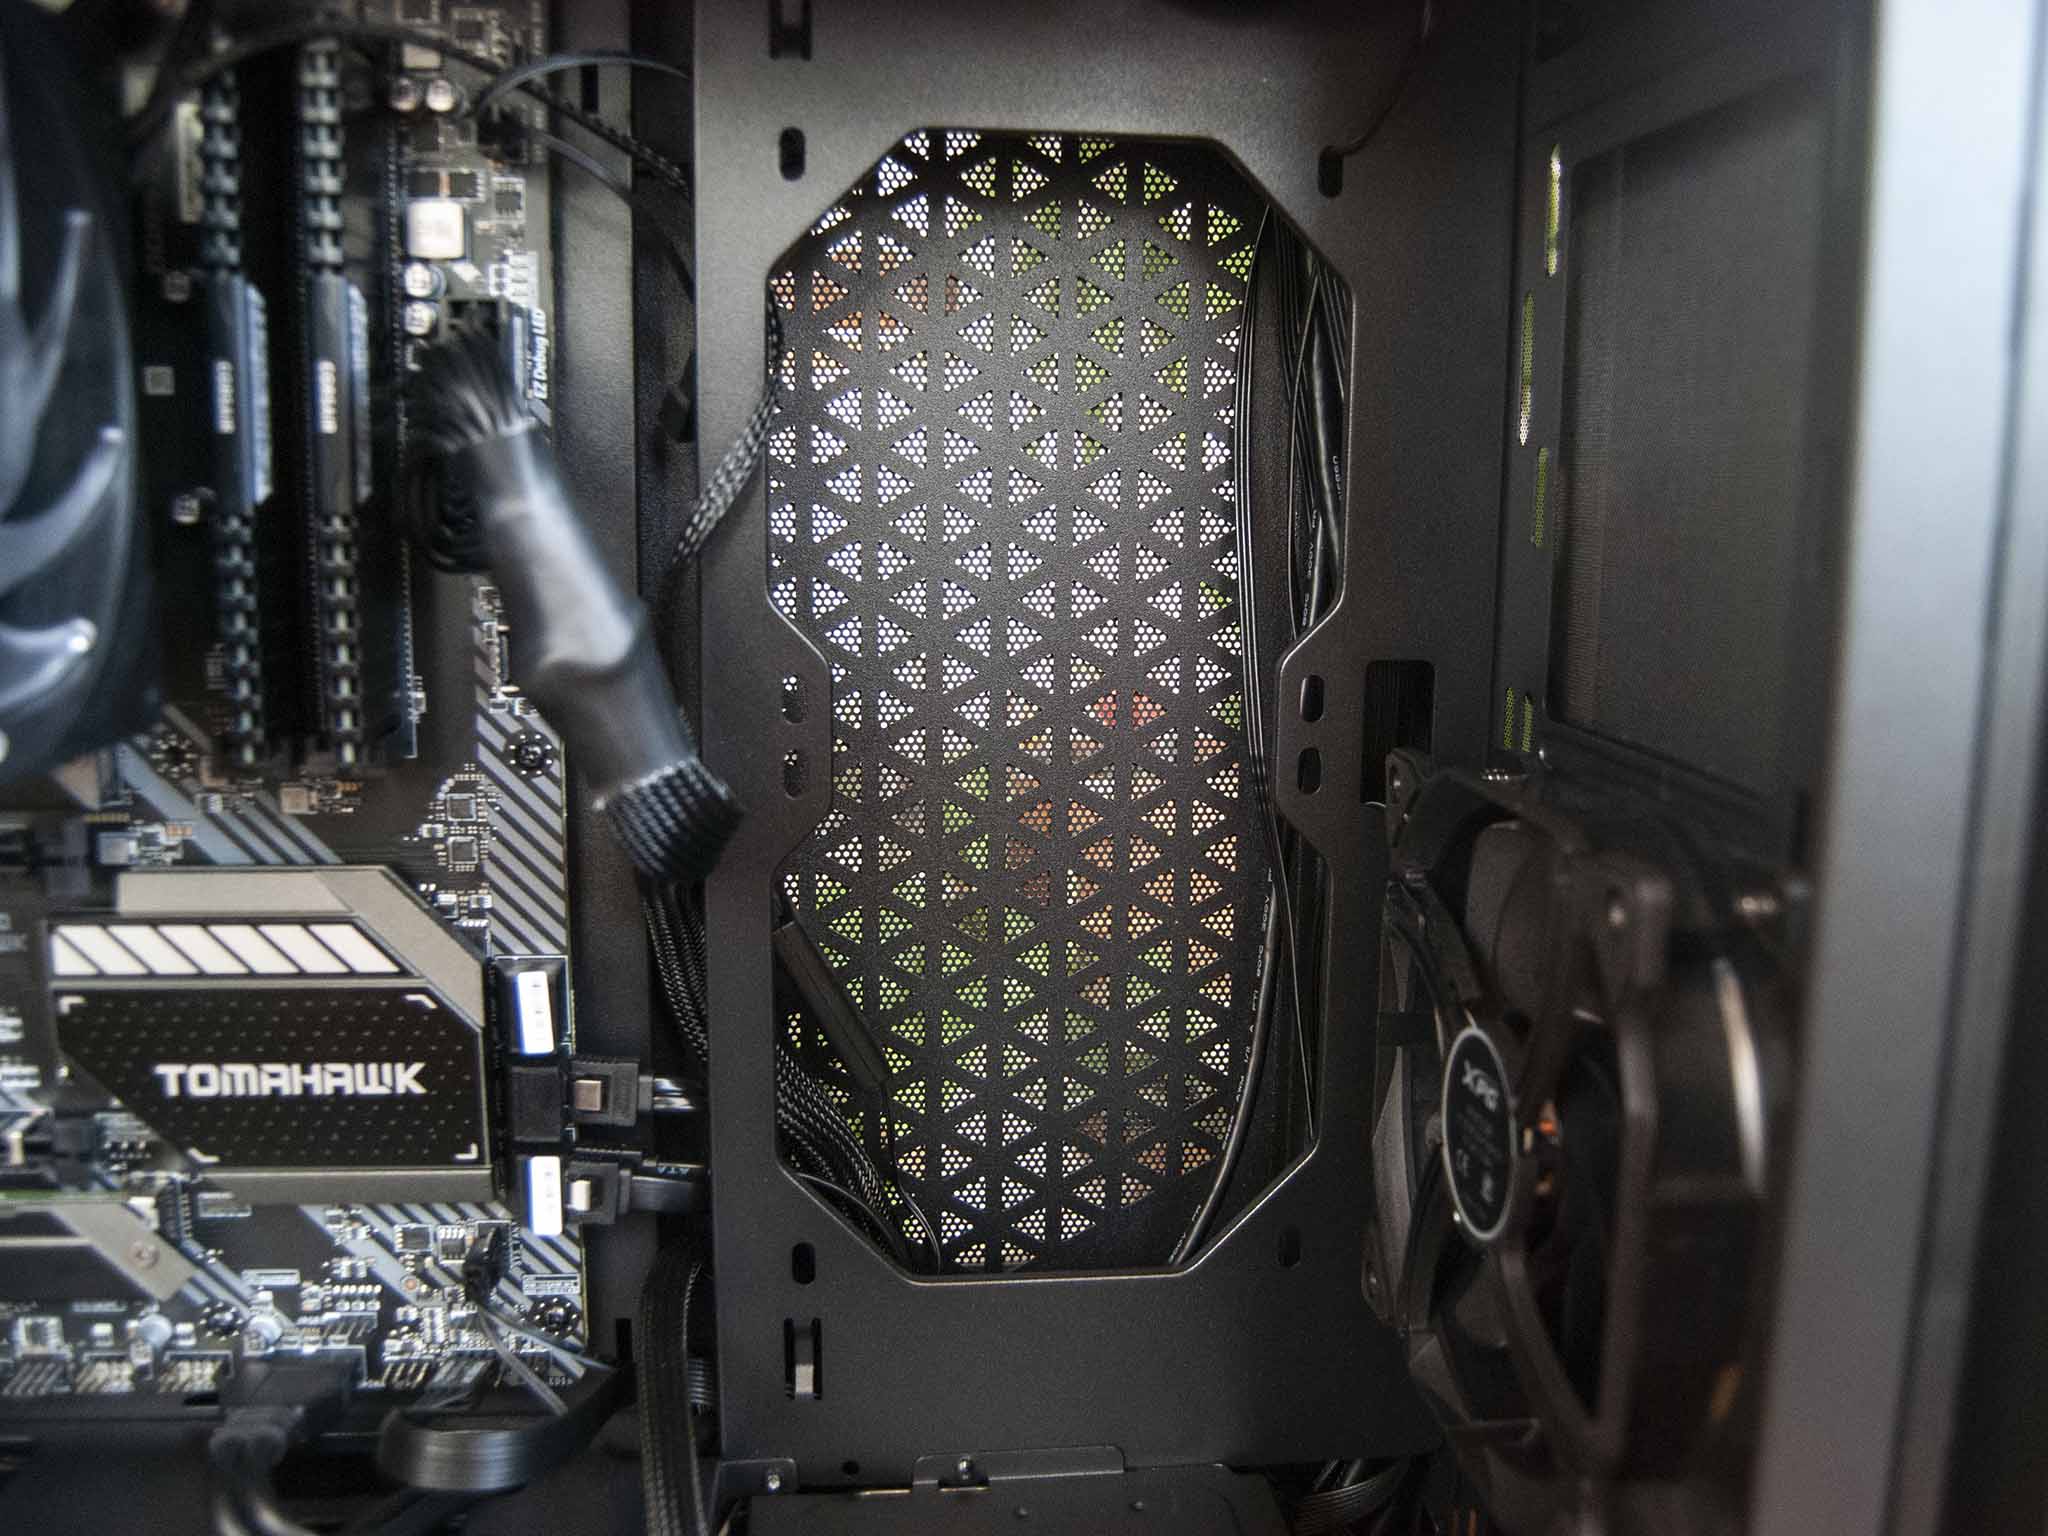
The XPG Invader offered a straightforward yet versatile build experience, though there are some areas for improvement. Perhaps most noticeable are the built-in cables that run from the front I/O panel. Some aren't quite long enough to not cut across the side vertical radiator mount, which is left open in my build. Of course, mounting a radiator here would cover everything up, but for those of us not planning on adding more cooling, it would be nice to have some sort of cover, even plastic if not steel. And don't expect any fancy Velcro straps to come pre-installed in this case for easier cabling. It comes with a few zip ties, but otherwise, you're on your own.
On the note of mounting a vertical radiator next to your motherboard, be sure the GPU isn't going to interfere. XPG notes a maximum GPU length of 400mm for the case, but that's definitely without a side-mounted radiator. If you do have a rad there, your GPU should be closer to about 250mm or 260mm in length to fit. The same goes for a top-mounted radiator. Depending on the motherboard or RAM you're using, there may be some spacing issues if the radiator you want to mount is particularly thick.
Should you buy the XPG Invader?
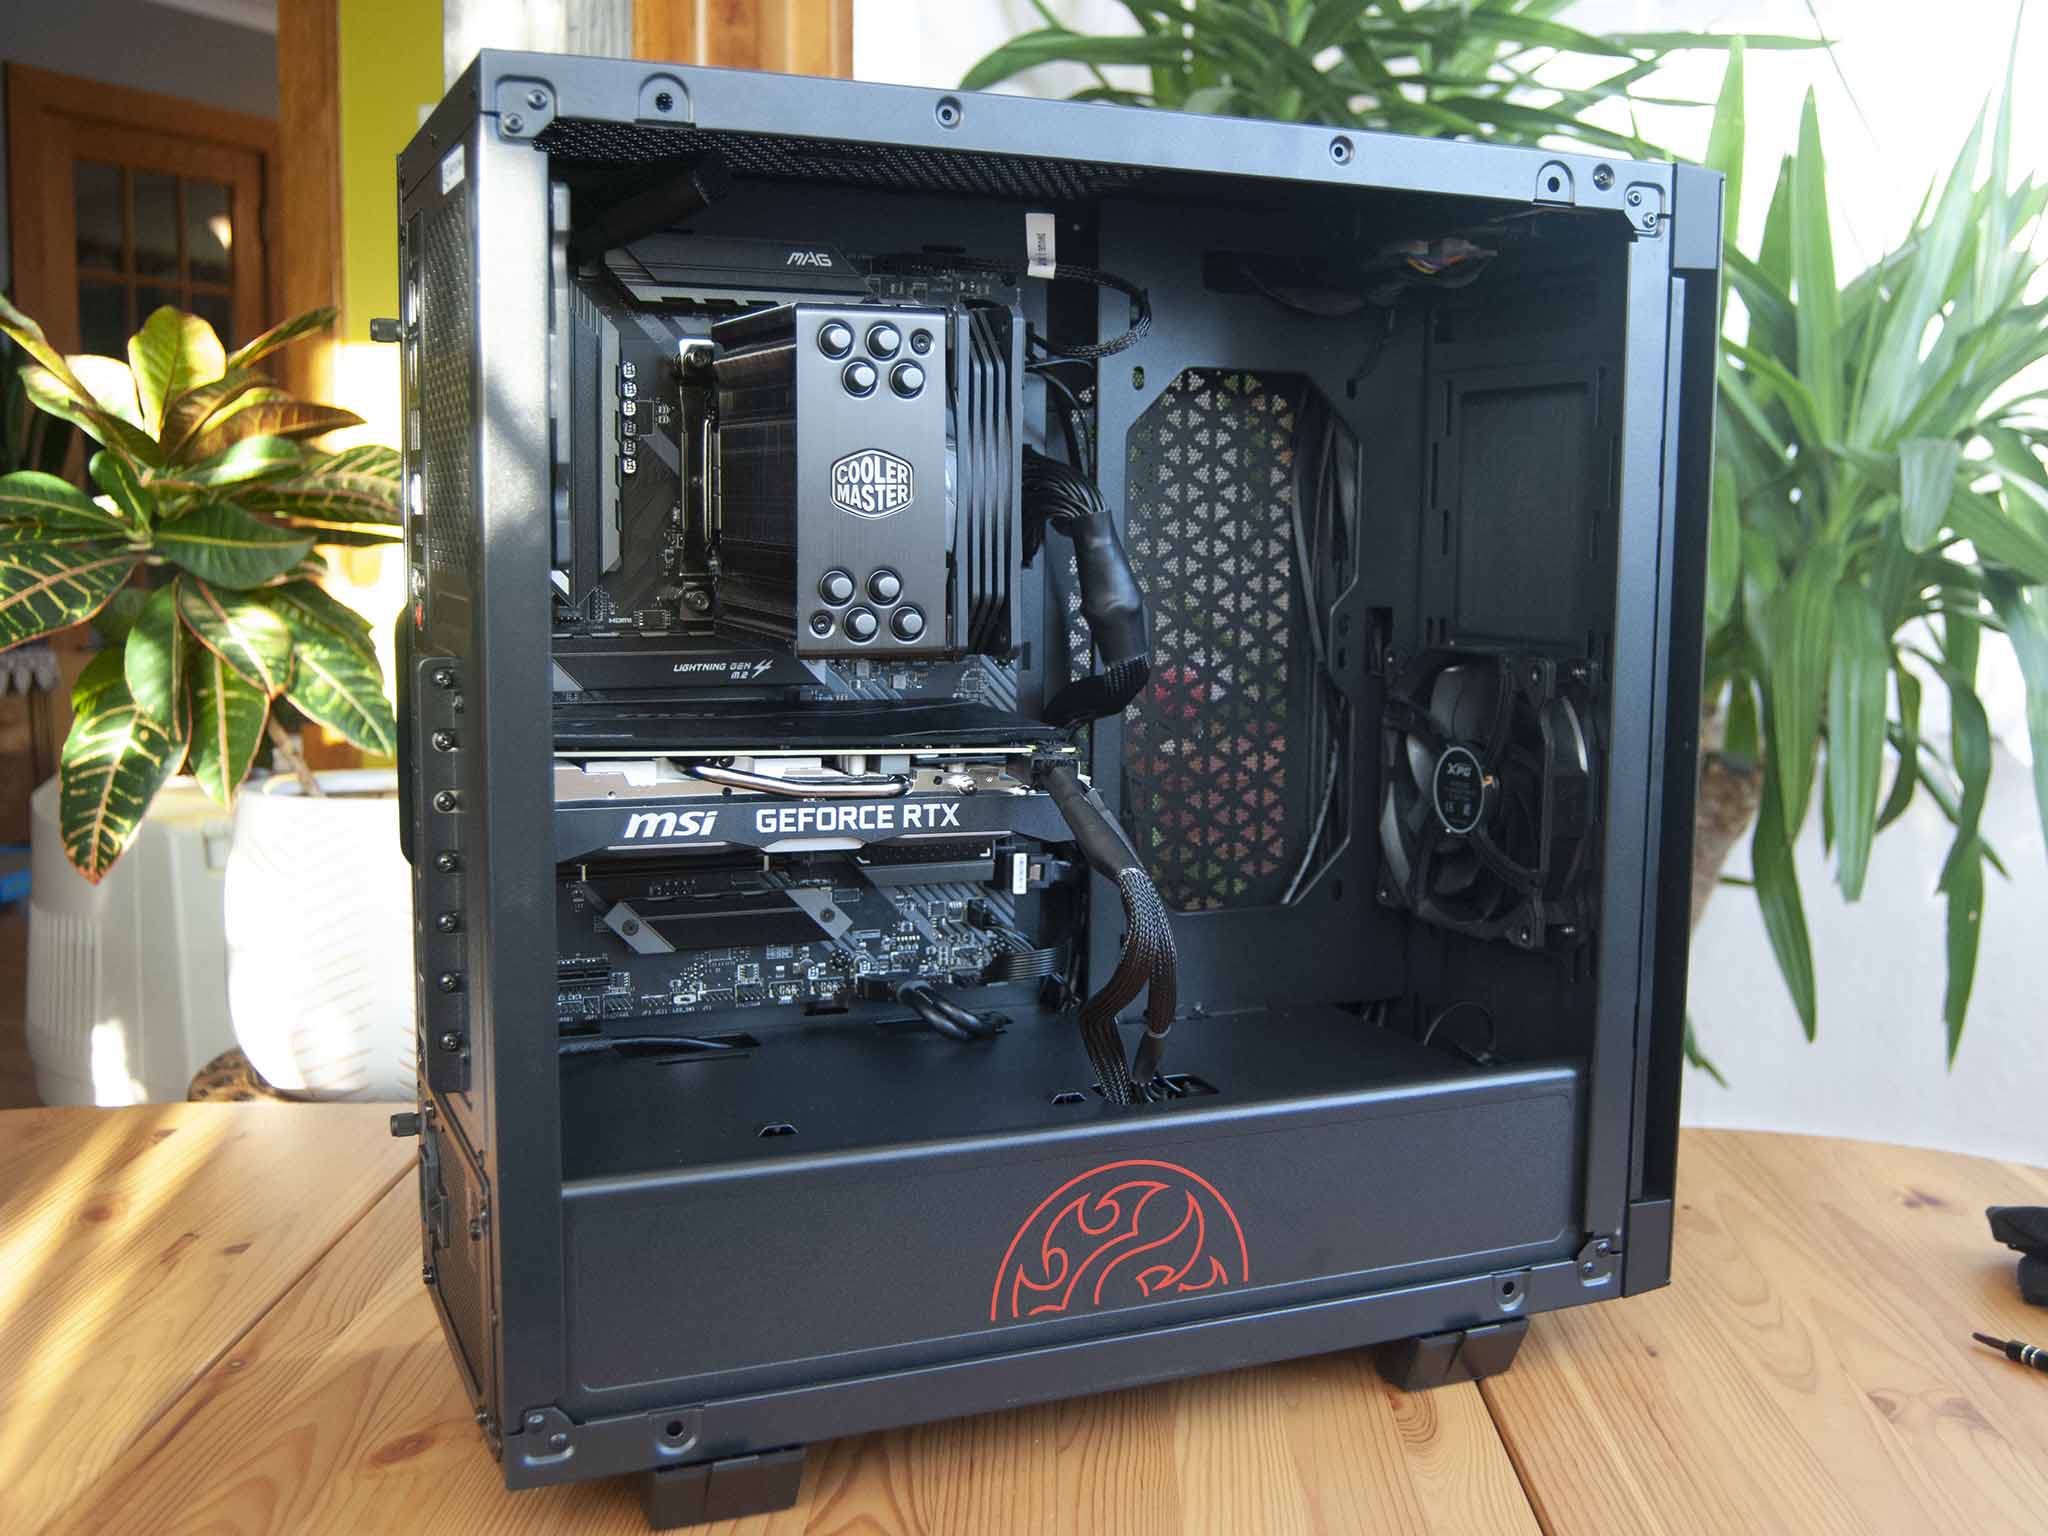
After building a PC inside the XPG Invader, it's clear that ADATA isn't just pushing products onto the market without considering what builders want. There is plenty of space for your hardware (just watch out for GPU length), and the case is versatile enough to accommodate a bunch of different cooling options. Even with the two stock 120mm fans, the ample filtered venting offered enough airflow to keep my system cool.
The built-in RGB controller and underglow lighting — with easy expansion thanks to included cables — are a nice touch on a really well-built case. The steel construction feels premium, as does the thick tempered glass. Even the vents and filters have some design elements to them to give the case a bit more flair. And the front panel and mesh filter held on by magnets is an elegant solution.
It would be nice to see a cover for the vertical radiator mount to hide some of the cabling, but at least with the glass panel installed, they're not super visible. And the same applies to the 2.5-inch SSD bracket mounts that remain empty on the top of the PSU shroud. You can, of course, move the rear brackets to the front, but you'll still run out of mounting options with more than two drives.
If you're looking for a relatively affordable case that can fit up to an ATX board and has plenty of room for customization, the XPG Invader is no doubt a viable choice for many builders. It's built well, it comes with RGB lighting and a controller, and there is more than enough airflow for most builds. If it's not quite what you're looking for, be sure to check out our collection of the best PC cases under $100 for more options.

Affordable PC case with plenty of quality features
The XPG Invader makes it easy to build how you want, with filtered vents and fan or rad mounts throughout. It could do better in a couple of areas, like cable management, but overall this is a case you should consider for your next build.

Cale Hunt brings to Windows Central more than eight years of experience writing about laptops, PCs, accessories, games, and beyond. If it runs Windows or in some way complements the hardware, there’s a good chance he knows about it, has written about it, or is already busy testing it.
