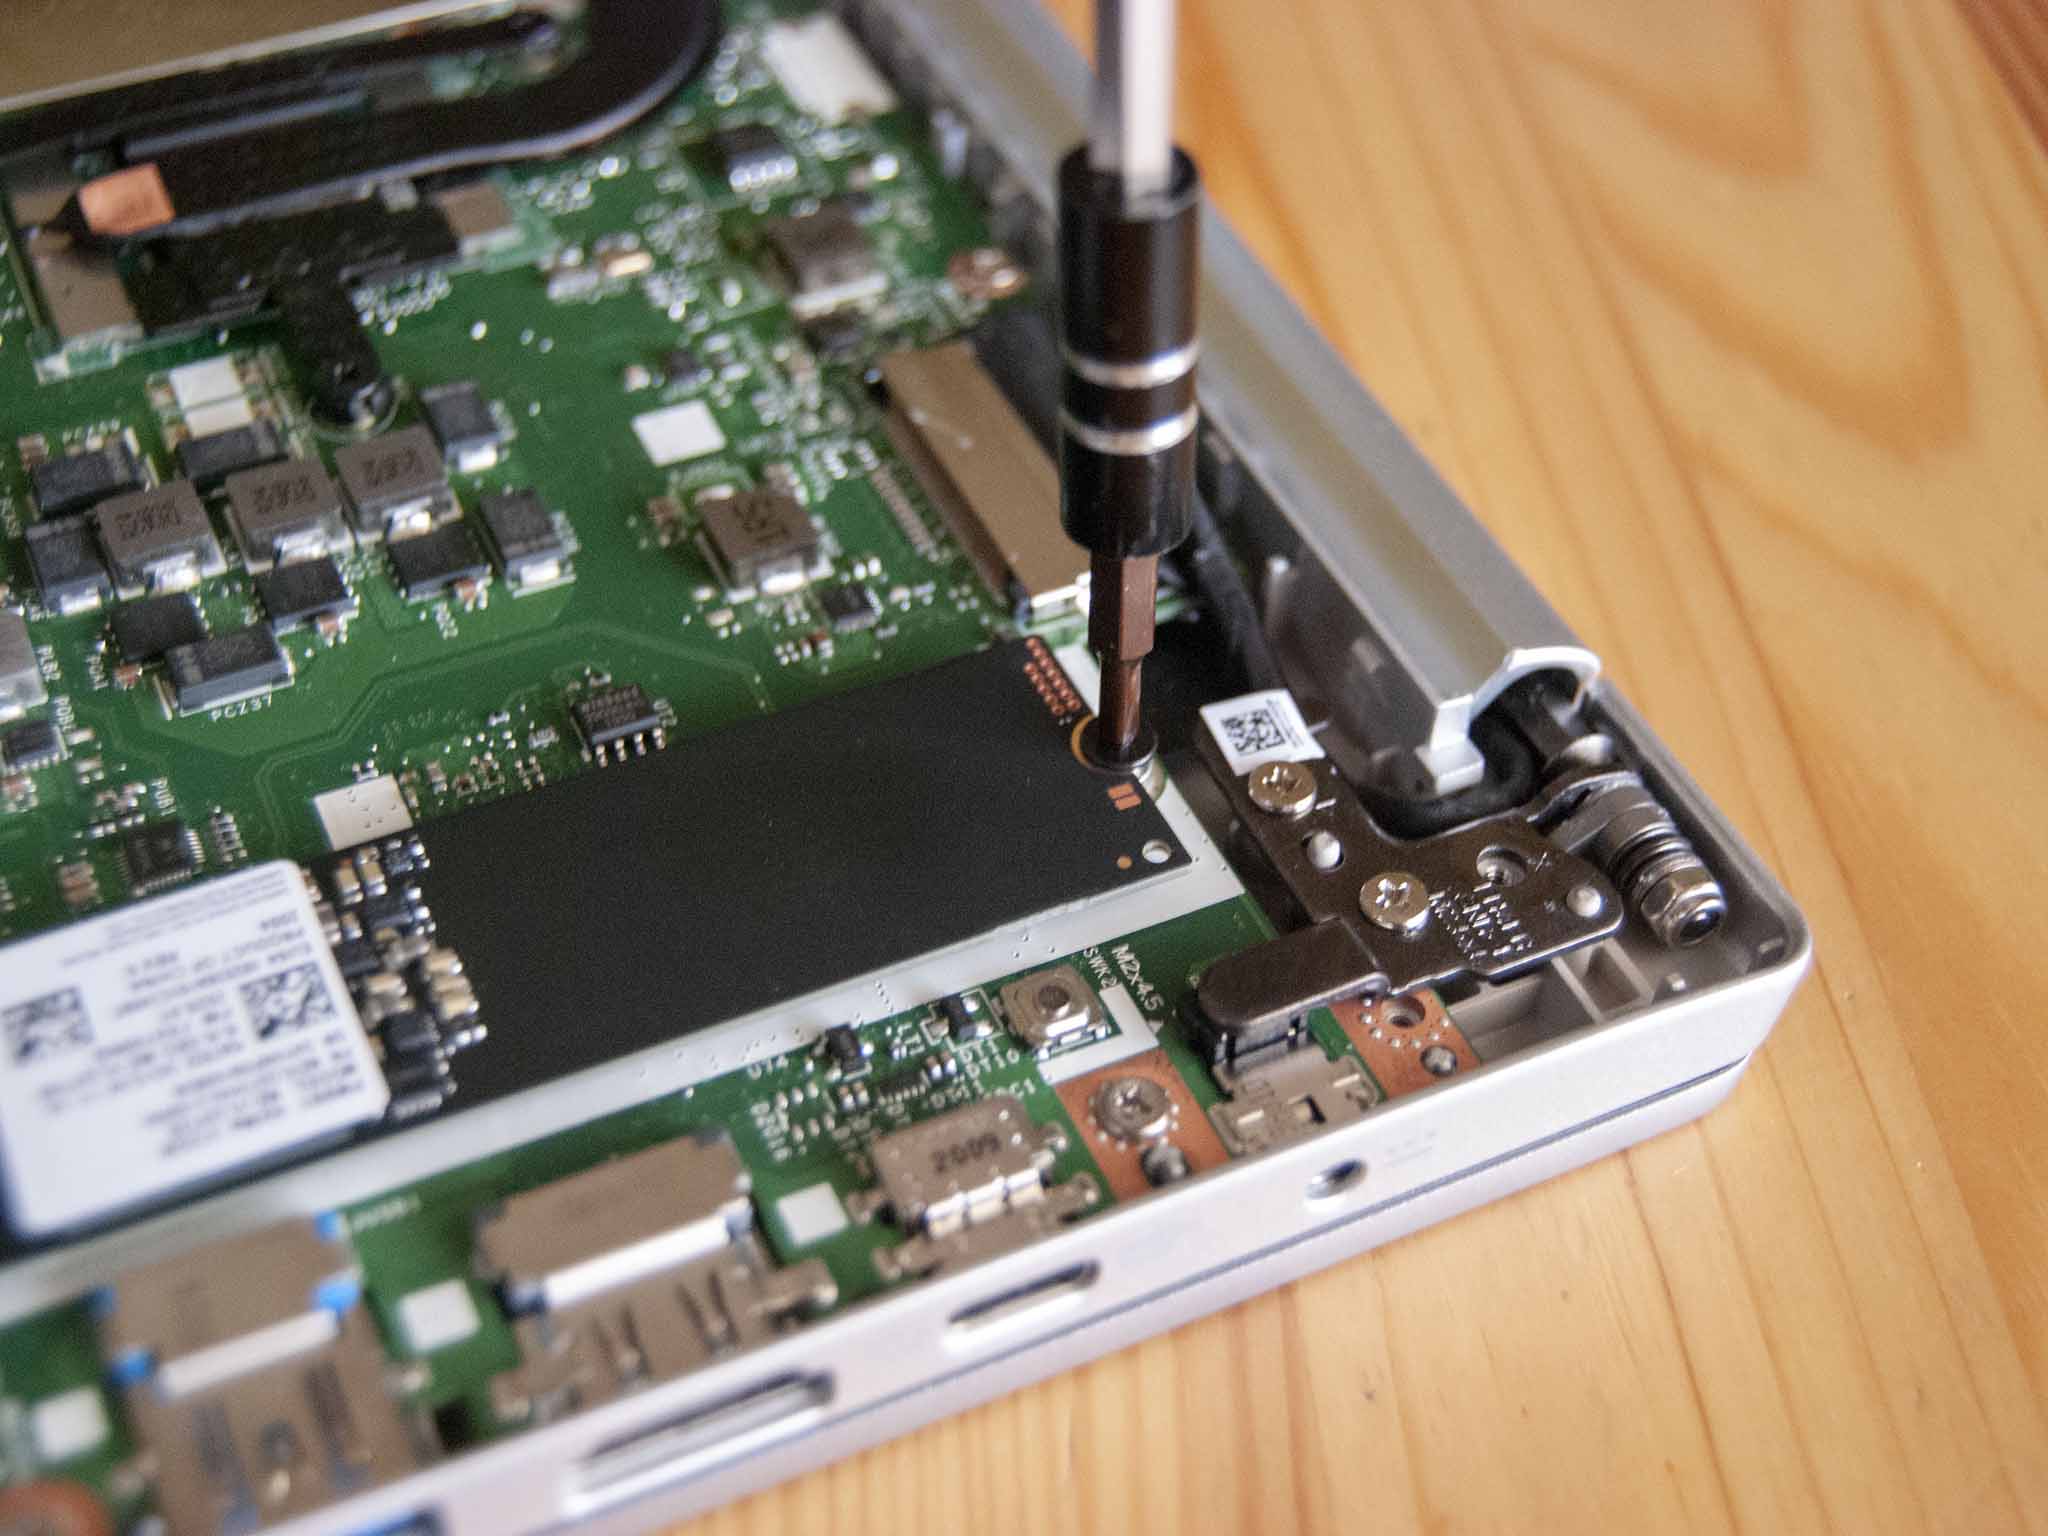
Acer's Swift 3 (SF314-42-R9YN) is a budget-friendly clamshell laptop with excellent battery life, strong performance from AMD Ryzen 4000 mobile CPUs, and some interesting features. While its RAM is soldered, the M.2 NVMe can be upgraded after purchase. Since most models come with either 256GB or 512GB, most people might want to perform the operation for more or faster storage. Here's everything you'll need as well as step-by-step instructions to perform the upgrade.
Hardware and software to get the job done
- M.2 PCIe SSD: Samsung 970 EVO Plus (From $70 at Amazon)
- Cloning tool: Macrium Reflect 7 (Free at Macrium)
- SSD enclosure for cloning: SSK M.2 PCIe enclosure ($26 at Amazon)
- Prevent damage: Rosewill anti-static wristband ($7 at Amazon)
- All required tools: ORIA PC toolkit ($35 at Amazon)
- Budget notebook: Acer Swift 3 ($680 at Amazon)
How to upgrade the SSD in your Acer Swift 3
Note: Before beginning any upgrades on a PC, it's a good idea to back up your data in the unlikely event something should go wrong. You'll also want to ensure you're not working in a static-filled environment since it can cause damage to a PC's internal hardware. Consider investing in an anti-static wristband to avoid unnecessary damage.
Acer's Swift 3 with AMD hardware is a rather powerful budget laptop, and it comes with the added bonus of having an upgradeable SSD. The stock SSD is relatively fast for such an affordable laptop, but adding something like Samsung's 970 EVO Plus as an upgrade will make a huge difference. It's available in 250GB, 500GB, 1TB, and 2TB sizes.
The Swift 3 only has one M.2 slot for an SSD, so before the upgrade you'll need to make a decision. You can clone all your data and the OS to the new SSD with an external enclosure. Upon swapping out the SSDs, it should feel like nothing has changed save for speed and space. For this method you'll want to have a look at Macrium Reflect software. We've also written a step-by-step guide to get you through the cloning process.
If the data on the stock SSD isn't particularly important, you can go instead with a completely fresh Windows install once the new SSD is installed. There are some steps to take care of before you begin the SSD upgrade, so be sure to head over to our guide to a clean install of Windows 10 to see what's required.
Once you've completed any cloning or have set yourself up for a clean installation of Windows 10, clear out a well-lit workspace and power down your Swift 3 before proceeding with the steps below.
- Unscrew the 10 silver fasteners on the bottom of the Swift 3 using a Phillips screwdriver. The screws back out completely so be sure you have a safe spot to keep them while performing the upgrade.
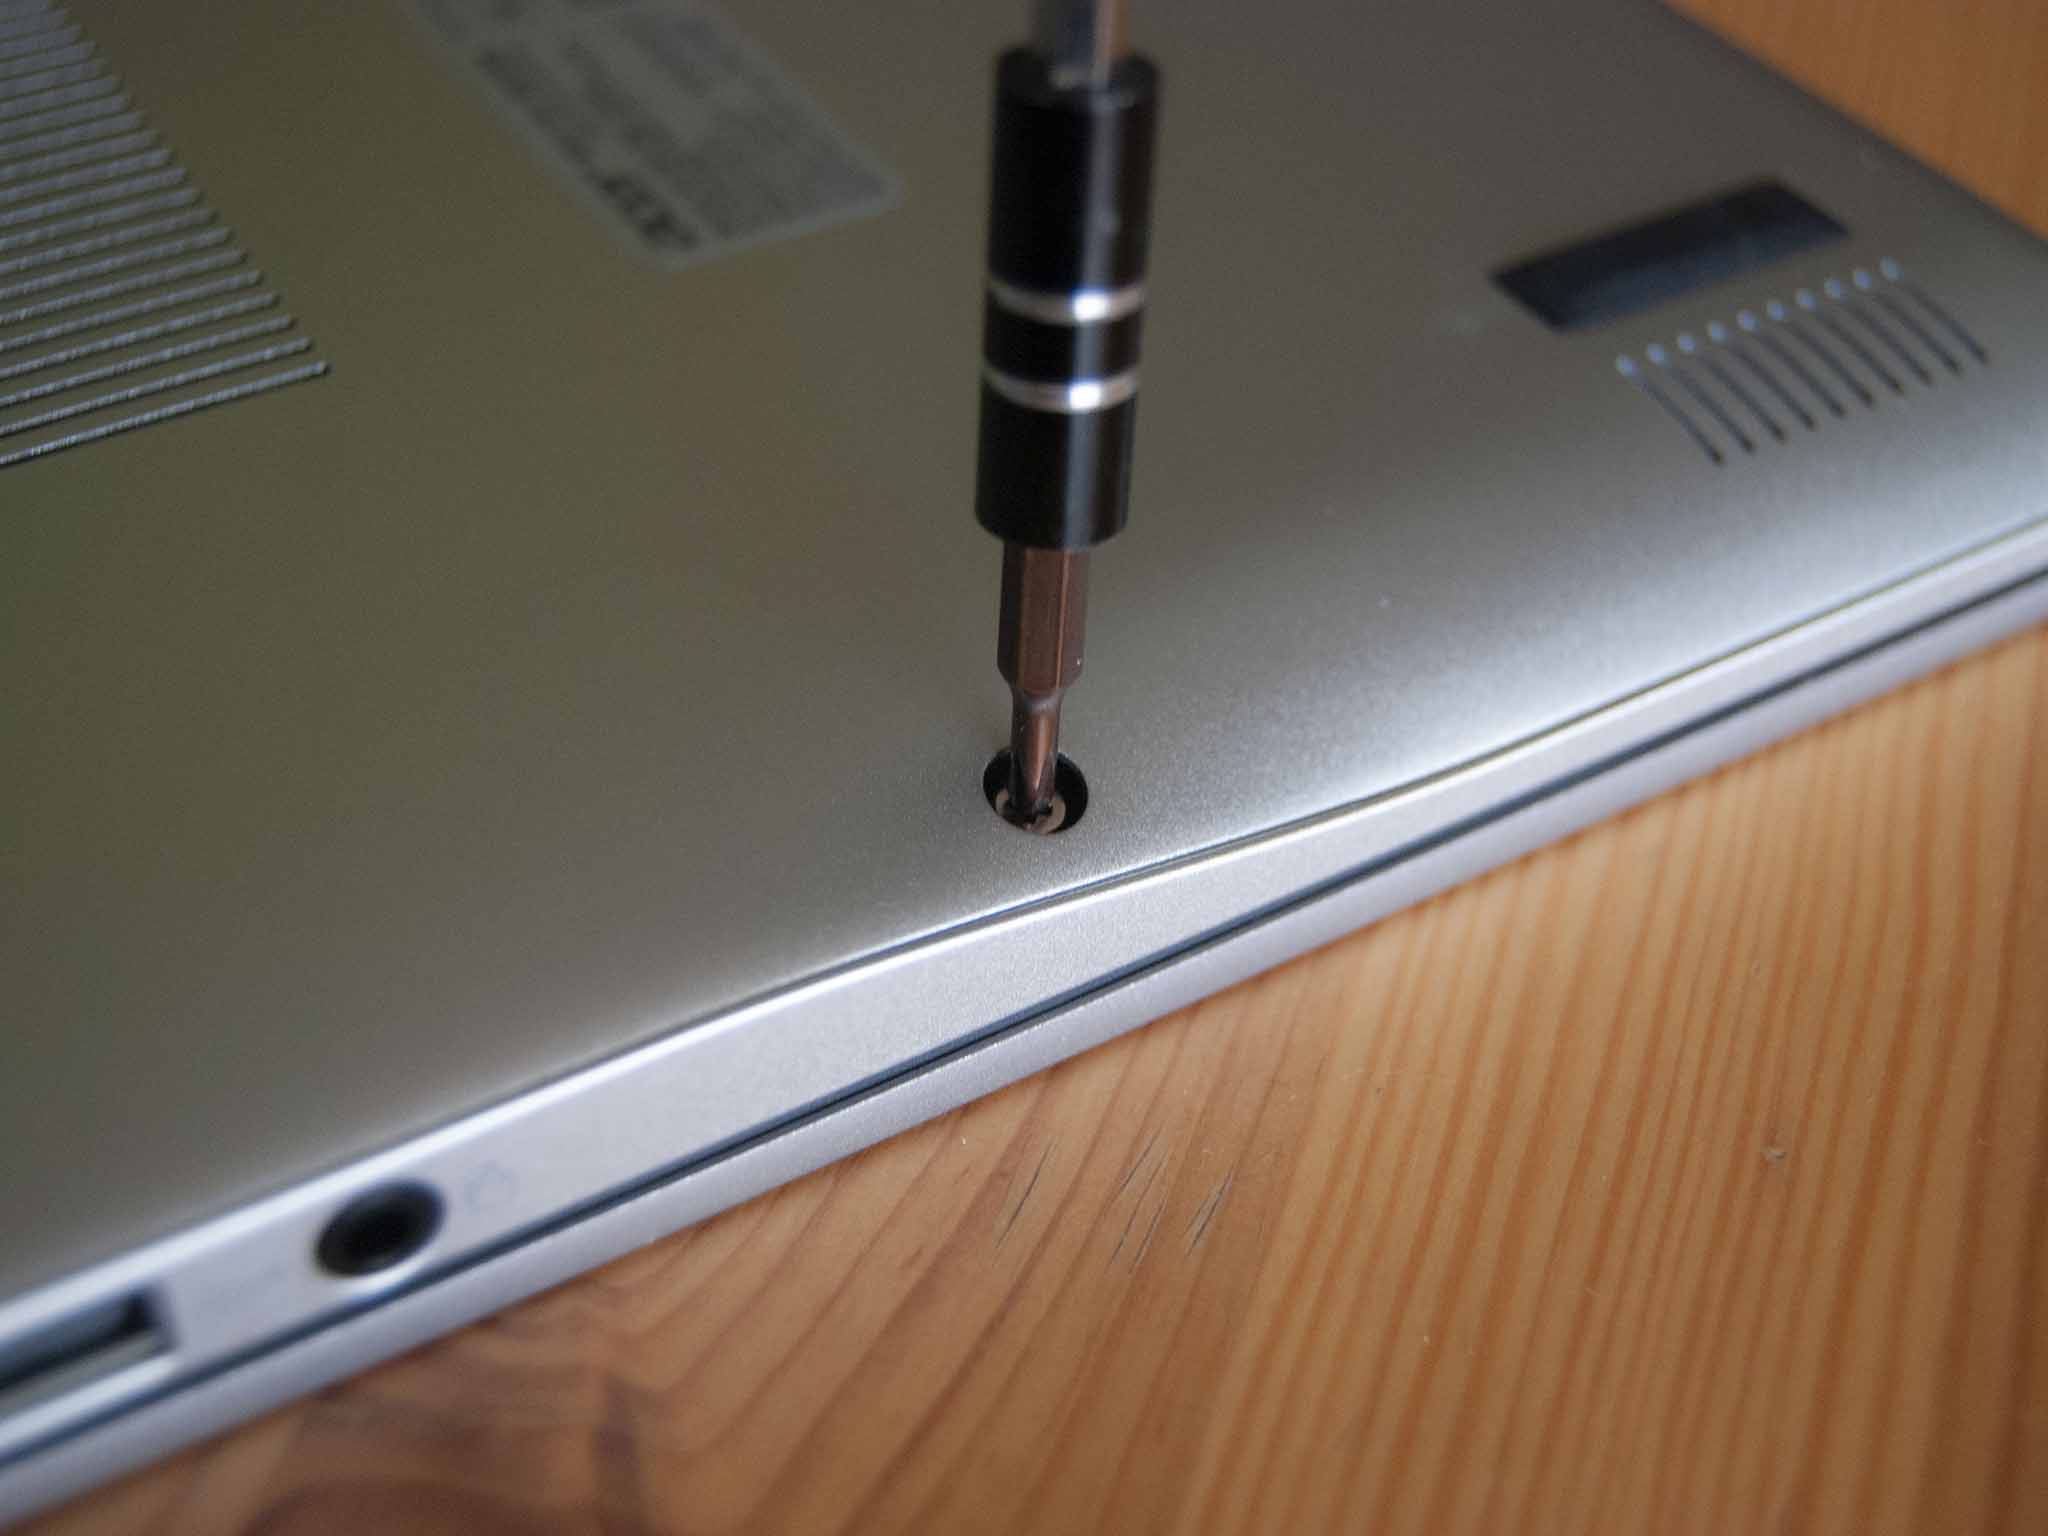
- Pry up the bottom panel using a pry tool. Start at one corner (or a loose spot) and slowly work your way around the base.

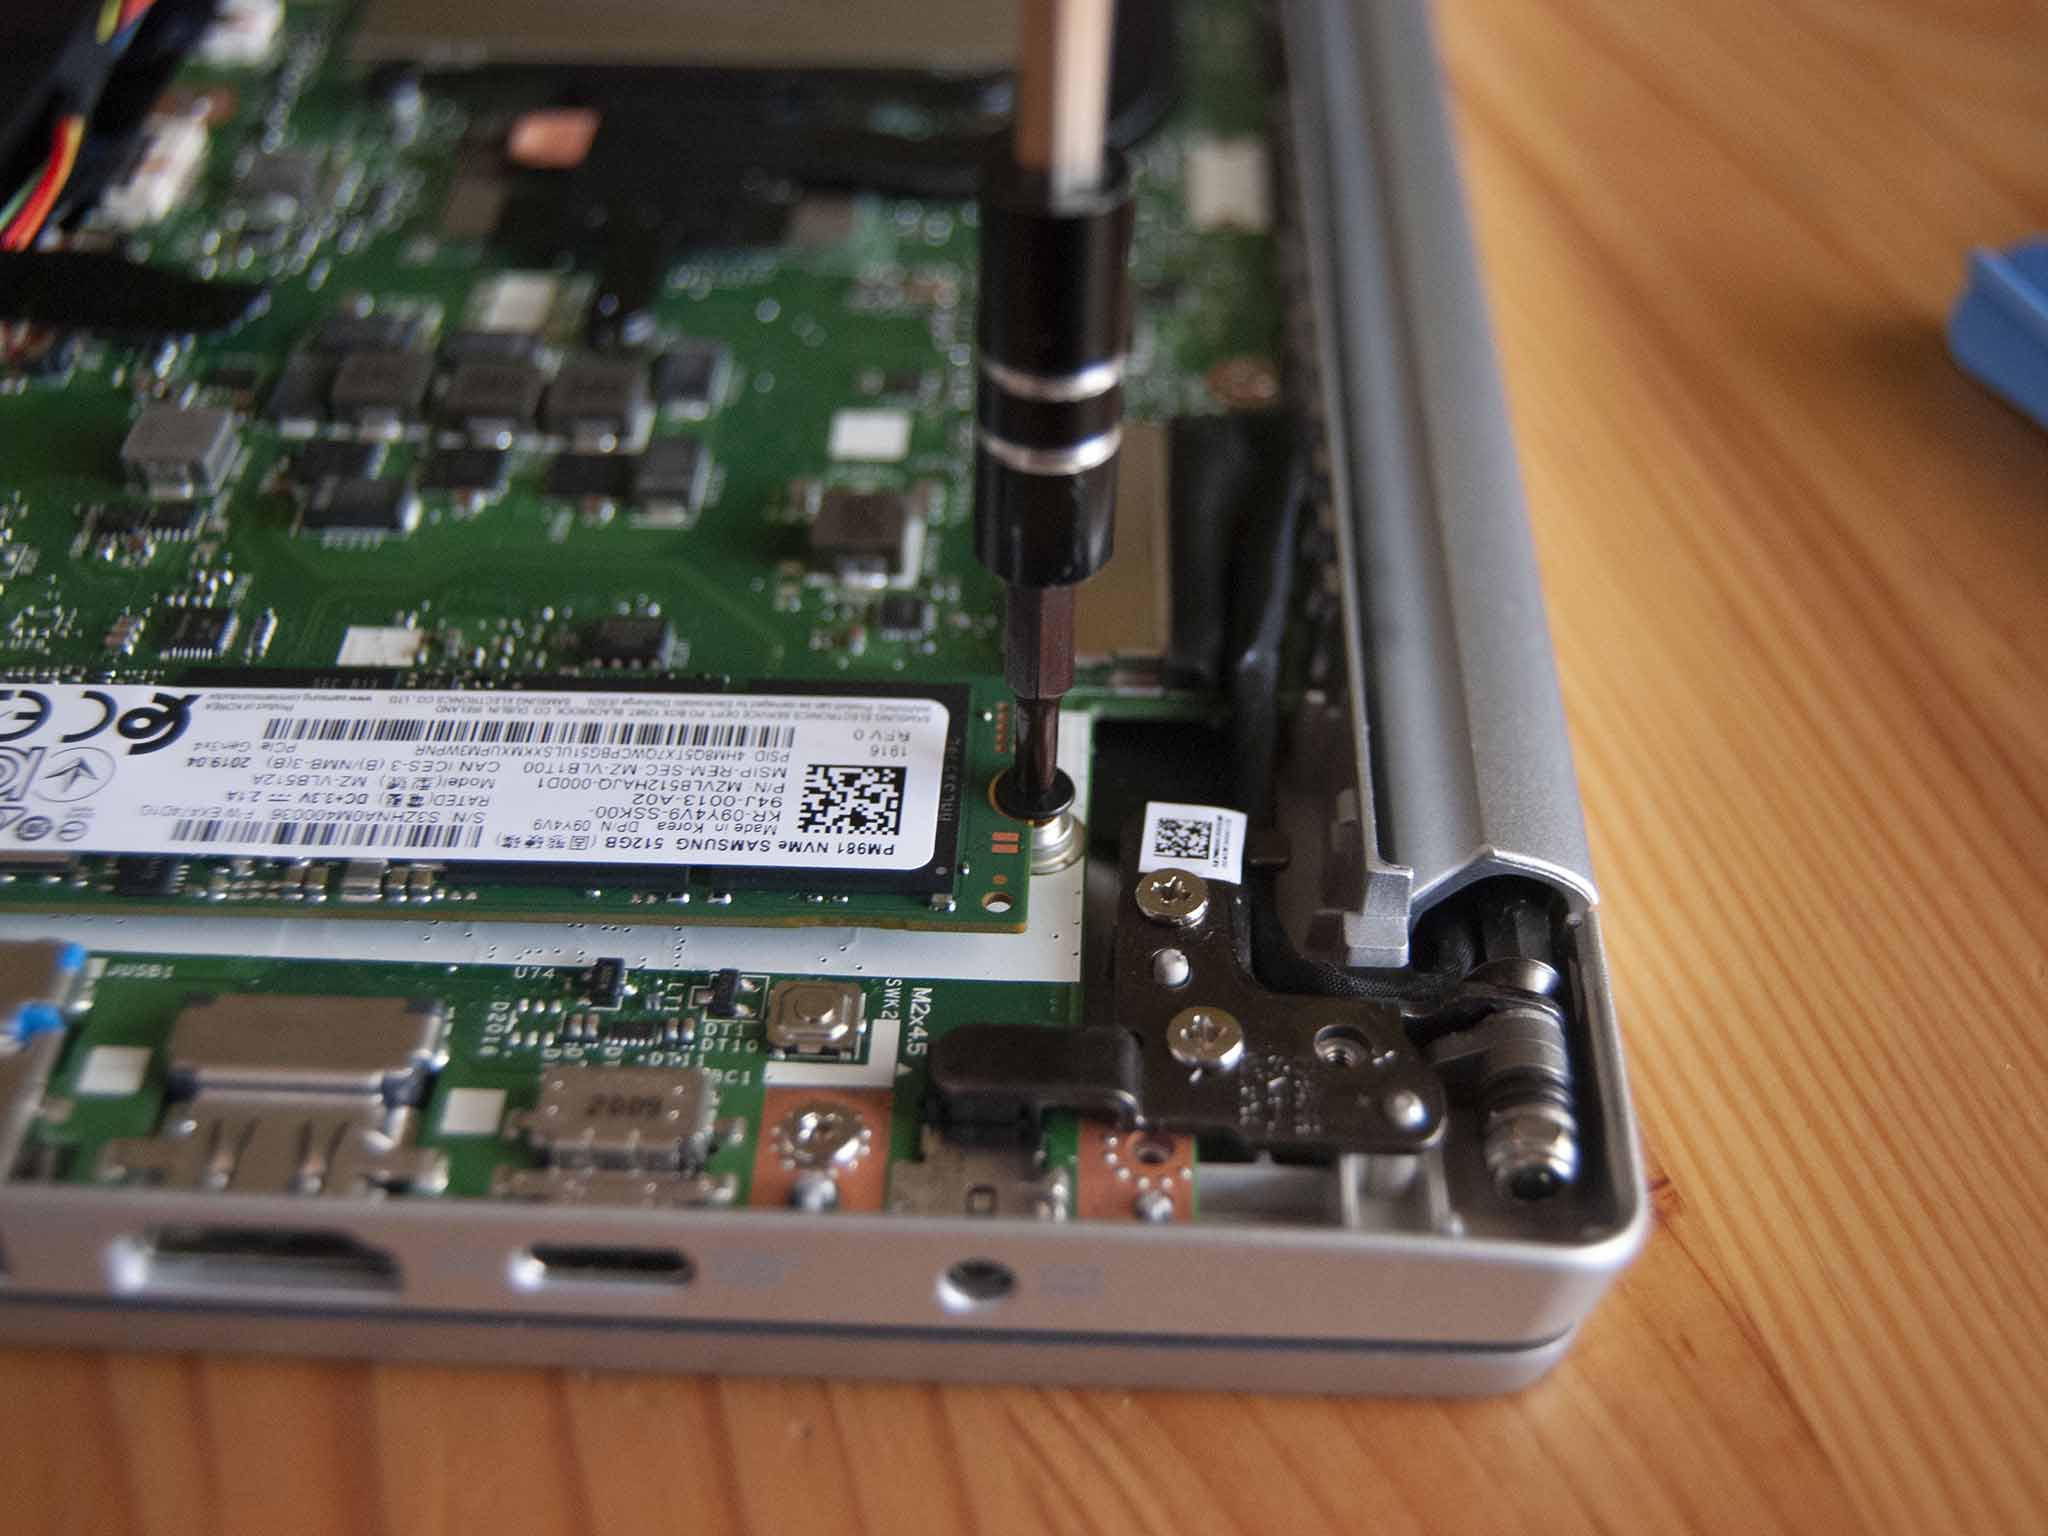
- Unscrew the fastener holding the M.2 SSD in place.

- Pull the factory M.2 SSD away from the slot. Don't lift straight up or you will risk damaging the slot.
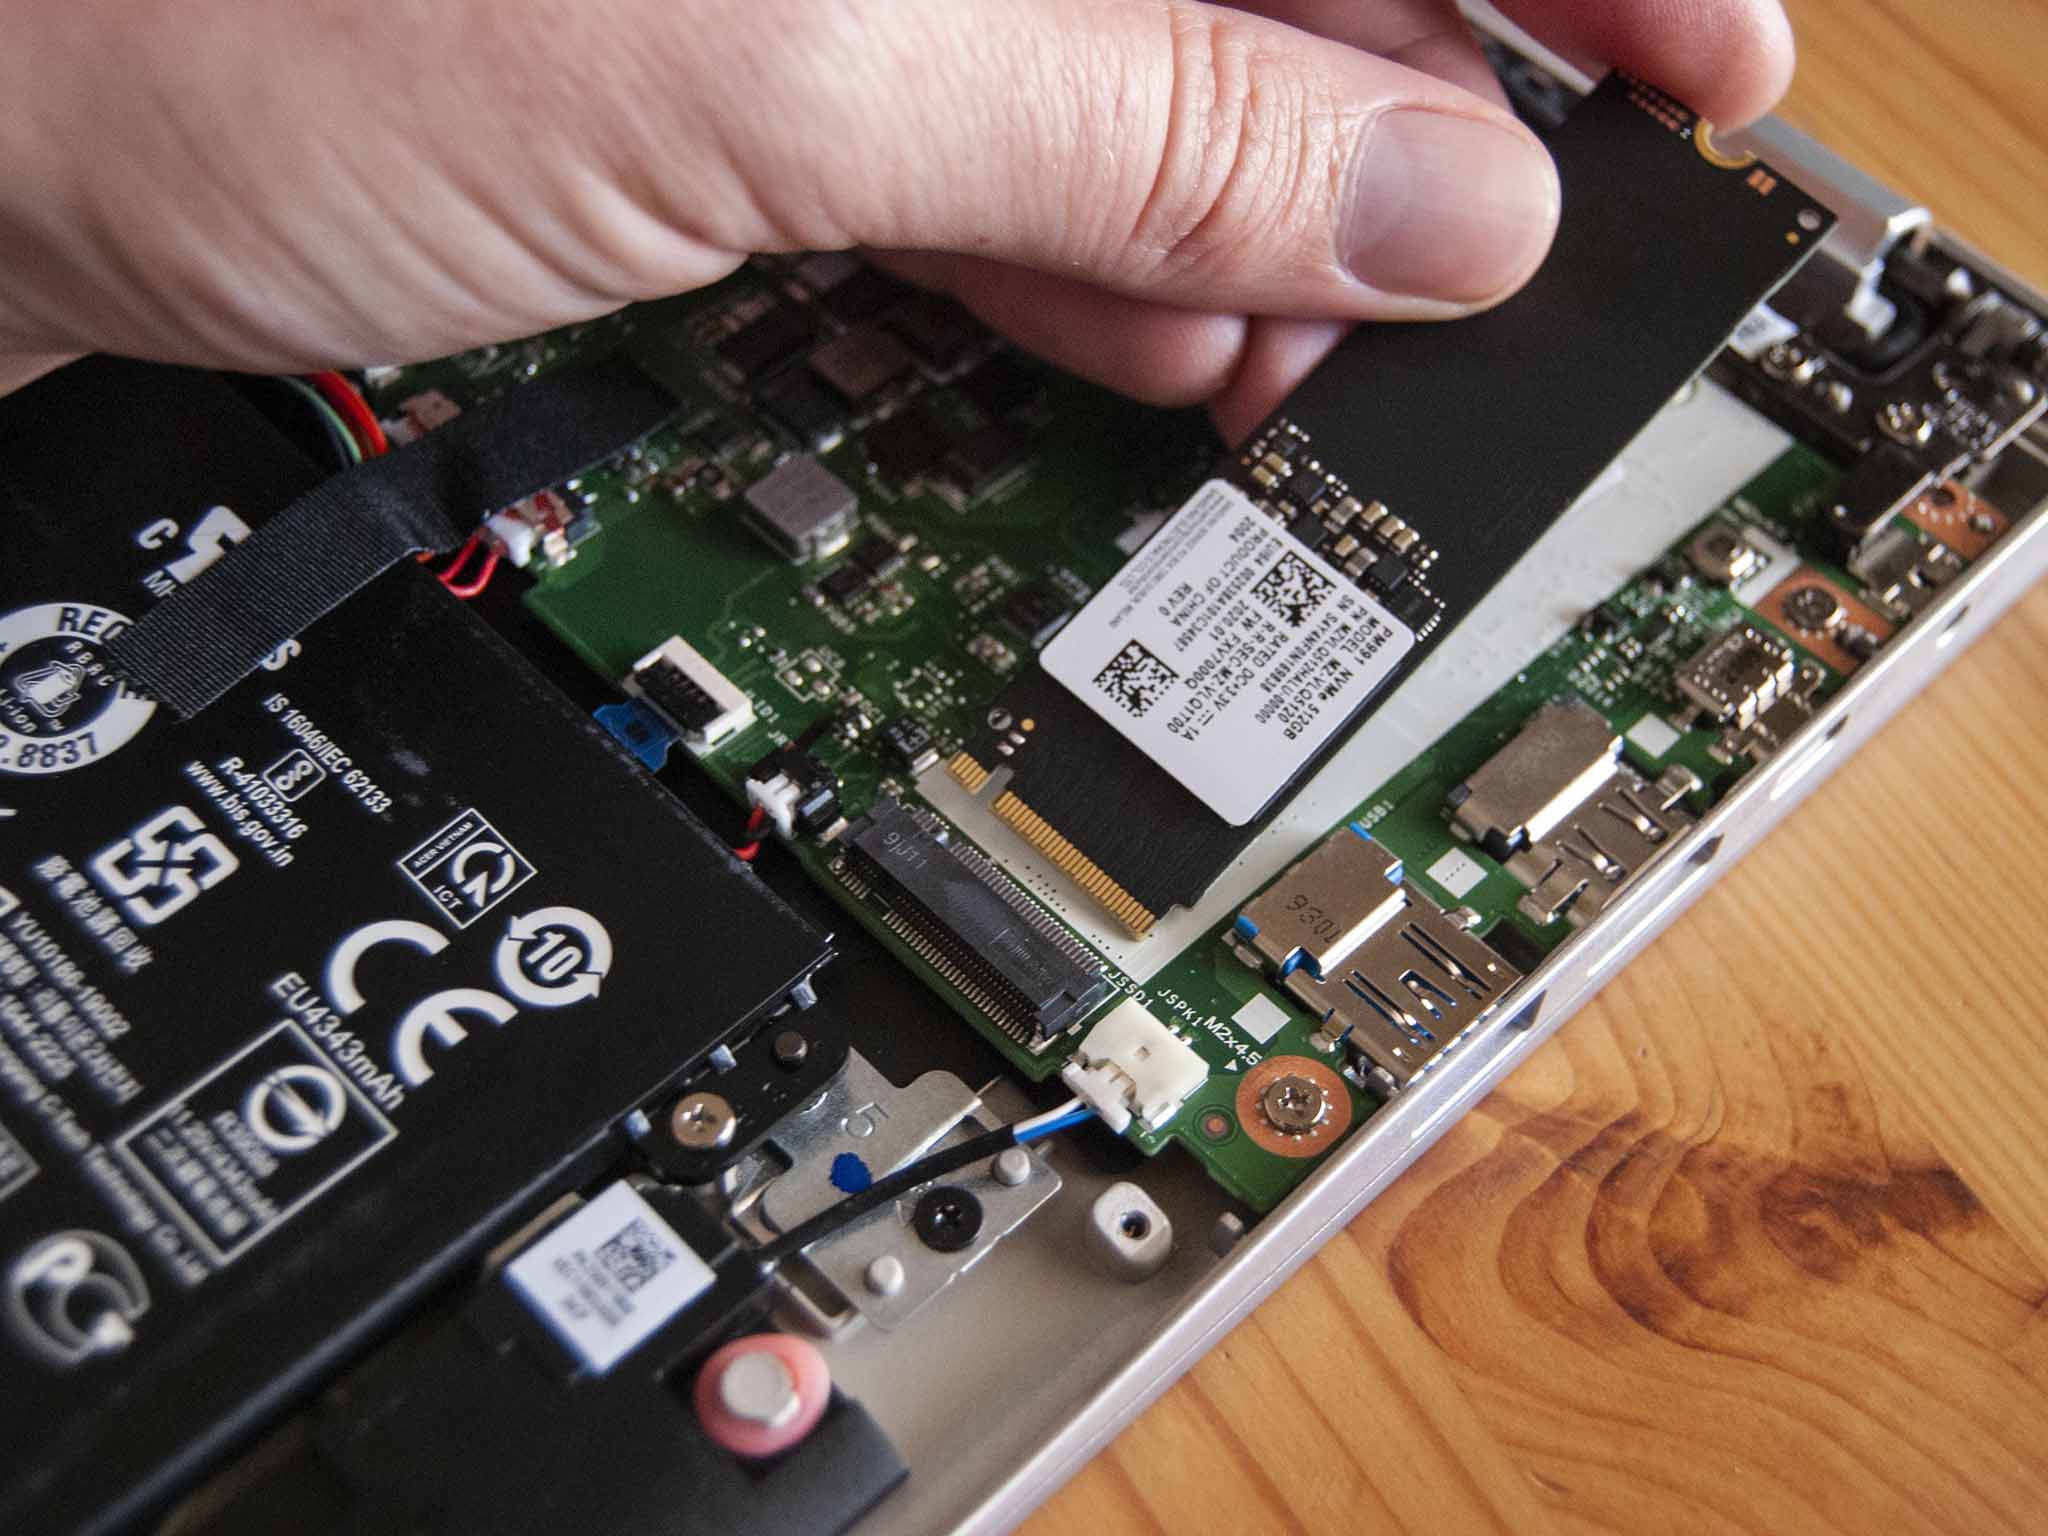
- Insert the new M.2 SSD into the slot at about a 30-degree angle. The drive and slot are both keyed and should only fit in one way.
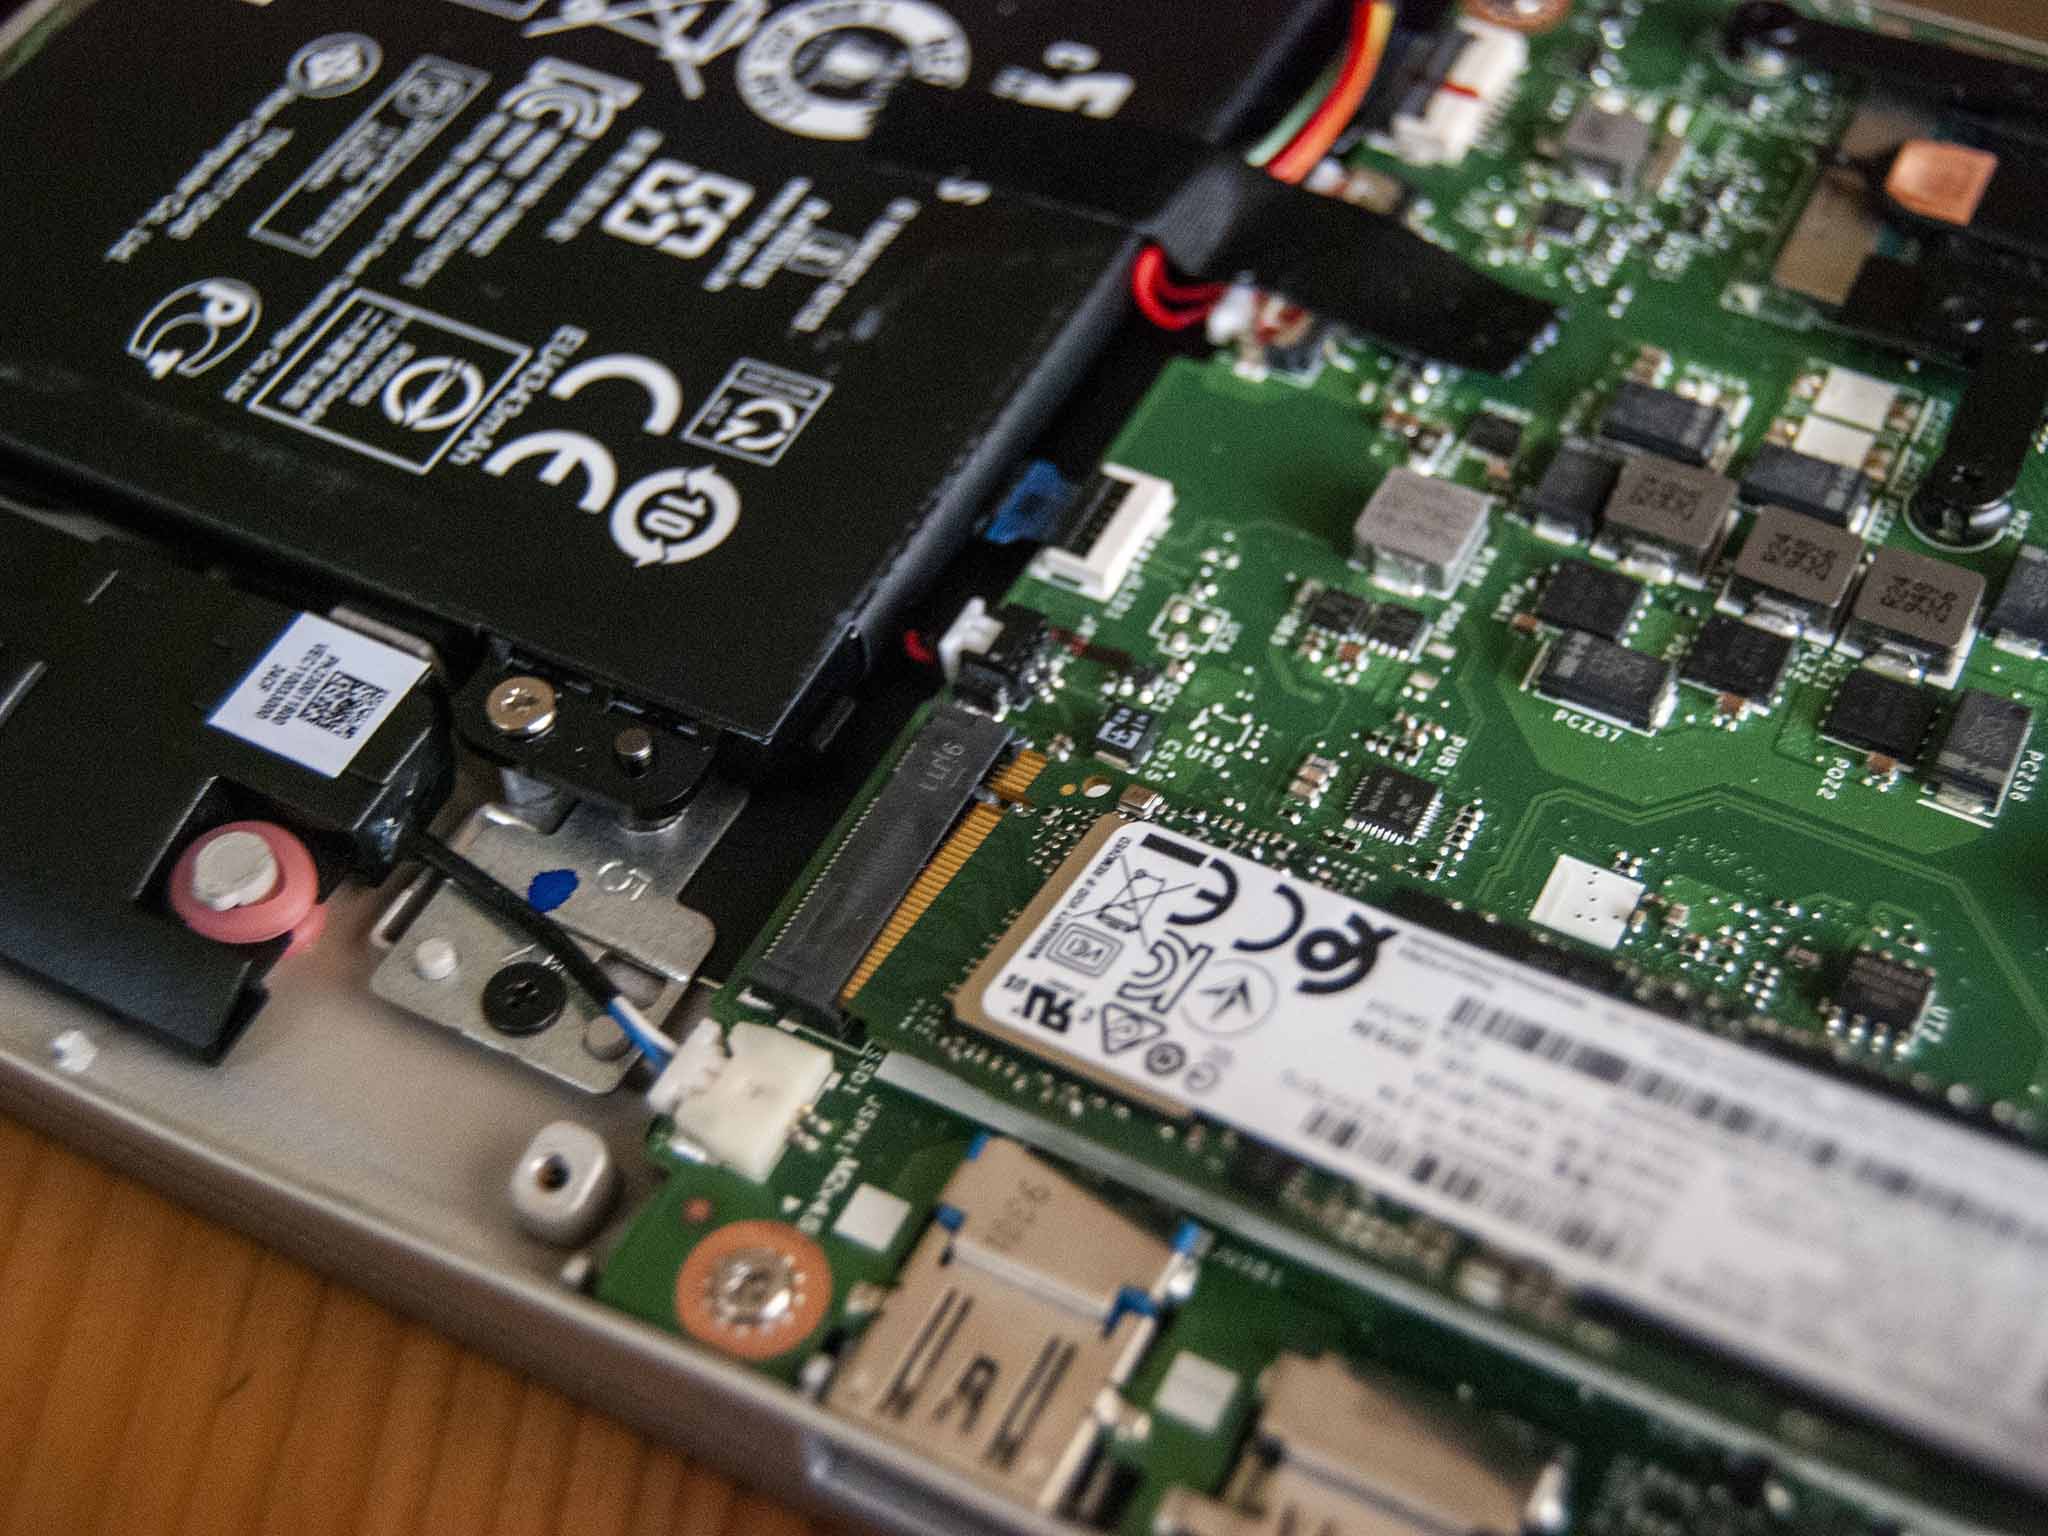
- Screw in the fastener that holds the M.2 SSD in place.
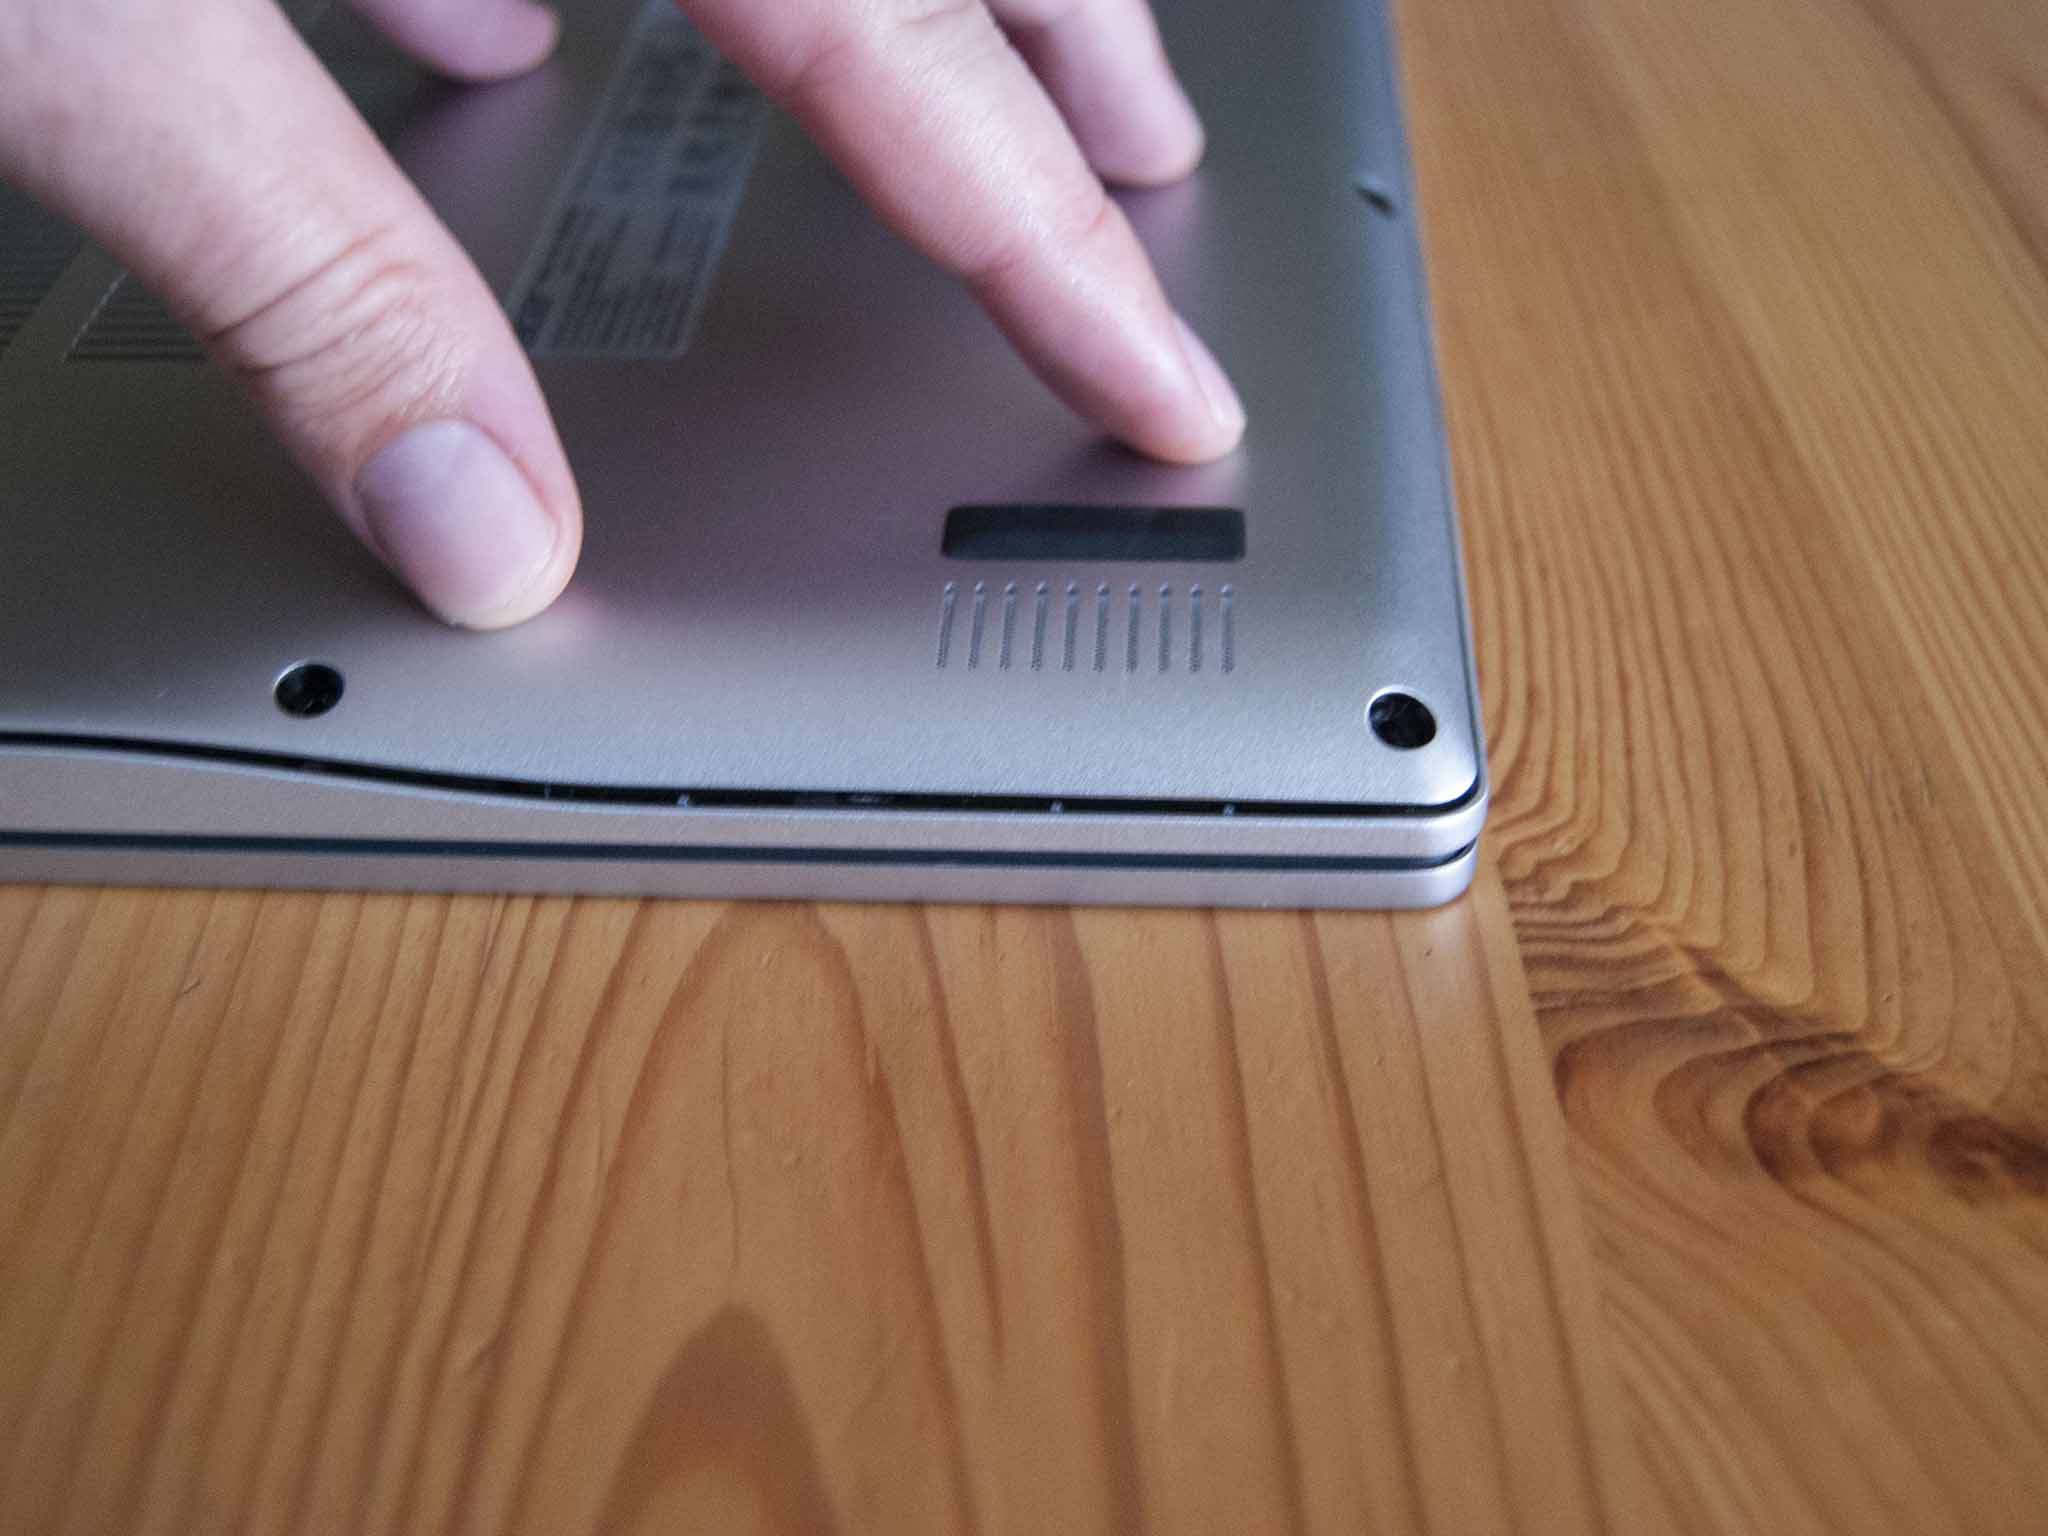
- Replace the bottom panel of the laptop. Apply pressure in one corner and work your way around until it is fully secured.
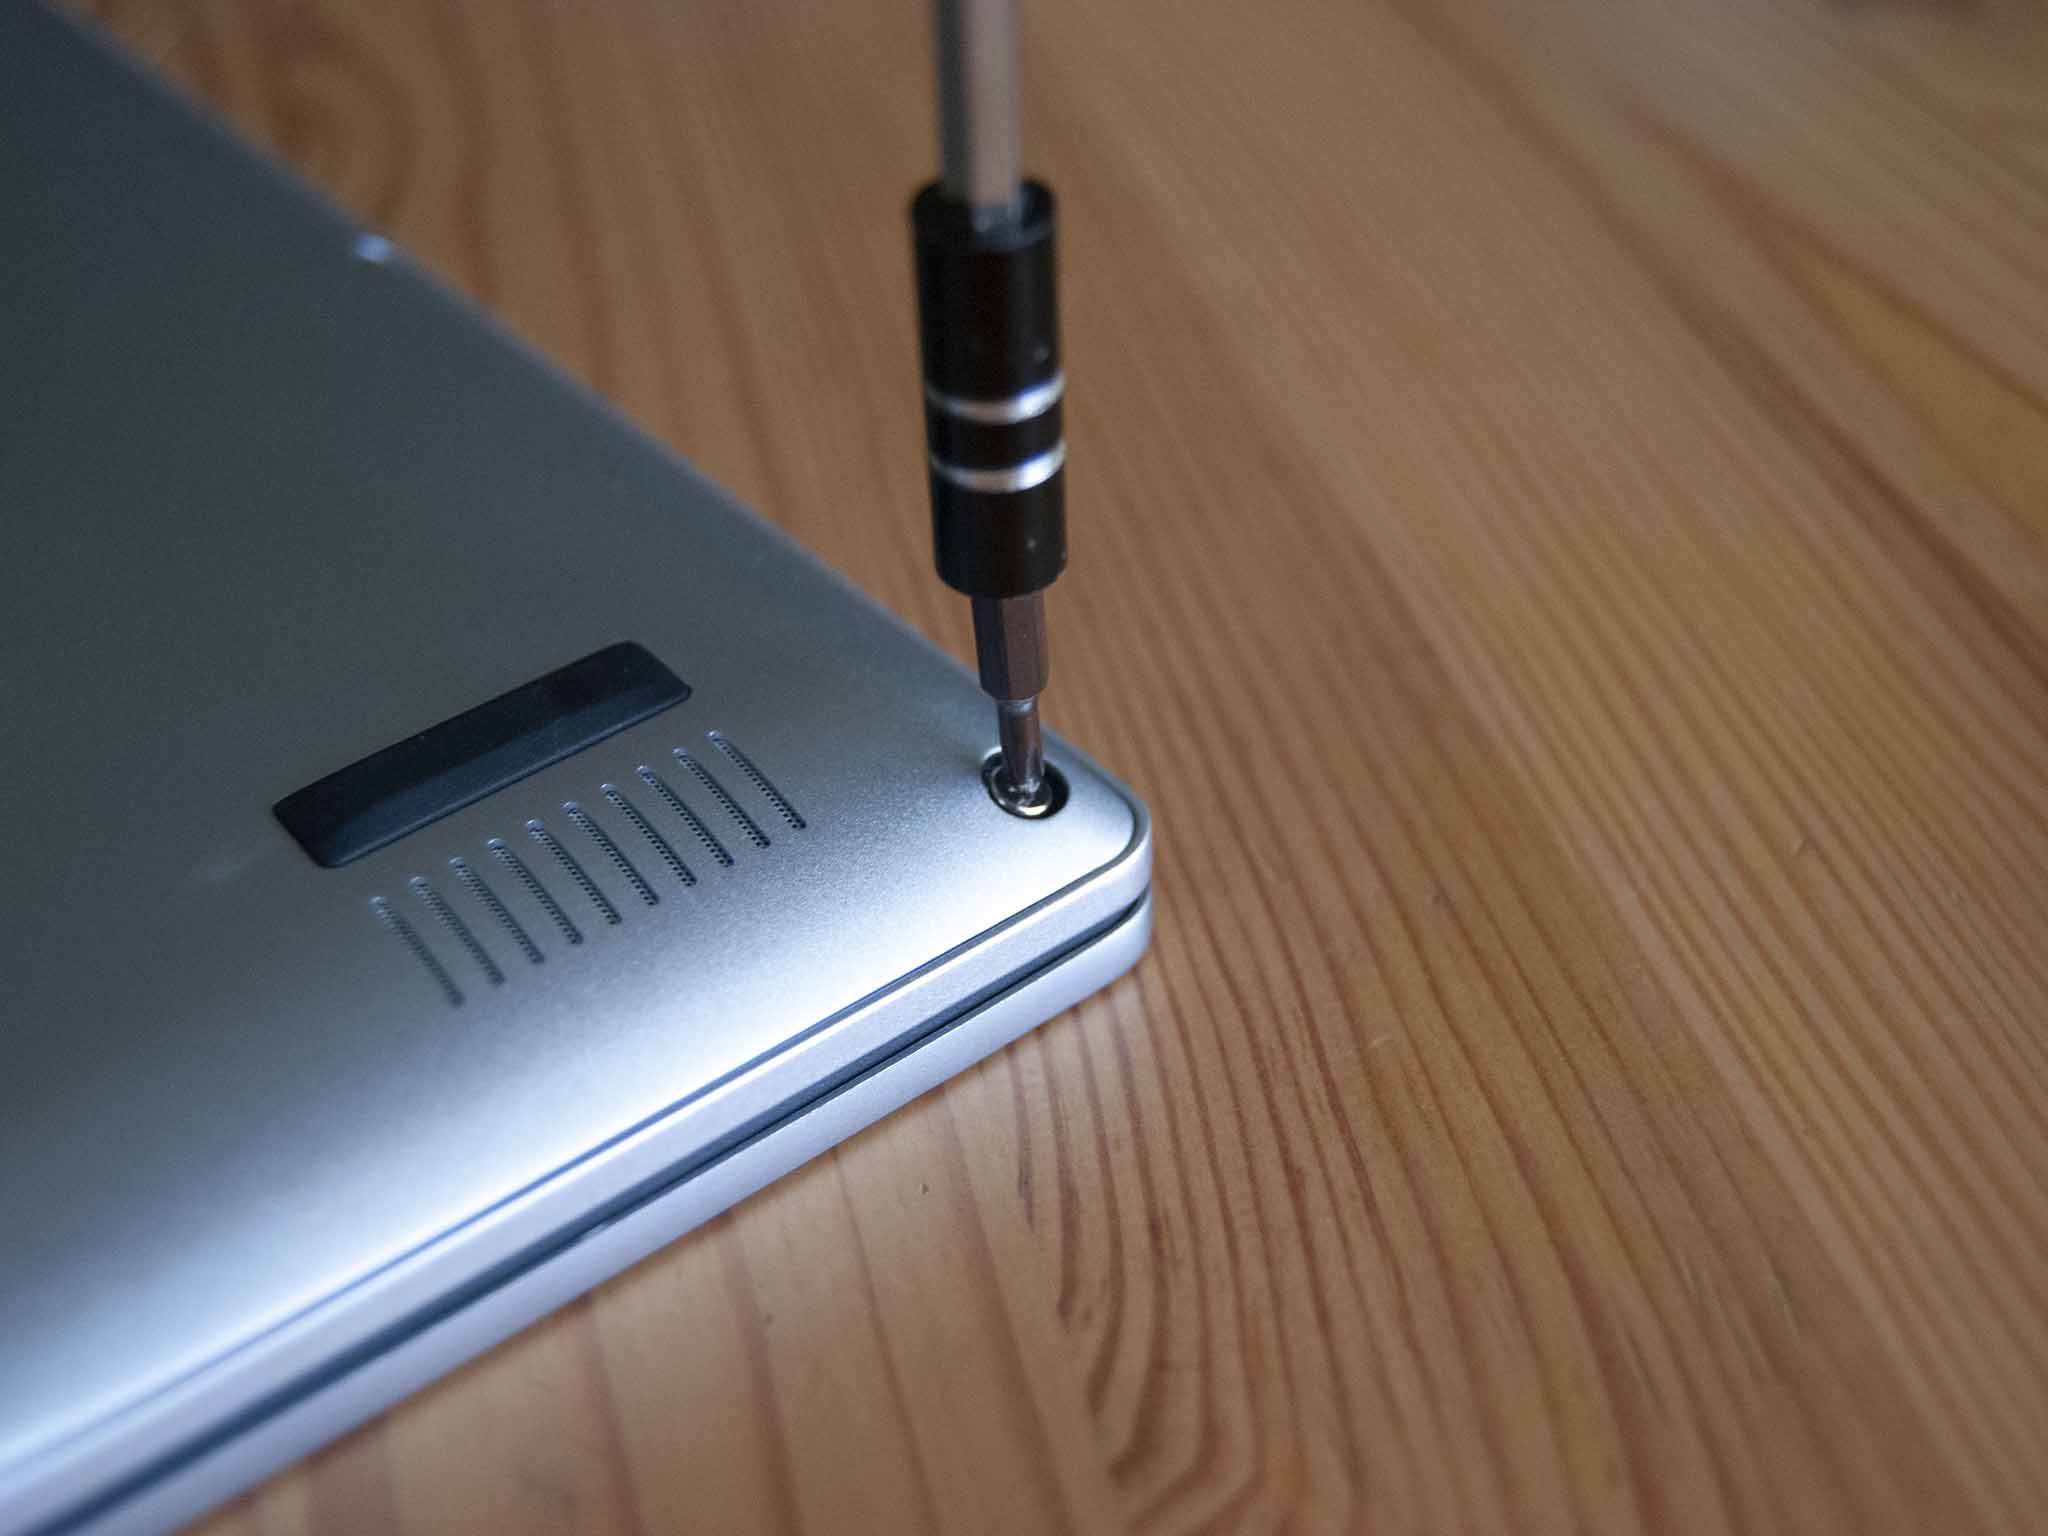
- Screw in the 10 fasteners on the bottom of the laptop.
You can now go ahead with a fresh install of Windows 10 or, if you cloned the drive beforehand, you can boot up the PC to see if the upgrade went according to plan.
Get the Windows Central Newsletter
All the latest news, reviews, and guides for Windows and Xbox diehards.
Our top hardware and software picks
Our top pick for the best SSD for your laptop is Samsung's 970 EVO Plus. It's incredibly fast, it's long-lasting, and it's relatively cheap for the performance you're getting.

Unreal performance up to 1TB in size
Samsung's 970 EVO Plus brings blistering read and write speeds, a competitive price, and a five-year warranty, which altogether is an impressive package. Sizes start at 250GB and go up to 2TB.
Acer's Swift 3 cuts corners when it comes to the display and some people might not like the keyboard, but otherwise it's a solid budget laptop. AMD Ryzen 4000 mobile CPUs push performance well ahead of a lot of the competition, and battery life lasts a full workday.

A lot of laptop for the asking price
If you value performance and battery life over display quality, the Acer Swift 3 should be quite attractive.
Additional Equipment
To make the upgrade process easier and less risky, consider investing in some of these affordable PC tools, and don't forget about Macrium Reflect and an external enclosure for those who want to clone drives.
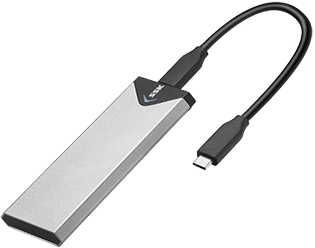
SSK M.2 enclosure ($26 at Amazon)
This affordable aluminum enclosure works with M.2 PCIe NVMe SSDs like the Samsung 970 EVO Plus for cloning. Connect to the Swift 3 with USB-C.
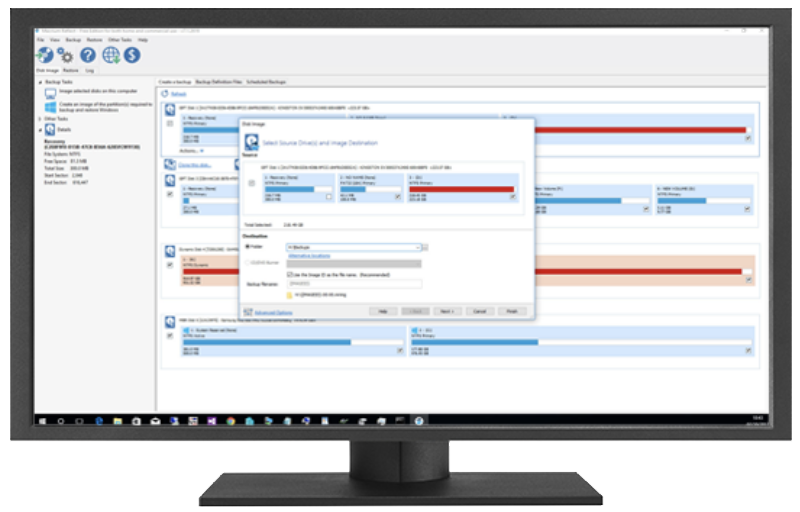
Macrium Reflect 7 (Free at Macrium)
We've had success cloning drives with Macrium Reflect 7, and have even written a complete guide on how to use it properly. A free edition is available, but you can purchase a full edition with a bunch more features for those who truly take backups seriously.
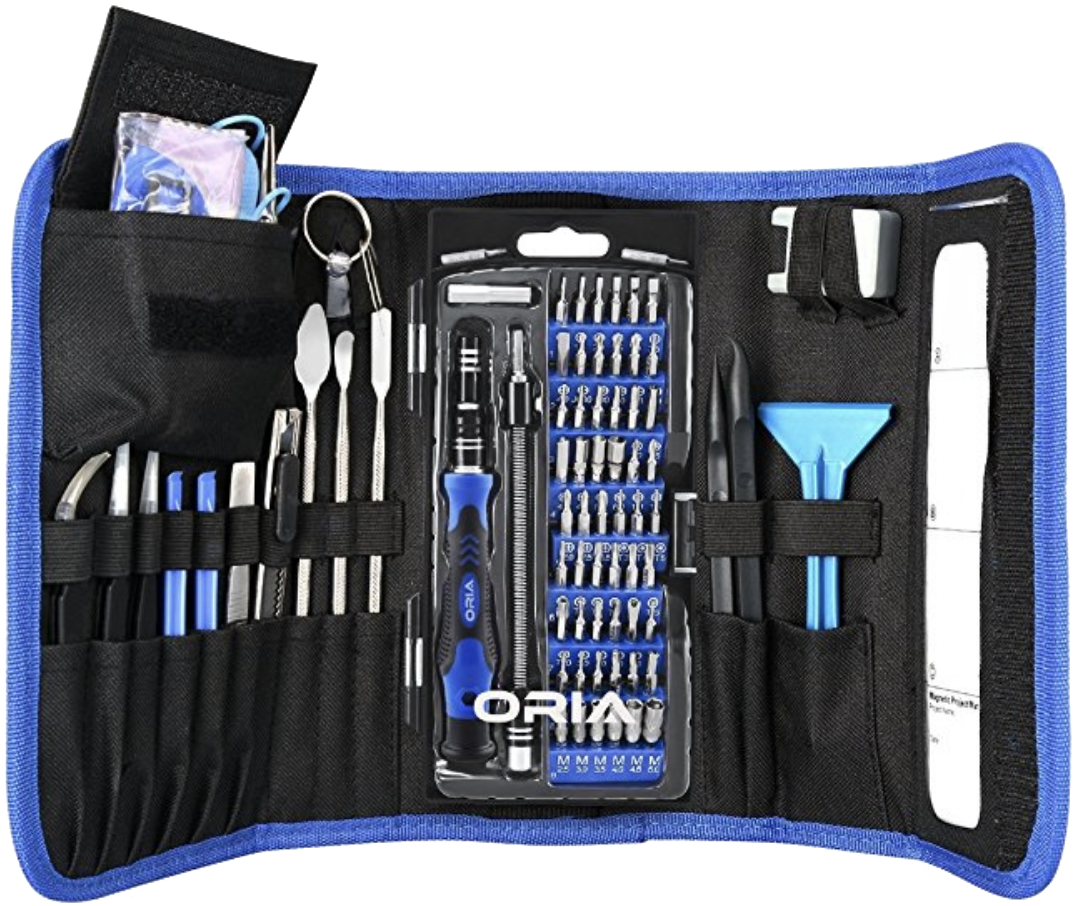
ORIA PC toolkit ($35 at Amazon)
Having the proper gear to work on your PC will always make the job much easier. Here you get a plethora of tools contained in a portable case.
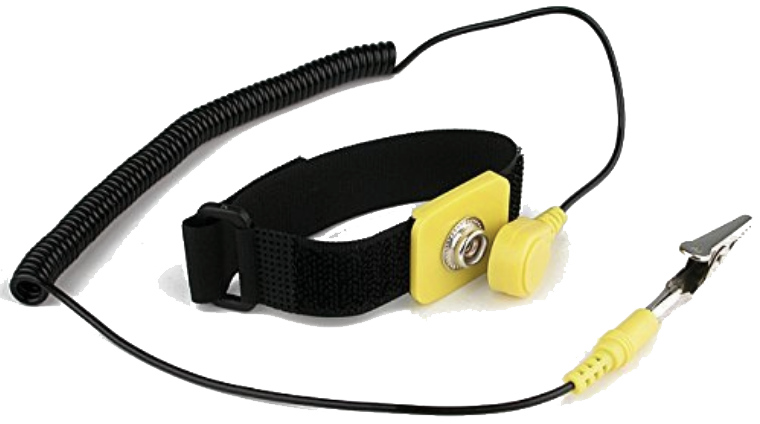
Rosewill anti-static wristband ($7 at Amazon)
Static electricity can damage sensitive PC parts, so remove the risk with an anti-static wristband. Fasten it around your wrist and clip it onto your PC for peace of mind.

Cale Hunt brings to Windows Central more than eight years of experience writing about laptops, PCs, accessories, games, and beyond. If it runs Windows or in some way complements the hardware, there’s a good chance he knows about it, has written about it, or is already busy testing it.
