How to sideload apps onto the XREAL Beam
The original XREAL Beam is extremely limited in native functionality, but you can sideload apps to try out if you wish.

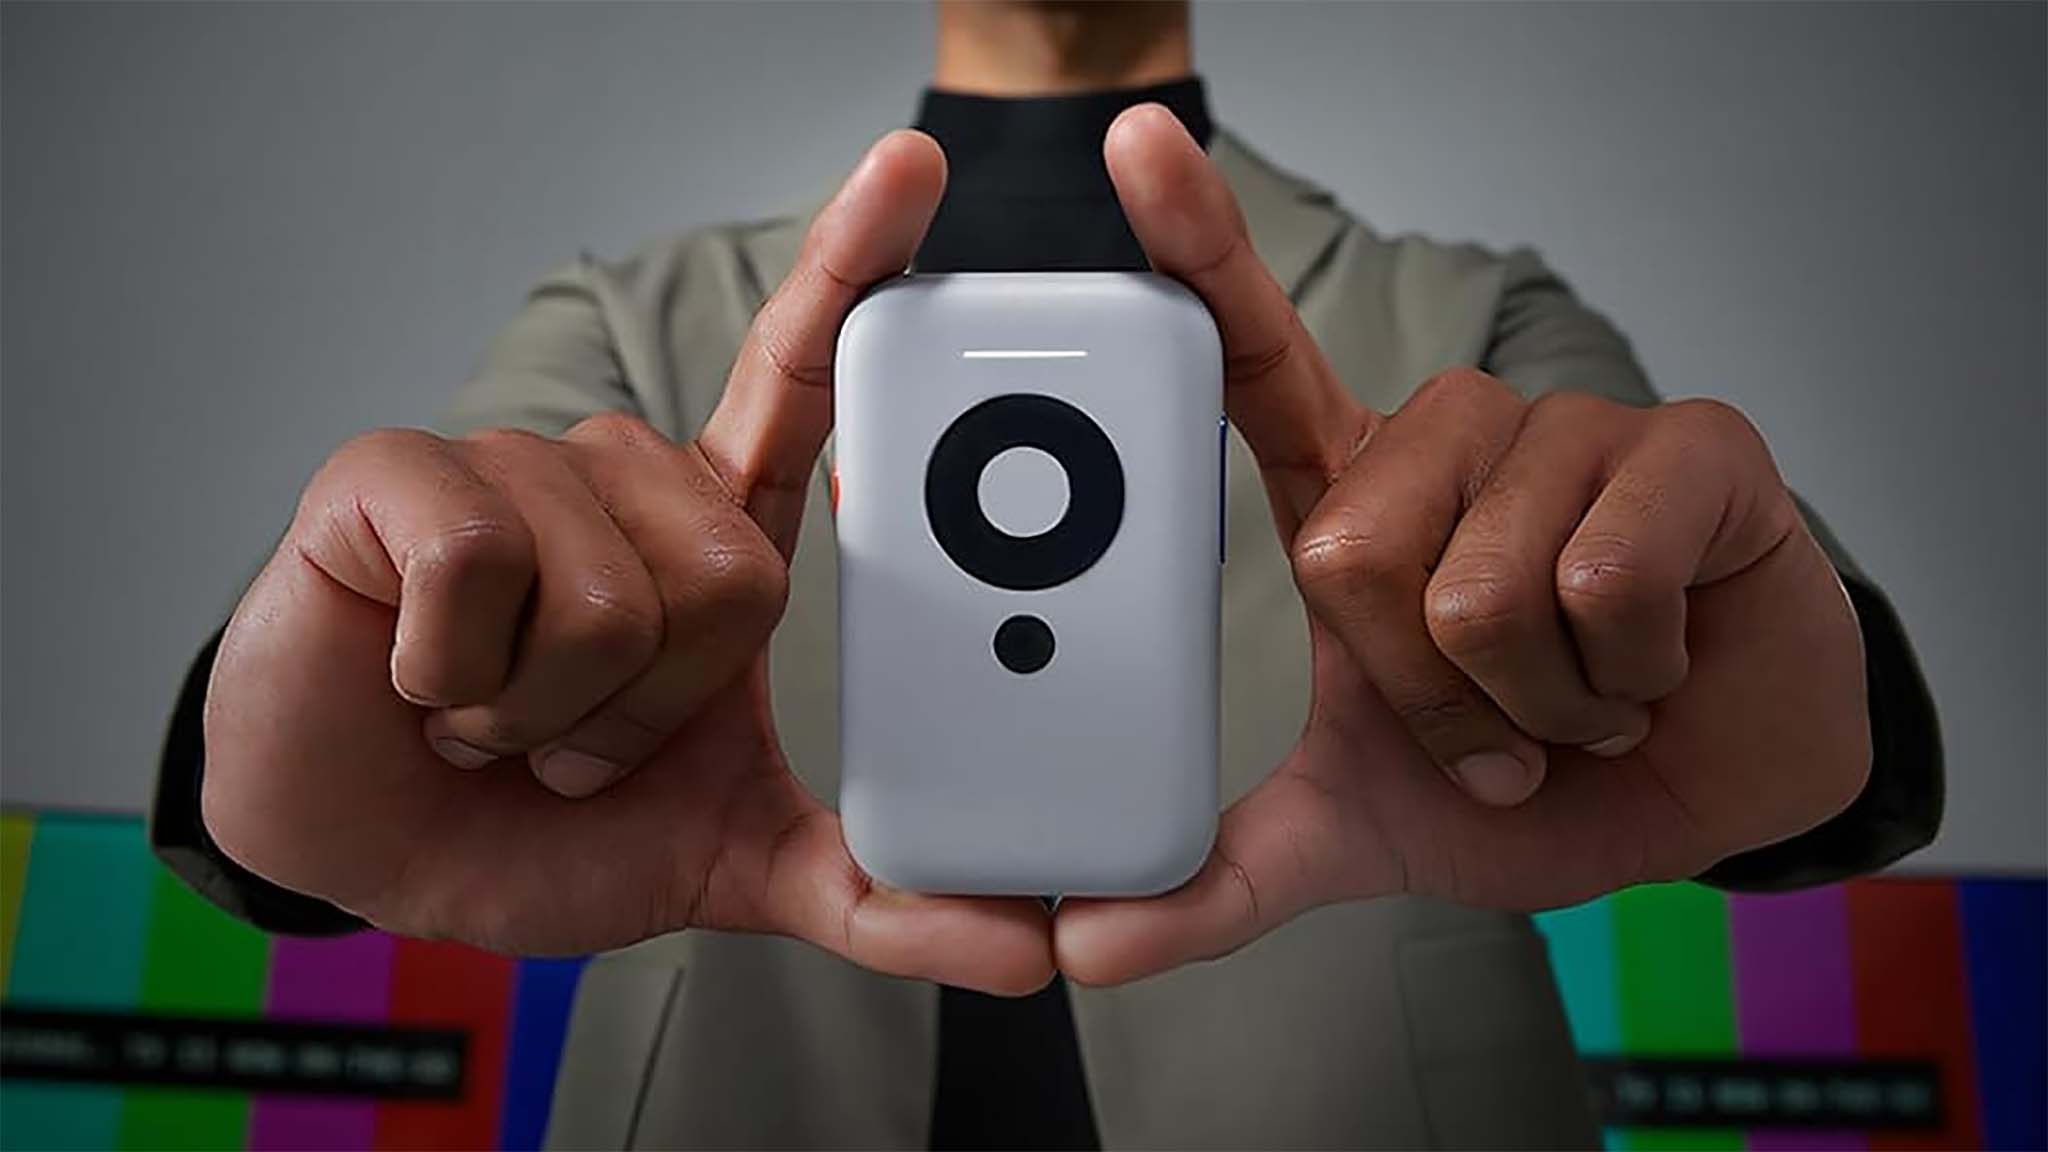
The original XREAL Beam (not the newer Beam Pro with its display and far wider reach for application support) is a useful, if frustratingly limited companion to the company's glasses. If your primary use of something like the XREAL Air 2 Pro glasses is with a PC or a gaming handheld like the ROG Ally, you probably don't need one.
But if you want to use your glasses as your own private cinema, it's useful to have. By using the Beam, you don't need to rely on your smartphone or laptop to deliver the latest hot Netflix show, instead you can push it from the pocket-sized Beam straight to your eyeballs.
But there aren't many apps on it. While Netflix, Prime Video, and VLC are all available, that's about your fill. Fortunately, though, the Beam is based on Android, and that means you can try a bunch of other apps on it, so long as you can sideload them on. That process is actually easier than you might think.
Here's what you need to do.
One caveat before you begin
The issue with sideloading Android apps is that you aren't getting them from an official source, and as such you should always tread with caution. Sites like APK Mirror have a good reputation, but it's wise to always take care.
How to sideload Android apps onto the XREAL Beam

All you need to try other apps on your XREAL Beam are the apk file, a USB-C cable, and a PC (or a Mac or Chromebook if that's what you prefer).
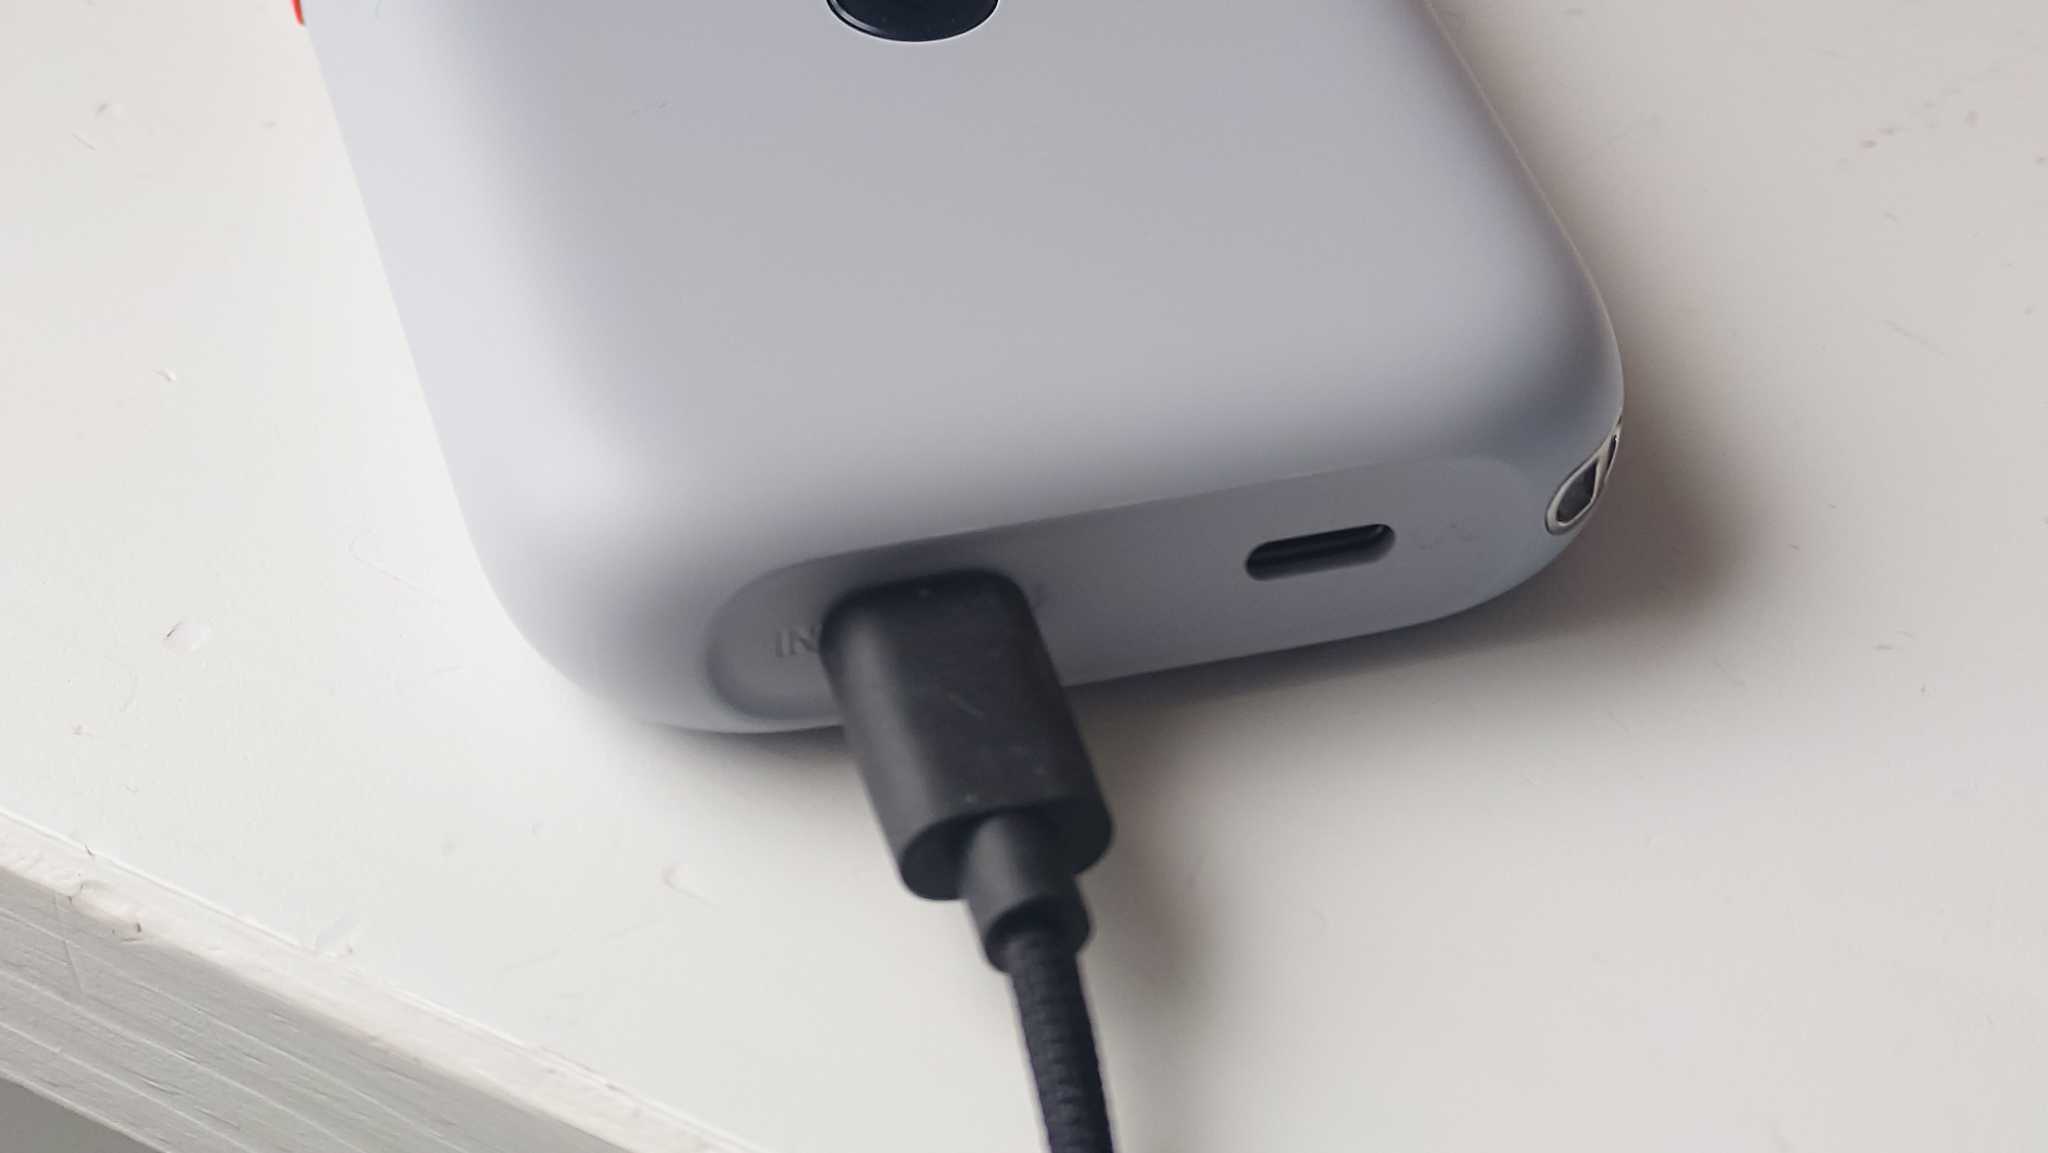
Keep the apk somewhere easy to find, and attach one end of your USB cable to your PC. Attach the other end to the in port on the XREAL Beam. It should turn on automatically, but if not, hold down the power button on the top.
Get the Windows Central Newsletter
All the latest news, reviews, and guides for Windows and Xbox diehards.
When it has fired up, your PC should recognize it as a removable drive, just the same as if you'd plugged in a USB stick.

All you need to do now is to copy the apk file from your PC to a directory on the XREAL Beam. To make everything easy to find, I use the Downloads folder on the Beam.
Once the copy has completed, you can detach your Beam from your PC. Now you'll need to connect your glasses to the Beam to complete the next step.
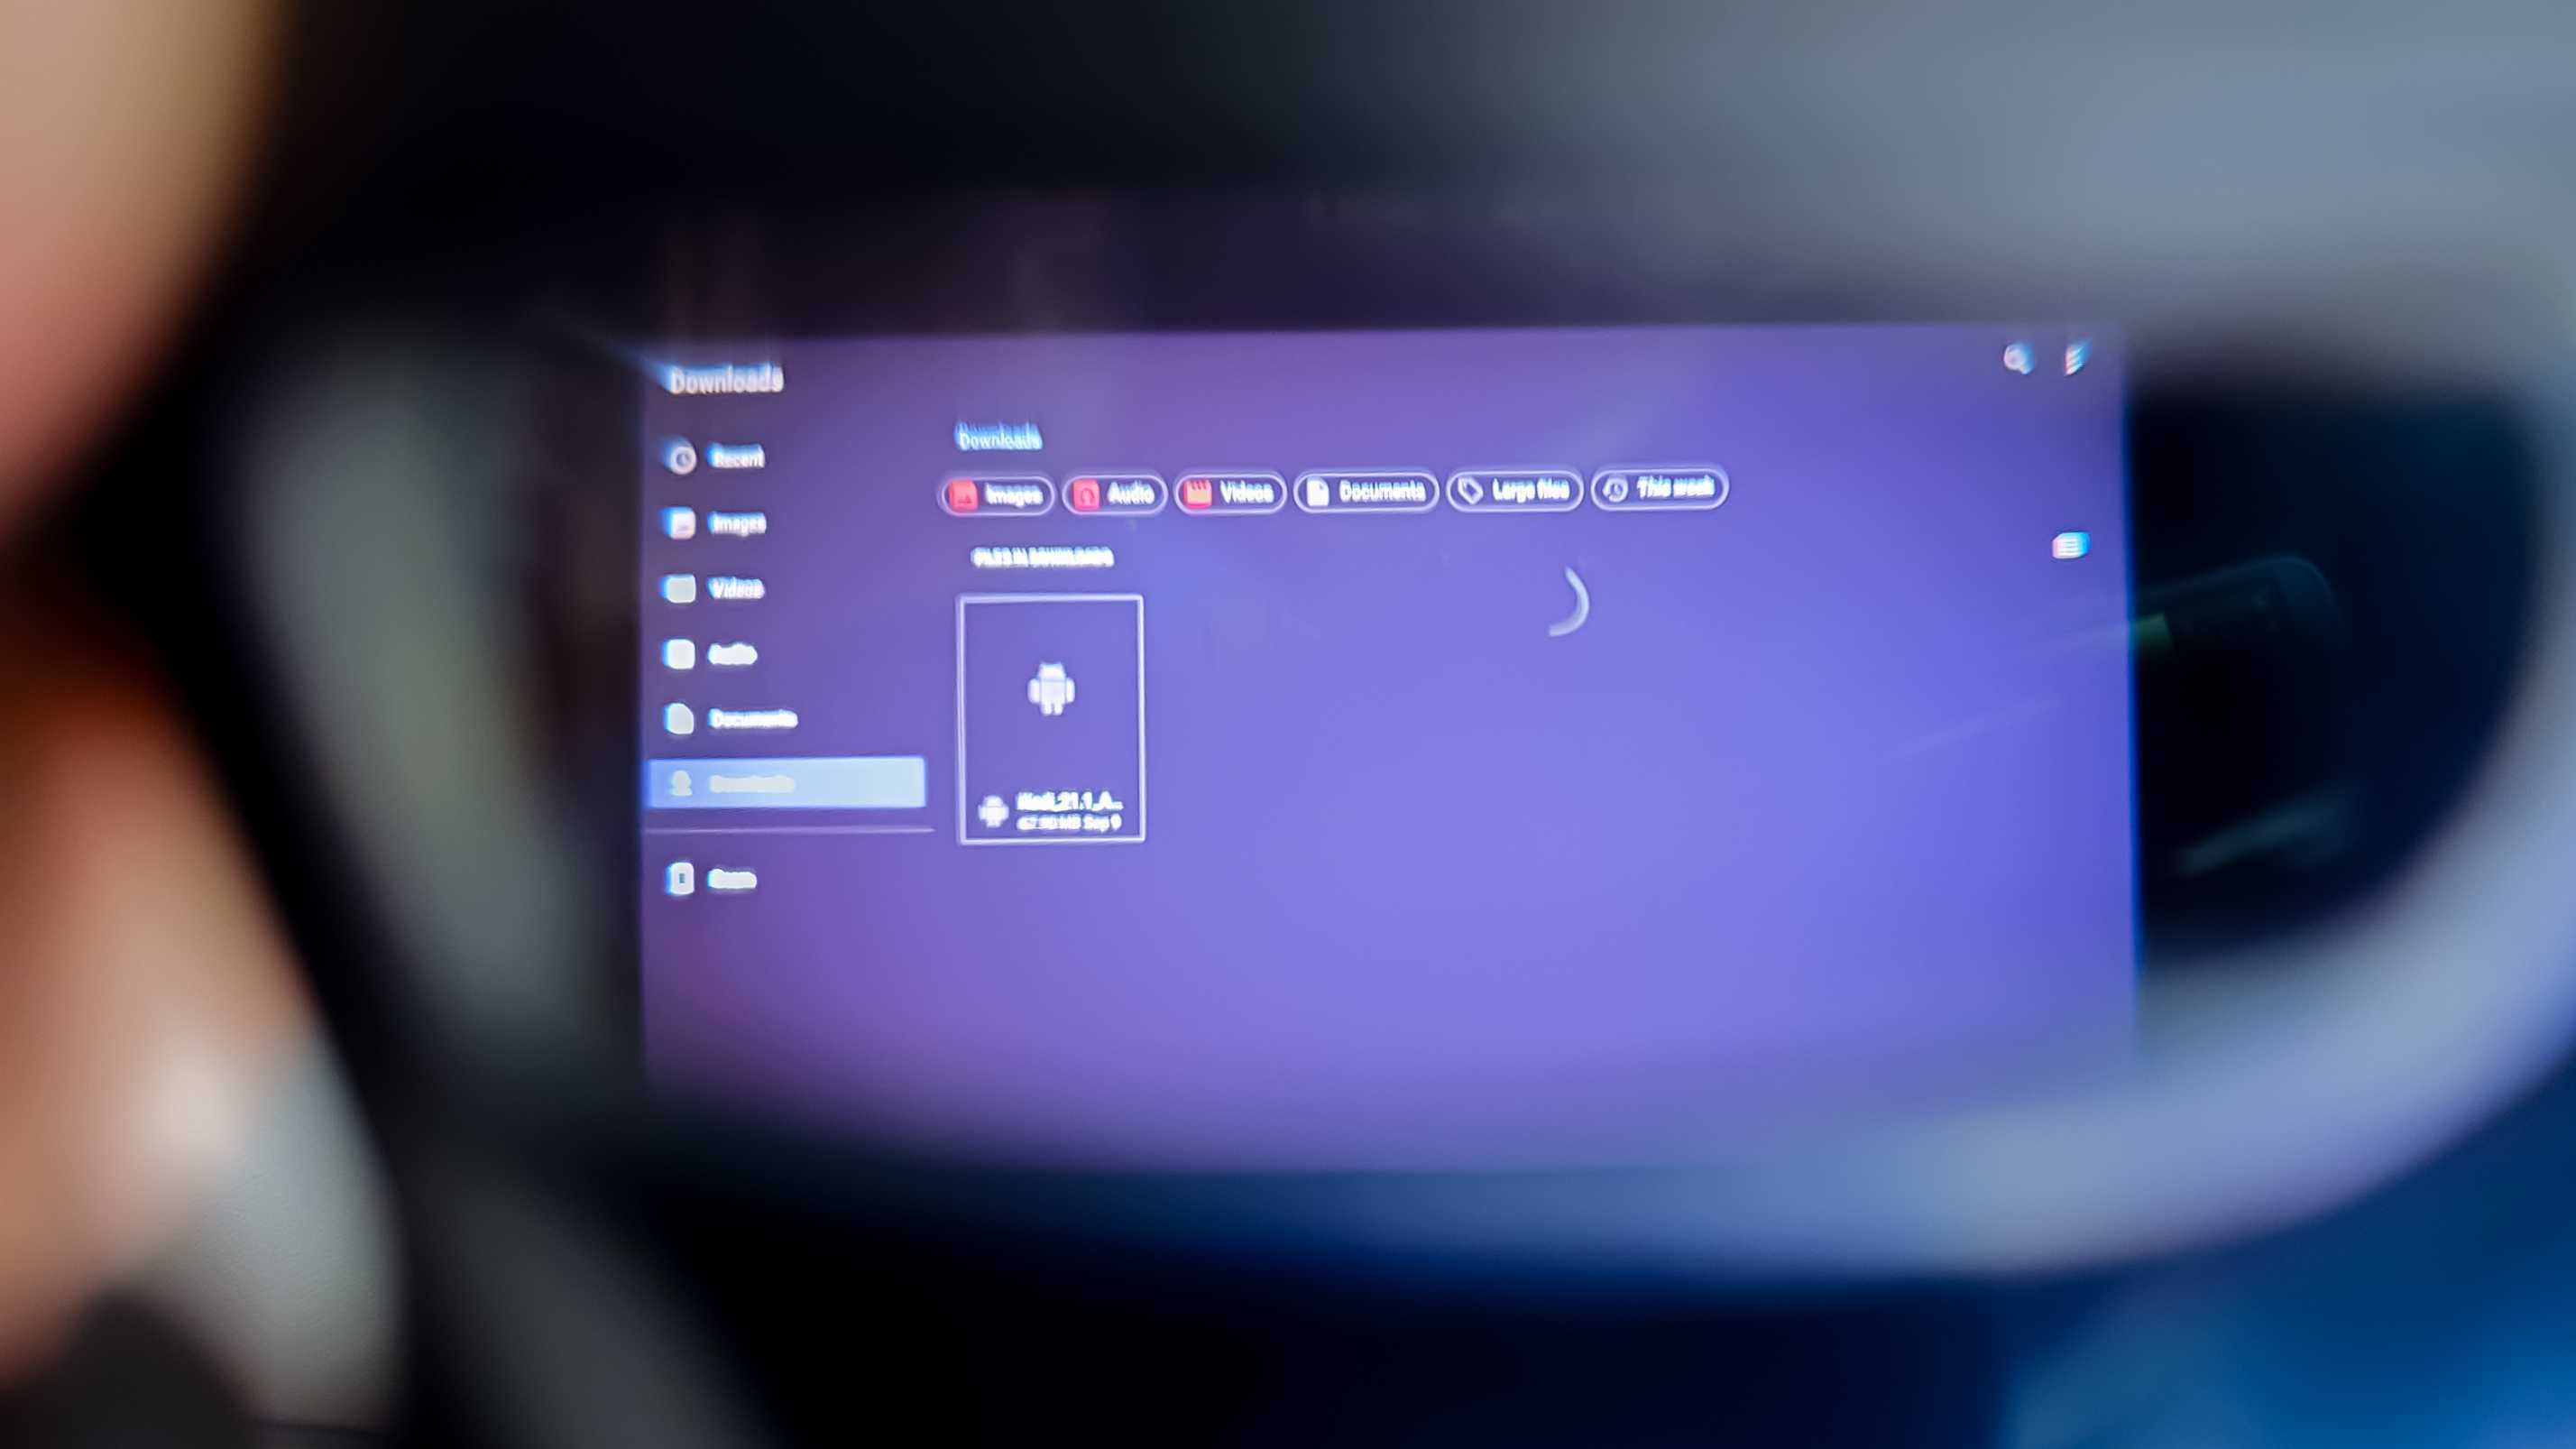
Open up the Files app on the Beam and locate the apk you just copied. Open it up, and it'll run through a standard Android installation process, and when it's done, you'll be able to run it on your Beam and view it through your glasses.
There are some ways you can install apps inside the Beam, such as the community created Beam Apps (though I've had limited success with this personally), which is essentially an app store you can use through the Beam. But regardless of this, you'll still need to follow this whole process first to sideload it onto the Beam.
Adds functionality, but the Beam Pro is far better

If you already have a Beam, this is a useful way to expand its extremely limited stock functionality. If you don't yet have one, the Beam Pro is a far smarter investment. The cheapest model is $80 more, which isn't insignificant, but it's far more capable.
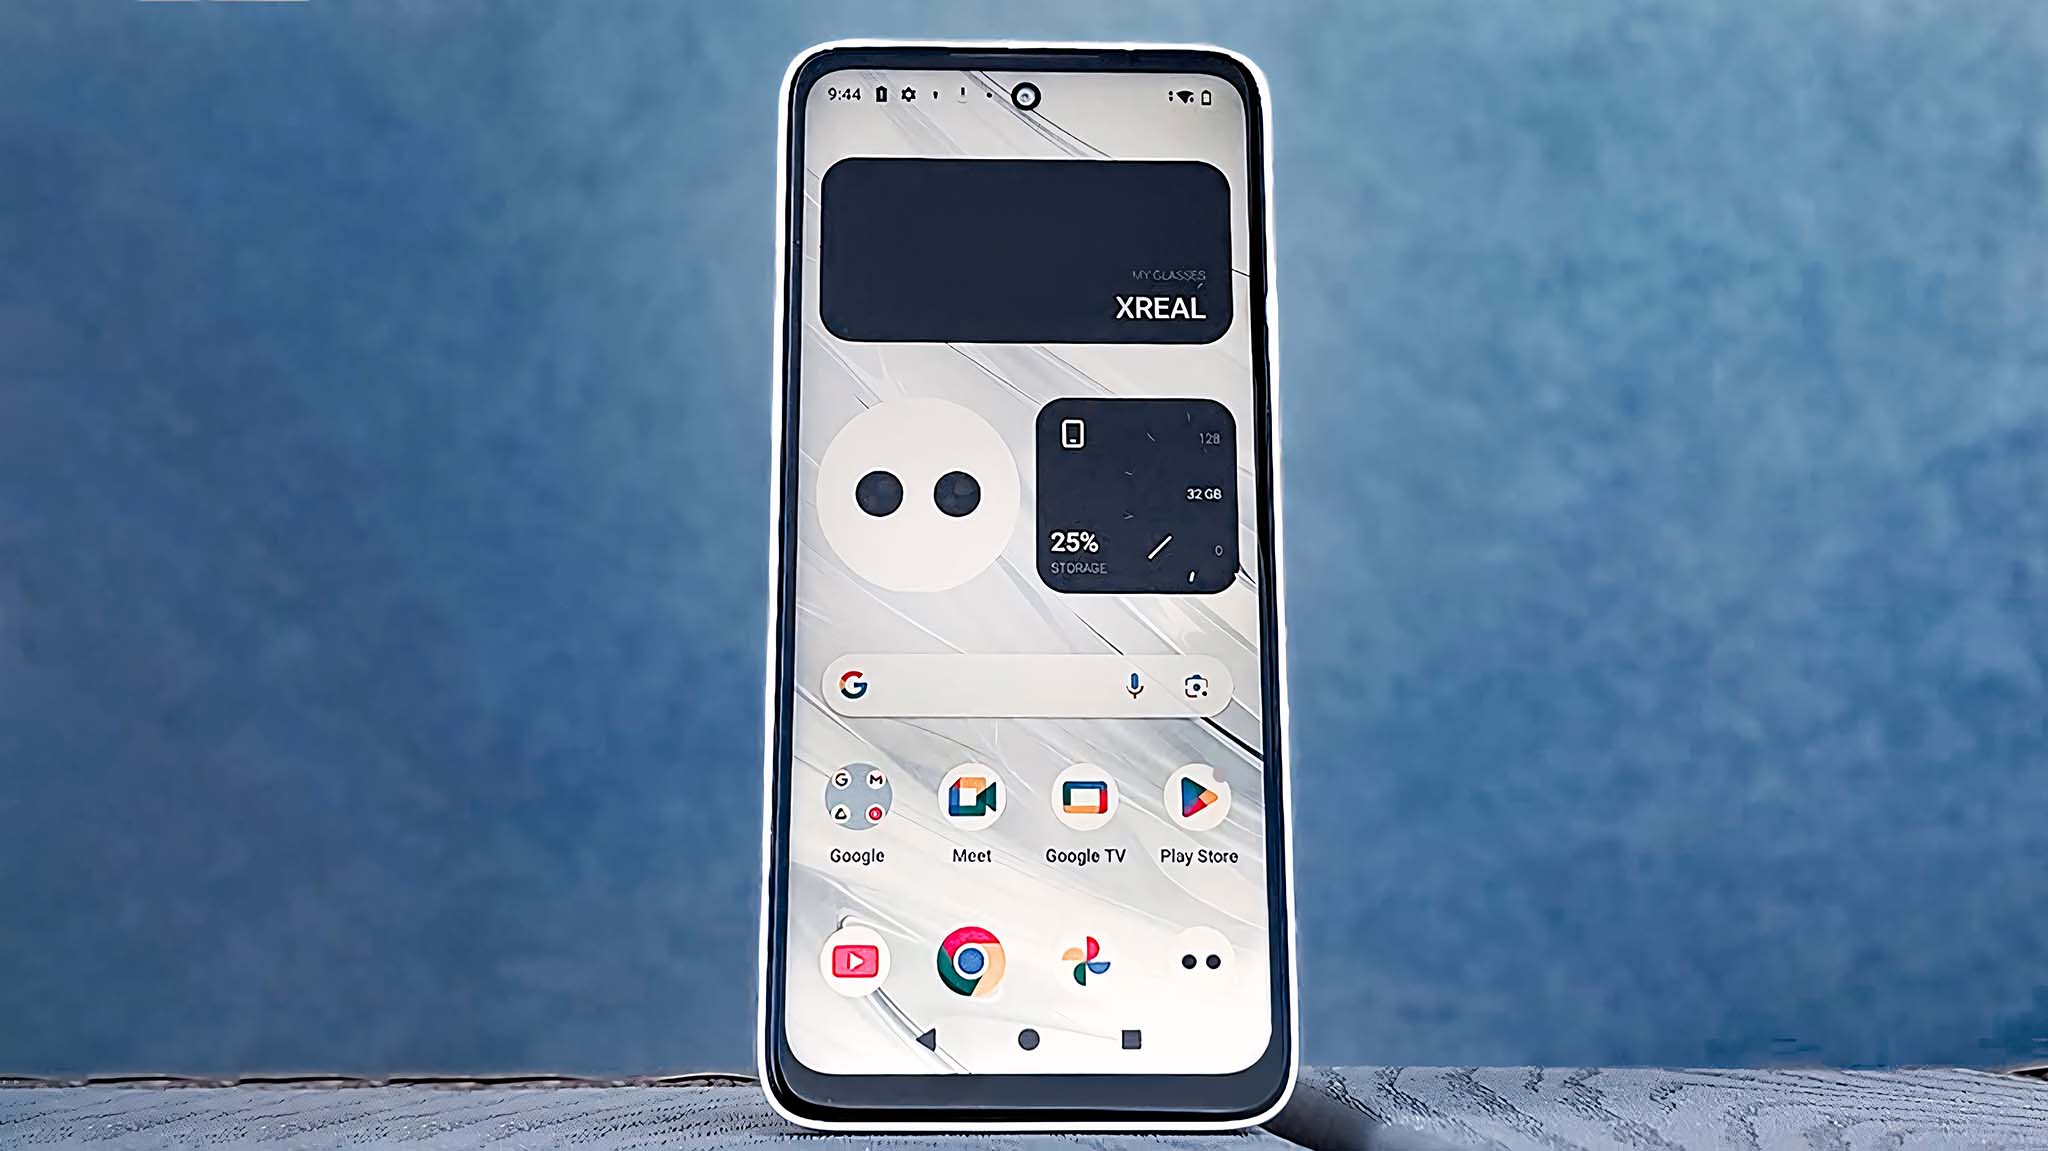
Looking like an Android phone aside, its biggest bonus is that it has access to the Google Play Store, which is a much easier, and safer way to get more apps to use in your XREAL glasses. Updates will be easier to install, and you can also benefit from features like Google account integration.
For example, when I log in to Netflix and Disney+ on an Android device, they're already linked to my Google Account, so it's seamless. On the OG Beam, I have to enter a very long password manually using the air cursor inside the glasses. And that isn't fun. But if your main needs are fairly limited, and you primarily use Netflix and/or Prime Video, the cheaper Beam can still be a good investment.

Richard Devine is a Managing Editor at Windows Central with over a decade of experience. A former Project Manager and long-term tech addict, he joined Mobile Nations in 2011 and has been found on Android Central and iMore as well as Windows Central. Currently, you'll find him steering the site's coverage of all manner of PC hardware and reviews. Find him on Mastodon at mstdn.social/@richdevine
