12 days of tech tips: Get the most out of your Xbox One graphics
Push the best visuals out of your Xbox One, using these four quick tips.
The holiday season is a great time of year for any gamer. Not only is it perfect for gifting – with some time off, you may finally find the time to work through that backlog of games.
Whether a new Xbox One owner this holiday or an existing fan, you'll want to push the most out of your console. And with graphics being the primary selling point of the all-new Xbox One X, tuning your devices ensures you're not letting that power go to waste. That's why over this period, we recommend taking a deeper dive into your console's settings, to get the best possible visuals.
Check 4K and HDR are enabled
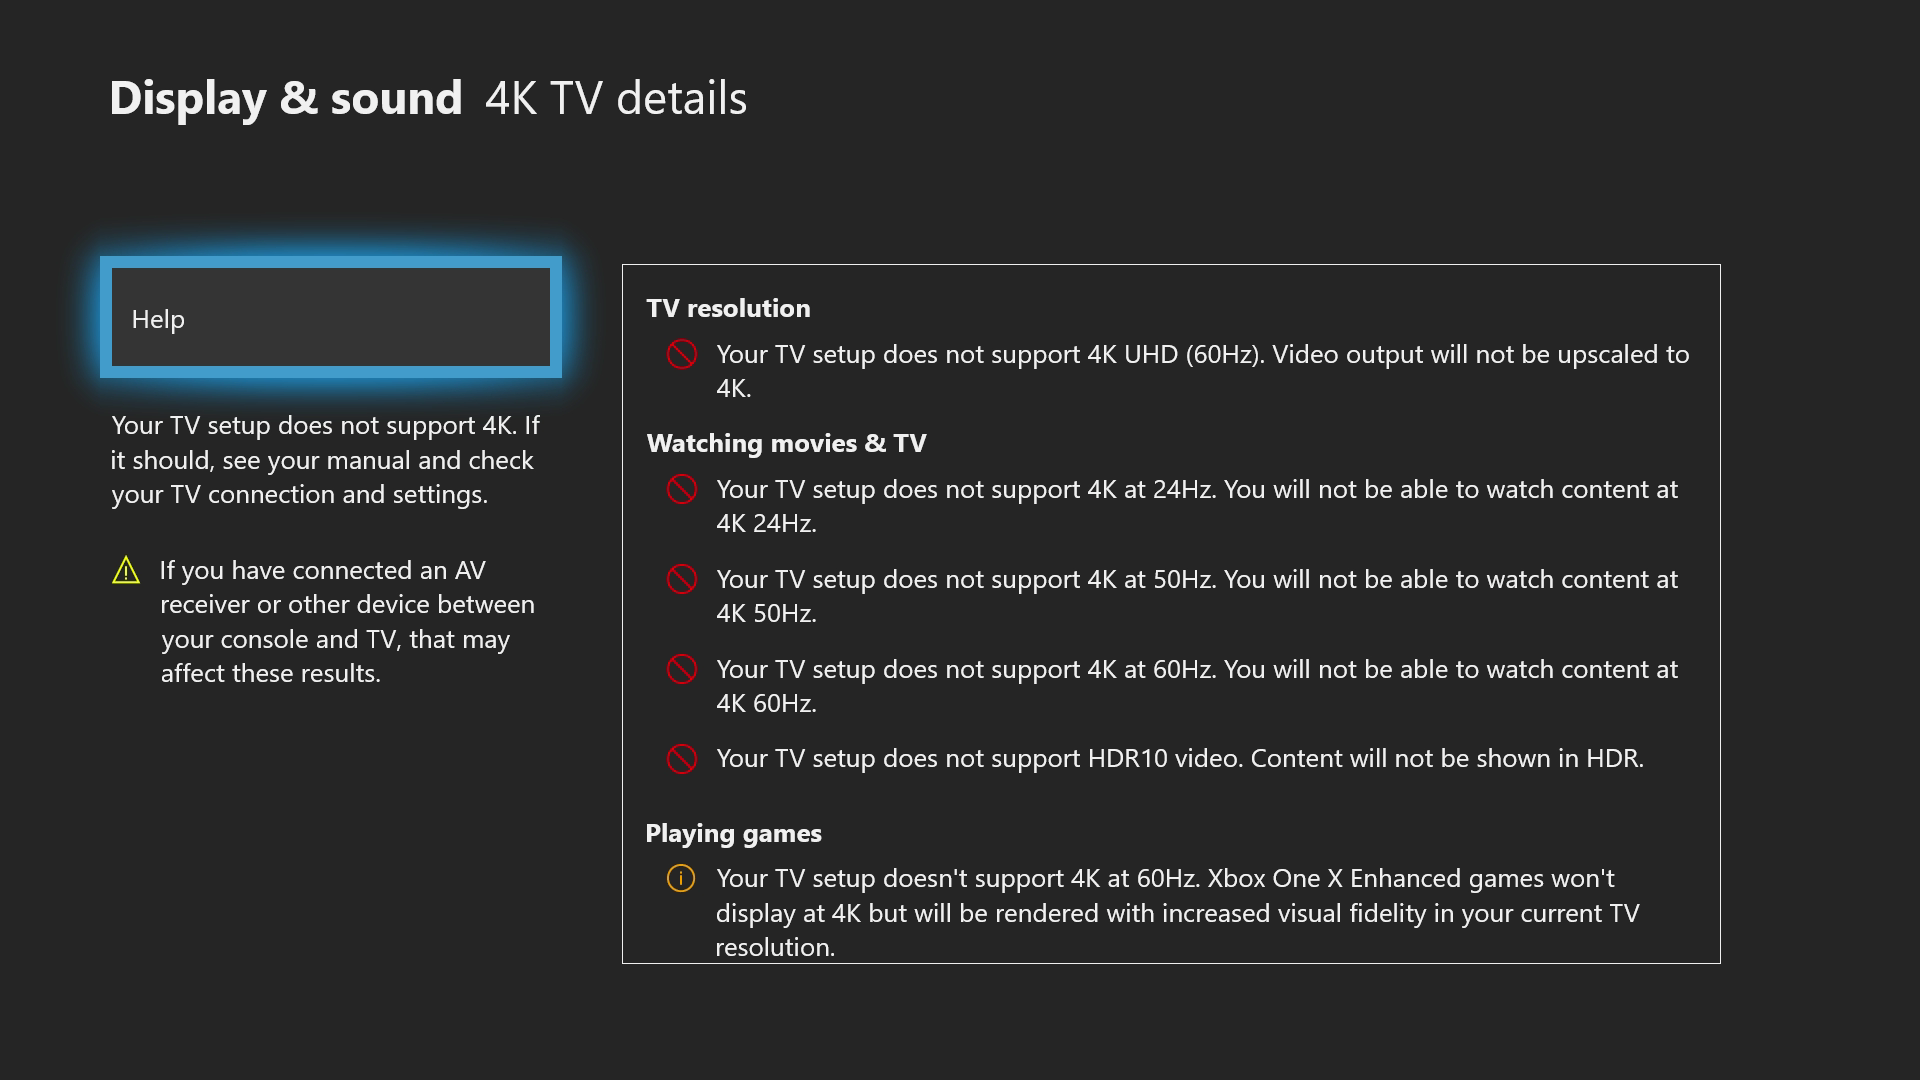
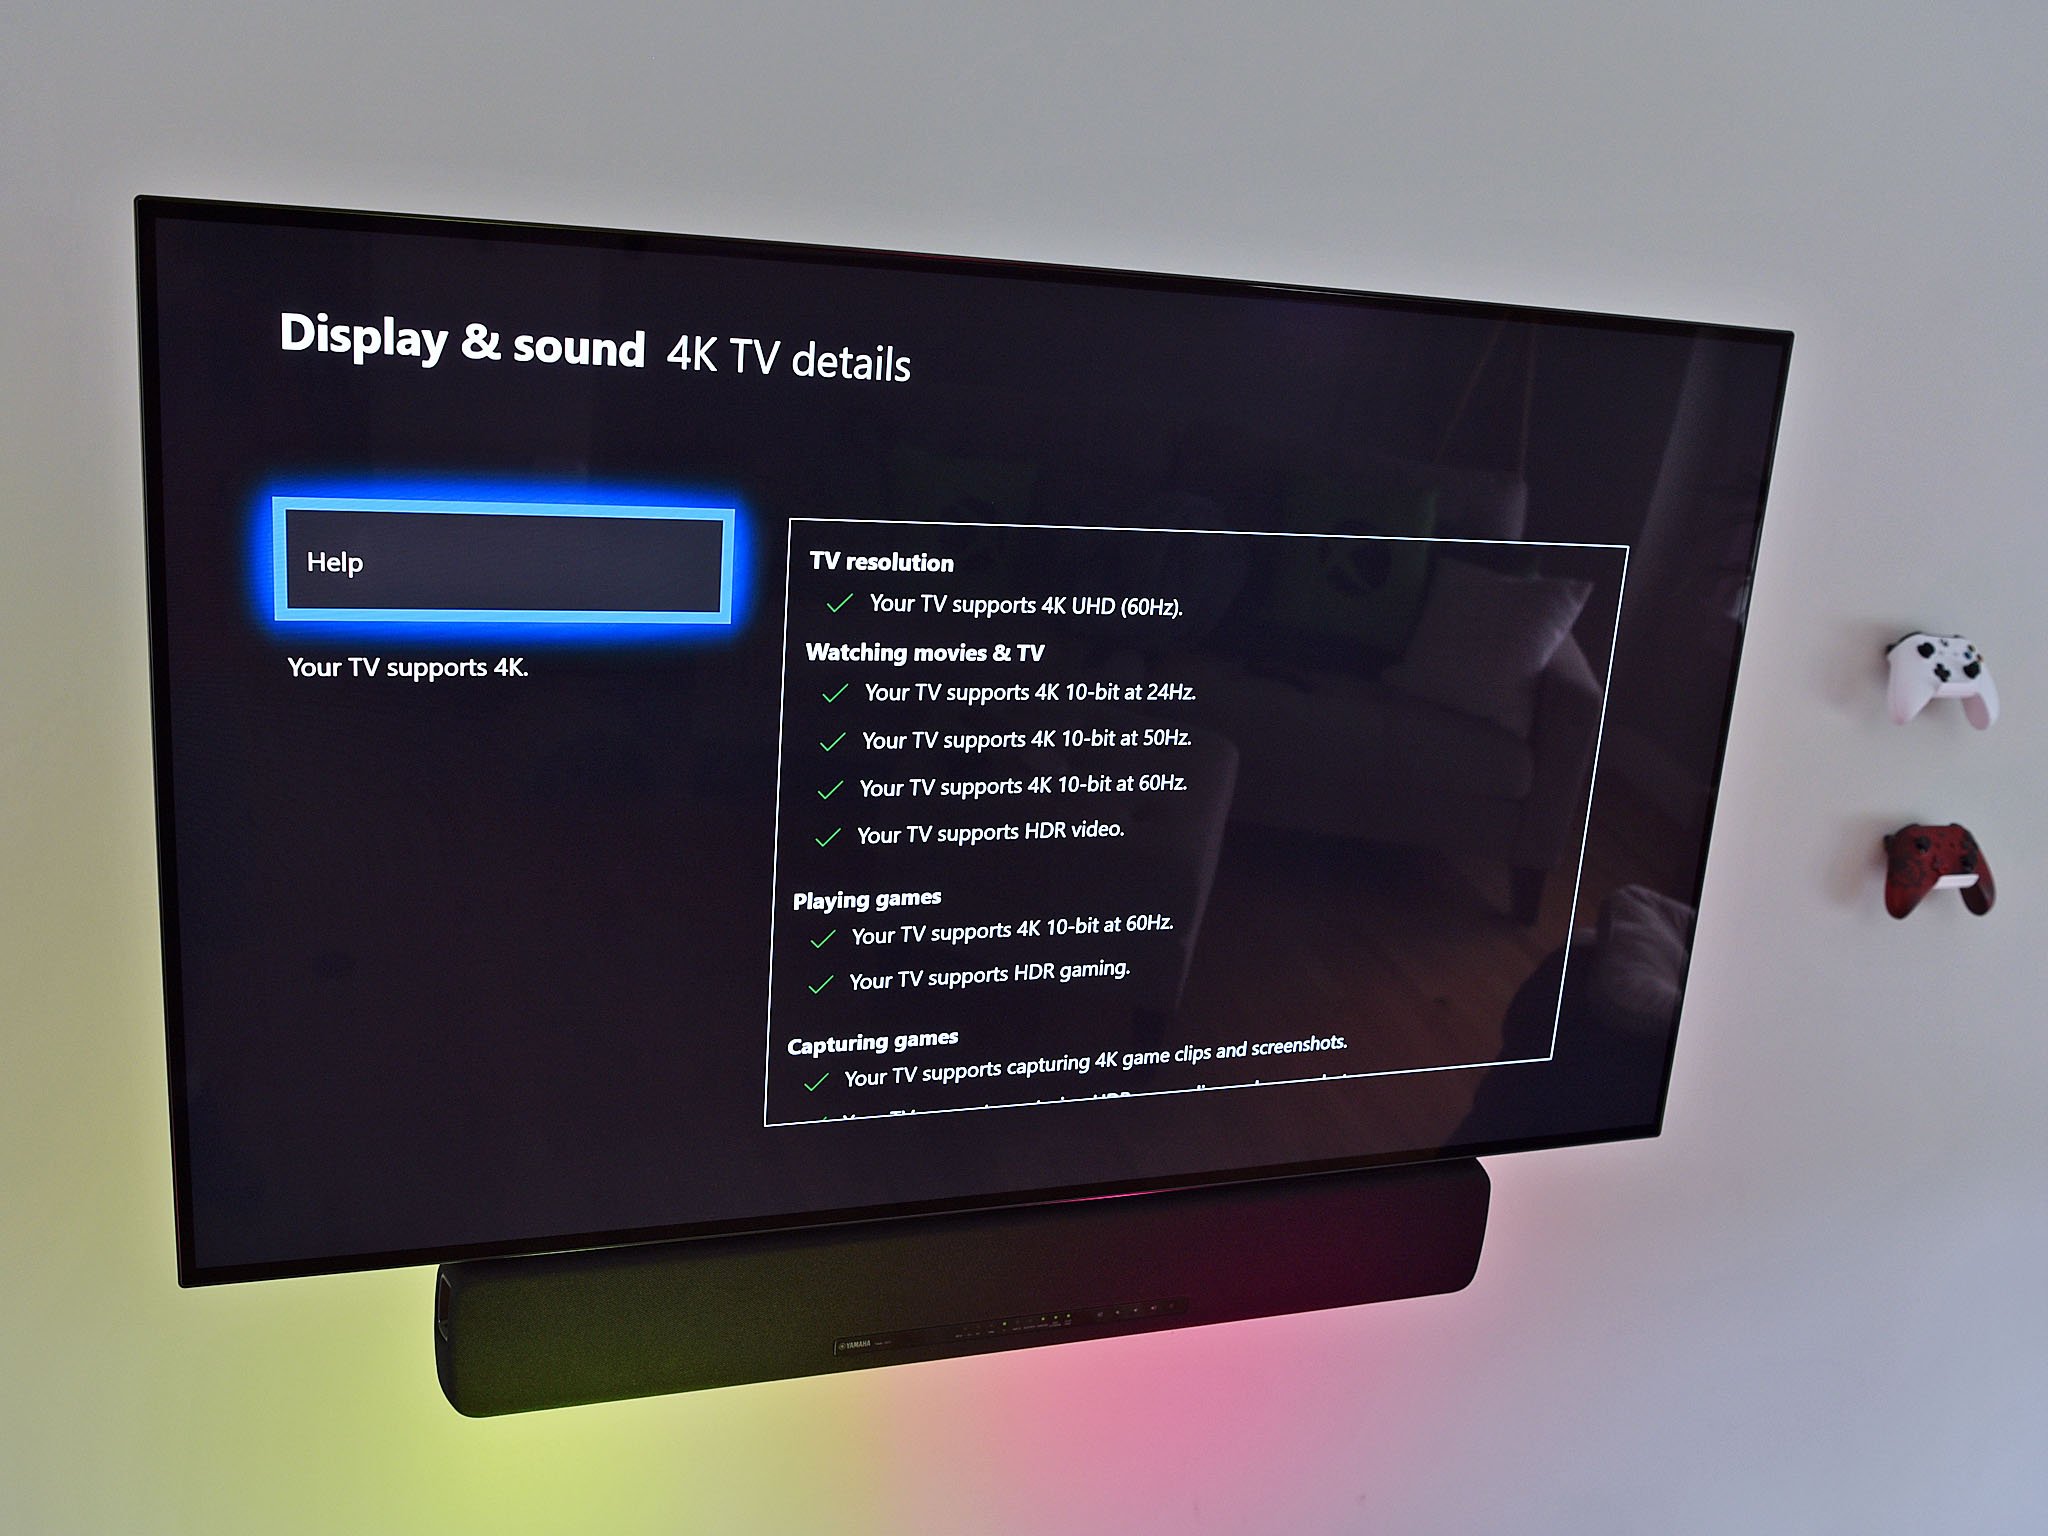
Both the Xbox One S and Xbox One X offer native support for 4K resolution out of the box, delivering an improved level of clarity for on-screen content. When paired with High Dynamic Range (HDR), serving up a wider color gamut and increased contrast ratio, games and content stand out drastically than if these features were disabled. While the full benefits of 4K HDR are limited solely to video on Xbox One S, the Xbox One X also extends this to functionality to "enhanced" games upgraded for the system.
It might sound obvious, but if using a 4K TV with support for HDR, ensure both of these features are enabled on your console. Due to the default TV manufacturer settings, many unknowingly lose out on HDR content. Luckily, we previously compiled a guide on setting up 4K HDR displays with Xbox One consoles, with specific breakdowns for popular brands.
How to enable HDR for Xbox One X on popular 4K TVs
Choose the right color depth
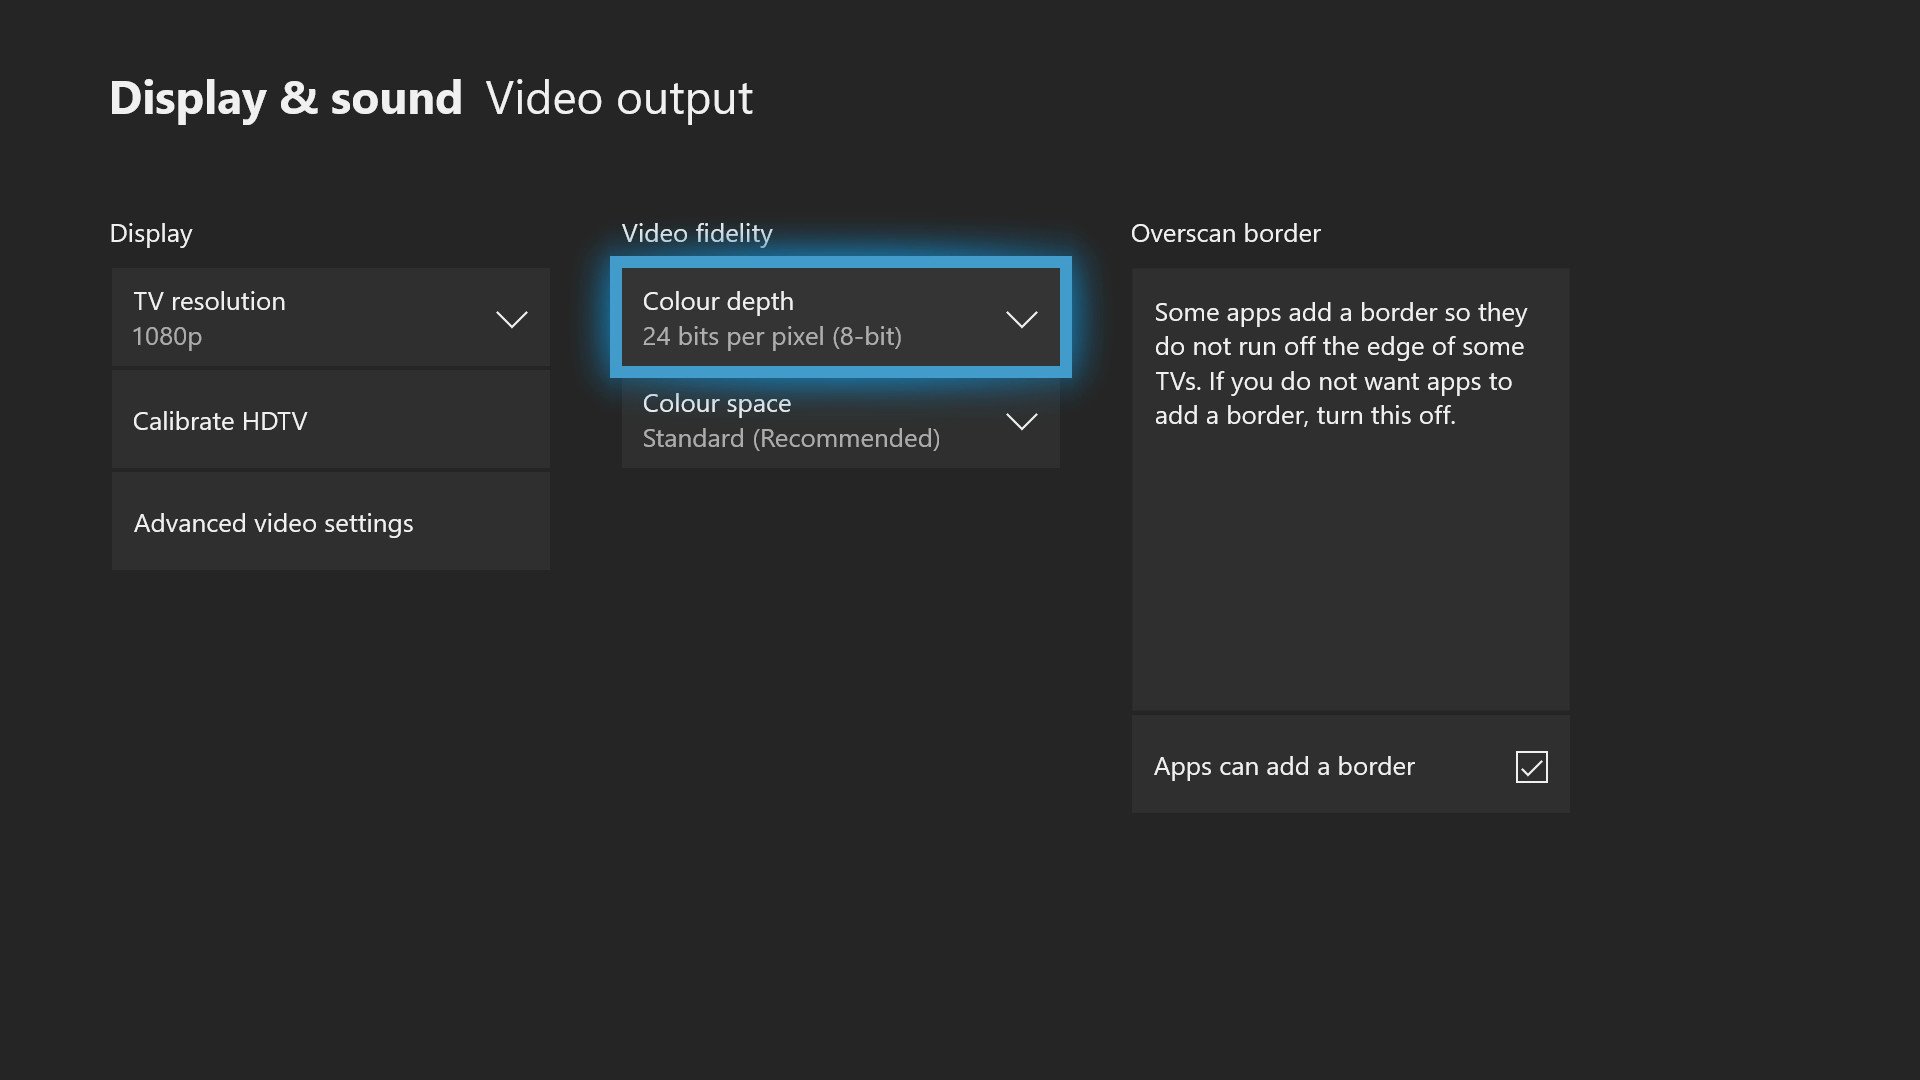
The color depth setting indicates the number of bits used per pixel to represent on-screen colors. Essentially, when set to a higher value, your Xbox One will output a wider range of colors, with more incremental steps between color values.
Xbox One consoles can output signals at 24 bits per pixel (8-bit), 30 bits per pixel (10-bit) and 36 bits per pixel (12-bit), and while higher is often better, don't mindlessly crank up the value to the maximum. Both your TV and game content set limitations on how significantly increased color depth is reflected on screen, with most consumer displays failing to offer 12-bit outputs. While HDR10, the standard used by Xbox One X, requires a 10-bit panel, many without HDR support only offer 8-bit.
Get the Windows Central Newsletter
All the latest news, reviews, and guides for Windows and Xbox diehards.
To tweak the color depth setting for yourself, open the Xbox One's Settings app, and navigate to Display and Sound > Video output > Color depth.
Push the best with a PC monitor
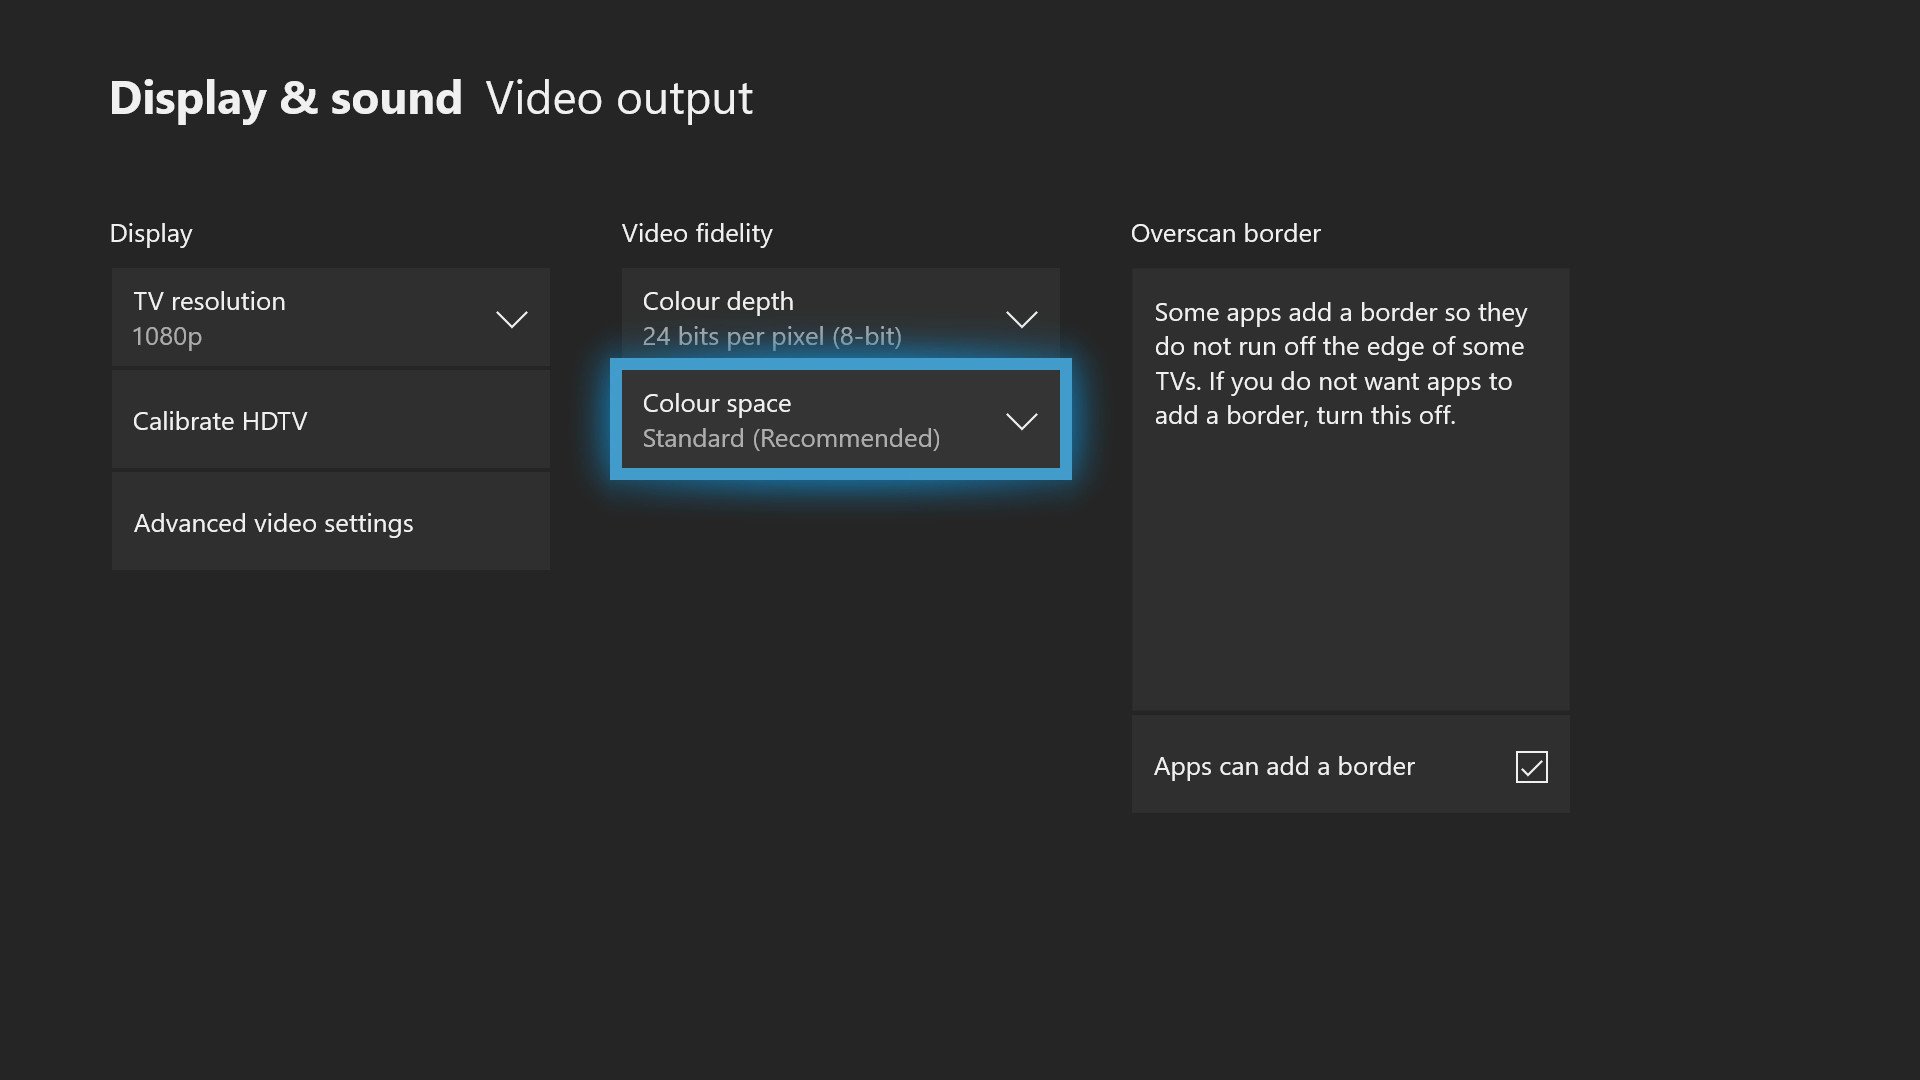
Xbox One also allows players to customize the color space of the console, with "Standard (recommended)" and "PC RGB" settings available. Relating to different color spaces, this determines the which colors are displayed, according to your display's supported space.
While PC monitors are built to output "RGB Full," TVs are often built to output a narrower space, known as "RGB Limited." By changing this option, you'll be changing how the video signal is sent from your console and colors are represented by your TV.
Even though it might make sense to display the full RGB range regardless, using this on many TVs results in an unwanted side effect known as "black crush." When attempting to output full RGB, darker parts of images can lose detail, making certain scenes much harder to view. In short, PC RGB can be recommended for some PC monitors, though for many, especially those on TVs, the recommended standard setting should be used.
This setting can be found with the Xbox One's Settings up, under Display and Sound > Video output > Color depth.
Fixing the finer details
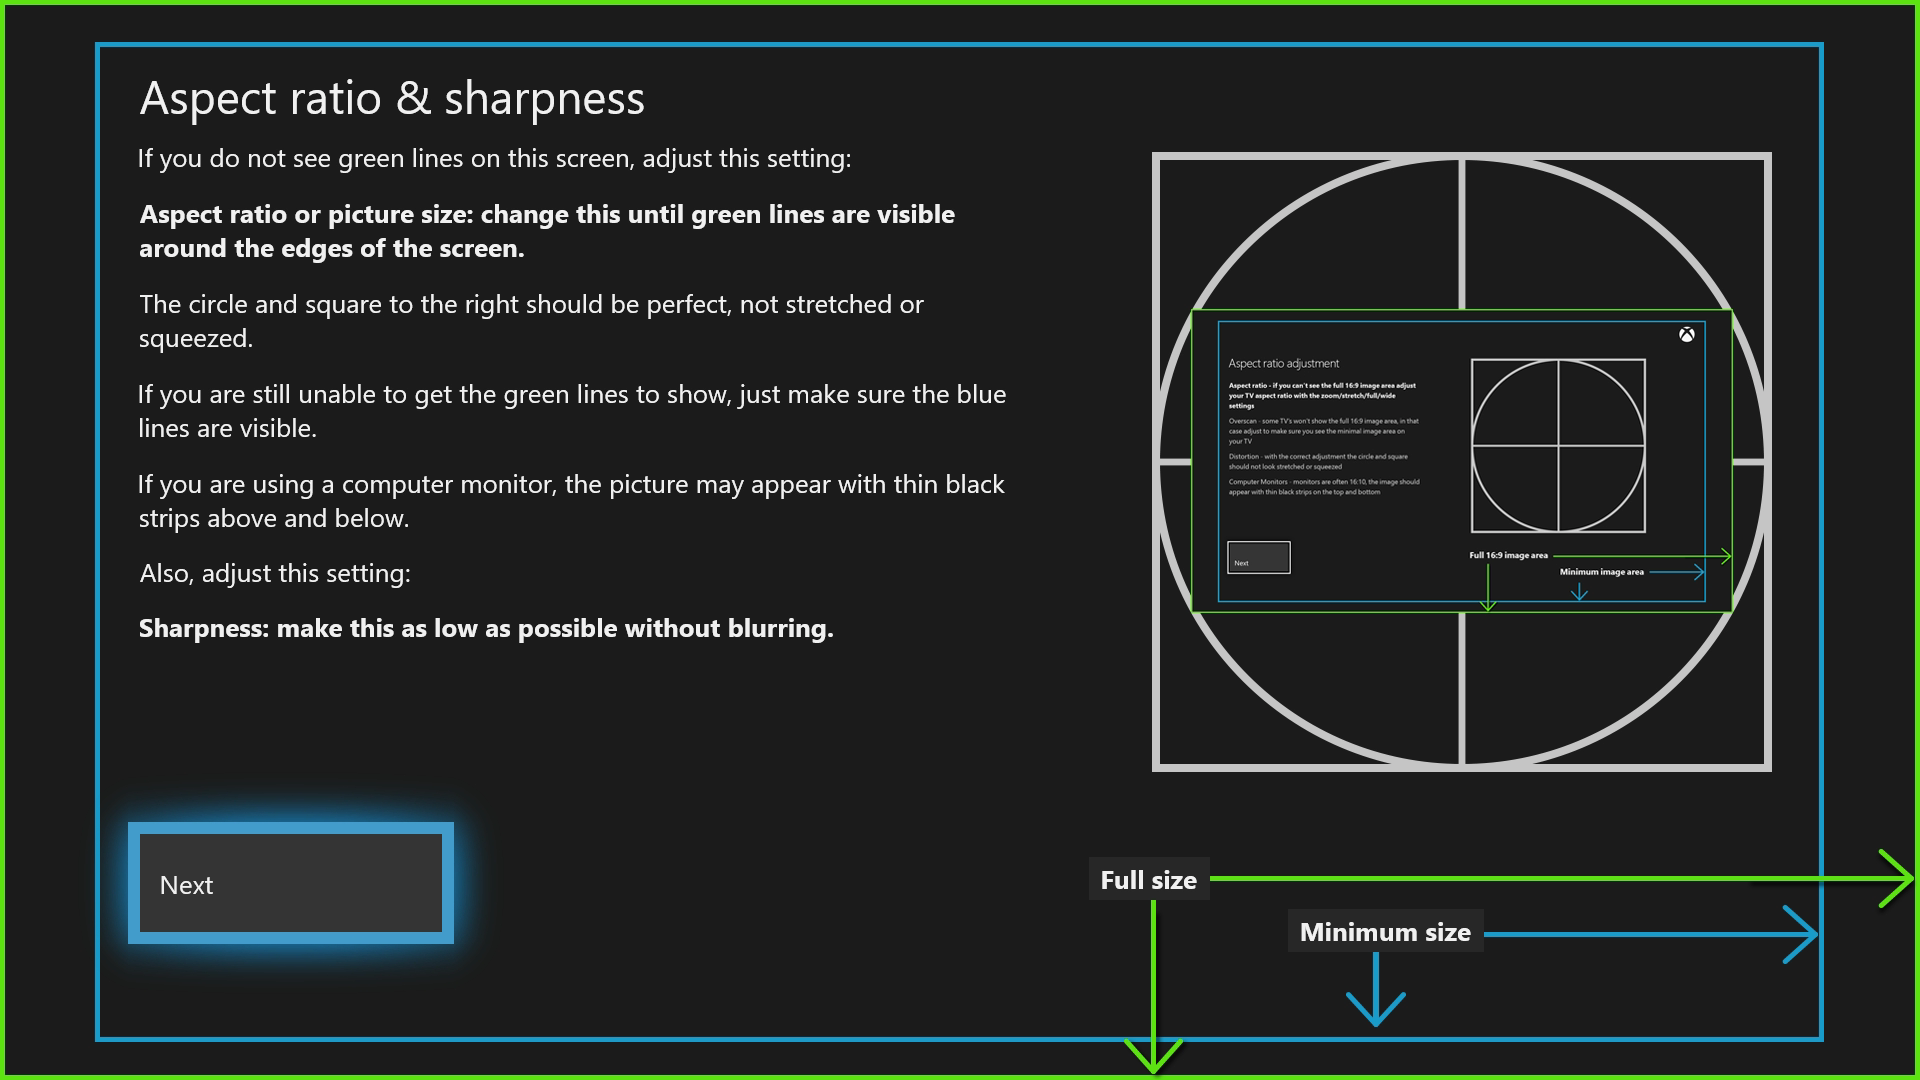
After configuring the video settings for your Xbox One, you'll want to find a reliable way to test if they're for you. A calibration tool hidden away within the console's settings is the best way to do so, allowing you to check that both your console and TV settings are displaying images correctly. This can be found within the Settings app, under Display and Sound > Video output > Calibrate HDTV.
It's important that this calibration tool is run after completing all aforementioned steps and used to fine-tune your TV's settings for improved compatibility. By doing so you'll be getting the best out of your TV, while also accounting for external factors, such as lighting conditions. This provides a more accurate representation of on-screen images, closer to those intended by developers.
Through the process, you'll be given prompts to change your display's color settings, brightness, sharpness and other display traits. If correctly configured, you should be getting some of the best results out of your Xbox One. And while discreet at times, this makes for the most consistent experience you can get.
More: Xbox Help
Matt Brown was formerly a Windows Central's Senior Editor, Xbox & PC, at Future. Following over seven years of professional consumer technology and gaming coverage, he’s focused on the world of Microsoft's gaming efforts. You can follow him on Twitter @mattjbrown.

