How to reclaim space after getting the Windows 10 Fall Creators Update
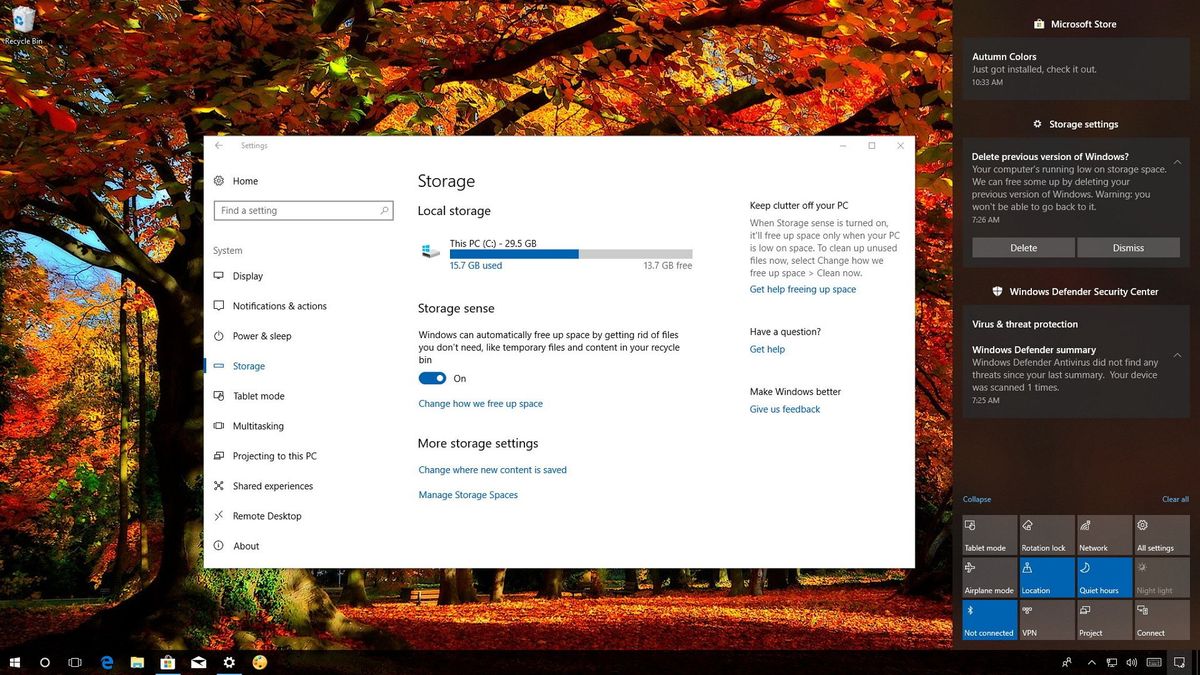
If you're running low on space after getting the Windows 10 Fall Creators Update, use this guide to delete the previous version to reclaim storage.

During the installation of the Fall Creators Update, Windows 10 makes a backup of the current setup that can be used to restore the previous configuration in case of problems during and after the upgrade.
The only caveat is that even after the Windows 10 Fall Creators Update was successfully installed, and it's working without a glitch, the copy of the previous version stored in the Windows.old folder is still around on your drive — wasting gigabytes of space that can be used by more important files.
Although this might not be an issue for devices with large hard drives, if you have a laptop or tablet with limited storage, you can reclaim that storage space (and more).
In this Windows 10 guide, we'll walk you through three different ways to delete the previous installation saved on your computer after upgrading to the Fall Creators Update to free up storage space.
- How to free up space using Storage sense
- How to free up space using Temporary files
- How to free up space using Disk Cleanup
How to free up space using Storage sense
The quickest way to free up space on your device after installing the Windows 10 Fall Creators Update is to use the Storage sense option.
- Open Settings.
- Click on System.
- Click on Storage.
- Under "Storage sense," click the Change how we free up space link.

- Under "Free up space now," check the Delete previous version of Windows option.
- Click the Clean now button.

After completing the steps, Windows 10 will delete the backup files from the previous installation, including any other temporary files options you may have checked, such as temporary files from apps, files that have been in the recycle bin for over 30 days, and files that haven't changed in the last month in the Downloads folder.
How to free up space using Temporary files
Alternatively, the Storage page in the Settings app allows you to delete the previous version of Windows using the Temporary files settings.
Get the Windows Central Newsletter
All the latest news, reviews, and guides for Windows and Xbox diehards.
- Open Settings.
- Click on System.
- Click on Storage.
- Under "Local storage," click your device main drive labeled "This PC."

- Click on Temporary Files.
- Check the Previous version of Windows option.
- Click the Remove files button.

Once you've completed the steps, the previous installation files will be deleted from your device, reclaiming several gigabytes to store more important files.
In addition to deleting the previous version backup, you can also choose to remove a number of other junk files to free up space, including temporary files from apps, Downloads folder, and those files in the recycle bin.
How to free up space using Disk Cleanup
In addition to using the Settings app, you can use the Disk Cleanup tool to remove the previous installation backup files.
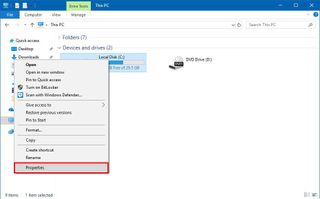
- Open File Explorer.
- Click on This PC from the left pane.
- Right-click the Local Disk (C:) drive, and select Properties.

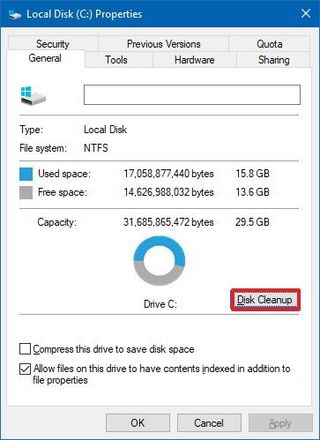
- Click the Disk Cleanup button.

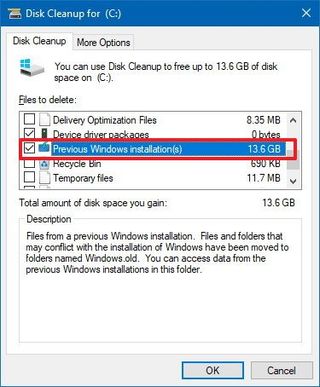
- Click the Clean up system files button.

- Check the Previous Windows installation(s) option.
- Click OK.

After completing the steps, the Disk Cleanup tool will properly get rid of the Windows.old folder containing the previous installation.
While in Disk Cleanup, it's also a good idea to select other unnecessary files wasting space on your device, such as Windows Defender Antivirus, Windows upgrade log files, Downloaded Program Files, Temporary Internet Files, System created Windows Error Reporting files and others.
Wrapping things up
While there are multiple ways to delete the old Windows 10 installation to free up storage space on your computer, bare in mind that these files are required to rollback in case the new version is not working correctly.
After freeing up disk space using any of these methods the option to go back to an earlier build will no longer be available in the Settings app recovery options. You should only consider getting rid of these files if your device is running low of space and you're not experiencing any issues after installing the Fall Creators Update.
If you delete the previous version, the only way to rollback is to do a clean installation of Windows 10. However, if you don't delete these files manually, the system eventually will delete them automatically after ten days of the upgrade.
More Windows 10 resources
For more helpful articles, coverage, and answers to common questions about Windows 10, visit the following resources:
- Windows 10 on Windows Central – All you need to know
- Windows 10 help, tips, and tricks
- Windows 10 forums on Windows Central
Mauro Huculak has been a Windows How-To Expert contributor for WindowsCentral.com for nearly a decade and has over 15 years of experience writing comprehensive guides. He also has an IT background and has achieved different professional certifications from Microsoft, Cisco, VMware, and CompTIA. He has been recognized as a Microsoft MVP for many years.
