How to configure network discovery on Windows 10
You can make your Windows 10 PC visible or hidden on a local network, and in this guide, we'll show you how.
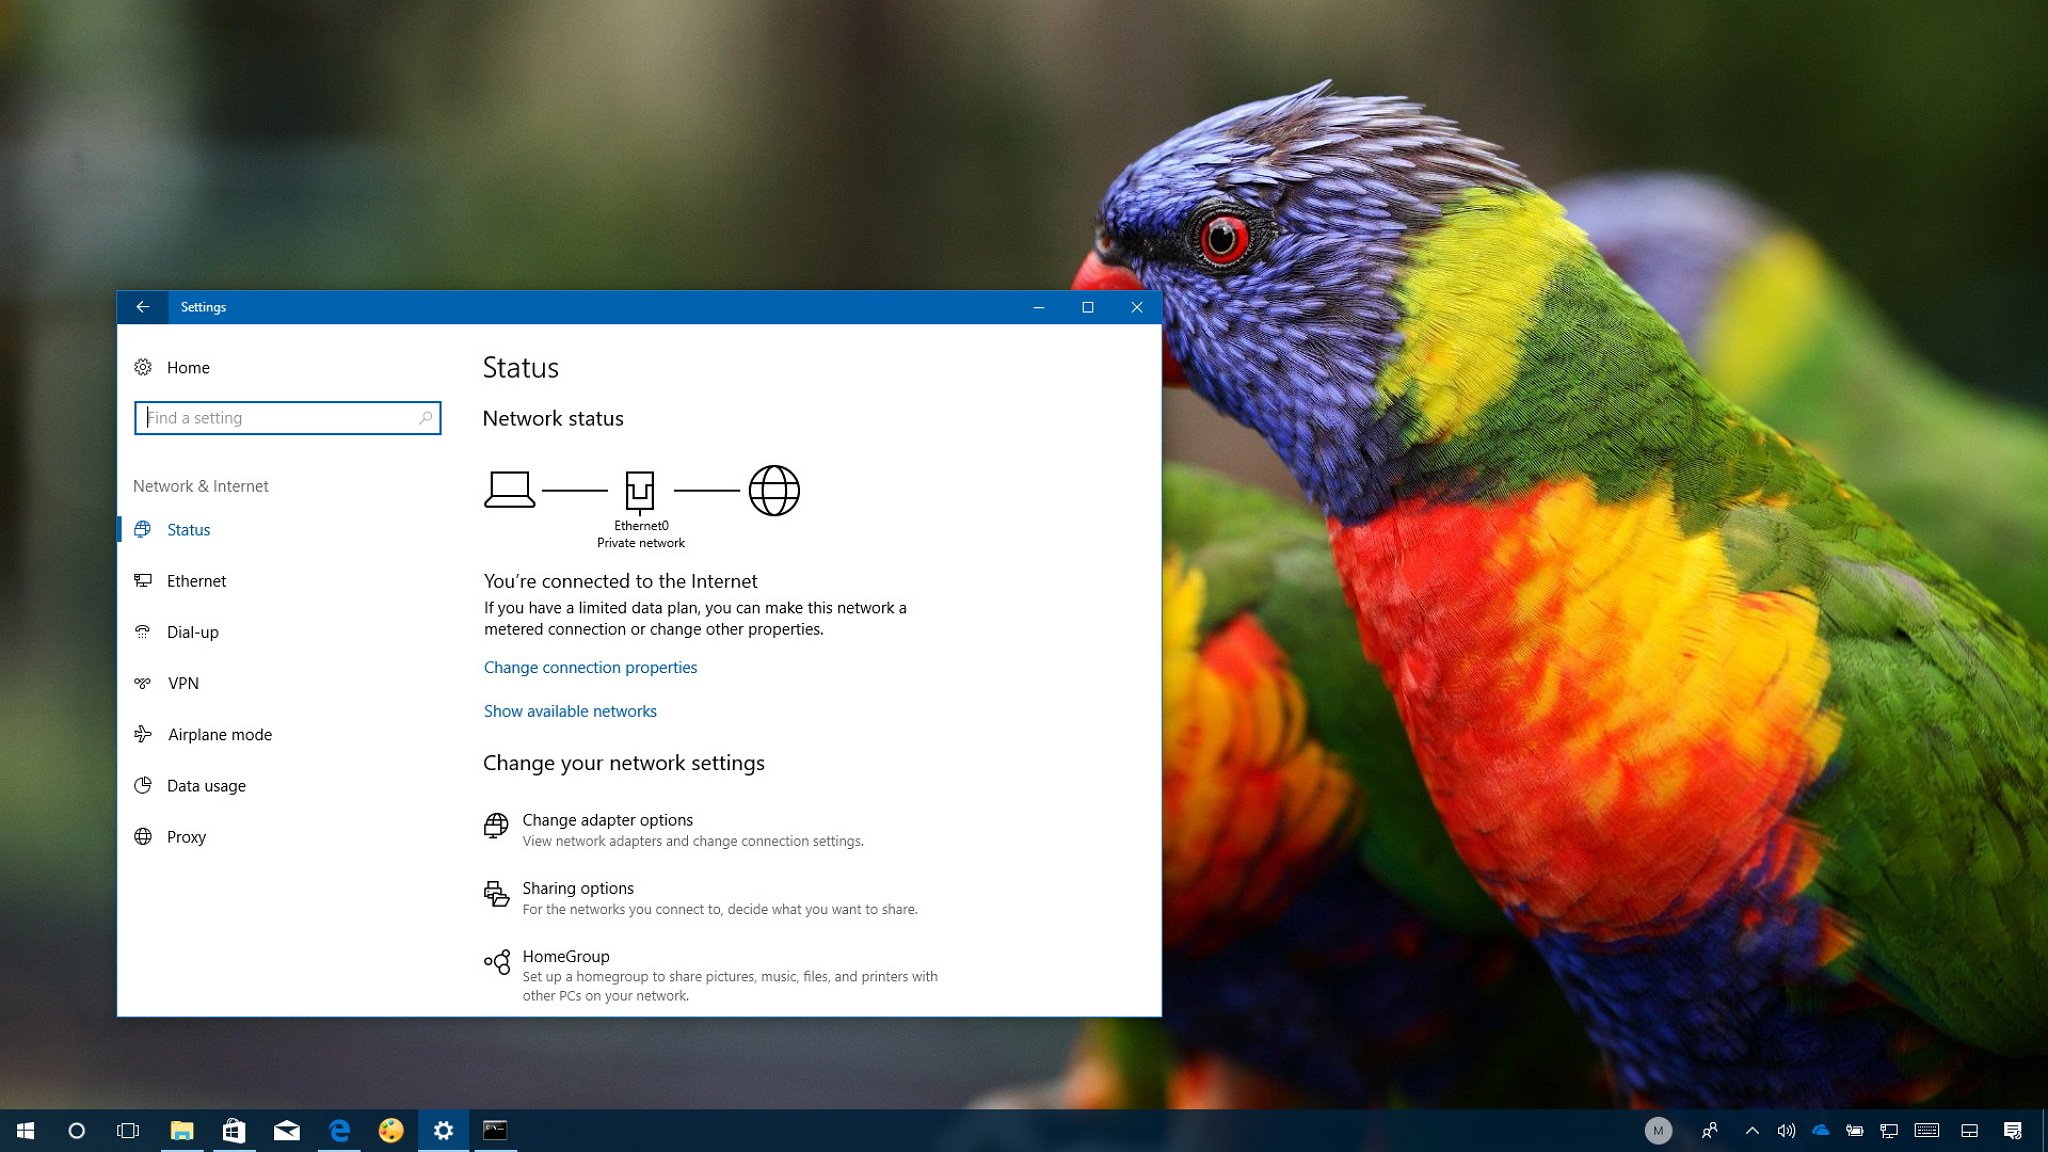
On Windows 10, you can configure different network profiles depending on the network environment to keep your device more secure. If you're connected to the internet using a non-secure network, such as those available in coffee shops and airports, you can set the connection as "public" to hide your device in that location while also turning off file and printer sharing.
When connecting to a trusted network, like the one at your home or place of work, you can configure the connection as "private" to make your computer discoverable and allow network users to access resources you may be sharing.
In this Windows 10 guide, we walk you through the steps to make your device discoverable or hidden in any network environment using the Settings app.
How to set a network profile using Settings
Typically, the first time you connect to a network, Windows 10 will ask you to set a network profile. However, if you didn't see the prompt, or you just want to use a different selection, it's possible to use the Settings app to configure the connection as public or private using these steps:
Switching Ethernet network profile
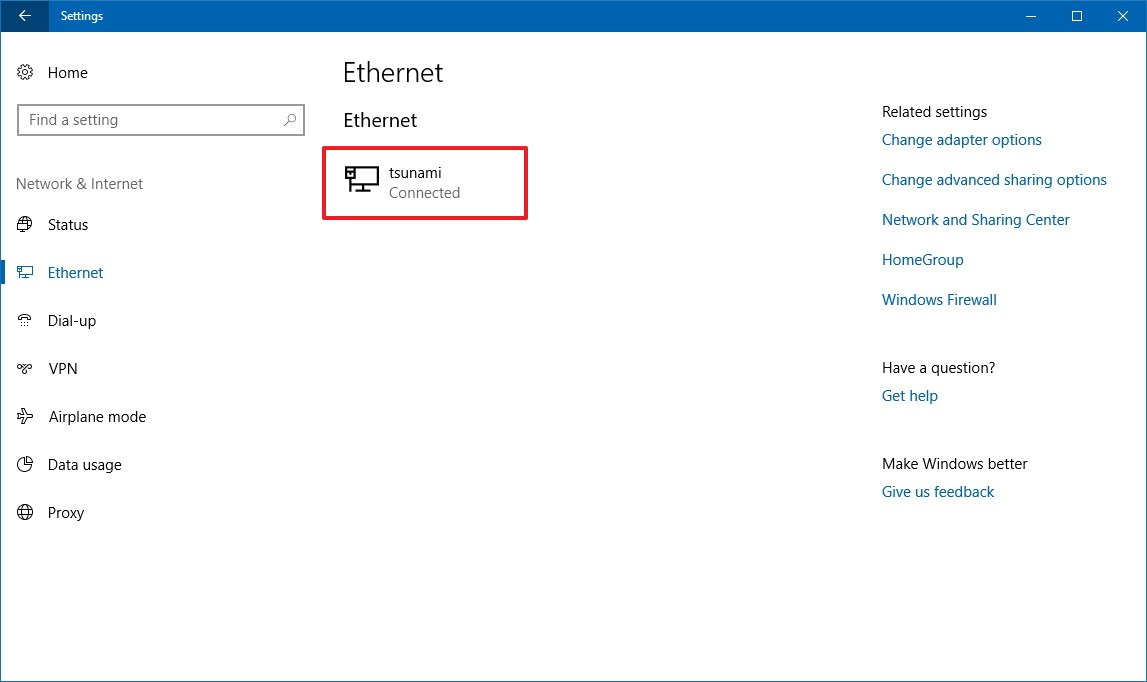
In the case you're connecting to a local network using an Ethernet adapter, follow these steps to configure network discovery:
- Open Settings.
- Click on Network & Internet.
- Click on Ethernet.
- On the right side, click on the adapter you want to configure.
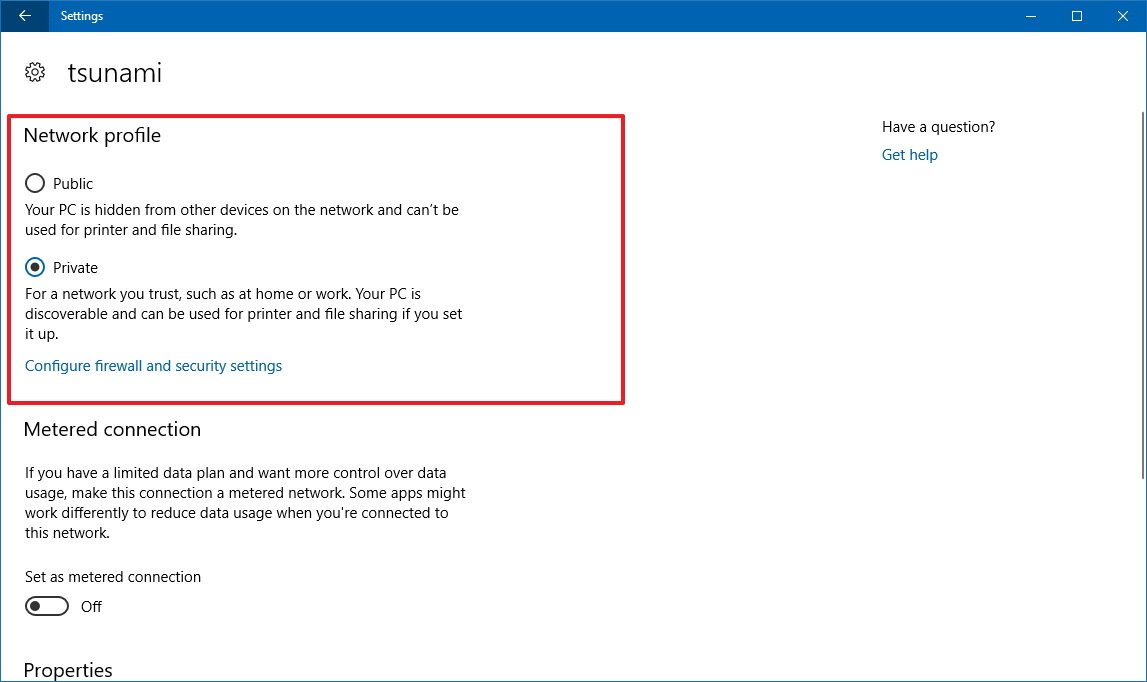
- Under "Network profile," select one of these two options:
- Public to hide your computer on the network and stop sharing printers and files.
- Private to make your computer discoverable on a network you trust and allow other users to use the printer or access files you may be sharing.
Switching Wi-Fi network profiles
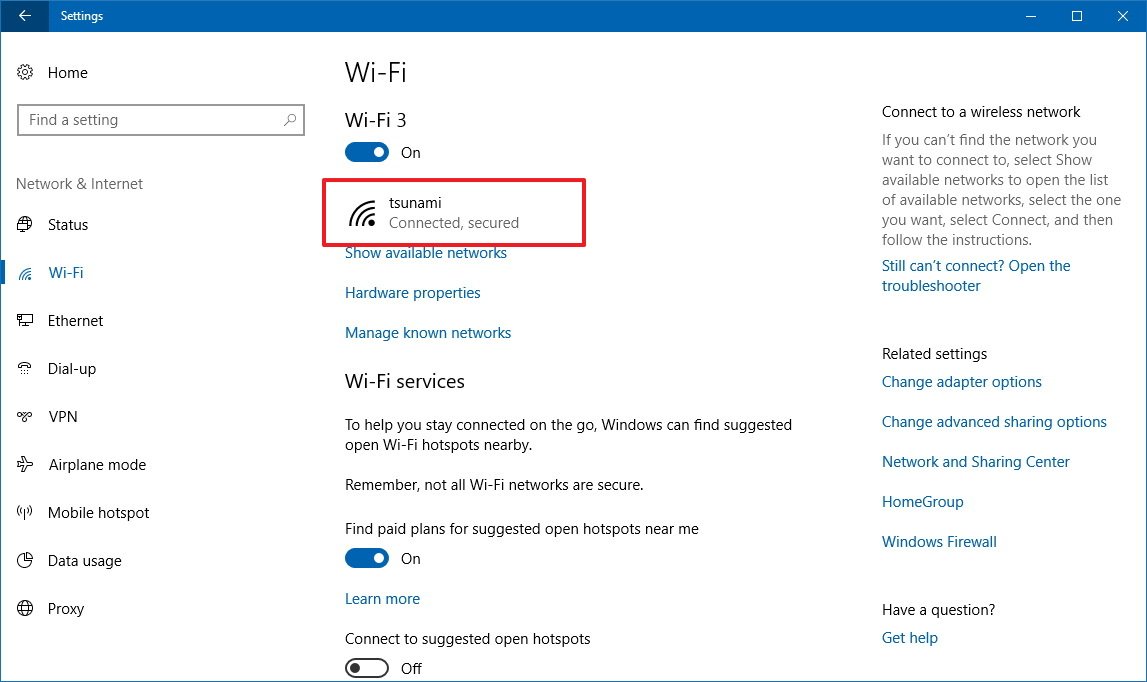
If you're using a wireless adapter to connect to a local wireless network, use these steps to configure network discovery:
- Open Settings.
- Click on Network & Internet.
- Click on Wi-Fi.
- On the right side, click on the adapter you want to configure.
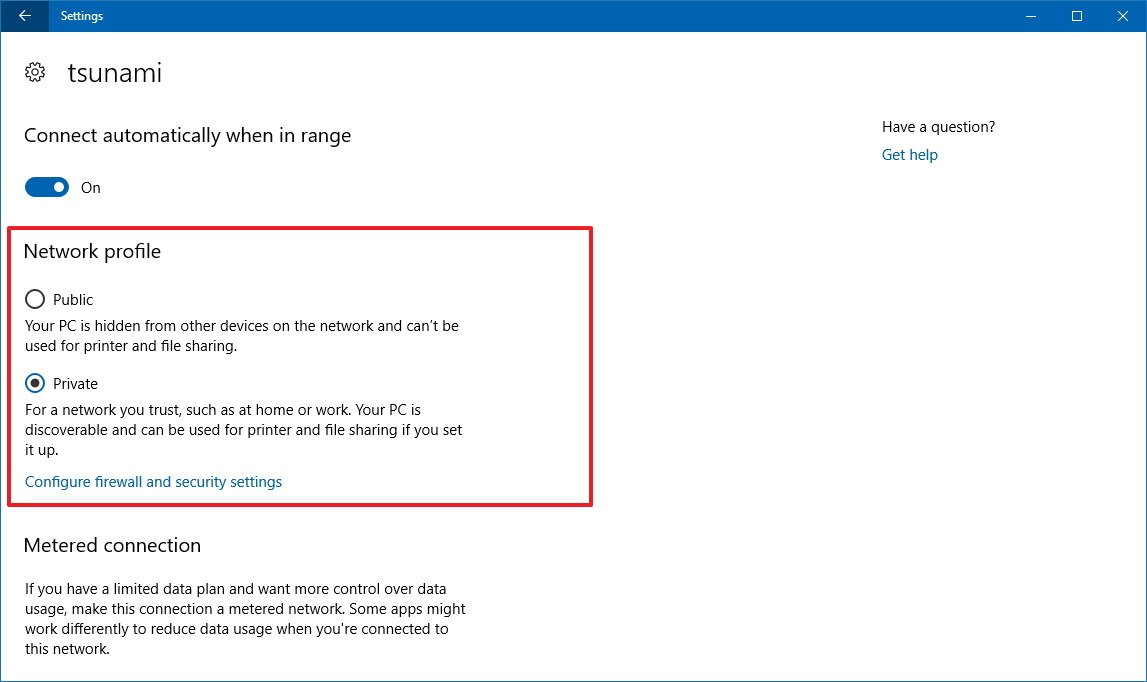
- Under "Network profile," select one of these two options:
- Public to hide your computer on the network and stop sharing printers and files.
- Private to make your computer discoverable on a network you trust and allow other users to use the printer or access files you may be sharing.
After completing these steps, Windows 10 will remember your network profile every time you connect to the same network, but you'll need to configure a profile on every new network you connect to.
All the latest news, reviews, and guides for Windows and Xbox diehards.
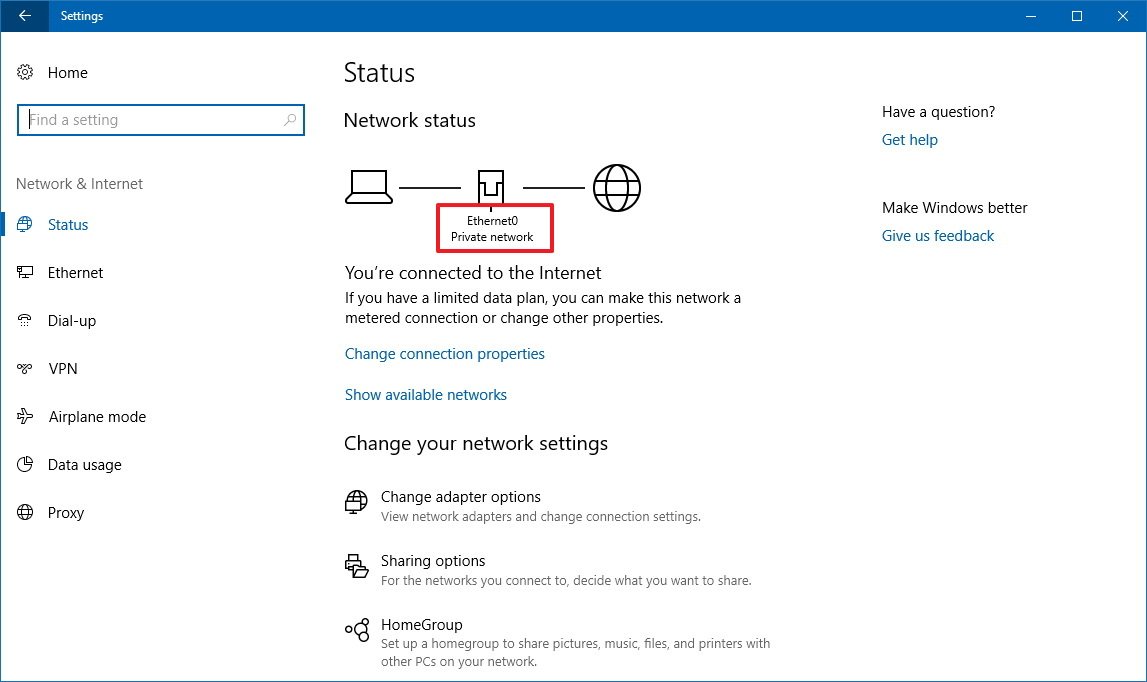
If you want to quickly figure out which network profile your device is using, you can always go to Settings > Network & Internet, and on the Status page, under "Network status," it'll say "Private network" or "Public network".
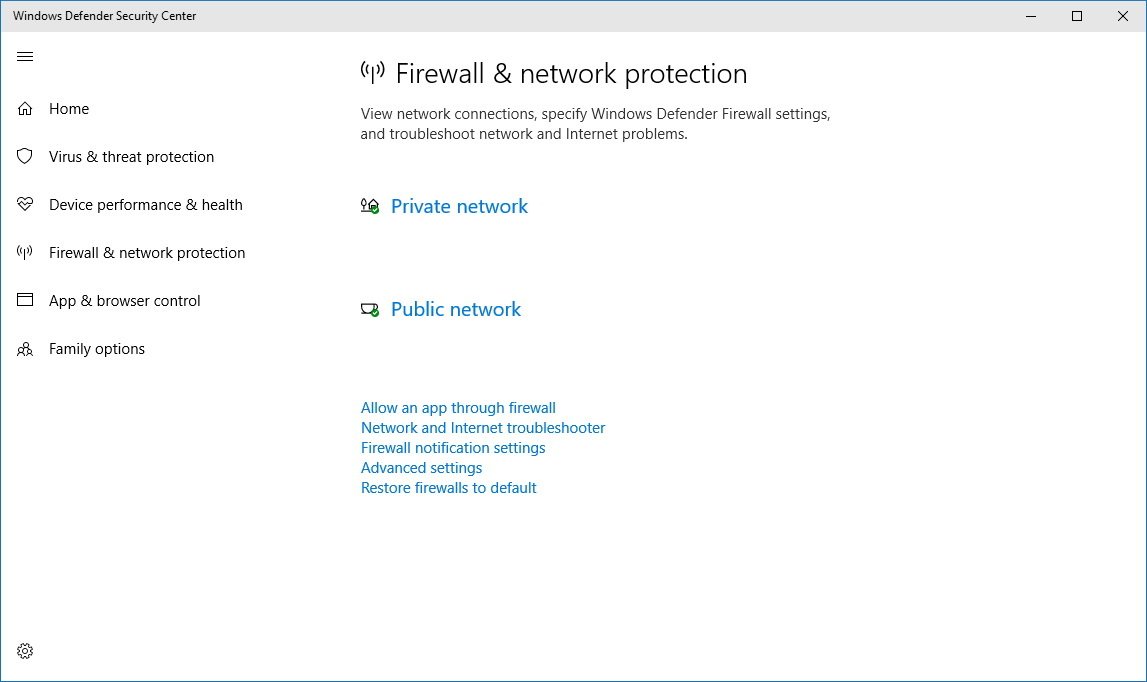
In the network adapter properties, you'll also find a new "Configure firewall and security settings" link, which opens the "Firewall & network protection" settings in the Windows Defender Security Center. This allows you to turn the Windows Firewall on or off for each network profile.
Wrapping things up
You'll only find these options if you're running the Windows 10 Fall Creators Update. Previously, there was just one option called Make this PC discoverable, which you needed to turn on to make your device discoverable (private) or keep the option off to keep your computer hidden (public), but because the feature wasn't obvious to configure, Microsoft decided to change it.
More Windows 10 resources
For more helpful articles, coverage, and answers to common questions about Windows 10, visit the following resources:
- Windows 10 on Windows Central – All you need to know
- Windows 10 help, tips, and tricks
- Windows 10 forums on Windows Central

Mauro Huculak has been a Windows How-To Expert contributor for WindowsCentral.com for nearly a decade and has over 22 years of combined experience in IT and technical writing. He holds various professional certifications from Microsoft, Cisco, VMware, and CompTIA and has been recognized as a Microsoft MVP for many years.
