How control your Windows 10 PC or phone with another computer with the Connect app
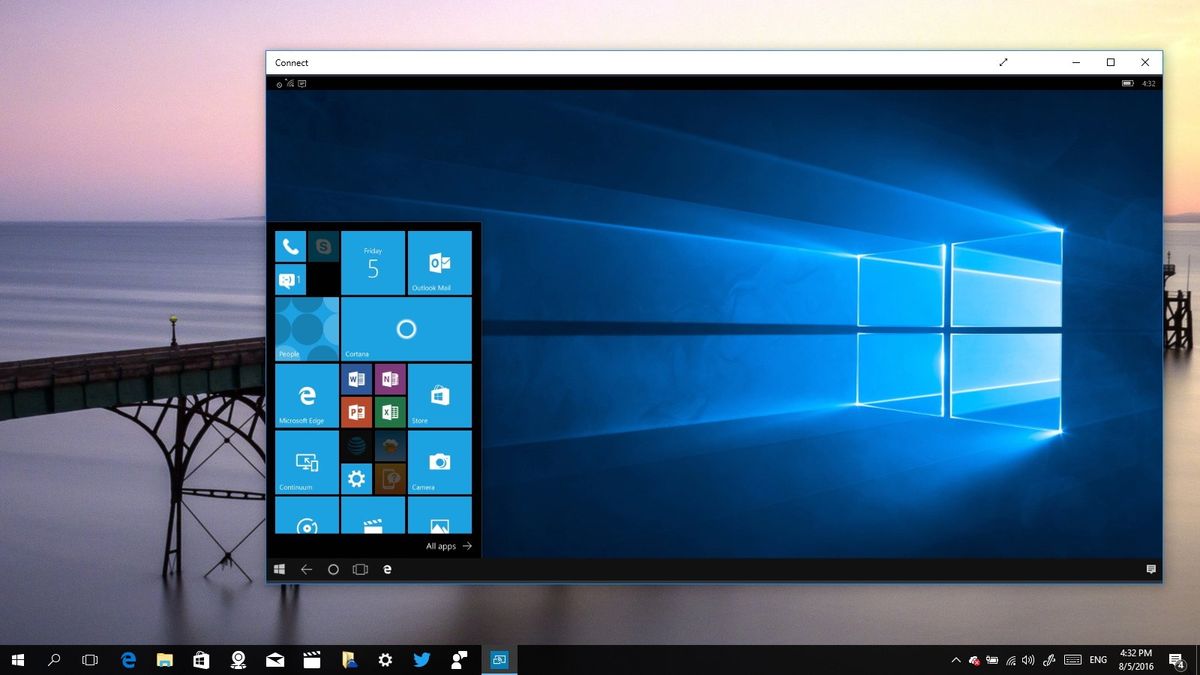
Project to this PC let you use the new Connect app on Windows 10 to project your phone or another PC to your computer screen.

The Windows 10 Anniversary Update doesn't add a few new features and change a few things — it continues Microsoft's quest to bring devices closer together. One new feature is part of this quest: "Project to this PC".
Project to this PC is very similar to remote desktop, but with the difference that the remote device is the one establishing the connection to the new Connect app. You can project a Windows 10 Mobile phone or remote PC to your computer screen using Miracast wireless technology or through a local network without the need for an username and password.
In this guide, we'll walk you through the steps to project devices to your computer screen on the Windows 10 Anniversary Update and later version.
How to use the 'Project to this PC' feature on Windows 10
Project to this PC has two parts: you first need to customize the settings, and then use the Connect app to establish a connection.
Customizing 'Project to this PC' on Windows 10
To customize the experience do the following:
- Open Settings.
- Click on System.
- Click on Project to this PC.

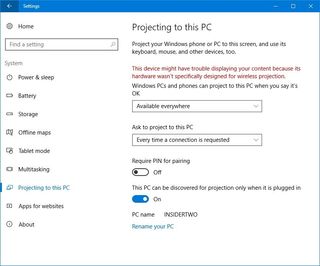
In order to make your device discoverable by the other device you're trying to project, you have to customize the "Windows PCs and phones can project to this PC when you say it's OK" option.
From the drop-down menu, you need to choose one of the following:
Get the Windows Central Newsletter
All the latest news, reviews, and guides for Windows and Xbox diehards.
- Available anywhere on secure networks
- Available anywhere
- Always Off
You can also select to "ask to project to this PC":
- First time only
- Every time a connection is requested
In addition, Project to this PC offers the option to pair devices using a pin with the Require PIN for pairing option. If you don't enable this option, you'll connect directly without any extra steps.
Because users are likely to use this feature on a laptop, there is also an option to make your computer discoverable only when it's plugged in. (So, if you're trying to use this feature and you're unable to connect, you probably have this option turned on, and your laptop is running on battery mode.)
You even get a link to rename your PC to make easier to discover the device on the remote host.
Projecting a device to your computer
Once you have configured all your settings, open the Connect app on the device you're trying to project a remote screen. Then on the remote device, such as your phone or another Windows 10 PC, do the following:
- Open Action Center.
- Click the Connect button.
- Click the name of the device you're trying to project.
- Check the Allow input from a keyboard or mouse connected to this display option as necessary.

Once connected, you'll also be able to control the remote screen with your keyboard and mouse. However, keep in mind that the experience performance will vary depending on the device you're using and network speeds.
This is also a great alternative to use Continuum for Windows 10 Mobile, when you don't have a display adapter to use your phone as a PC.
The secret feature
The best part about this new feature is that you're not only limited to project your main computer screen, you can also use "Project to this PC" to transform your computer into a secondary monitor for another PC.
When you connect another PC to your main computer screen there is a "Change projection mode" option (see above image). When you click this option, you'll also get the Windows Project options, including: Disconnect, Duplicate, Extend, and Second screen only. If you click the Extend option you will be able to expand your workspace real estate as you were connecting a secondary monitor.

Wrapping things up
Microsoft is touting the "Project to this PC" as a business feature to help you quickly show PowerPoint, Word, or another type of documents to a colleague, but anyone can use it.
It's important to note that devices projecting to the Connect app on your main PC are not required to be running the Anniversary Update (version 1607). This feature will work perfectly OK with devices running the November 2015 Update (version 1511) or later.
These instructions also apply to Windows 10 Mobile devices — the only difference is that you'll have access to the Continuum experience, not just the phone screen.
Do you like the new Project to this PC feature on Windows 10? Have you tried it? Tell us in the comments below.
More Windows 10 resources
For more help articles, coverage, and answers on Windows 10, you can visit the following resources:
- Windows 10 on Windows Central – All you need to know
- Windows 10 Anniversary Update
- Windows 10 help, tips, and tricks
- Windows 10 forums on Windows Central
Mauro Huculak has been a Windows How-To Expert contributor for WindowsCentral.com for nearly a decade and has over 15 years of experience writing comprehensive guides. He also has an IT background and has achieved different professional certifications from Microsoft, Cisco, VMware, and CompTIA. He has been recognized as a Microsoft MVP for many years.
